
Use UIViewRepresentable to convert UIKit views to SwiftUI | Advanced Learning #13
UIView Representable
구현 목표
- UIkit의 컴포넌트를 SwiftUI에서 사용하기
- 커스텀 컴포넌트를 SwiftUI에서 연결하기
구현 태스크
UITextField커스텀 컴포넌트를 구현한다.- 델리게이트를 연결, 데이터 바인딩
- 델리게이트를 위한
Coordinator클래스 구현 - 플레이스홀더의 텍스트, 컬러를 업데이트하는 함수
UITextField를 초기화하는 함수를 구현한다.
핵심 코드
    func makeUIView(context: Context) -> some UIView {
        let textField = getTextField()
        textField.delegate = context.coordinator
        return textField
    }

    //From SwiftUI To UIKit
    func updateUIView(_ uiView: UIViewType, context: Context) {
        guard let textField = uiView as? UITextField else { return }
        textField.text = text
    }

    class Coordinator: NSObject, UITextFieldDelegate {
        @Binding var text: String
        init(text: Binding<String>) {
            self._text = text
        }

        func textFieldDidChangeSelection(_ textField: UITextField) {
            text = textField.text ?? ""
        }
} UITextFiled컴포넌트는UIKit이 제공하는 컴포넌트UIViewRepresentable프로토콜을 통해SwiftUI와UIKit을 연결 가능makeUIView함수를 통해SwiftUI에서 사용할 컴포넌트를 리턴updateUIView함수를 통해SwiftUI의 데이터가UIKit컴포넌트의 데이터로 바인딩makeCoordinator함수를 통해UIkit의 데이터가SwiftUI의 데이터로 바인딩 →Binding<>타입으로 선언된 값을 통해 연결, 해당 커스텀 클래스 컴포넌트 이니셜라이즈 시 프로퍼티로 전달된 값
소스 코드
import SwiftUI

struct TextFieldViewModifier: ViewModifier {
    func body(content: Content) -> some View {
        content
            .frame(height: 55)
            .background(Color.gray.opacity(0.3))
            .cornerRadius(10)
            .padding(.horizontal)
    }
}

extension View {
    func withDefaultUITextFieldModifier() -> some View {
        modifier(TextFieldViewModifier())
    }
}

struct UIViewRepresentableBootCamp: View {
    @State private var text: String = ""
    @State private var placeholder: String = "TYPE HERE..."

    var body: some View {
        VStack {
            Text(text)
                .font(.headline)
                .fontWeight(.bold)
            HStack {
                Text("SwiftUI : ")
                TextField("TYPE HERE...", text: $text)
                    .withDefaultUITextFieldModifier()
            }
            HStack {
                Text("UIKit : ")
                UITextFieldViewRepresentable(text: $text, placeholder: placeholder, placeholderColor: .gray)
                    .updatePlaceholder(placeholder)
                    .withDefaultUITextFieldModifier()
            }
        }
    }
}

struct UITextFieldViewRepresentable: UIViewRepresentable {
    @Binding var text: String
    var placeholder: String
    let placeholderColor: UIColor

    init(text: Binding<String>, placeholder: String = "PLACEHOLDER", placeholderColor: UIColor = .gray) {
        self._text = text
        self.placeholder = placeholder
        self.placeholderColor = placeholderColor
    }

    func makeUIView(context: Context) -> some UIView {
        let textField = getTextField()
        textField.delegate = context.coordinator
        return textField
    }

    //From SwiftUI To UIKit
    func updateUIView(_ uiView: UIViewType, context: Context) {
        guard let textField = uiView as? UITextField else { return }
        textField.text = text
    }


    //From UIKit to SwiftUI
    func makeCoordinator() -> Coordinator {
        // CUSTOM INSTANCE BETWEEN INTERFACES
        return Coordinator(text: $text)

    }

    func updatePlaceholder(_ text: String) -> UITextFieldViewRepresentable {
        print("UPDATE PLACEHOLDER")
        var viewRepresentable = self
        viewRepresentable.placeholder = text
        return viewRepresentable
    }

    private func getTextField() -> UITextField {
        let textField = UITextField(frame: .zero)
        let placeholder = NSAttributedString(string: placeholder, attributes: [.foregroundColor: placeholderColor])
        textField.attributedPlaceholder = placeholder
        return textField
    }

    class Coordinator: NSObject, UITextFieldDelegate {
        @Binding var text: String
        init(text: Binding<String>) {
            self._text = text
        }

        func textFieldDidChangeSelection(_ textField: UITextField) {
            text = textField.text ?? ""
        }
    }
}UIKit의 컴포넌트의 데이터 바인딩을 사용하기 위한 델리게이트 패턴이Coordinate클래스를 통해 구현NSObject를 따르고 있는 해당 클래스 내에서 활용할 기존UIKit컴포넌트의 메소드(textFieldDidChangeSelection)를 사용 가능,UITextFieldViewRepresentable클래스를 이니셜라이즈할 때 받은 바인딩 프로퍼티와 연결makeUIView메소드를 통해 해당 컨텍스트의Coordinate가 곧 리턴하는 컴포넌트 오브젝트의 델리게이트로 연결SwiftUI에서의UIKit연결,UIKit에서의SwiftUI연결 가능
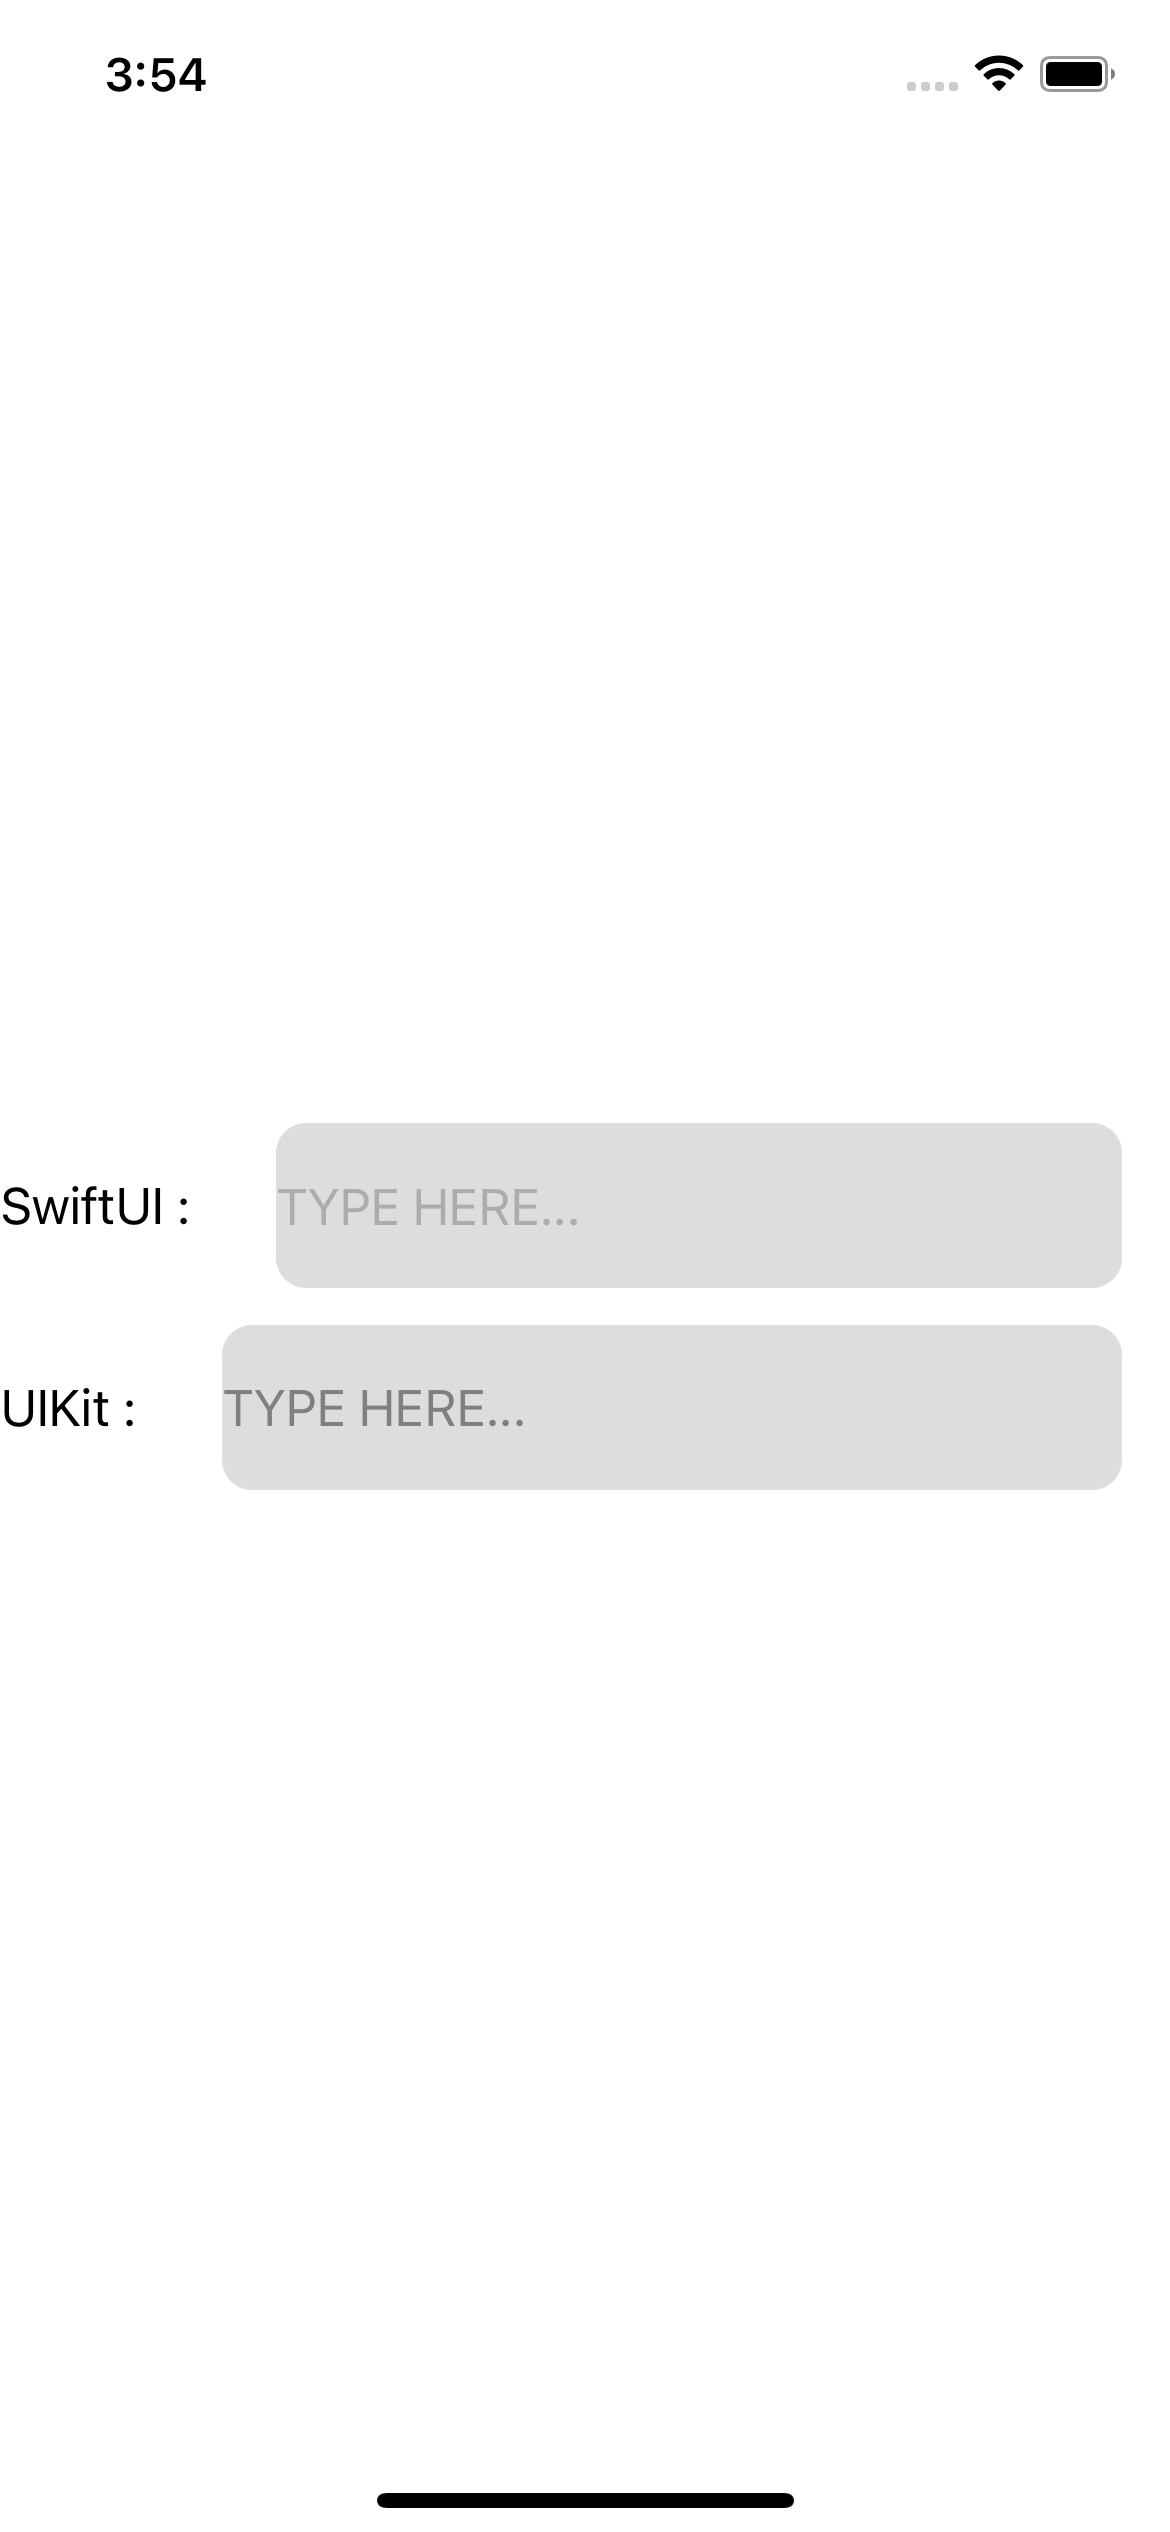
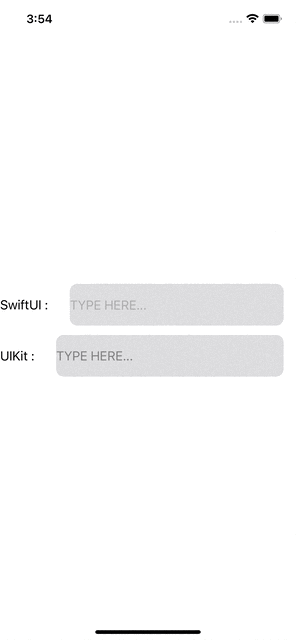
구현 화면
UIKit이 제공하는 강력한 커스텀 기능을 SwiftUI에서 활용하기 위해 능숙해져야 할 기법 중 하나라고 생각한다!

JUST DO IT