
Description
JavaScript Used
DOM Manipulation
Control Structures
Arrays
Array.forEach()
JavaScript CSS Manipulation
eventListeners
Immediately Invoked Function Expressions
Object Constructors
Event Bubbling
Project Description/Summary
This project seems to combines two of the previous completed projects. It involves pieces of the Background Image Slider JavaScript Project and the Random Quotes JavaScript Project. This project can easily be completed using an array of objects, but John adds a bit of complexity (if you're a beginner) to the project by using a Constructor function.
New Things Learned or Refreshed
It was nice to see how Object Constructors are used in real projects. This project used a function that made a call to an Object Constructor. On the surface, it made the project a bit more complex than it had to be, but I now see the value of using a function to create a new instance an Object. This project also focused on selecting the parent element from the DOM to register the click element of a child element that contained a specific CSS class as opposed to selecting the button element.
Time to Code
This took about 20 minutes to code.
Lines of Code
This took me 59 lines of code.
Biggest Take Away(s)
Object Constructors are not bad once you learn how to use them in small projects. I'm glad John switched it up in his solution.
Your Turn!
What to Accomplish
- Download the source code from the github repository above.
- Delete the contents of the app.js file.
- Implement the JavaScript code in your own app.js file.
- Add a link to your finished project below!
What You Should See
- A default image should be displayed when you load the page.
- When you click the “left” button, one of five images should display, all the way until each of the five images display in sequence.
- Repeat step 2 for the “right” button.
- If the user continues to click the left or right button, the images should reset once it passes the first image in the array.
<!-- <head>는 생략. -->
<body>
<div class="container-fluid">
<div class="row max-height align-items-center">
<!-- col -->
<div class="col-10 mx-auto col-md-6">
<div class="row">
<div class="col text-center my-5">
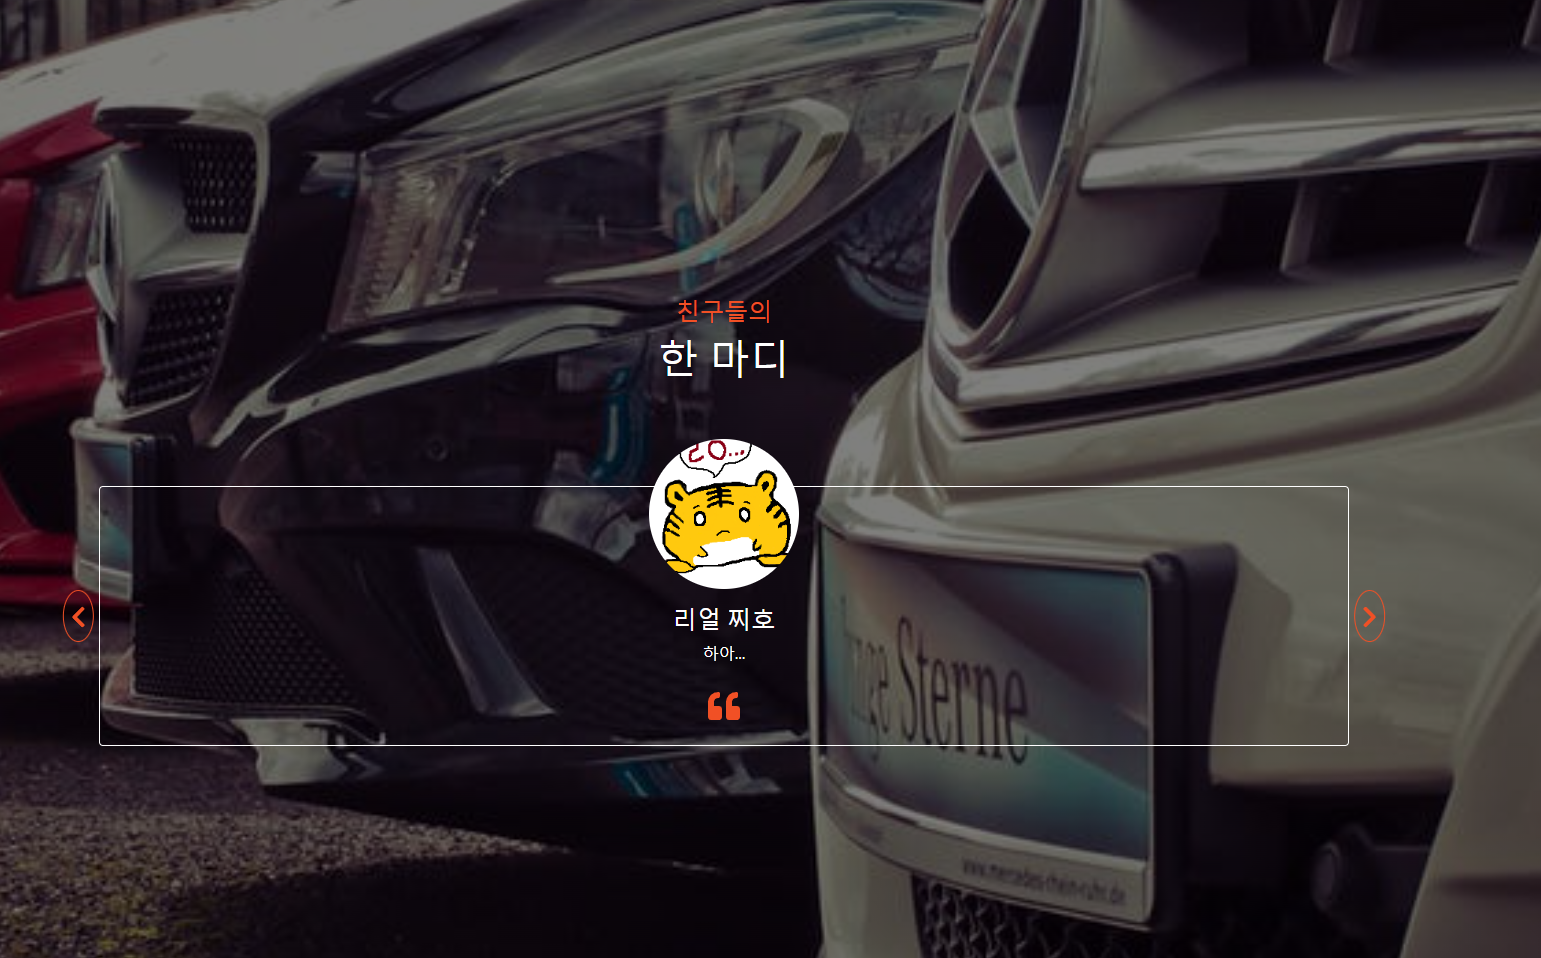
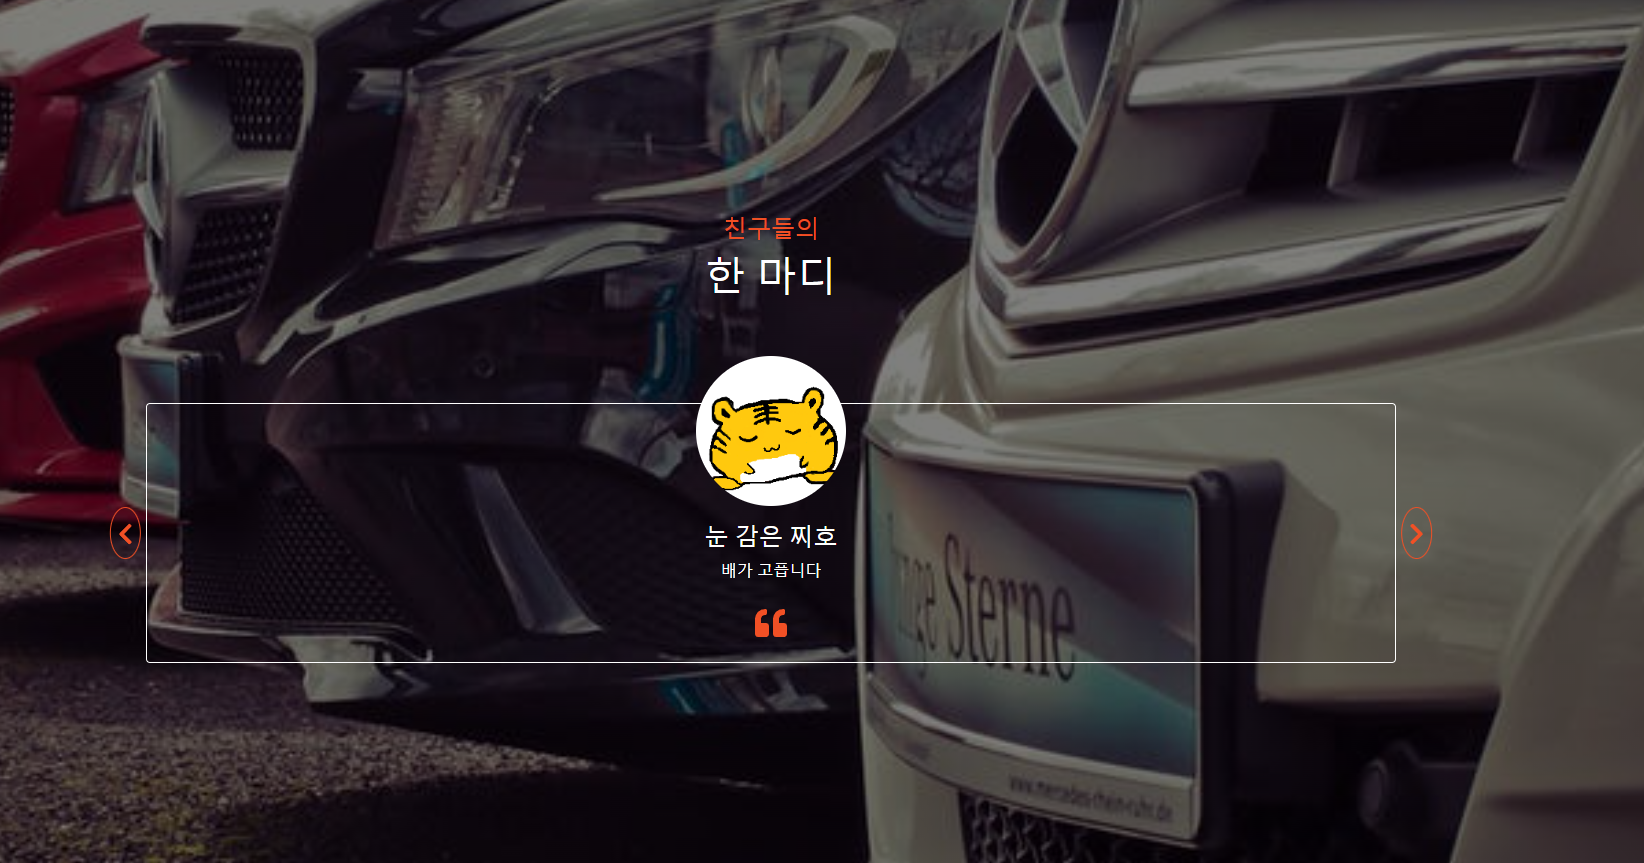
<h4 class="title-heading text-uppercase">친구들의</h4>
<h1 class="title-subheading text-uppercase">한 마디</h1>
</div>
</div>
<div class="card my-5 text-center customer-card ">
<img src="img/customer-0.png" width="150" id="customer-img" class="img-card mx-auto" alt="">
<h4 id="customer-name" class="text-uppercase">눈 감은 찌호</h4>
<p id="customer-text">배가 고픕니다</p>
<span class="quote-icon">
<i class="fas fa-quote-left"></i>
</span>
<a href="#" class="btn prevBtn"><i class="fas fa-chevron-left"></i></a>
<a href="#" class="btn nextBtn"><i class="fas fa-chevron-right"></i></a>
</div>
</div>
<!-- end of col -->
</div>
</div>
<script>
// 이하 forEach 함수 전까지는 사용자 생성 함수
const customerImage = document.querySelector('#customer-img')
const customerName = document.querySelector('#customer-name')
const customerText = document.querySelector('#customer-text')
const buttons = document.querySelectorAll('.btn')
let index = 0
const customers = []
// this 이용해서 Customer 객체를 정의함(함수 내에서 this는 인자를 가리킴).
function Customer(img, name, text) {
this.img = img
this.name = name
this.text = text
}
// 생성함수를 이용.
function createCustomer(img, name, text) {
// 'customer-0' 형태의 파일을 갖고 있다면 그것이 사진으로 들어감.
let fullImg = `./img/customer-${img}.png`
let customer = new Customer(fullImg, name, text)
// customers 배열에 customer를 추가함.
customers.push(customer)
}
createCustomer(0, '눈 감은 찌호', '배가 고픕니다')
createCustomer(1, '기분 나쁜 찌호', '뭘 봐요?')
createCustomer(2, '리얼 찌호', '하아...')
// 이하 기능 함수
buttons.forEach(function(button){
button.addEventListener('click', function(event){
if (event.target.parentElement.classList.contains('prevBtn')){
if(index === 0){
index = customers.length
}
index--
customerImage.src = customers[index].img
customerName.textContent = customers[index].name
customerText.textContent = customers[index].text
}
if (event.target.parentElement.classList.contains('nextBtn')){
index++
if(index === customers.length){
index = 0
}
customerImage.src = customers[index].img
customerName.textContent = customers[index].name
customerText.textContent = customers[index].text
}
})
})
</script>
</body>결과물
배운 점
- this의 용법
- 전역 객체(window) : 아무것도 쓰지 않고 그냥 this 쳤을 때.
- 어떤 객체를 통해 함수가 호출된다면 그 객체
-> 이번엔 이 것.- 명시적 바인딩(call, apply, bind 등)
- new 바인딩
- 객체함수와 생성함수를 이용하고, 동작함수를 따로 구성.