
JavaScript Used
DOM Manipulation
Control Structures
Array.forEach()
JavaScript CSS Manipulation
eventListeners
Immediately Invoked Function Expressions
Project Description/Summary
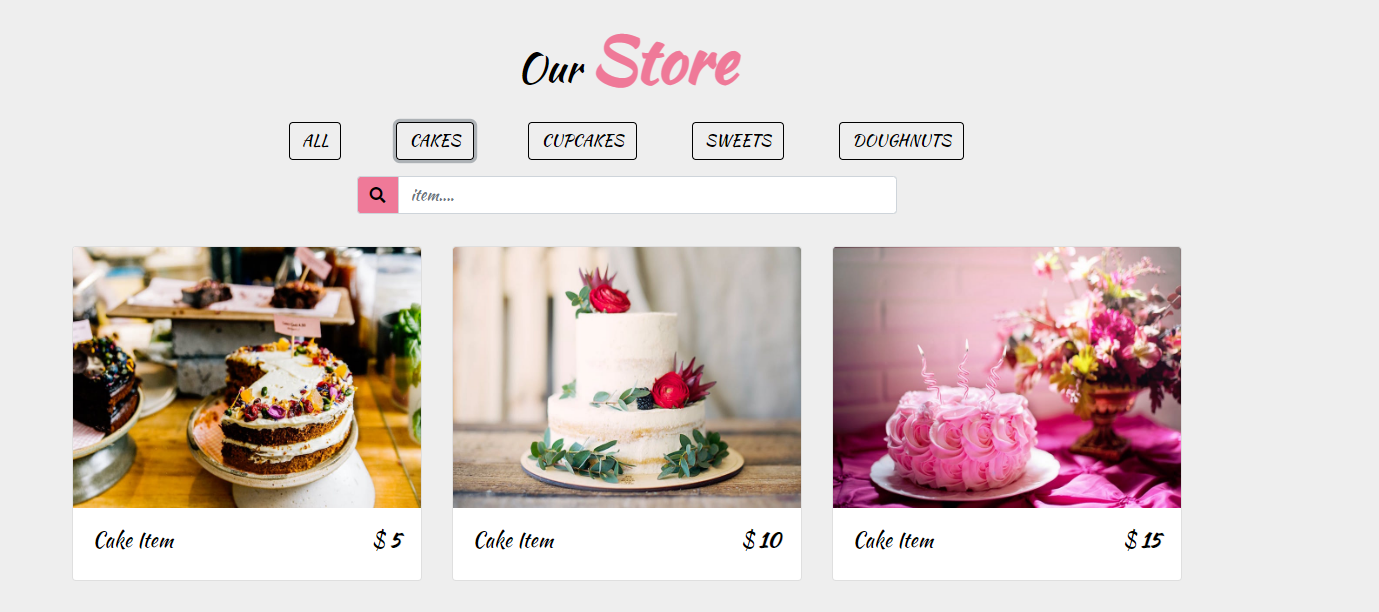
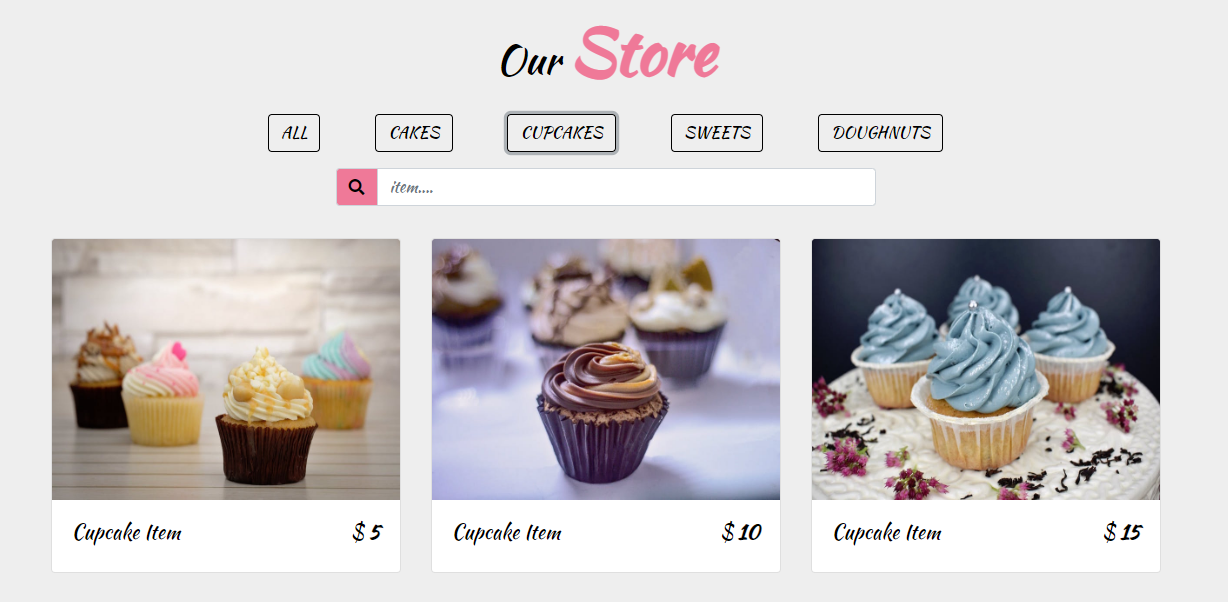
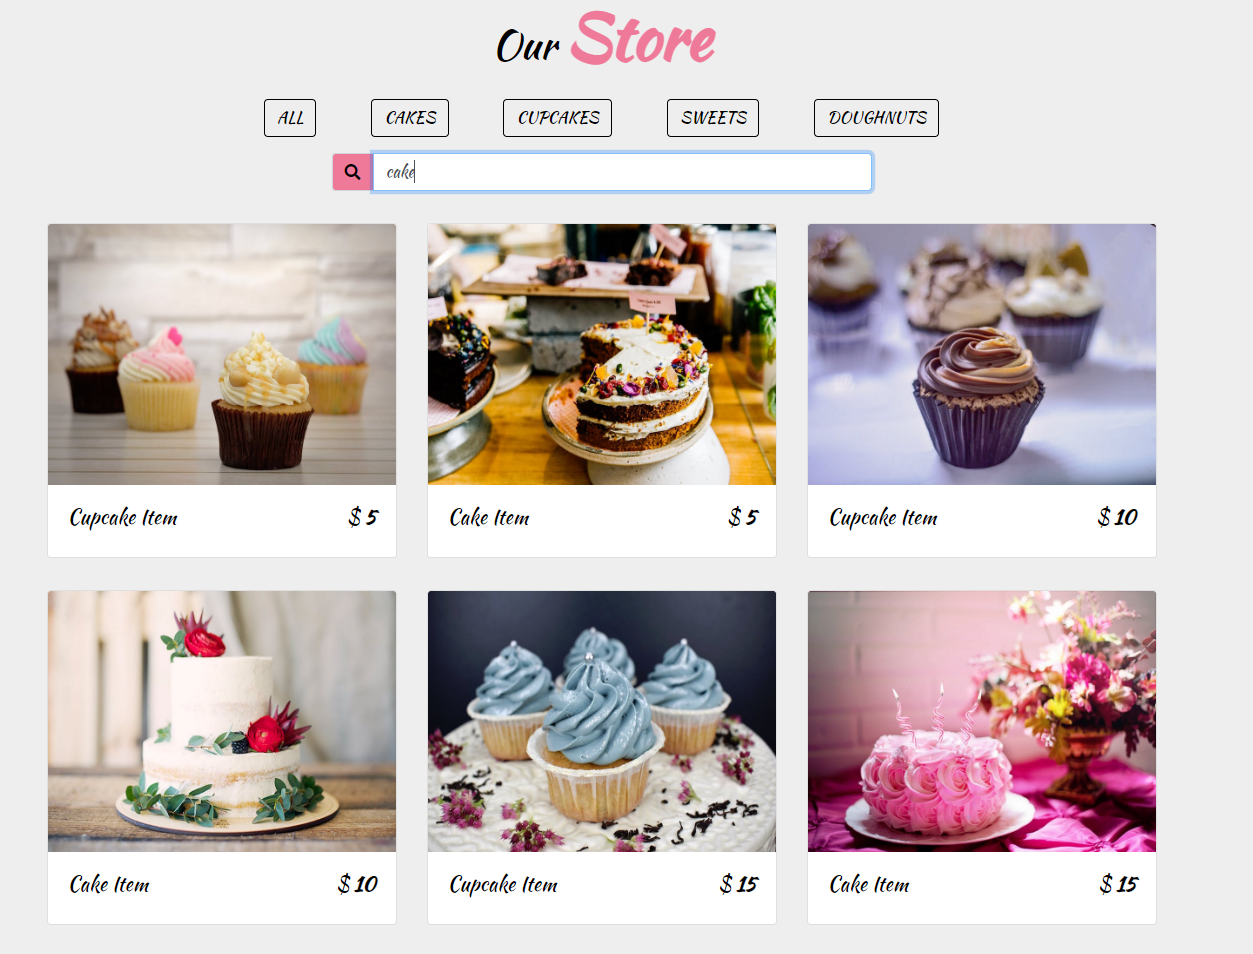
This project involves wiring up two different sections. The first section is the filter buttons, whose purposes are to filter the store items by class. The first section is the search filter, whose purpose is to filter the store items by a search.
New Things Learned or Refreshed
This project involved the use of using the HTML5 dataset property to select items from the project's store. This was only the second time I used it and I have a better understanding of how I can use JavaScript to retrieve data from HTML elements. “The dataset property on the HTMLElement interface provides read/write access to all the custom data attributes (data-*) set on the element.” In other words, as I understand it, to use JavaScript to retrieve HTML elements with a attribute of data-user = "hello", you have to use HTMLElement.dataset.user to return the string “hello”. I also learned the event.PreventDefault() method works to prevent the default behavior of in-page links. The default behavior sends the user to the top of the page after a link lower in the page is clicked. Previously, I only used the event.PreventDefault() to prevent the default behavior of form submissions.
Time to Code
This took about 30 minutes to code. As you'll see in my GitHub repository, I coded the first section using a bunch of if-else statements. It worked, but I knew there had to be a better way. So, I watched John's solution and sure enough he simply added an event listener to each store item. Duh.
Lines of Code
This took about 40 lines of code.
Biggest Take Away(s)
Retrieving elements from the DOM using the dataset property is no more complicated than using the querySelector() method. The difference is only a matter of how they are accessed. In this case, the properties were accessed by targeting the elements who had a given data property.
Your Turn!
What to Accomplish
- Download the source code from the github repository above.
- Delete the contents of the app.js file.
- Implement the JavaScript code in your own app.js file.
- If you think you need to see a video solution first, be sure to pick up John's JavaScript Tutorial and Projects Course.
- Add a link to your finished project below!
What You Should See
- In the “Our Store” section of the website, when you click on a given button, only the described items should show in the store.
- When you use the search function in the “Our Store” section of the website, only the case-insensitive searched items should show by name.
<!-- <head>는 생략. -->
<!-- body도 너무 길어서 생략 -->
 <script>
  const buttons = document.querySelectorAll('.btn')
  const storeItems = document.querySelectorAll('.store-item')
  const searchBox = document.querySelector('#search-item')

  searchBox.addEventListener('keyup', (event) => {
    // 검색창에 입력하면 searchFilter로 잡히게 됨. 모두 소문자 및 앞뒤 공백제거
    const searchFilter = event.target.value.toLowerCase().trim()
	// 만약 searchFilter가 item에 포함되어 있으면 표시함
    storeItems.forEach((item) => {
   		// block일 경우 가려지게 되며, none일 경우 보이게 됨.
        if (item.textContent.includes(searchFilter)){
            item.style.display = 'block'
        } else {
            item.style.display = 'none'
        }
    })
  })

  buttons.forEach(function(button){
      button.addEventListener('click', function(event){
          // 기본 기능 제거
          event.preventDefault()
   		  // dataset은 요소의 사용자 지정 데이터 특성.
          // filter는 callbackFunction의 조건에 해당하는 모든 요소가 있는 배열을 새로 생성
          const filter = event.target.dataset.filter
          if (filter === 'all'){
                //show all items
                storeItems.forEach(function(item){
                    item.style.display = 'block'
                })
            } else if (filter === 'cakes'){
                storeItems.forEach(function(item){
                    if (item.classList.contains('cakes')){
                        item.style.display = 'block'
                    } else {
                        item.style.display = 'none'
                    }
                })
            } else if (filter === 'cupcakes'){
                storeItems.forEach(function(item){
                    if (item.classList.contains('cupcakes')){
                        item.style.display = 'block'
                    } else {
                        item.style.display = 'none'
                    }
                })
            } else if (filter === 'sweets'){
                storeItems.forEach(function(item){
                    if (item.classList.contains('sweets')){
                        item.style.display = 'block'
                    } else {
                        item.style.display = 'none'
                    }
                })
            } else if (filter === 'doughnuts'){
                storeItems.forEach(function(item){
                    if (item.classList.contains('doughnuts')){
                        item.style.display = 'block'
                    } else {
                        item.style.display = 'none'
                    }
                })
            }
        })
    })
})();

 </script>
</body>
결과물
배운 점
- .dataset, .filter
dataset = 데이터 사용자 지정 특성
filter = 배열 새로 생성
- display (vs visibility)
display는 아예 공간을 삭제시키지만, visibility는 공간은 남아있음(width랑 height 주면 그만큼 빈칸)
display : none <> block
visibility : hidden <> visible