React 무한 스크롤 구현하기 with Intersection Observer

안녕하세요, 오늘은 Intersection Observer API를 이용해서 무한 스크롤을 만들어 볼거에요
무한 스크롤은 로드해야하는 게시글 목록이 많은 페이지에서 사용자의 편의성과 클라이언트의 부담을 덜어줄 수 있는 획기적인 아이템입니다.
Intersection Observer API 란?
먼저 MDN에서는 Intersection Observer API를 아래와 같이 말하고 있습니다.
Intersection Observer API는 타겟 요소와 상위 요소 또는 최상위 document 의 viewport 사이의 intersection 내의 변화를 비동기적으로 관찰하는 API입니다.
즉, 어떤 Element가 화면(viewport)에 노출되었는지를 감지할 수 있는 API라는 소리인데요! 이런 유용한 점을 이용해서 우리들은 무한 스크롤(Infinite Scroll)을 만들어볼 수 있어요.
장점
무한 스크롤을 구현할 때는 Scroll Event를 감지해서 유저가 화면 제일 끝에 도달했을 때 아이템을 더 불러오게끔 만들수도 있는데 굳이 Intersection Observer API를 사용하여 무한 스크롤을 구현하는 이유는 뭘까요?
- Scroll Event를 사용해서 구현할 때 사용하는
debounce&throttle을 사용하지 않아도 됩니다..- Scroll Event를 사용해서 구현할 때 구하는
offsetTop값을 구할 때 는 정확한 값을 구하기 위해서 매번 layout을 새로 그리는데 이를 Reflow라 합니다. Intersection Observer를 사용하면 Reflow를 하지 않습니다.- Scroll Event를 사용하는것 보다 비교적 이해및 사용하기가 쉽습니다.
Intersection Observer Options
간단한 Intersection Observer 생성 예제
let observer = new IntersectionObserver(callback, options);Intersection Observer를 생성할 때는 옵션을 설정할 수 있습니다.
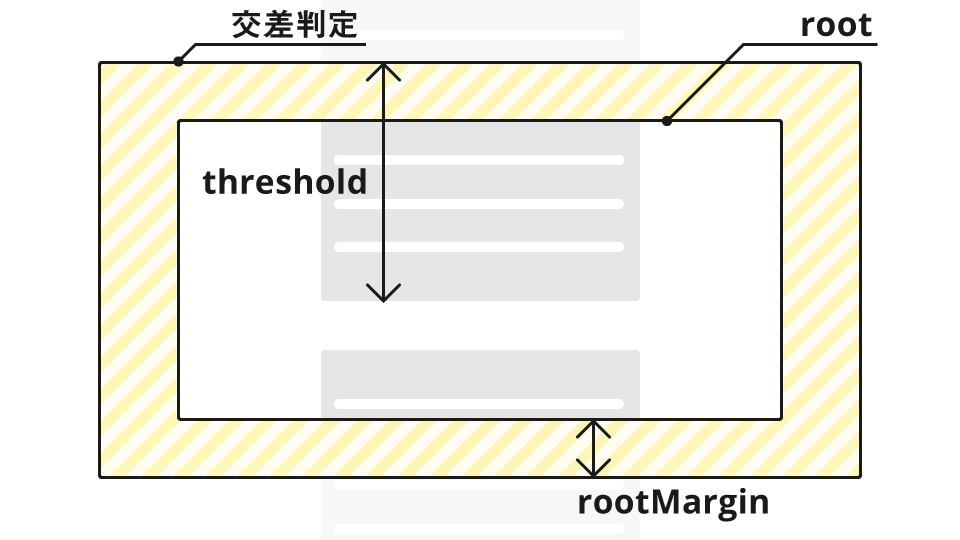
옵션에는 root, rootMargin, threshold가 있는데요,

- root : 이 옵션에 정의된 Element를 기준으로 Target Element가 노출되었는지 노출 되지 않았는지를 판단합니다. 기본값은 Browser Viewport이며, root 값이 null 또는 지정되지 않았을 때 기본값으로 설정됩니다.
- rootMargin : root에 정의된 Element가 가진 마진값을 의미합니다. 사용법은 CSS의 margin 속성과 매우 유사합니다. threshold를 계산할 때 rootMargin 만큼 더 계산합니다.
- threshold : Target Element가 root에 정의된 Element에 얼만큼 노출되었을 때 Callback함수를 실행시킬지 정의하는 옵션입니다.
number또는number[]로 정의할 수 있습니다.
number로 정의할 경우, Target Element 의 노출 비율에 따라 Callback Function을 한번 호출할 수 있지만,number[]로 정의할 경우, 각각의 비율로 노출될 때마다 Callback Function을 호출합니다.
Infinite Scroll 구현하기
디자인 라이브러리는 styled-components를 이용하여 구현하겠습니다.
먼저 CRA(Create React App)을 통해 리액트 초기 셋팅을 빠르게 하고, 필요한 라이브러리들을 깔아보겠습니다.
$ npx create-react-app infinite-scroll-example
$ yarn add styled-components react-loading
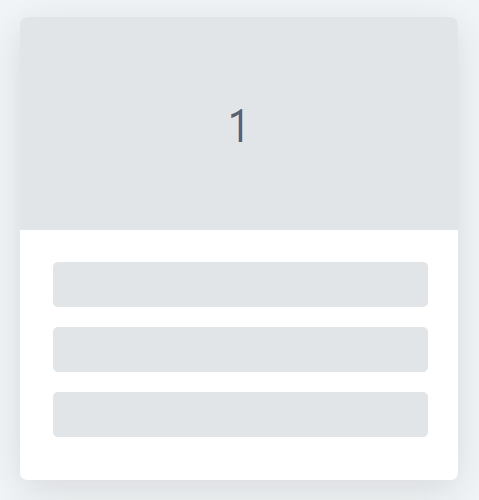
무한 스크롤에 필요한 아이템을 만들어 보겠습니다.
Item.js
import { memo } from "react";
import styled from "styled-components";

const ItemWrap = styled.div`
  .ItemWrap {
    width: 350px;
    height: 370px;
    display: flex;
    flex-direction: column;
    background-color: #ffffff;
    margin: 1rem;
    box-shadow: rgba(100, 100, 111, 0.2) 0px 7px 29px 0px;
    border-radius: 6px;
  }

  .ItemWrap-Top {
    display: flex;
    width: 350px;
    height: 170px;
    border-top-left-radius: 6px;
    border-top-right-radius: 6px;
    background-color: #e2e5e7;
    color: #566270;
    font-size: 2.25rem;
    justify-content: center;
    text-align: center;
    align-items: center;
  }

  .ItemWrap-Body {
    height: 200px;
    border-bottom-left-radius: 6px;
    border-bottom-right-radius: 6px;
    padding: 10px;
  }

  .ItemWrap-Body-Title {
    width: 300px;
    height: 36px;
    margin: 16px;
    border-radius: 4px;
    background-color: #e2e5e7;
  }
`;

const Item = ({ number }) => {
  return (
    <ItemWrap>
      <div className="ItemWrap">
        <div className="ItemWrap-Top ">{number}</div>
        <div className="ItemWrap-Body">
          <div className="ItemWrap-Body-Title " />
          <div className="ItemWrap-Body-Title " />
          <div className="ItemWrap-Body-Title " />
        </div>
      </div>
    </ItemWrap>
  );
};

export default memo(Item);
유저가 새로운 아이템을 받아오기전 로딩상태를 보여주기 위해 Loader컴포넌트를 만들겠습니다.
Loader.js
import { memo } from "react";
import ReactLoading from "react-loading";
import styled from "styled-components";

const LoaderWrap = styled.div`
  width: 100%;
  height: 80%;
  display: flex;
  justify-content: center;
  text-align: center;
  align-items: center;
`;

const Loader = () => {
  return (
    <LoaderWrap>
      <ReactLoading type="spin" color="#A593E0" />
    </LoaderWrap>
  );
};

export default memo(Loader);
그리고 Intersection Observer를 생성 & 감지하고 Target Element를 생성하는 App.js를 만들겠습니다.
App.js
import { memo, useCallback, useEffect, useState } from "react";
import styled, { createGlobalStyle } from "styled-components";
import Item from "./Item";
import Loader from "./Loader";

const GlobalStyle = createGlobalStyle`
  *, *::before, *::after {
    box-sizing: border-box;
    padding: 0px;
    margin: 0px;
  }

  body {
    background-color: #f2f5f7;
  }
`;

const AppWrap = styled.div`
  width: 100%;
  height: 100%;
  display: flex;
  flex-direction: column;
  justify-content: center;
  text-align: center;
  align-items: center;

  .Target-Element {
    width: 100vw;
    height: 140px;
    display: flex;
    justify-content: center;
    text-align: center;
    align-items: center;
  }
`;

const App = () => {
  const [target, setTarget] = useState(null);
  const [isLoaded, setIsLoaded] = useState(false);
  const [itemLists, setItemLists] = useState([1]);

  useEffect(() => {
    console.log(itemLists);
  }, [itemLists]);

  const getMoreItem = async () => {
    setIsLoaded(true);
    await new Promise((resolve) => setTimeout(resolve, 1500));
    let Items = [1, 2, 3, 4, 5, 6, 7, 8, 9, 10];
    setItemLists((itemLists) => itemLists.concat(Items));
    setIsLoaded(false);
  };

  const onIntersect = async ([entry], observer) => {
    if (entry.isIntersecting && !isLoaded) {
      observer.unobserve(entry.target);
      await getMoreItem();
      observer.observe(entry.target);
    }
  };

  useEffect(() => {
    let observer;
    if (target) {
      observer = new IntersectionObserver(onIntersect, {
        threshold: 0.4,
      });
      observer.observe(target);
    }
    return () => observer && observer.disconnect();
  }, [target  ]);

  return (
    <>
      <GlobalStyle />
      <AppWrap>
        {itemLists.map((v, i) => {
          return <Item number={i + 1} key={i} />;
        })}
        <div ref={setTarget} className="Target-Element">
          {isLoaded && <Loader />}
        </div>
      </AppWrap>
    </>
  );
};

export default memo(App);
설명
App.js의 useEffect 부분
먼저 intersection Observer를 담을 observer변수를 선언해주고 ref역활을 담당하는 target이라는 state가 있으면 intersection Observer를 생성하여 observer에 담고 observer가 관찰할 대상(Target-Element)을observer.observe함수로 지정합니다. 만약 useEffect의 deps에 있는 Target요소가 바뀐다면 즉, 유저가 스크롤을 내려 새로운 아이템을 받아오게 된다면 Target State가 바뀌고observer.disconnect함수로 관찰요소를 없애고 새로 지정하게 됩니다.App.js의 getMoreItem 부분
API로 비동기 통신을 구현하기 보단 Intersection Observer API로 무한 스크롤을 구현하는것에 초점을 맞추어 비동기 통신처럼 보이는 코드를 구현했습니다.SetTimeout함수를 이용하여 1.5초를 기다린 후 아이테을 로드해오게 했습니다. 아이템은 state로 만들어 로드해올 때 마다 10개씩concat함수로 붙였습니다.Lodaer
getMoreItem함수를 실행시킬 때 isLoaded state를 true로 만들어Loader컴포넌트가 보이게 하고getMoreItem함수가 끝날 때 isLoaded state를 false로 만들어Loader컴포넌트를 숨기고 새로 불러온 아이템들을 보이게 하였습니다.
결과
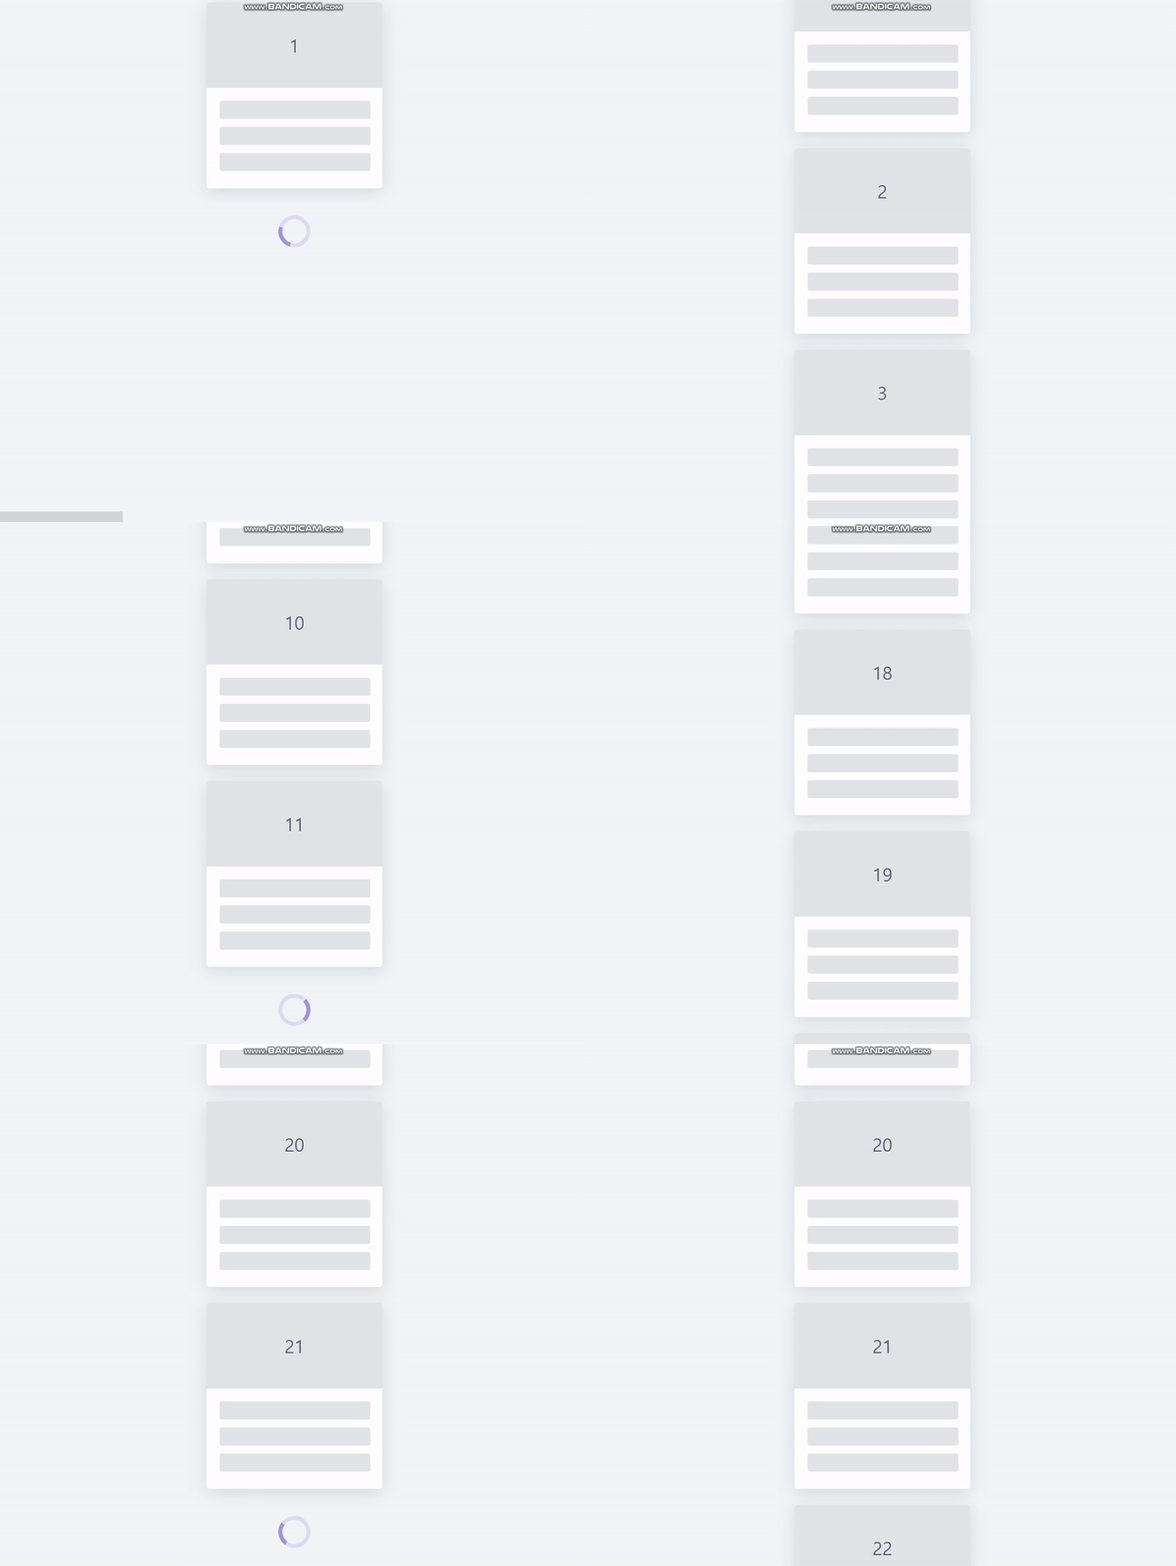
아래 처럼 무한 스크롤이 10개씩 잘 나옵니다!


<div ref={setTarget} className="Target-Element">이부분이 이해가 안가는데요. useRef 없이 단독으로 ref 속성을 쓸수 있는 것인지, setTarget으로 했는데 어떻게 console(target)찍으면 해당 div가 나오는지 궁금합니다.