간단하게 Image inference하는 logic을 구현하며 mmdet의 apis module에 대해 공부하려고 한다.
MMDetection Download
open-mmlab 공식 github : https://github.com/open-mmlab/mmdetection
mmdet api를 사용하려면 MMDetection을 다운로드 해줘야 한다.
아래는 MMDetection 설치에 관한 셸 명령어다.
# MMDetection은 pytorch기반의 Opensource이므로 torch 다운
import torch
# mmdet과의 호환성 문제로 downgrade
!pip install torch==1.13.0+cu116 torchvision==0.14.0+cu116 --extra-index-url https://download.pytorch.org/whl/cu116
# mmcv를 설치해줘야 mmdet이 작동함.
!pip install mmcv-full -f https://download.openmmlab.com/mmcv/dist/cu116/torch1.13/index.html
# mmdetection 공식 github에서 2.x version 을 가져올거임.
!git clone --branch 2.x https://github.com/open-mmlab/mmdetection.git
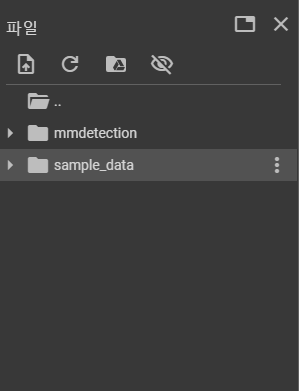
!cd mmdetection; python setup.py install아마 다음처럼 openlab의 mmdetection source code가 다운받아졌을 것이다.
이후에 런타임을 다시 해줘야한다.(kernel restart)
그래야지 mmdet을 import할 수 있다.
mmdet.apis API
대표적인 mmdet.apis API는 init_detector, inference_detector, show_result_pyplot가 있다.
from mmdet.apis import init_detector, inference_detector, show_result_pyplot내가 생각하기에 중요한 parameter만 소개하겠다.
-
init_detector : 초기 detector model 생성함
parameter : init_detector(config, checkpoint, device='cuda:0')
config : config file 경로 or config object
checkpoint : 해당 model의 checkpoint file 경로
return : The constructed detector
-
inference_detector : Image를 model을 가지고 detect해줌
parameter : inference_detector(model, imgs)
model : loaded된 model
imgs : image file 경로 or loaded image(여기서 loaded image는 cv2.imread 형식 그대로)
return : detection results
-
show_result_pyplot : detect된 result를 Image에 보여주는 역할
parameter : show_result_pyplot(model, img, result, score_thr title, out_file)
model : loaded된 model
img : detect한 image file_name or loaded image
result : detection result
score_thr : 임계 confidence threshold for bboxes
title : pyplot figure의 title
out_file : show_result_pyplot return을 저장할 path
init_detector, inference_detector, show_result_pyplot, show_result_pyplot 활용
어떻게 쓰이는지 개괄적으로 공부해보기 위해 mmdetection에서 license로 image를 가져와서 pretrained model로 inference해보자.
우선, mmdetection directory에 pretrained model의 weights값을 받을 checkpoint file을 만들어주었다.
!cd mmdetection
!mkdir checkpoint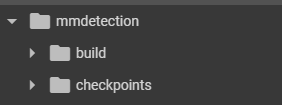
checkpoint file에 cocodataset를 통해 pretrain된 model weights를 넣어준다.
!wget -O /content/mmdetection/checkpoints/faster_rcnn_r50_fpn_1x_coco_20200130-047c8118.pth http://download.openmmlab.com/mmdetection/v2.0/faster_rcnn/faster_rcnn_r50_fpn_1x_coco/faster_rcnn_r50_fpn_1x_coco_20200130-047c8118.pth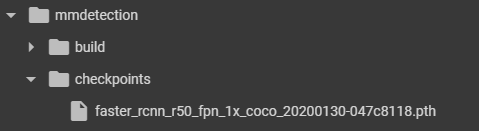
config와 checkpoint의 절대경로를 설정해준다.
(init_detector에 들어갈 부분임)
init_detector를 이용해 초기 model을 설정해준다.
device='cuda:0'이므로 당연히 gpu를 이용해야 한다.(나는 colab을 이용했다. 왜냐하면 사지방이기 때문..)
config_file = '/content/mmdetection/configs/faster_rcnn/faster_rcnn_r50_fpn_1x_coco.py'
checkpoint_file = '/content/mmdetection/checkpoints/faster_rcnn_r50_fpn_1x_coco_20200130-047c8118.pth'

model = init_detector(config_file, checkpoint_file, device='cuda:0')
사용할 Image는 다음과 같다.
mmdetection에서 tutorial로 제공하는 Image다.
import cv2
from matplotlib.pyplot as plt
%matplotlib inline
image_file = '/content/mmdetection/demo/demo.jpg'

img = cv2.cvtColor(cv2.imread(image_file), cv2.COLOR_BGR2RGB)
plt.figure(figsize=(12, 12))
plt.axis('off')
plt.imshow(img)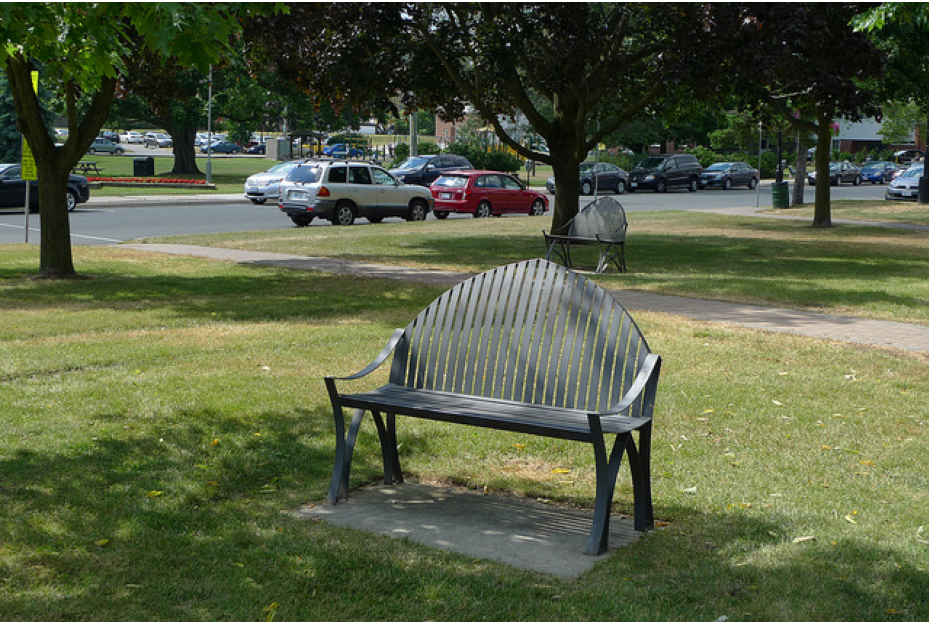
inference할 Image를 알아보았으니 inference해줘야한다.
inference는 mmdet의 inference_detector를 이용해서 했다.
여기서 주의할 점은 parameter로 img가 아닌 image_file을 넣어주어야 한다.
만약 img를 넣고싶으면 img = cv2.imread(image_file)을 넣어주어야 한다.
한마디로 BGR형태로 넣어주어야 한다.
inference_detector에서 자동으로 image를 BGRtoRGB해주기 때문이다.
results = inference_detector(model, image_file)
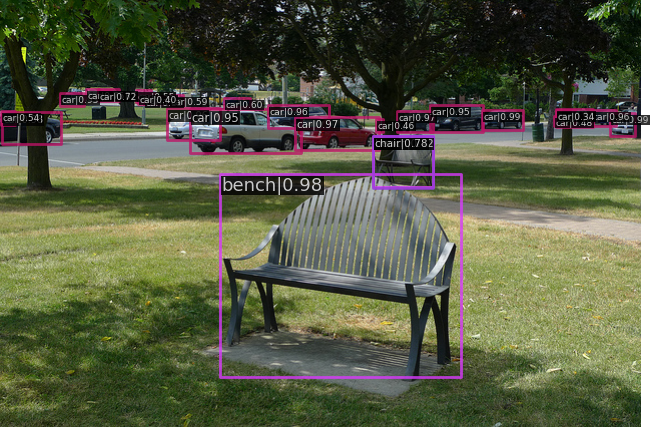
# results = inference_detector(model, cv2.imread(image_file))mmdet.apis에는 init_detector한 model로 inference한 results를 image에 표현해주는 편리한 API인 show_result_pyplot가 있다.
loaded model과 image_file path를 이용하여 결과를 출력해준다.
show_result_pyplot(model, image_file)
위와같이 잘 예측했음을 알 수 있다.
다음번엔 이렇게 간단하게 만들어본 model을 이용해 video detector에 대해 공부하겠다.
reference
