
Google Maps Flutter
-
이제 앞서 포스팅한 google 지도와 연동하여 또 다른 플러그 인을 사용해 보자.
바로 google maps flutter 이다. -
물론 실제 사내에서 이것들 도입하기란 쉽지 않다 돈과 직결되어있기 때문에 무료인 오픈소스들을 사용할 텐데
지금 포스팅 하는 구글 지도를 통하여 추후 라이브러리를 사용하는 법을 익힌다고 생각해도 좋을 듯 하다.
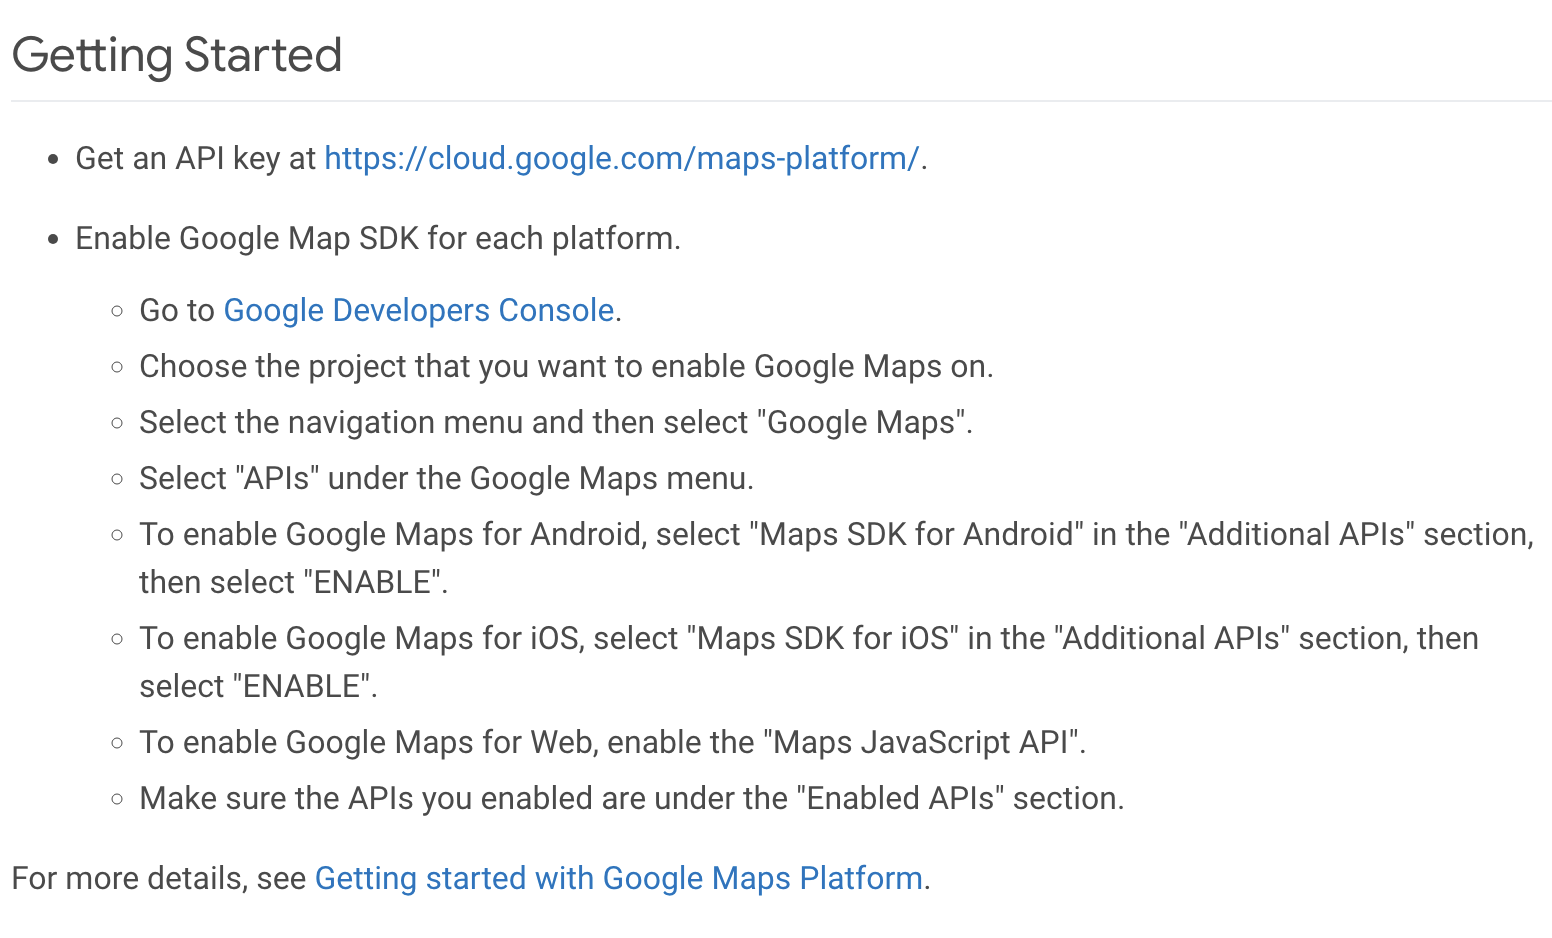
- 대충 읽어보면 몇가지 조건이 필요하다. 우선 Google Developers에 Google Maps에 프로젝트가 존재할 것, 안드로이드는 Maps SDK for Android가 활성화 되어있을 것 iOS는 Maps SDK for iOS가 활성화 되어있을 것 등.
설정
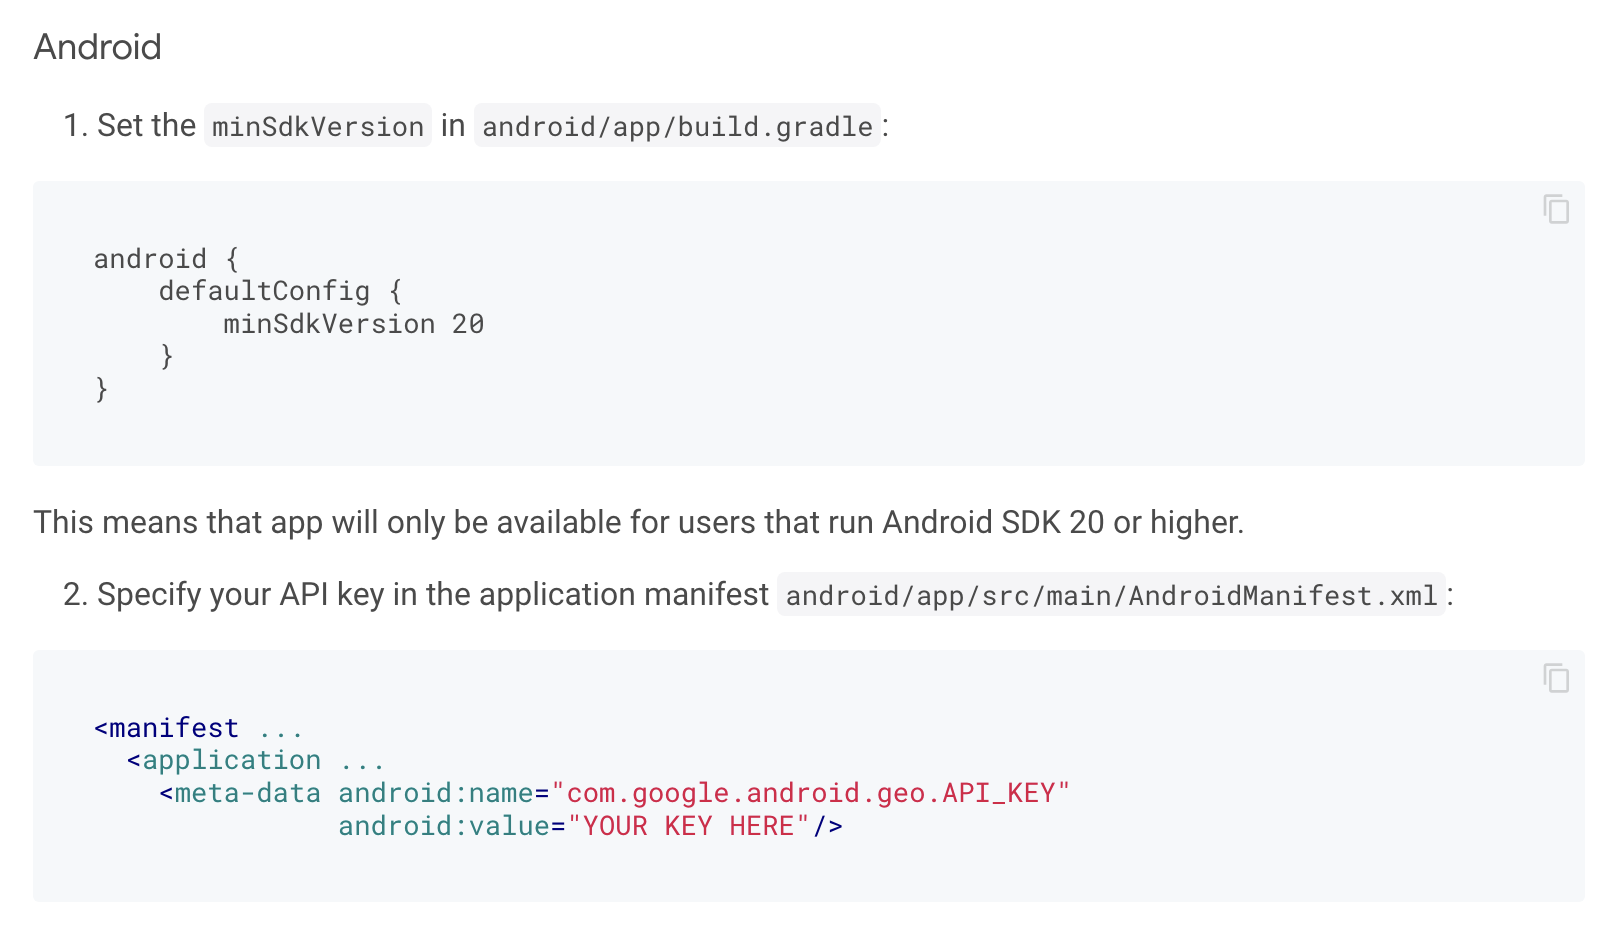
- 위에 나와있는 대로 경로에 잘 들어가서 복붙하면 된다.
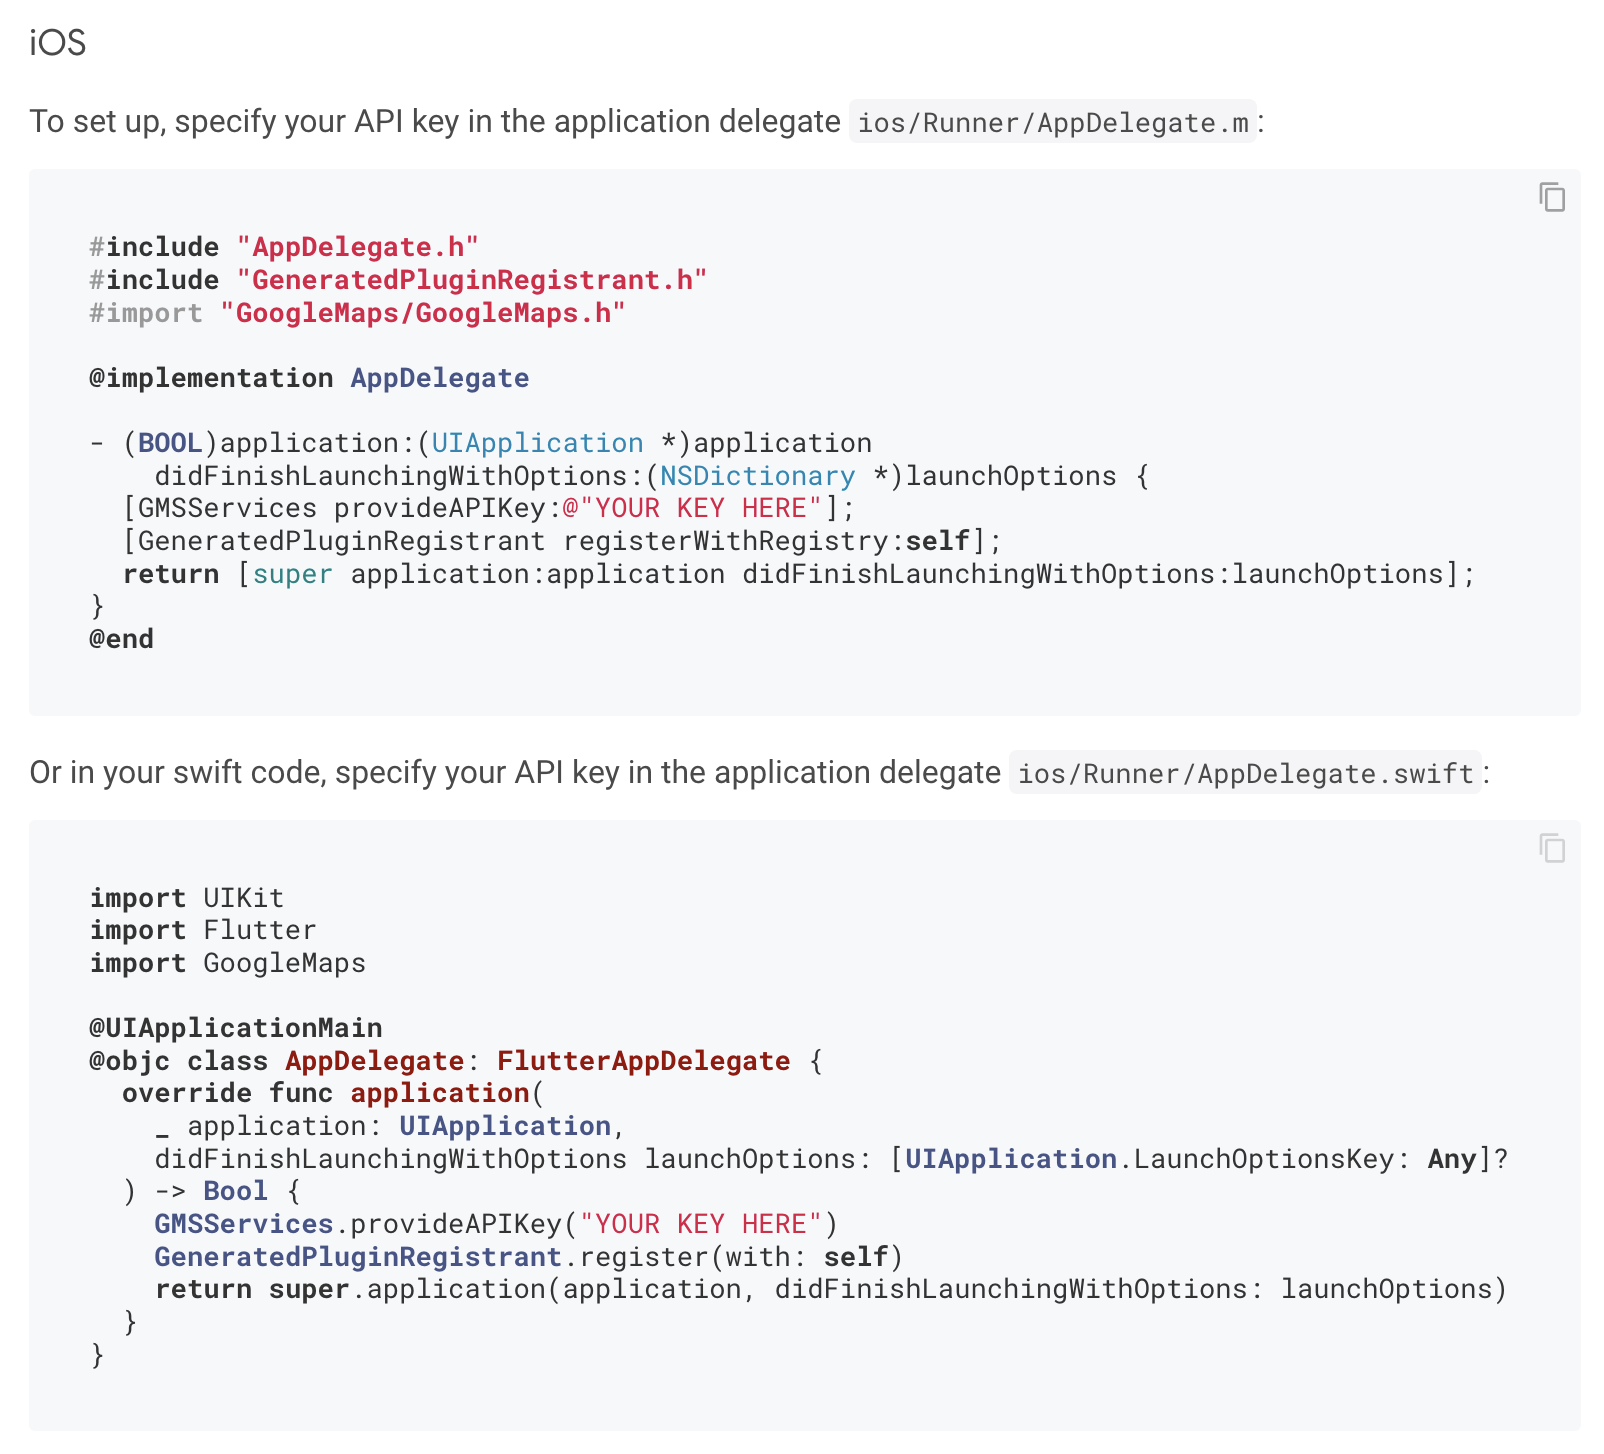
- iOS도 마찬가지 해당 경로에 AppDelegate 파일의 확장자가
m이면 위에 것으로,.swift라면 아래것으로 replace 하면 된다.
사용
- 자, 사용할 준비를 마쳤으니
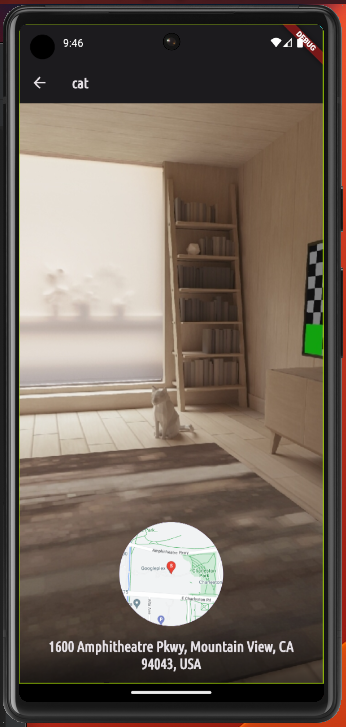
- 위 화면에서 지도를 클릭하면 아래 전체 화면으로 보여주는 위젯을 작성해보자.
class MapScreen extends StatefulWidget {
const MapScreen(
{super.key,
this.location = const PlaceLocation(
latitude: 37.422,
longtitude: -122.084,
address: '',
),
this.isSelection = true});
final PlaceLocation location;
final bool isSelection;
State<MapScreen> createState() {
return _MapScreenState();
}
}class _MapScreenState extends State<MapScreen> {
Widget build(BuildContext context) {
return Scaffold(
appBar: AppBar(
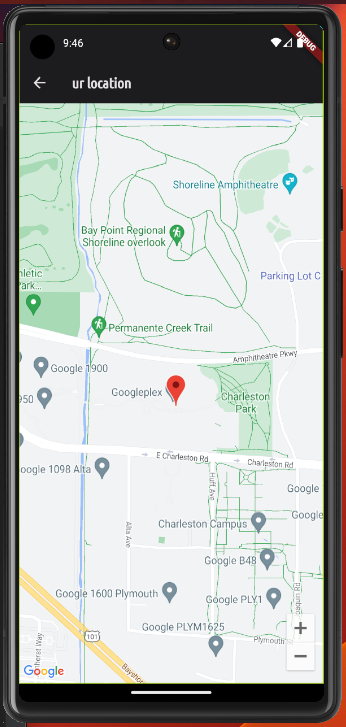
title: Text(widget.isSelection ? 'Pick ur loacation' : 'ur location'),
actions: [
if (widget.isSelection)
IconButton(
onPressed: () {},
icon: const Icon(Icons.save),
)
],
),
body: GoogleMap(
initialCameraPosition: CameraPosition(
target: LatLng(widget.location.latitude, widget.location.longtitude),
zoom: 16,
),
markers: {
Marker(
markerId: const MarkerId('m1'),
position: LatLng(
widget.location.latitude,
widget.location.longtitude,
),
),
},
),
);
}
}-
PlaceLocation이라는 타입을 갖는 변수를 지정하고 isSelection 변수로 사람이 지도에서 선택한 여부를 체크하기위해 변수를 또 만들어준다.
-
이 위젯이 또 하나의 화면을 맡기 때문에 Scaffold 위젯으로 시작한다. 이때 최상단의 AppBar에서 isSelection의 여부에 따라 아이콘이 보여지냐 마느냐를 보여준다.
-
body 부분에 실제 dynamic 지도가 들어갈 부분이다. 위 코드에서 사용된 CameraPosition, Marker 객체들은 모두 Google Maps Flutter에서 제공하는 것으로 공식문서에서 찾아서 쓰면 된다.
??
- js에서 !! 와 비슷한 포지션으로 (실제로 ?? 도 있긴 하지만) 무튼
??앞에 쓰인 변수가 null이라면 뒤에 변수를 써라라는 뜻이다.
Marker(
  markerId: const MarkerId('m1'),
  position: _pickedLocation != null
    ? _pickedLocation!
    : LatLng(
  		widget.location.latitude,
    	widget.location.longtitude,
    ),
),Marker(
markerId: const MarkerId('m1'),
position: _pickedLocation ?? LatLng(
widget.location.latitude,
widget.location.longtitude,
),
),- 위 두 코드는 동일하다.
dynamic map
- 사용자 입력값에 따라 flutter 상태를 최신화 시켜보자. 우선 사용자가 Selec on Map 을 Tap 하면 Navigator.of().push() 메서드안에 MaterialPageRoute 객체로 라우팅을 해준다.
void _selectOnMap() async {
final pickedLocation = await Navigator.of(context).push<LatLng>(
MaterialPageRoute(
builder: (ctx) => const MapScreen(),
),
);
if (pickedLocation == null) {
return;
}
_savePlace(pickedLocation.latitude, pickedLocation.longitude);
}- 그래서 MapScreen 위젯으로 넘어간 다음
class _MapScreenState extends State<MapScreen> {
LatLng? _pickedLocation;
Widget build(BuildContext context) {
return Scaffold(
appBar: AppBar(
title: Text(widget.isSelection ? 'Pick ur loacation' : 'ur location'),
actions: [
if (widget.isSelection)
IconButton(
onPressed: () {
Navigator.of(context).pop(_pickedLocation);
},
icon: const Icon(Icons.save),
)
],
),
body: GoogleMap(
onTap: !widget.isSelection
? null
: (position) {
setState(() {
_pickedLocation = position;
});
},
initialCameraPosition: CameraPosition(
target: LatLng(widget.location.latitude, widget.location.longtitude),
zoom: 16,
),
markers: (_pickedLocation == null && widget.isSelection)
? {}
: {
Marker(
  markerId: const MarkerId('m1'),
  position: _pickedLocation ?? LatLng(
    widget.location.latitude,
    widget.location.longtitude,
  ),
),
},
),
);
}
}-
_pickedLocation변수를 사용자가 Tap으로 선택을 했는지 여부를 확인하기위해 선언해주고
저장 버튼은 밑에서 선택한 position 좌표를_pickedLocation에 저장하면 던져주면서 Navigator pop 메서드로 빠져나온다. -
isSelection은 추후 사용자가 선택할 수 있는지 여부를 저장하는 변수이다. 즉 나중에 detail 페이지에서 사용자가 이미 선택한 부분이라면 onTap을 막음으로써 마커를 임의로 욺직일 수 없도록 조절하는 변수이다. -
onTap에는 isSelection이 false일 때 null을 부여하여 onTap이 기능하지 않도록 하고 true일 땐 position을 넘겨받아 선택된 장소(_pickedLocation)을 업데이트를 해준다. 그리고 이를 setState 메서드를 활용하여 build 메서드를 재실행함으로써 사용자로 하여금 클릭한 부분에 마커를 올릴 수 있도록 해준다.