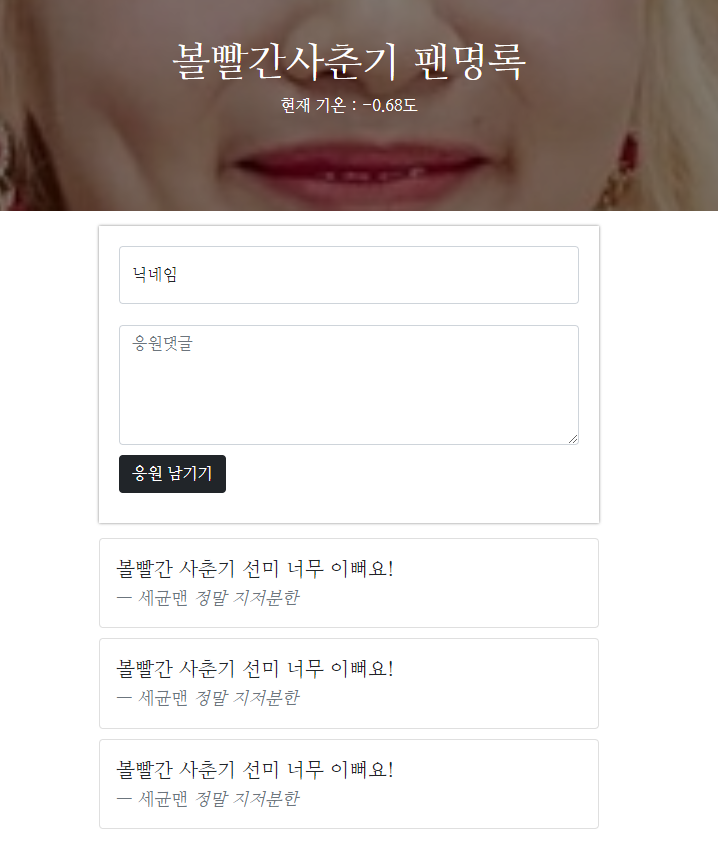
1주차때 만들었던 팬명록에서 이름과 응원글을 등록하면 사이트에도 나타나게 해보자.
POST
사용자의 닉네임과 응원댓글을 DB로 전송한다.
@app.route("/homework", methods=["POST"])
def homework_post():
    nickname_receive = request.form['nickname_give']
    comment_receive = request.form['comment_give']

    doc = {
        'nickname' : nickname_receive,
        'comment' : comment_receive
    }

    db.cheering.insert_one(doc)
    return jsonify({'msg':'여러분의 따뜻한 응원이 등록되었어요!'})
클라이언트 - nickname_give 와 comment_give를 사용자가 입력한 데이터에서 가져오는 함수를 만든다.
 function save_comment() {
            let nickname = $('#nickname').val()
            let comment = $('#comment').val()
              $.ajax({
                type:"POST",
                url:"/homework",
                data:{nickname_give:nickname, comment_give:comment},
                success: function(response){
                    alert(response["msg"])
                    window.location.reload()
                }
            });
        }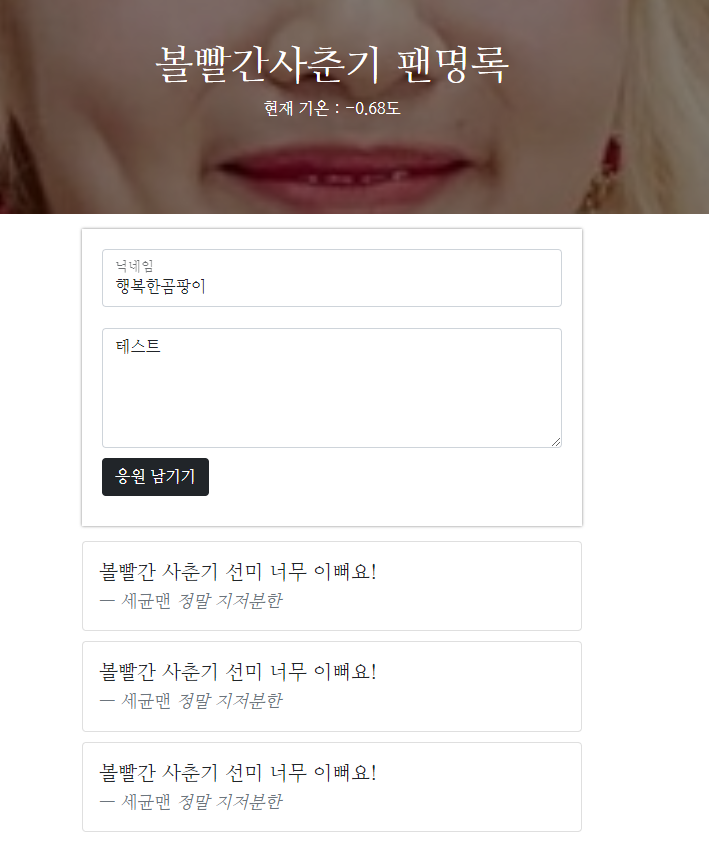
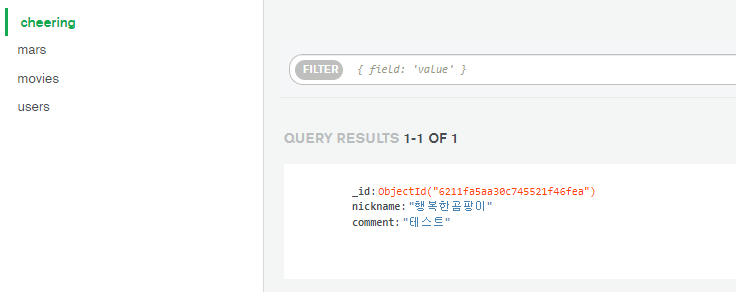
POST 제대로 수행함을 확인
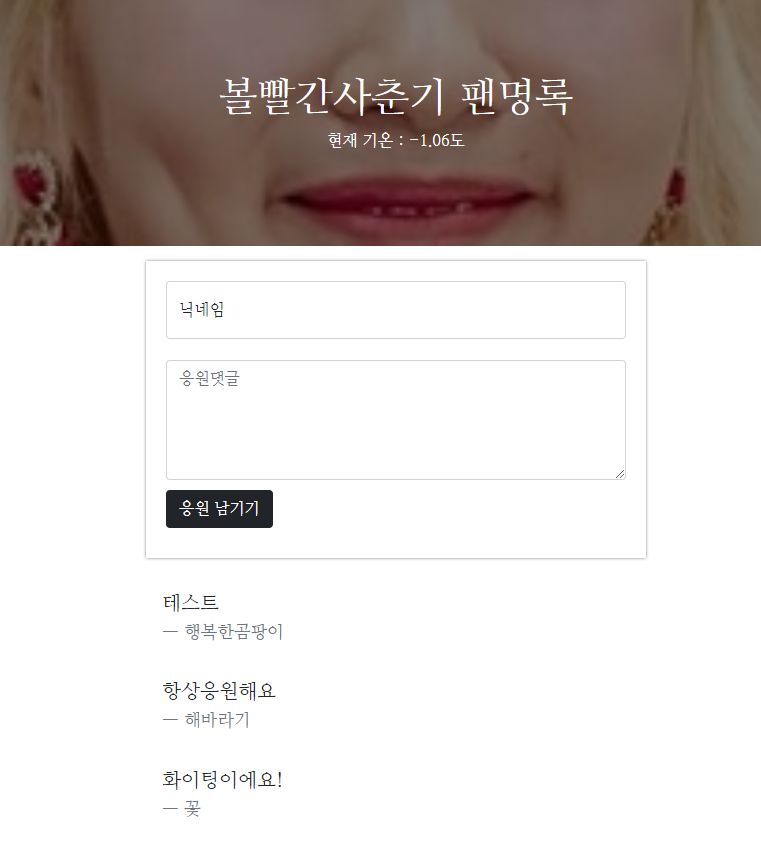
GET
추가한 응원댓글을 사이트에 표시하기
DB의 데이터를 가져오기
@app.route("/homework", methods=["GET"])
def homework_get():
    cheering_list = list(db.cheering.find({},{'_id':False}))
    return jsonify({'cheering': cheering_list})
index.html 댓글과 닉네임을 표시하는 함수 만들기 show_comment
function show_comment(){
$.ajax({
type:"GET",
url:"/homework",
data:{},
success: function(response){
let rows = response['cheering']
for( let i =0; i < rows.length; i++) {
let nickname = rows[i]['nickname']
let comment = rows[i]['comment']
let temp_html=`
<div class="card-body">
<blockquote class="blockquote mb-0">
<p>${comment}</p>
<footer class="blockquote-footer">${nickname}
</footer>
</blockquote>
</div>
`;
$('#cheer-wrap').append(temp_html);
}
}
});
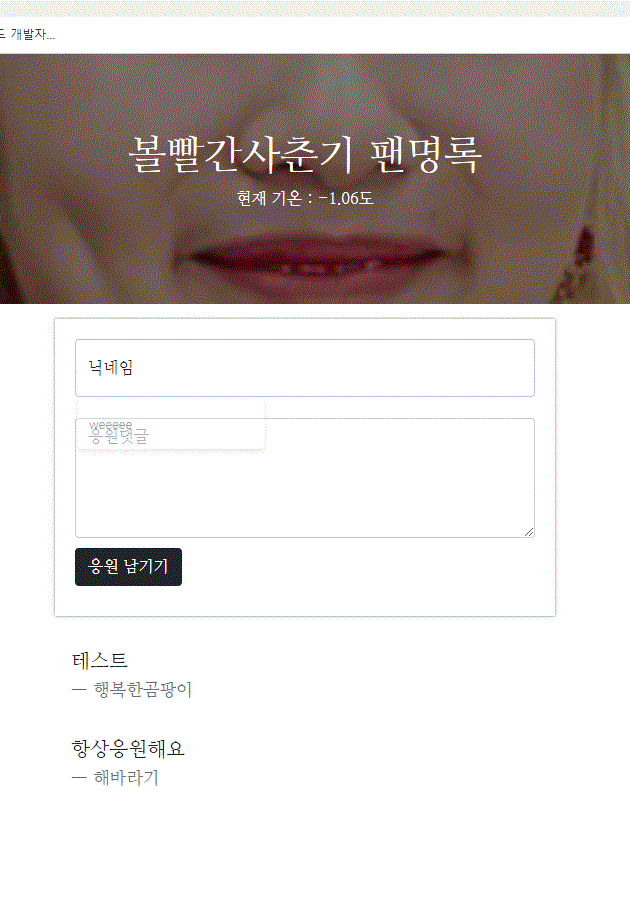
}최종완성 화면
이전 프로젝트에서도 연습했었던 기능을 구현하는거라 어려움은 없었다.

개발자 꿈나무