Tool 설치 및 초기 설정
Kind 설치
kind는 Docker container nodes를 이용하여 Local k8s cluster를 실행하게 도와주는 Tool이다.
kind는 주로 K8s를 Test하기 위해 설계되었지만, Local 개발 또는 CI에 사용될 수도 있다.
https://kind.sigs.k8s.io/docs/user/quick-start/
curl -Lo ./kind https://kind.sigs.k8s.io/dl/v0.17.0/kind-linux-amd64
chmod +x ./kind
sudo mv ./kind /usr/local/bin/kind

kind --version
Helm 설치
Helm은 K8s를 정의하는 YAML 파일을 동적으로 생성하고 관리할 수 있게 도와주는 K8s를 위한 Package manager이다. Helm Chart라는 Template을 이용해 환경별로(prod, dev, ...) 배포 관리를 편하게 사용할 수 있고, 오픈소스를 쉽게 설치할 수 있다.
https://helm.sh/ko/docs/intro/install/
wget https://get.helm.sh/helm-v3.11.0-linux-amd64.tar.gz
tar -zxvf helm-v3.0.0-linux-amd64.tar.gz
mv linux-amd64/helm /usr/local/bin/helm

helm version
Docker Desktop 설치 및 실행
Custom docker image를 이용하여 Airflow image customizing, kubectl 사용 등을 위해 실행한다.
Docker에서 지원하는 Single-node k8s cluster를 사용하지 않을 것이기 때문에 K8s 활성화는 따로 안한다.

kubectl 설치
kubectl은 K8s cluster에 대해 명령을 실행해주는 K8s command line tool이다.
Docker desktop을 실행하면 Docker desktop에서 K8s를 활성화시키지 않아도 kubectl이 mount되는 것 같다.

kubectl version
안되면 아래 링크 참고하여 설치
https://kubernetes.io/ko/docs/tasks/tools/
K8s Cluster 생성
Kind로 K8s cluster 생성
K8s에 Airflow를 배포하기 전에 kind로 Local k8s cluster를 생성하고 설정한다.
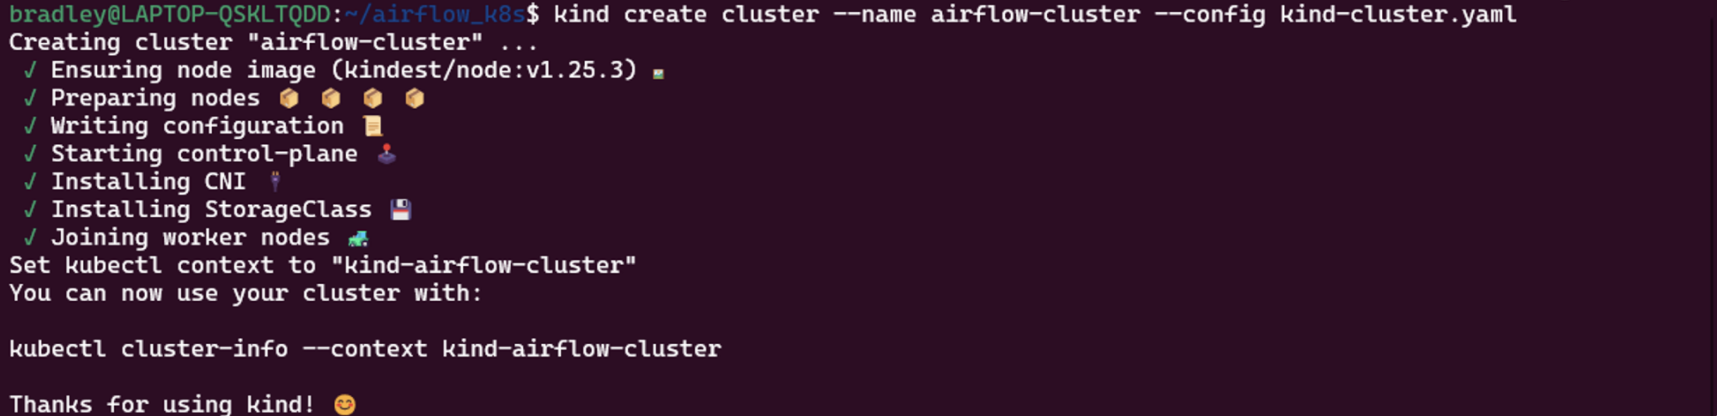
다음 정의는 1 Control plane, 4 Workers를 가진 Cluster를 생성한다.
kind-cluster.yaml
kind: Cluster
apiVersion: kind.x-k8s.io/v1alpha4
nodes:
  - role: control-plane
  - role: worker
    kubeadmConfigPatches:
      - |
        kind: JoinConfiguration
        nodeRegistration:
          kubeletExtraArgs:
            node-labels: "node=worker_1"
    extraMounts:
      - hostPath: ./data
        containerPath: /tmp/data
  - role: worker
    kubeadmConfigPatches:
      - |
        kind: JoinConfiguration
        nodeRegistration:
          kubeletExtraArgs:
            node-labels: "node=worker_2"
    extraMounts:
      - hostPath: ./data
        containerPath: /tmp/data
  - role: worker
    kubeadmConfigPatches:
      - |
        kind: JoinConfiguration
        nodeRegistration:
          kubeletExtraArgs:
          node-labels: "node=worker_3"
    extraMounts:
      - hostPath: ./data
        containerPath: /tmp/data
kind create cluster --name airflow-cluster --config kind-cluster.yaml
Cluster node 확인
kubectl get nodes


Namespace 생성
kubectl create namespace airflow
kubectl get ns

K8s에 Airflow 설치, 배포 및 실행
Helm chart를 이용하여 Cluster에 Airflow 배포
Apache Airflow Helm chart 공식 Repository를 추가하고, Repo를 Update한 뒤 Helm으로 K8s에 Airflow을 배포한다.
helm repo add apache-airflow https://airflow.apache.org
helm repo update
helm search repo airflow
helm install airflow apache-airflow/airflow --namespace airflow --debug
배포 상태 및 Pod 상태 확인
kubectl get po -n airflow

Airflow Webserver 실행 및 접속
kubectl get svc -n airflow

kubectl port-forward svc/airflow-webserver 8080:8080 -n airflow --context kind-airflow-cluster

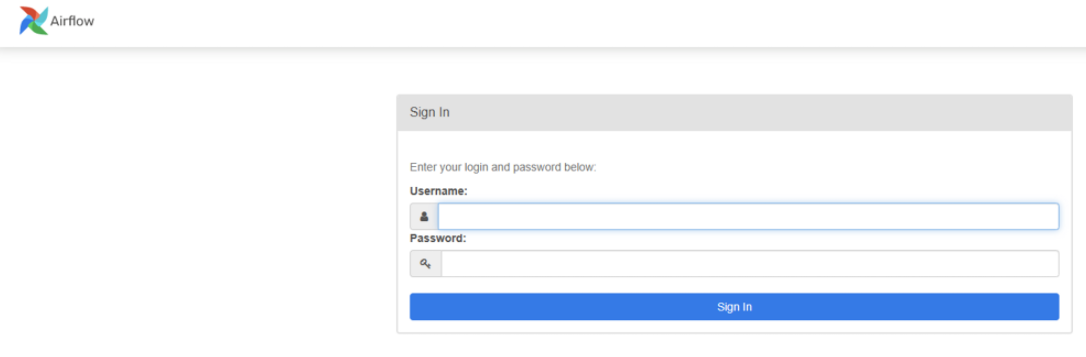
http://localhost:8080 접속하여 확인
Default 유저 admin으로 로그인 (PW: admin)
Airflow 기본 설정 변경 및 Helm Chart 배포하기
Airflow 기본 설정 변경
Helm에 배포된 Airflow Application의 기본 설정을 변경하기 위해서는 공식 Chart 정의를 내려받은 뒤 변경하고 배포하면 된다.
helm show values apache-airflow/airflow > values.yaml
values.yaml 파일에서 기본 executor를 KubernetesExecutor로 변경

Helm chart 배포
배포 전에 우선 Helm revision을 확인해보자.
helm ls -n airflow

Helm에 배포
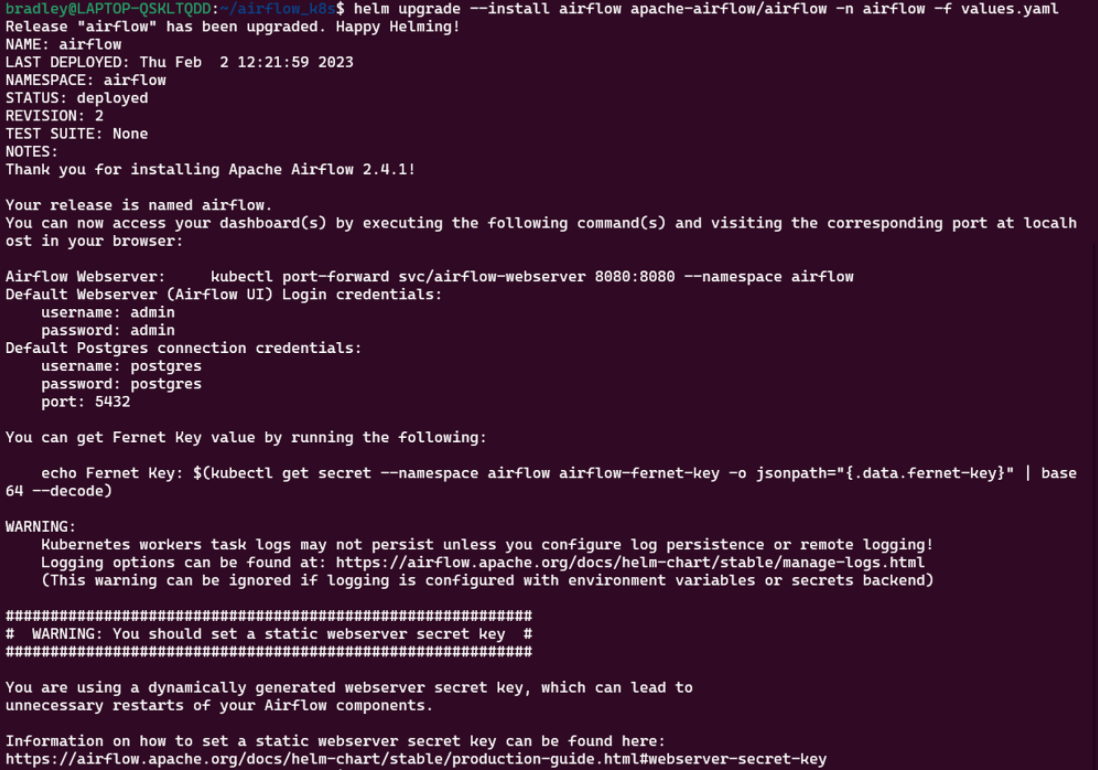
helm upgrade --install airflow apache-airflow/airflow -n airflow -f values.yaml --debug
Revision 확인

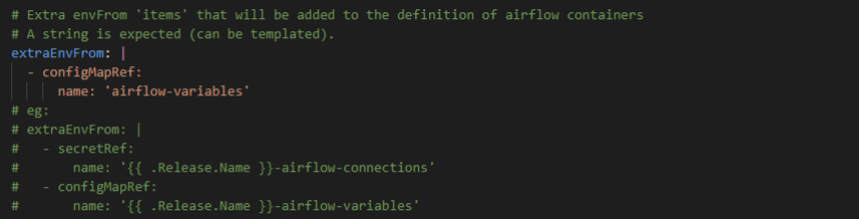
ConfigMap 적용하기
Airflow instance가 배포될 때마다 내보내려는 Variable 또는 Connection이 있다면 ConfigMap을 정의할 수 있다.
환경 변수를 적용해보자.
variables.yaml
apiVersion: v1
kind: ConfigMap
metadata:
  namespace: airflow
  name: airflow-variables
data:
  AIRFLOW_VAR_MY_S3_BUCKET: "my_s3_name"
ConfigMap을 Cluster에 적용한다.
kubectl apply -f variables.yaml


매 배포에 적용하기 위해 values.yaml 파일에 해당 ConfigMap을 매핑해준다.
Helm 배포
helm upgrade --install airflow apache-airflow/airflow -n airflow -f values.yaml --debug