flow
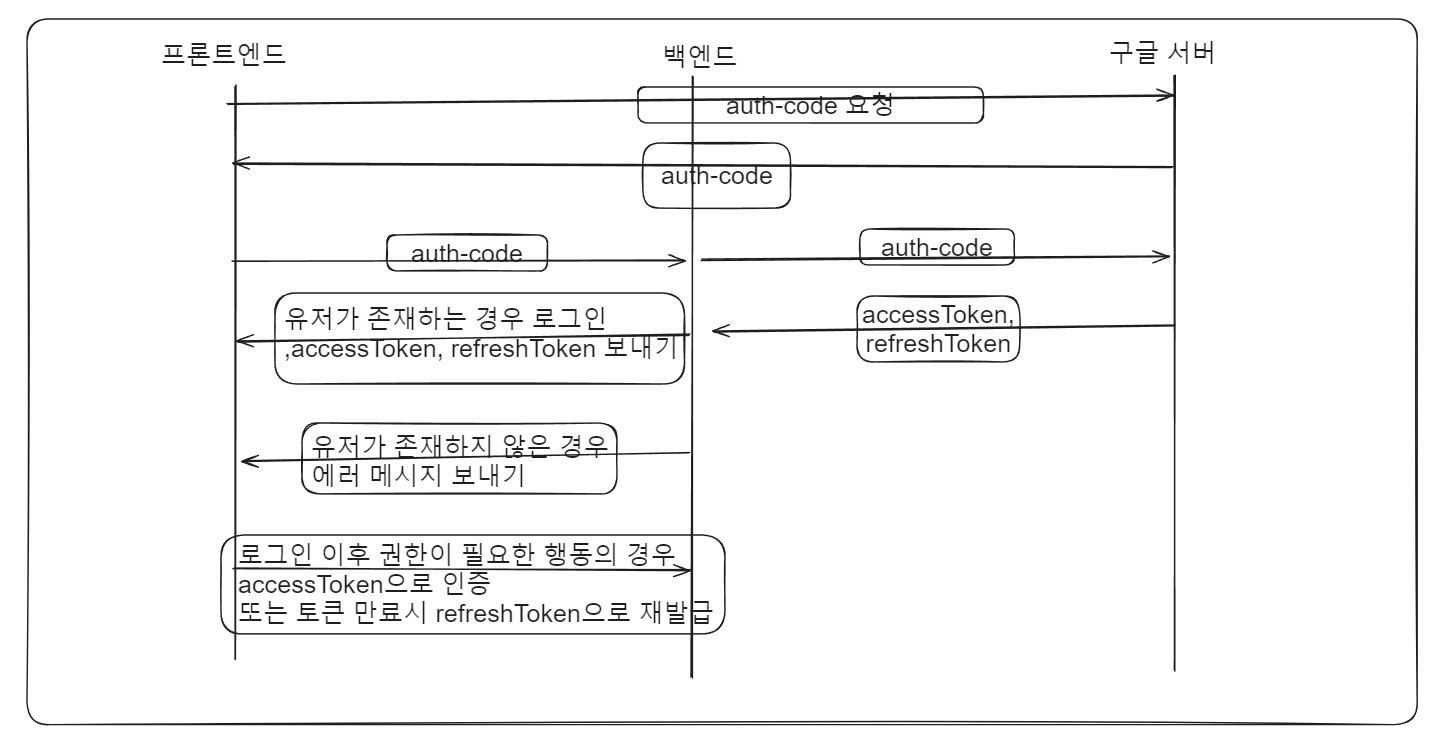
google OAuth를 이용해 auth-id을 받아오고 서버로 auth-id를 보낸 후 그것을 이용해서 accessToken을 받아오는 플로우를 구상했다. 클라이언트에서 직접 accessToken을 가져올 수 있지만 굳이 서버에서 토큰 교환을 하는 이유는 여러가지가 있다.
- 클라이언트에서 google OAuth 비밀키를 사용하지 않아서 노출을 방지할 수 있다.
- access token을 클라이어트가 받기전에 서버에서 정교한 보안정책을 커스터마이징 할 수 있다.
- 기타 토큰의 보안과 관리 측면에서 안정적이다.
accessToken을 가져오기까지의 구현
google console에서 OAuth 동의 화면 세팅
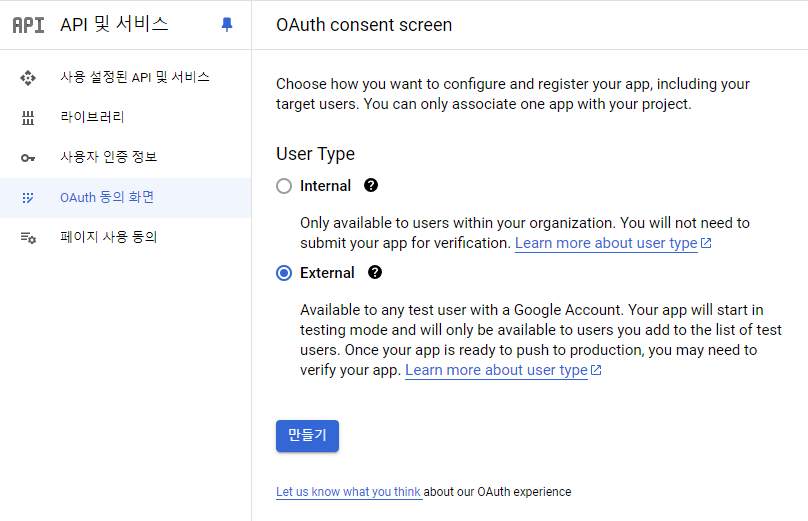
google console에서 새로운 프로젝트를 만들자. 그리고 API 및 서비스의 OAuth 동의 화면에 들어간다. 유저 타입으로 External을 선택해주자.
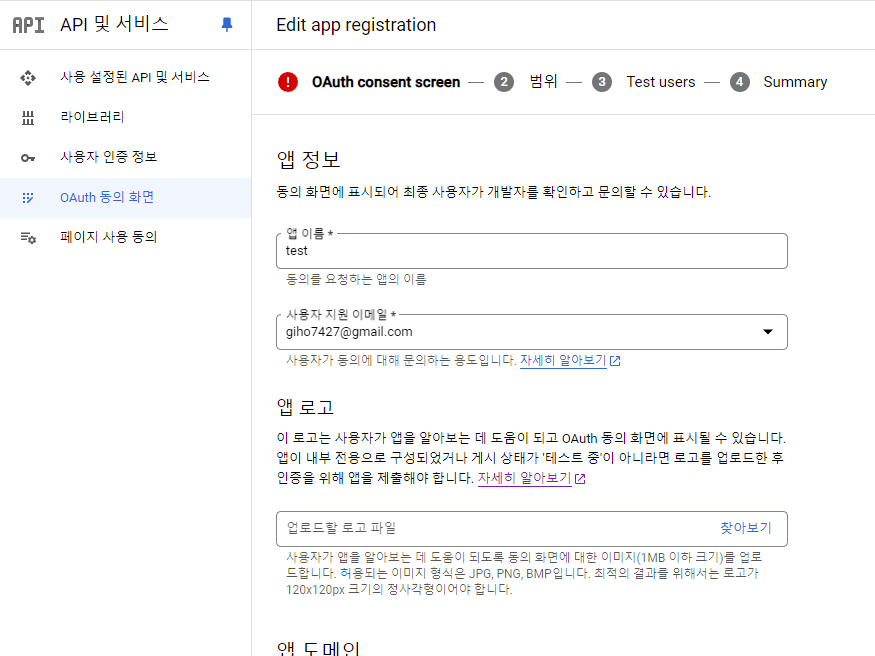
앱 이름, 사용자 지원 이메일, 개발자 연락처 정보를 입력하고 넘어가자.
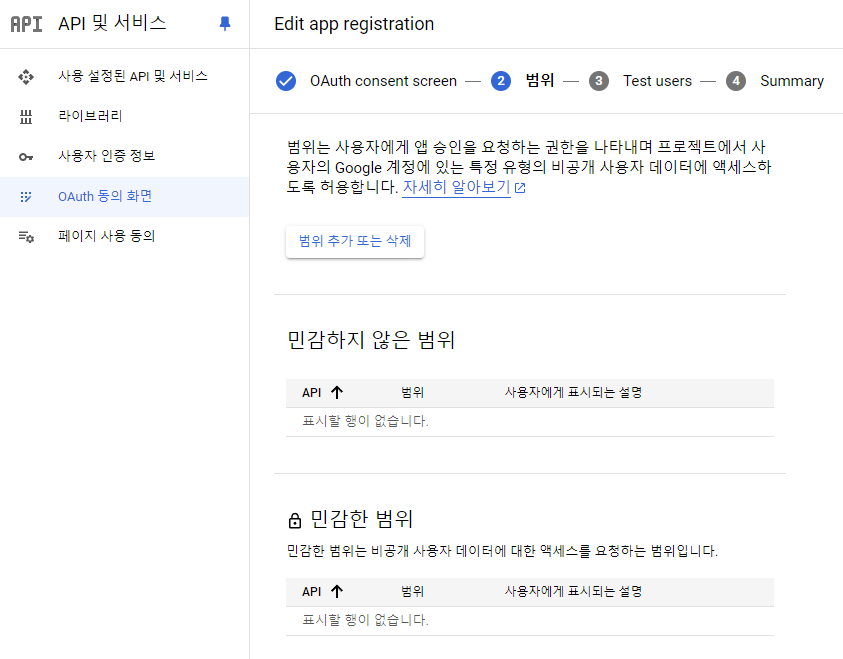
범위에서는 그냥 넘어가주면 된다.
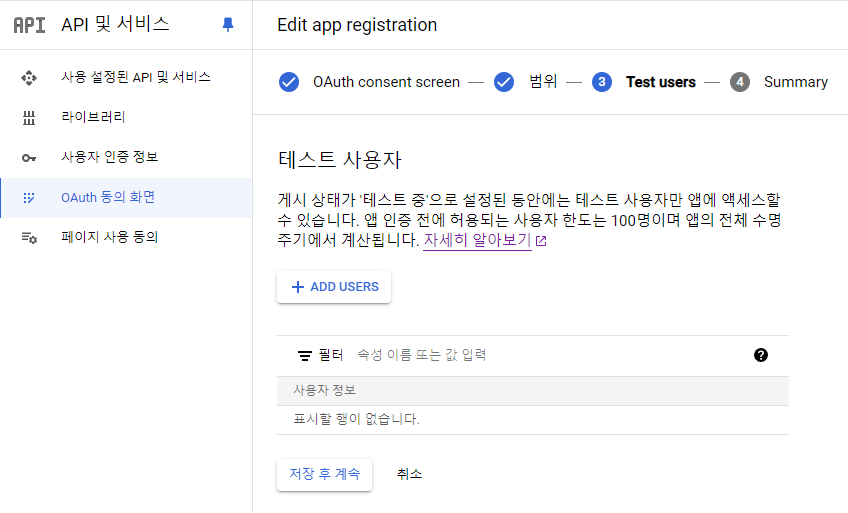
테스트 사용자도 그냥 넘어가자. 마지막 정리 페이지도 넘어가면 끝
OAuth client ID 세팅
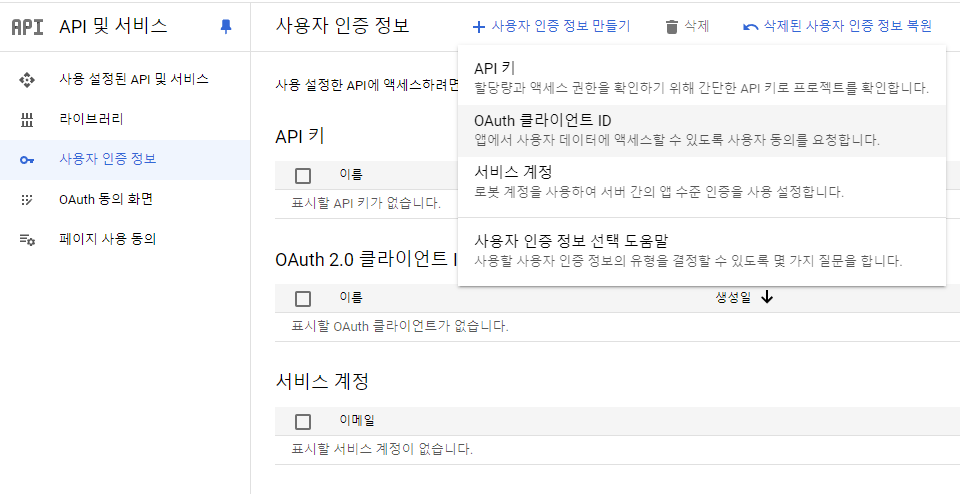
사이드바의 사용자 인증 정보가 있다. 클릭하고 상단의 사용자 인증 정보 만들기를 누르고 Oauth 클라이언트 ID를 클릭하자
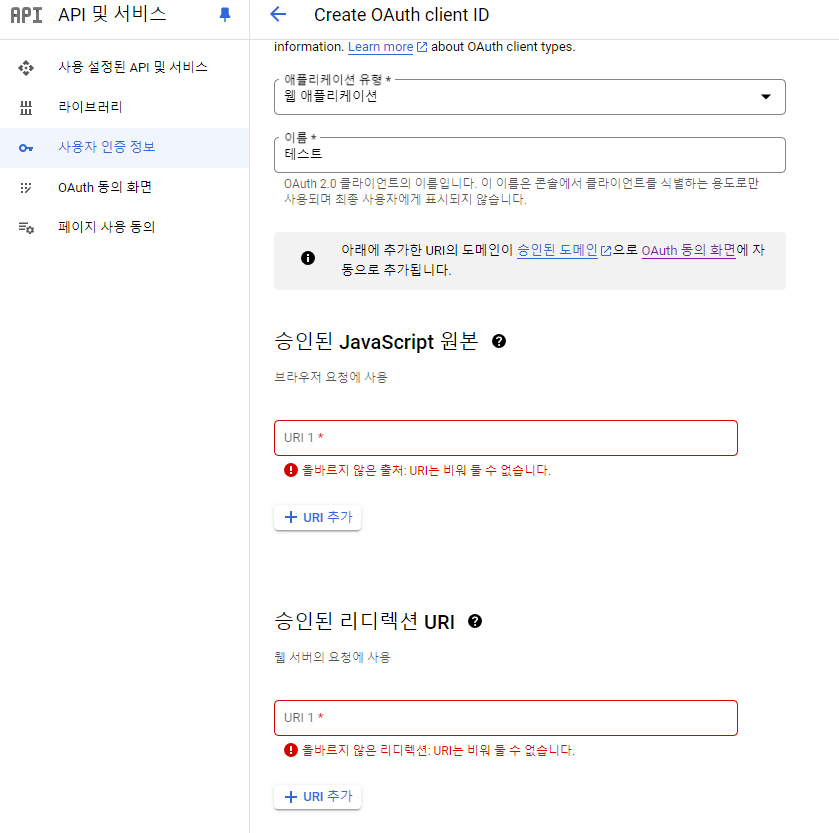
애플리케이션 유형으로 웹 애플리케이션을 선택하고 이름을 적어준다. 승인된 javascript 원본과 승인된 리디렉션 URI도 적어준다. 스스로 구상하는 플로우에 맞게 적어준다. 예를들어 클라이언트에서 엑세스 토큰을 받거나... 서버에서 받거나...
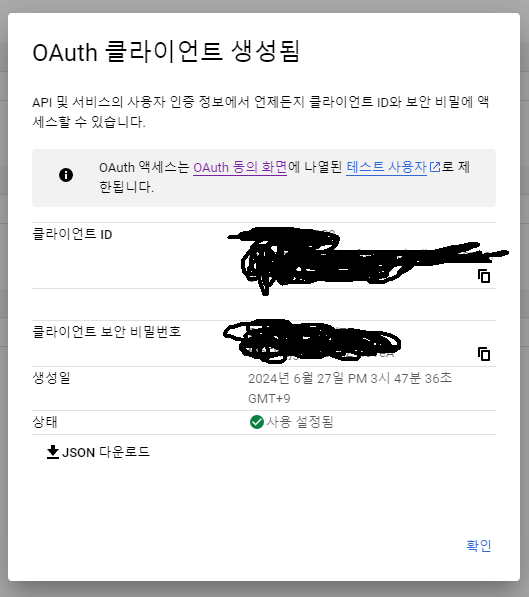
클라이언트 ID와 비밀번호를 따로 .env 파일에 저장하자.
클라이언트 코드 구현
클라이언트에서는 @react-oauth/google라이브러리를 사용해서 로그인 버튼을 클릭시 auth-id를 받아오고, 서버로 보내서 accessToken을 가져오는 코드를 구현할 것이다.
@react-oauth/google 설치
npm i @react-oauth/google로그인 버튼 만들기
// signIn.tsx
import GoogleLoginButton from './_components/GoogleLoginButton';
import { GoogleOAuthProvider } from '@react-oauth/google';

export default function SignInPage() {
  const CLIENT_ID = process.env.GOOGLE_OAUTH_CLIENT_ID;

  if (!CLIENT_ID) return <div>client id가 존재하지 않습니다</div>;
  return (
    <GoogleOAuthProvider clientId={CLIENT_ID}>
      <GoogleLoginButton />
    </GoogleOAuthProvider>
  );
}
// GoogleLoginButton.tsx
import { useGoogleLogin } from '@react-oauth/google';
import { instanceIncludeToken } from '../../../../apis/instances';

export default function GoogleLoginButton() {
  const login = useGoogleLogin({
    scope: 'email profile',
    onSuccess: async ({ code }) => {
      try {
        await instanceIncludeToken.post('/auth/google/callback', { code }).then((response) => {
          console.log(response);
        });
      } catch (error) {
        console.error(error);
      }
    },
    onError: (error) => {
      console.error(error);
    },
    flow: 'auth-code',
  });
  return <button onClick={login}>로그인</button>;
}
useGoogleLogin에서 onSuccess가 발생시 response 내부에 code라는 것이 있는데 이것이 auth-code이다. post요청으로 백엔드에서 토큰을 받을 uri를 적어고 code를 넣어서 보내주면 된다.
서버 코드 구현
라우팅 코드는 생략한다.
import axios from 'axios';

const googleClientId = process.env.GOOGLE_OAUTH_CLIENT_ID;
const googleClientSecret = process.env.GOOGLE_OAUTH_CLIENT_SECRET;
const redirectUri = 'postmessage';

export const getGoogleTokens = async (req, res) => {
  const { code } = req.body;
  console.log('code:', code);

  try {
    const response = await axios.post('https://oauth2.googleapis.com/token', null, {
      params: {
        code: code,
        client_id: googleClientId,
        client_secret: googleClientSecret,
        redirect_uri: redirectUri,
        grant_type: 'authorization_code',
      },
      headers: {
        'Content-Type': 'application/x-www-form-urlencoded',
      },
    });

    const { access_token, refresh_token } = response.data;

    res.status(200).send({ access_token, refresh_token });
  } catch (error) {
    console.error('구글 OAuth 처리 중 오류 발생: ', error.message);
    res.status(500).send('구글 OAuth 처리 중 오류 발생');
  }
};
주의할 점이 있는데 redirectUri의 경우 'postmessage'로 설정해줘야한다. 서버 함수내 그 자리에서 토큰을 요청하고 받기 때문에 redirectUri를 적으면 에러가 나버린다.
결과

토큰이 잘 오는 것을 볼 수 있다.
reference
- https://berom.tistory.com/30
- https://goldenrabbit.co.kr/2023/08/07/oauth%EB%A5%BC-%EC%82%AC%EC%9A%A9%ED%95%9C-%EA%B5%AC%EA%B8%80-%EB%A1%9C%EA%B7%B8%EC%9D%B8-%EC%9D%B8%EC%A6%9D%ED%95%98%EA%B8%B0-1%ED%8E%B8/
- https://www.npmjs.com/package/@react-oauth/google
- https://www.npmjs.com/package/google-auth-library