목표 : 각기 다른 html에 한번에 번들링을 통해 js를 여러개 생성하기
준비내용
index.html
subindex.html
index.js
subindex.js
hello.js
world.js
style.css
webpack.config.js
코드 내용
index.js
import hello_word from "./hello.js"
import world_word from "./world.js"
import css from './style.css';
document.querySelector('#root').innerHTML = hello_word + '  ' + world_word;

console.log('css',css)
subindex.js
import hello_word from "./hello.js"
import world_word from "./world.js"
import css from './style.css';
document.querySelector('#root').innerHTML =  world_word+ '  ' +hello_word ;

console.log('css',css)
webpack.config.js
const path = require('path');

module.exports = {
  mode:"development",
  entry : {
    index : "./source/index.js",
    subindex :"./source/subindex.js"
  },
  output : {
    path:path.resolve(__dirname,"public"),
    filename : '[name]_bundle.js'
  },
  module:{
    rules:[
      {
        test:/\.css$/,
        use:[
          'style-loader',
          'css-loader'
        ]
      }
    ]
  }
}
entry를 객체 형태처럼 여러개 설정하면 output에서 여러개 생성이 가능하다.
이때 주의 할 점은 해당 output filename 부분에서[name]을 추가 시켜야 entry안의 프로퍼티 갯수만큼 file이 추가된다.
예시 오류 발생
filename : '_bundle.js' 로 하였을때 multiple을 같은곳에 못한다 오류가 뜬다.

해당 내용 실행하기
터미널에 npx webpack실행시 정상작동하여
public폴더안에 [name]을 앞에 이름이 적용된 2개의 파일이 생성된다.

index.html, subindex.html
index.html
<html>
<head>
    <meta charset="utf-8"/>

</head>
<body>
    <div id="root"></div>
    <a href="subindex.html">index</a>
    <script src="./public/index_bundle.js" type="module">
       </script>
</body>
</html>
subindex.html
<html>
<head>
    <meta charset="utf-8"/>

</head>
<body>
    <div id="root"></div>
    <a href="index.html">subindex</a>
    <script src="./public/subindex_bundle.js" type="module">
       </script>
</body>
</html>
적용 결과

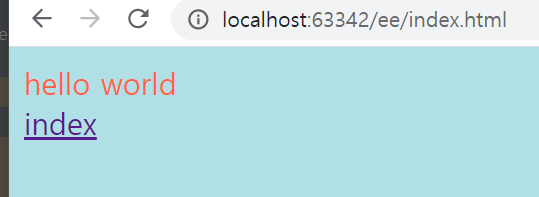
해당 subindex와 index를 누르면 서로의 index.html로 가는것을 볼 수 있고 그에따라 다른 js쿼리에 의해
world hello와hello world를 볼 수 있다.
출처

나의 하루를 가능한 기억하고 즐기고 후회하지말자