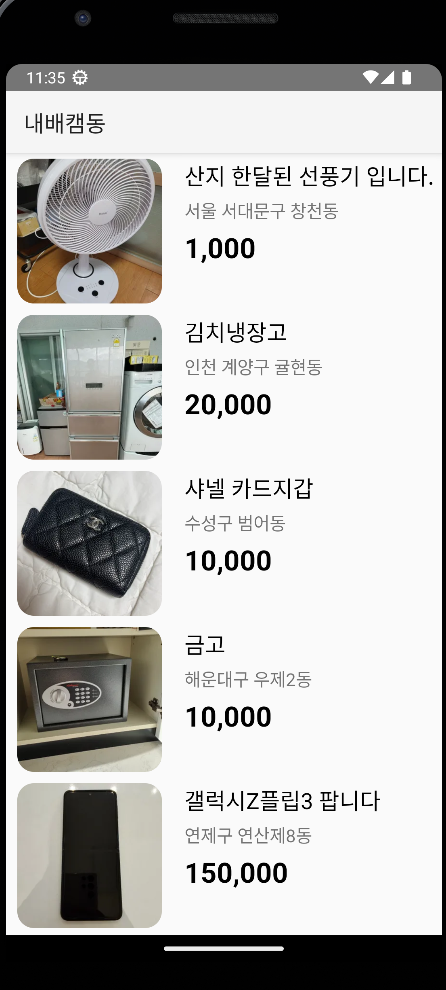
📺 화면 구현
- 상단 툴바를 제거하고 풀스크린 화면으로 세팅해주세요. (statusbar는 남기고)
- 상품 이름은 최대 두 줄이고, 그래도 넘어가면 뒷 부분에 …으로 처리해주세요.
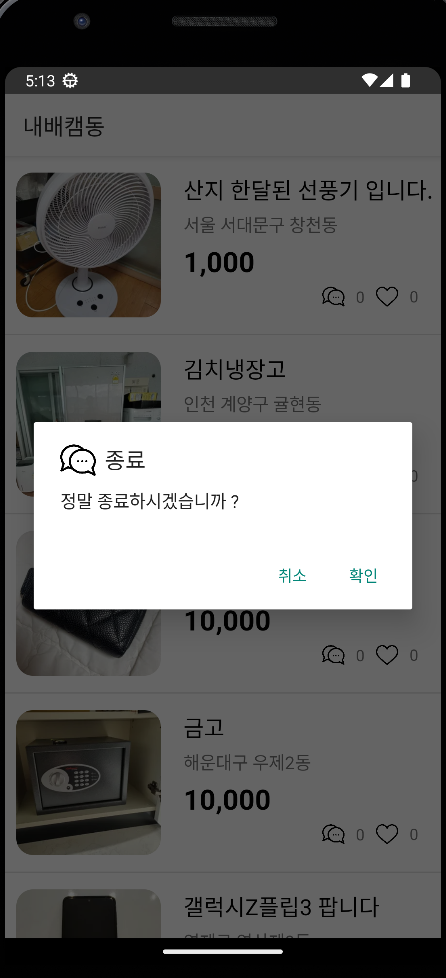
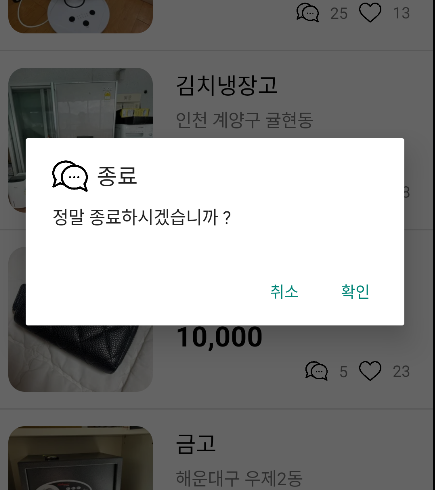
- 뒤로가기(BACK)버튼 클릭시 종료하시겠습니까? [확인][취소] 다이얼로그를 띄워주세요. (예시 비디오 참고)
- 상단 종모양 아이콘을 누르면 Notification을 생성해 주세요. (예시 비디오 참고)
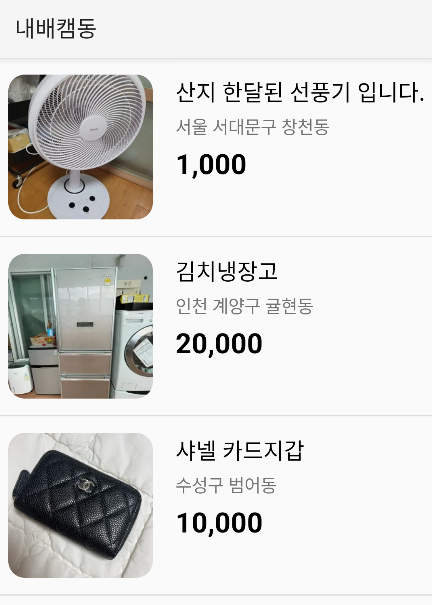
- 상품 가격은 1000단위로 콤마(,) 처리해주세요.
- 상품 아이템들 사이에 회색 라인을 추가해서 구분해주세요.
- 상품 선택시 아래 상품 상세 페이지로 이동합니다.
- 상품 상세페이지 이동시 intent로 객체를 전달합니다. (Parcelize 사용)
📸 동일한 이미지 크기
android:weight = "2" 부분을 제거했더니 동일한 이미지 크기가 나옵니다.
⛔ 글자 수 제한
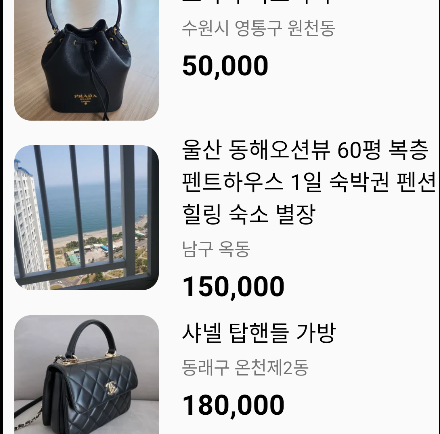
이렇게 세 줄로 제목이 나오는데 이를 최대 2줄까지 나오지만 넘어가면 뒷 부분에 …으로 처리해줄 것이다. 이를 위해 최대 글자 수인 maxLines를 2로 설정해주고, ellipsize는 end로 설정해주면 2줄을 넘어가면 ...으로 표시된다.
  <TextView
      android:id="@+id/tv_name"
      android:layout_width="match_parent"
      android:layout_height="wrap_content"
      android:layout_weight="1"
      android:text="프라다 복조리백"
      android:textColor="@color/black"
      android:textSize="20dp"
      android:maxLines="2"
      android:ellipsize="end"/>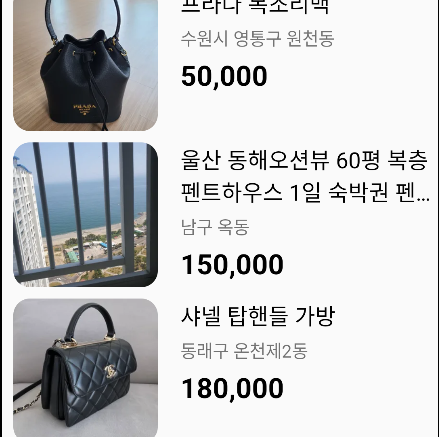
🚧 구분선 추가
DividerItemDecoration 객체를 생성해 recyclerView 객체에 add를 해주면 생긴다 !
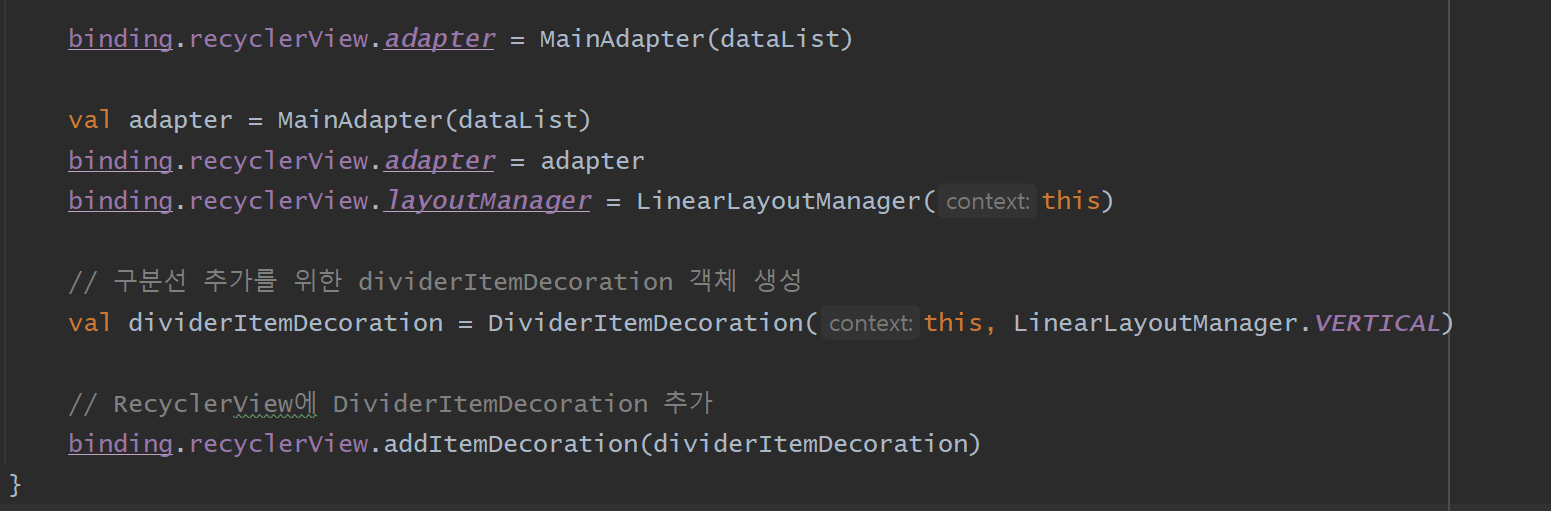
recyclerView 항목 끝에 구분선을 추가해준다.
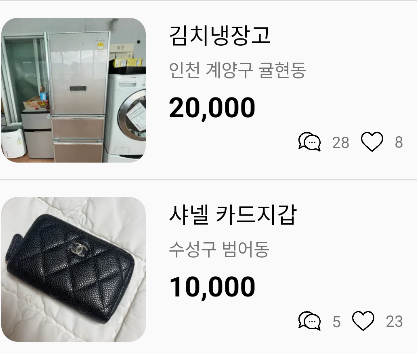
💜 아이콘 추가
UI 구현시 빠졌던 채팅 및 좋아요 아이콘을 추가했다.
<LinearLayout
            android:layout_width="match_parent"
            android:layout_height="wrap_content"
            android:layout_weight="1"
            android:gravity="end"
            android:paddingEnd="10dp"
            android:padding="5dp"
            android:orientation="horizontal">

            <ImageView
                android:layout_width="20dp"
                android:layout_height="20dp"
                android:gravity="end"
                android:src="@drawable/chat"/>

            <TextView
                android:id="@+id/chat"
                android:layout_width="wrap_content"
                android:layout_height="wrap_content"
                android:layout_marginHorizontal="10dp"
                android:layout_gravity="center"
                android:text="0" />

            <ImageView
                android:id="@+id/heart_empty"
                android:layout_width="20dp"
                android:layout_height="20dp"
                android:src="@drawable/heart_empty"/>

            <TextView
                android:id="@+id/heart"
                android:layout_width="wrap_content"
                android:layout_height="wrap_content"
                android:layout_marginHorizontal="10dp"
                android:text="0" />
        </LinearLayout>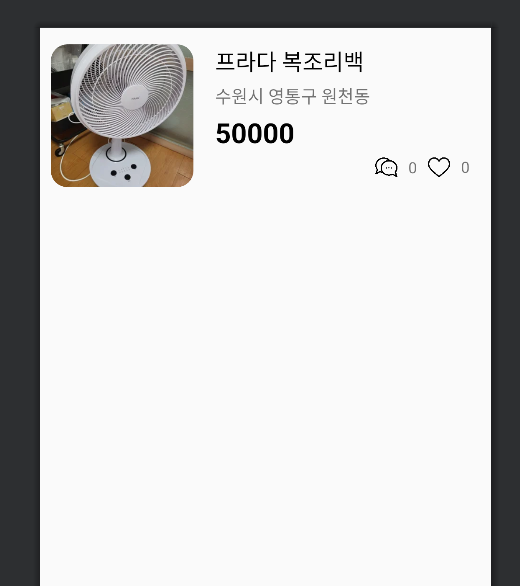
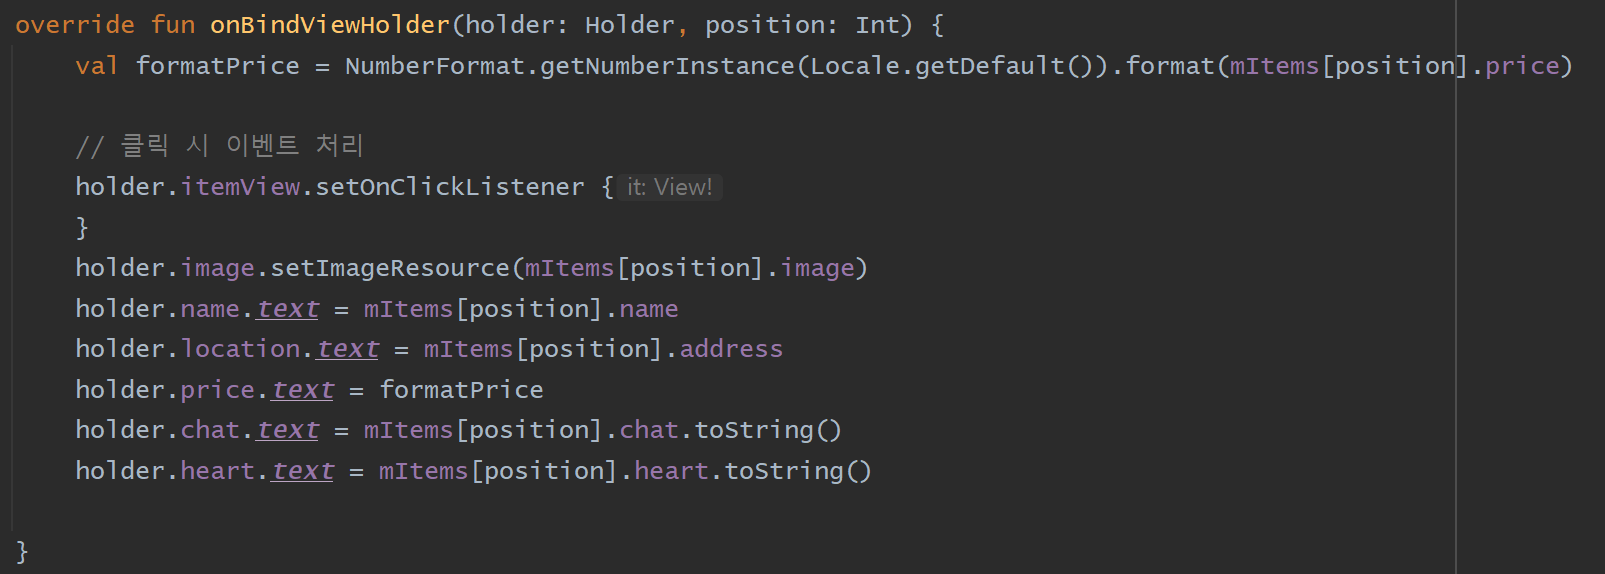
추가한 아이콘의 textView의 갯수 데이터를 바인딩해준다. textView에 Int형 데이터를 추가해줄 것이기 때문에 String으로 변경해서 넣어주어야 한다.
  holder.chat.text = mItems[position].chat.toString()
  holder.heart.text = mItems[position].heart.toString()
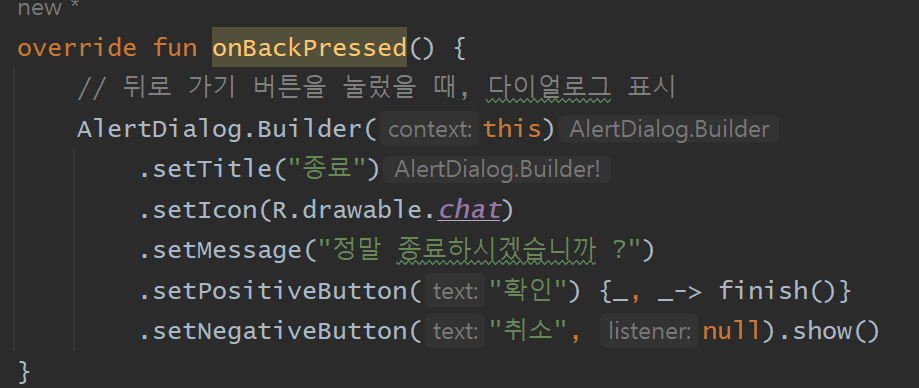
🪟 Dialogue 추가
뒤로가기 버튼을 눌렀을 때 앱 종료 여부 다이얼로그를 표시해주고 확인을 눌렀을 때 앱이 종료되고 취소를 눌렀을 때는 이전화면인 메인 화면이 나오도록 기능을 추가해주면 된다.
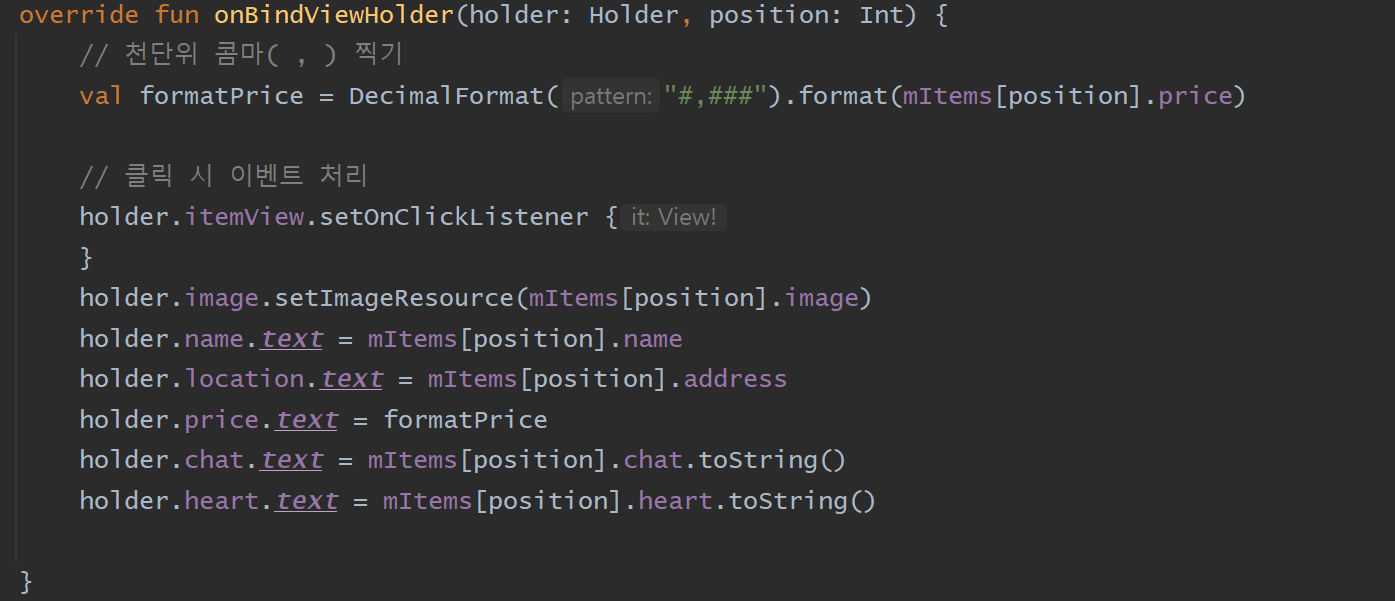
🌐 천 단위 콤마 찍기
천 단위마다 콤마 찍는 방법은 여러가지지만 다음은 java에서 주로 사용된다.
DecimalFormat은 코틀린에서 주로 쓰이는 방법이다. 음, 확실히 코틀린이 조금 더 간략해서 사용하기 편한 것 같다.

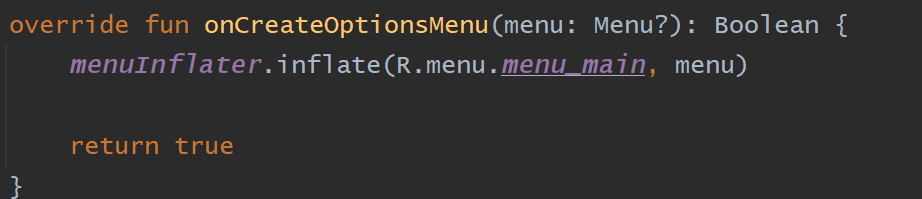
🔔 상단 아이콘 생성
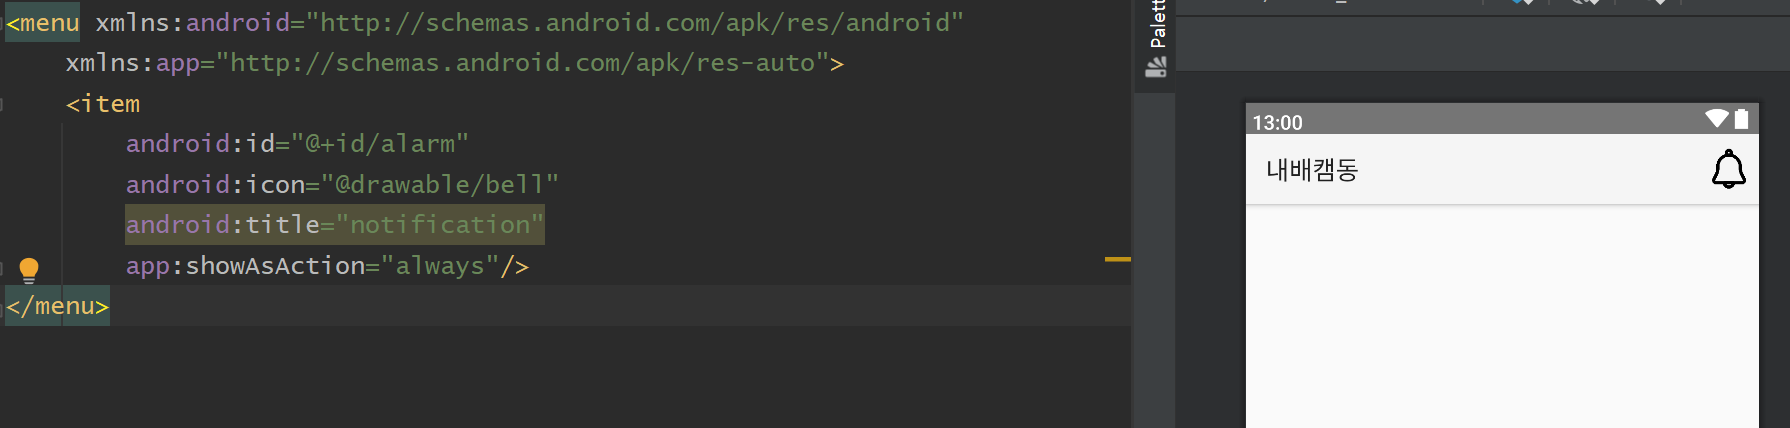
menu 폴더를 만들고 menu_main.xml 을 하나 생성한 뒤에 bell 아이콘을 생성한 후에 MainActivity에 onCreateOptionsMenu를 이용해 아이콘을 연결해주면 된다.
⏰ 알림 설정
종 모양 아이콘을 눌렀을 때 알림이 오도록 설정할 예정이다. 하..알람기능... 내일하자😗