이번 글에서는 판매자 계정 가입 페이지와 판매자가 올린 물품을 볼 수 있도록 하는 페이지를 구현해볼 것이다.
원래는 할인을 바로 적용하려고 하였으나, 설계를 생각해보니 다음과 같은 순서로 구현을 하기로 결정하였다.
- 판매자 계정 전환 기능 추가
- 판매자가 자신이 올린 상품을 보고 가격이나 할인율을 수정할 수 있는 페이지 구현
- 수정한 할인율을 반영해서 구매자들이 검색을 하였을 때, 할인된 가격이 보이도록 하기
- 쿠폰 기능 구현
- 회원 등급 기능 구현(추가 할인혹은 쿠폰발급)
- 결제 페이지 구현
- 토스 api 적용하여 결제 기능 구현
따라서 이번 시간에는 판매자기능을 구현한다고 보면 될 것같다.
먼저, 판매자 데이터베이스 테이블을 구성해보자. userId를 외래키로 가지는 id를 primary key로 하고, 회사 이름, 사업자 번호를 각각 varchar 타입으로 받도록하자.
CREATE TABLE seller (
    id Varchar(50) not null,
    company_id varChar(100) NOT NULL,
    company_name varchar(100) NOT NULL,

    primary key(id),
    foreign key(id) references users(id)
		on delete Restrict
        on update Restrict
);
테이블을 만들었으니 엔티티를 만들어 연결해주자.
package com.shoppingmall.domain;

import jakarta.persistence.*;

@Entity
public class Seller {

    @Id
    private String id;

    @OneToOne
    @JoinColumn(name = "id")
    private Users user;

    @Column(name = "company_id")
    private String company_id;

    @Column(name = "company_name")
    private String company_name;

    //getter and setter
}
이제 users 객체를 참고하여 repository, service 빈을 구현하자.
SellerREpository
package com.shoppingmall.repository;

import com.shoppingmall.domain.Seller;
import jakarta.persistence.EntityManager;
import jakarta.persistence.PersistenceContext;

public class SellerRepository {

    @PersistenceContext
    private final EntityManager em;


    public SellerRepository(EntityManager em) {
        this.em = em;
    }
    public Seller findById(String id) {
        return em.find(Seller.class, id);
    }

    public Seller add(Seller seller) { //사용자가 잘 들어갔는지 확인
        em.persist(seller);
        return seller;
    }

}
SellerService
package com.shoppingmall.service;

import com.shoppingmall.domain.Seller;
import com.shoppingmall.domain.Users;
import com.shoppingmall.repository.SellerRepository;
import jakarta.transaction.Transactional;

@Transactional
public class SellerService {
    private final SellerRepository sellerRepository;


    public SellerService(SellerRepository sellerRepository) {
        this.sellerRepository = sellerRepository;
    }

    public Seller findById(String id){
        return sellerRepository.findById(id);
    }

    public Seller join(Users users, String company_id, String company_name){
        Seller seller = new Seller();
        seller.setUser(users);
        seller.setId(users.getId());
        seller.setCompany_id(company_id);
        seller.setCompany_name(company_name);
        sellerRepository.add(seller);
        return seller;
    }
}
마지막으로 컨트롤러를 만들면 백엔드 설정은 끝이 날 것 같다.
package com.shoppingmall.controller;

import com.shoppingmall.domain.Products;
import com.shoppingmall.domain.Seller;
import com.shoppingmall.domain.Users;
import com.shoppingmall.service.ProductService;
import com.shoppingmall.service.SellerService;
import com.shoppingmall.service.UserService;
import org.springframework.http.HttpStatus;
import org.springframework.http.ResponseEntity;
import org.springframework.security.core.annotation.AuthenticationPrincipal;
import org.springframework.security.core.userdetails.User;
import org.springframework.stereotype.Controller;
import org.springframework.ui.Model;
import org.springframework.web.bind.annotation.GetMapping;
import org.springframework.web.bind.annotation.PostMapping;
import org.springframework.web.bind.annotation.RequestParam;

import java.util.ArrayList;
import java.util.List;

@Controller
public class SellerController {

    private final ProductService productService;

    private final SellerService sellerService;

    private final UserService userService;

    public SellerController(ProductService productService, SellerService sellerService, UserService userService) {
        this.productService = productService;

        this.sellerService = sellerService;
        this.userService = userService;
    }


    @GetMapping("/sellerStatus")
    public String sellerStatusPage(@AuthenticationPrincipal User user, Model model){
        String userId = user.getUsername();
        Seller seller = sellerService.findById(userId);
        List<Products> products = new ArrayList<>();
        boolean isSeller = false;
        if(seller != null) {
            isSeller = true;
            products = productService.searchBySellerId(userId);
        }

        model.addAttribute("isSeller", isSeller);
        model.addAttribute("userId", userId);
        model.addAttribute("products", products);
        return "/user/sellerStatus";
    }

    @GetMapping("/sellerSignup")
    public String sellerSignupPage(@AuthenticationPrincipal User user, Model model){
        model.addAttribute("id", user.getUsername());
        return "/user/sellerSignup";
    }

    @PostMapping("/sellerSignup")
    public ResponseEntity<String> sellerSignup(@AuthenticationPrincipal User user,
                                               @RequestParam(name = "company_id") String company_id,
                                               @RequestParam(name = "company_name") String company_name){
        ResponseEntity response = null;
        try {
            Users users = userService.findById(user.getUsername());
            sellerService.join(users, company_id, company_name);
            response = ResponseEntity
                    .status(HttpStatus.CREATED)
                    .body("판매자 계정 가입이 완료되었습니다.");
        } catch (Exception ex) {
            response = ResponseEntity
                    .status(HttpStatus.INTERNAL_SERVER_ERROR)
                    .body("An exception occured due to " + ex.getMessage());
        }
        return response;
    }

}
이제 판매자가 올린 상품을 볼 수 있는 페이지와 판매자 계정 가입 페이지를 만들자
판매자가 올린 상품 볼 수 있는 페이지
<!DOCTYPE html>
<html lang="ko" xmlns:th="http://www.thymeleaf.org">
<head>
    <meta charset="UTF-8">
    <title>Fast Mall - 판매한 상품 정보</title>
    <script src="https://code.jquery.com/jquery-3.7.0.js"></script>
    <script>
        document.addEventListener('DOMContentLoaded', function() {
            /*<![CDATA[*/
            var isSeller = [[${isSeller}]];
            /*]]>*/

            if (!isSeller) {
                var proceed = confirm("판매자가 아닙니다. 판매자 회원가입 페이지로 이동하시겠습니까?");
                if (proceed) {
                    window.location.href = '/sellerSignup';
                }else{
                    window.location.href = '/';
                }
            }
        });
    </script>
</head>
<body>
<div class="header">
    <a href="/" id="home_logo">
        <img src="/images/icons/logo.png" alt="Home Logo"/>
    </a>
</div>
<h1>판매자 전용 페이지입니다.</h1>
<table>
    <thead>
    <tr>
        <th>상품이름</th>
        <th>사진</th>
        <th>가격</th>
    </tr>
    </thead>
    <tbody>
    <tr class="clickable-row" th:each="product : ${products}" th:data-product-id="${product.id}">
        <td th:text="${product.product_name}"></td>
        <td><img th:src="@{'/images/uploads/' + ${product.photo}}" alt="Product Image" height="200" width="200"></td>
        <td th:text="${product.price}"></td>
    </tr>
    </tbody>
</table>
</body>
</html>
판매자 계정 가입 페이지
<!DOCTYPE html>
<html lang="ko" xmlns:th="http://www.thymeleaf.org">
<head>
    <meta charset="UTF-8">
    <title>Fast Mall - 판매자 계정 가입</title>
    <script src="https://code.jquery.com/jquery-3.7.0.js"></script>
    <script>
        function handleSubmit(event) {
            event.preventDefault(); // 기본 폼 제출 동작 방지
            const form = event.target;

            // 폼 데이터를 객체로 생성
            const formData = new FormData(form);

            // Fetch API를 사용하여 비동기 요청 보내기
            fetch(form.action, {
                method: form.method,
                body: formData,
                headers: {
                    'X-Requested-With': 'XMLHttpRequest'
                }
            }).then(response => {
                if (response.ok) {
                    return response.text();
                } else {
                    throw new Error('Network response was not ok.');
                }
            }).then(data => {
               if(data === '판매자 계정 가입이 완료되었습니다.'){
                   alert(data);
                   window.location.href = "/sellerStatus";
               }
            })
                .catch(error => {
                    console.error('Error:', error);
                    if(error === 'Network response was not ok.')
                        alert('네트워크 오류.');
                });
        }
    </script>
</head>
<body>
<div class="header">
    <a href="/" id="home_logo">
        <img src="/images/icons/logo.png" alt="Home Logo"/>
    </a>
</div>
<div id="id_box">
    <label for="id">아이디: </label>
    <label class = "text" id="id" name="id" th:text="${id}"></label>
</div>
<form id="signup_form" action="/sellerSignup", method="post" onsubmit="handleSubmit(event)">
    <div id="companyId_box">
        <label for="company_id">사업자 번호: </label>
        <input  class = "text" type="text" id="company_id" name="company_id" required>
    </div>
    <div id="companyName_box">
        <label for="company_name">회사 이름: </label>
        <input  class = "text" type="text" id="company_name" name="company_name" required>
    </div>
    <div>
        <button type="submit" id="signup">판매자 계정 가입</button>
    </div>
</form>
</body>
</html>
구현 중 오류가 있었지만, 저번에도 발생했던 오류들이니 생략하겠다
이제 제대로 동작하는지 보자
테스트 전에 스프링 시큐리티에 해당 페이지들도 인가되어야 들어갈 수 있도록 하였다.
.requestMatchers("/user/status", "/products/add", "/cart/**", "/seller**").authenticated()먼저 로그인을 하면 아이디를 통해 해당 사용자가 판매자 계정인지 확인한다.
당연히 테스트를 위해 판매자 데이터베이스 테이블은 모두 비워놓았다
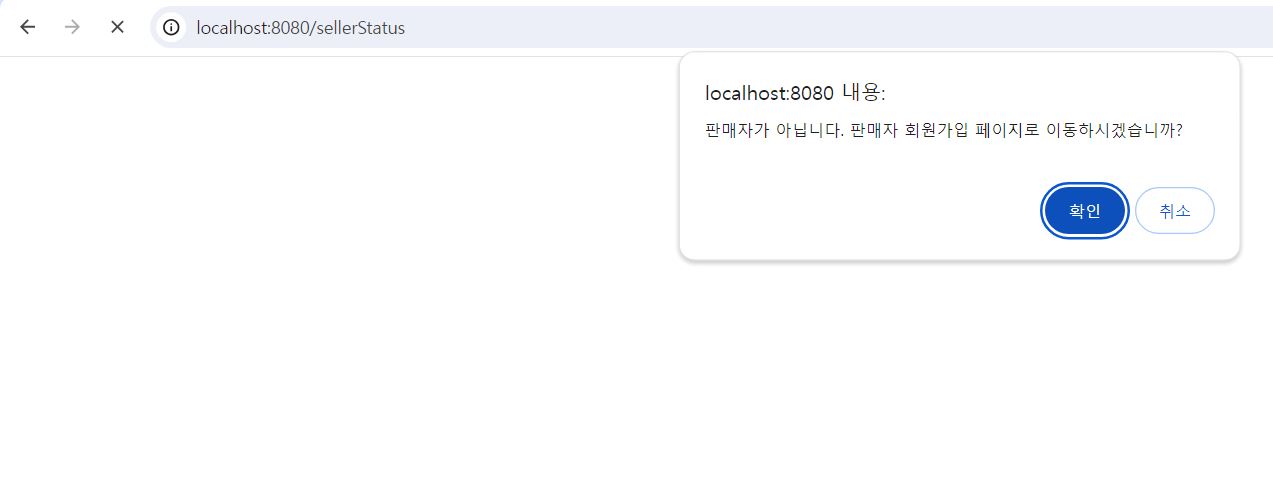
판매자가 아니면 다음과 같은 알림이 뜬다. 확인을 누르면 판매자 계정 가입 페이지로 이동한다.
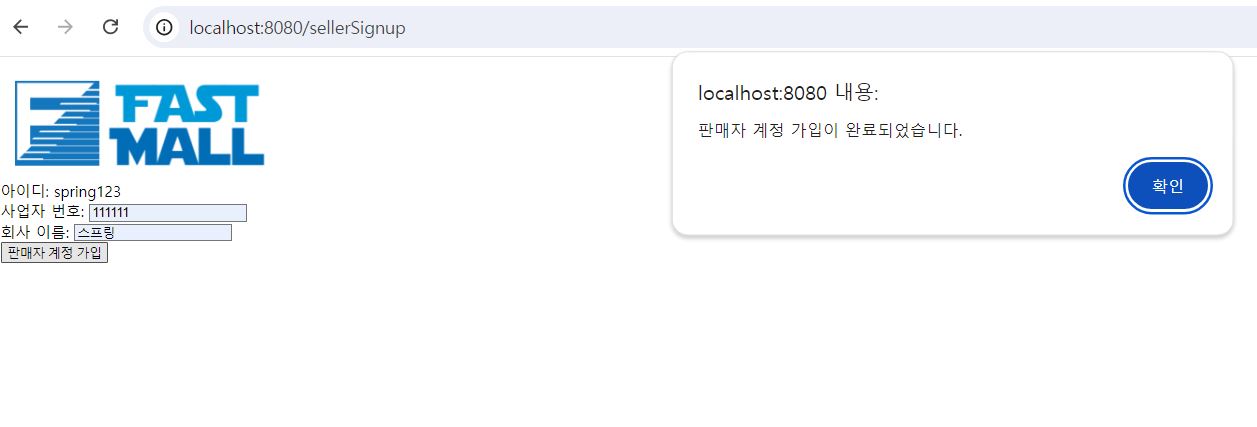
이동하여 사업자 번호와 이름을 작성 후, 가입 버튼을 누르면 가입이 완료된다.

db에도 추가가 되었음을 확인할 수 있다.
이렇게 판매자 계정이 되었다면 다시 판매자가 올린 상품정보를 볼 수있는 페이지에 들어가보면 알림이 뜨지 않는다.
여기서 상품 데이터베이스 테이블은 이전에 추가해놓은 것을 그대로 사용했다.

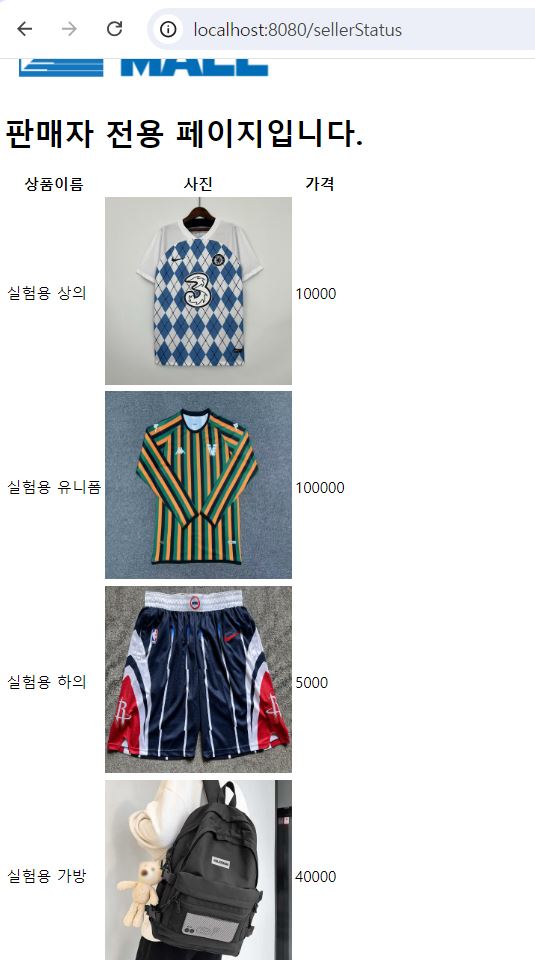
다시 들어가보면 다음과 같이 판매자 정보페이지에 올린 상품들이 제대로 뜨는 것을 확인할 수 있다.
이렇게 판매자 페이지를 구현해보았다. 다음 글에서는 할인을 적용하면서 상품 내리기와 같은 아직 구현하지 않은 기능들도 모두 구현해보도록 하자.