Mutating Data(2)
🎯 개요
이번 포스트에서는 Next.js Server Actions를 활용하여 Invoice(송장) 데이터를 업데이트하고 삭제하는 방법을 다룹니다. 동적 라우팅, 폼 데이터 처리, 그리고 데이터베이스 CRUD 작업의 전체 과정을 단계별로 살펴보겠습니다.
📋 Invoice 업데이트 프로세스
Invoice를 업데이트하는 과정은 다음 5단계로 구성됩니다:
- 동적 경로 세그먼트 생성 - Invoice ID를 사용한 동적 라우팅
- Invoice ID 읽기 - URL 파라미터에서 ID 추출
- 특정 Invoice 가져오기 - 데이터베이스에서 해당 Invoice 조회
- 양식에 데이터 미리 채우기 - 기존 데이터로 폼 초기화
- 데이터베이스 업데이트 - 수정된 데이터 저장
🛣️ 1. 동적 경로 세그먼트 생성
동적 라우팅의 개념
Next.js에서는 폴더명을 대괄호로 감싸서 동적 경로를 생성할 수 있습니다. 이는 블로그 포스트 ID나 제품 페이지 같이 데이터에 기반한 경로가 필요할 때 유용합니다.
폴더 구조 생성
/app/dashboard/invoices/[id]/edit/page.tsx초기 페이지 설정
// /app/dashboard/invoices/[id]/edit/page.tsx
export default function Page() {
  return <>Update Page</>;
}
UpdateInvoice 버튼 연결
// /app/ui/invoices/button.tsx
export function UpdateInvoice({ id }: { id: string }) {
  return (
    <Link
      href={`/dashboard/invoices/${id}/edit`}
      className="rounded-md border p-2 hover:bg-gray-100"
    >
      <PencilIcon className="w-5" />
    </Link>
  );
}
✨ 포인트: 템플릿 리터럴을 사용하여 동적으로 경로를 생성합니다.
🔍 2. Invoice ID 읽기
URL 파라미터 추출
Next.js는 페이지 컴포넌트에 params 객체를 제공하여 동적 경로의 값을 읽을 수 있게 해줍니다.
// /app/dashboard/invoices/[id]/edit/page.tsx
import Form from "@/app/ui/invoices/edit-form";
import Breadcrumbs from "@/app/ui/invoices/breadcrumbs";
import { fetchCustomers } from "@/app/lib/data";
export default async function Page({ params }: { params: { id: string } }) {
const id = params.id;
return (
<main>
<Breadcrumbs
breadcrumbs={[
{ label: "Invoices", href: "/dashboard/invoices" },
{
label: "Edit Invoice",
href: `/dashboard/invoices/${id}/edit`,
active: true,
},
]}
/>
<Form invoice={invoice} customers={customers} />
</main>
);
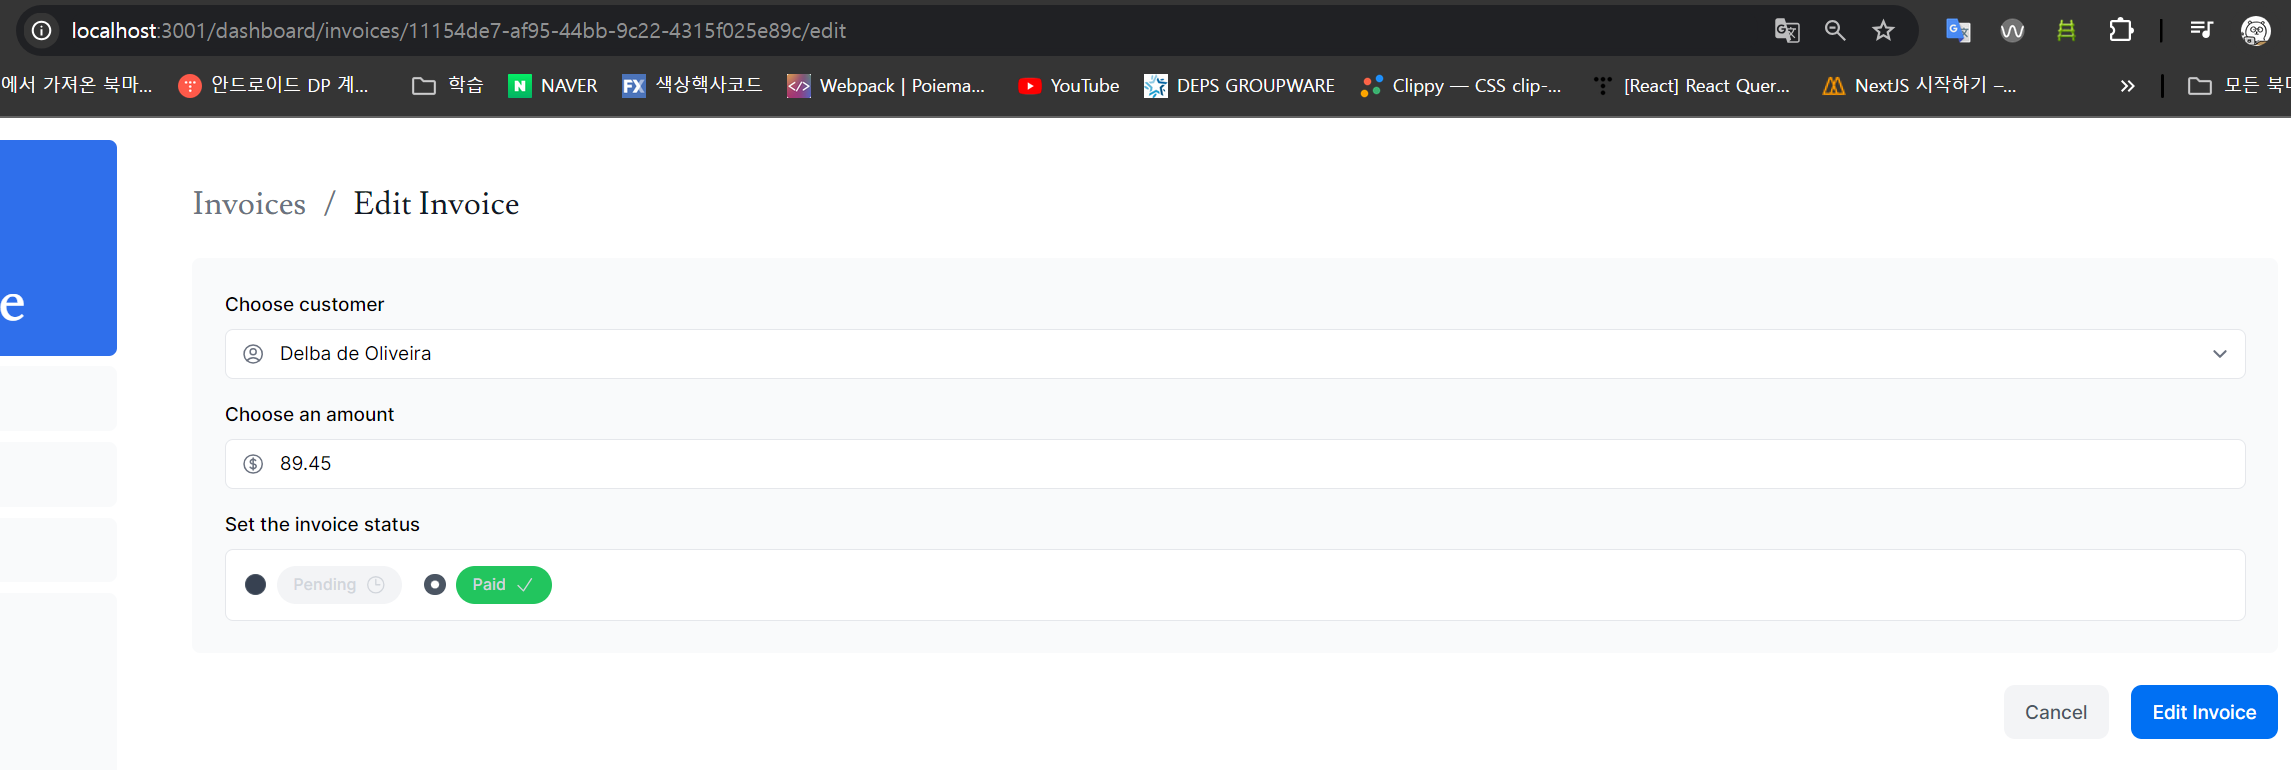
}📊 3. 특정 Invoice 가져오기 & 4. 양식에 데이터 미리 채우기
병렬 데이터 페칭
Promise.all을 사용하여 Invoice 데이터와 고객 데이터를 동시에 가져와 성능을 최적화합니다.
// /app/dashboard/invoices/[id]/edit/page.tsx
import Form from "@/app/ui/invoices/edit-form";
import Breadcrumbs from "@/app/ui/invoices/breadcrumbs";
import { fetchCustomers, fetchInvoiceById } from "@/app/lib/data";
export default async function Page({ params }: { params: { id: string } }) {
const id = params.id;
// 병렬로 데이터 가져오기
const [invoice, customers] = await Promise.all([
fetchInvoiceById(id),
fetchCustomers(),
]);
return (
<main>
<Breadcrumbs
breadcrumbs={[
{ label: "Invoices", href: "/dashboard/invoices" },
{
label: "Edit Invoice",
href: `/dashboard/invoices/${id}/edit`,
active: true,
},
]}
/>
<Form invoice={invoice} customers={customers} />
</main>
);
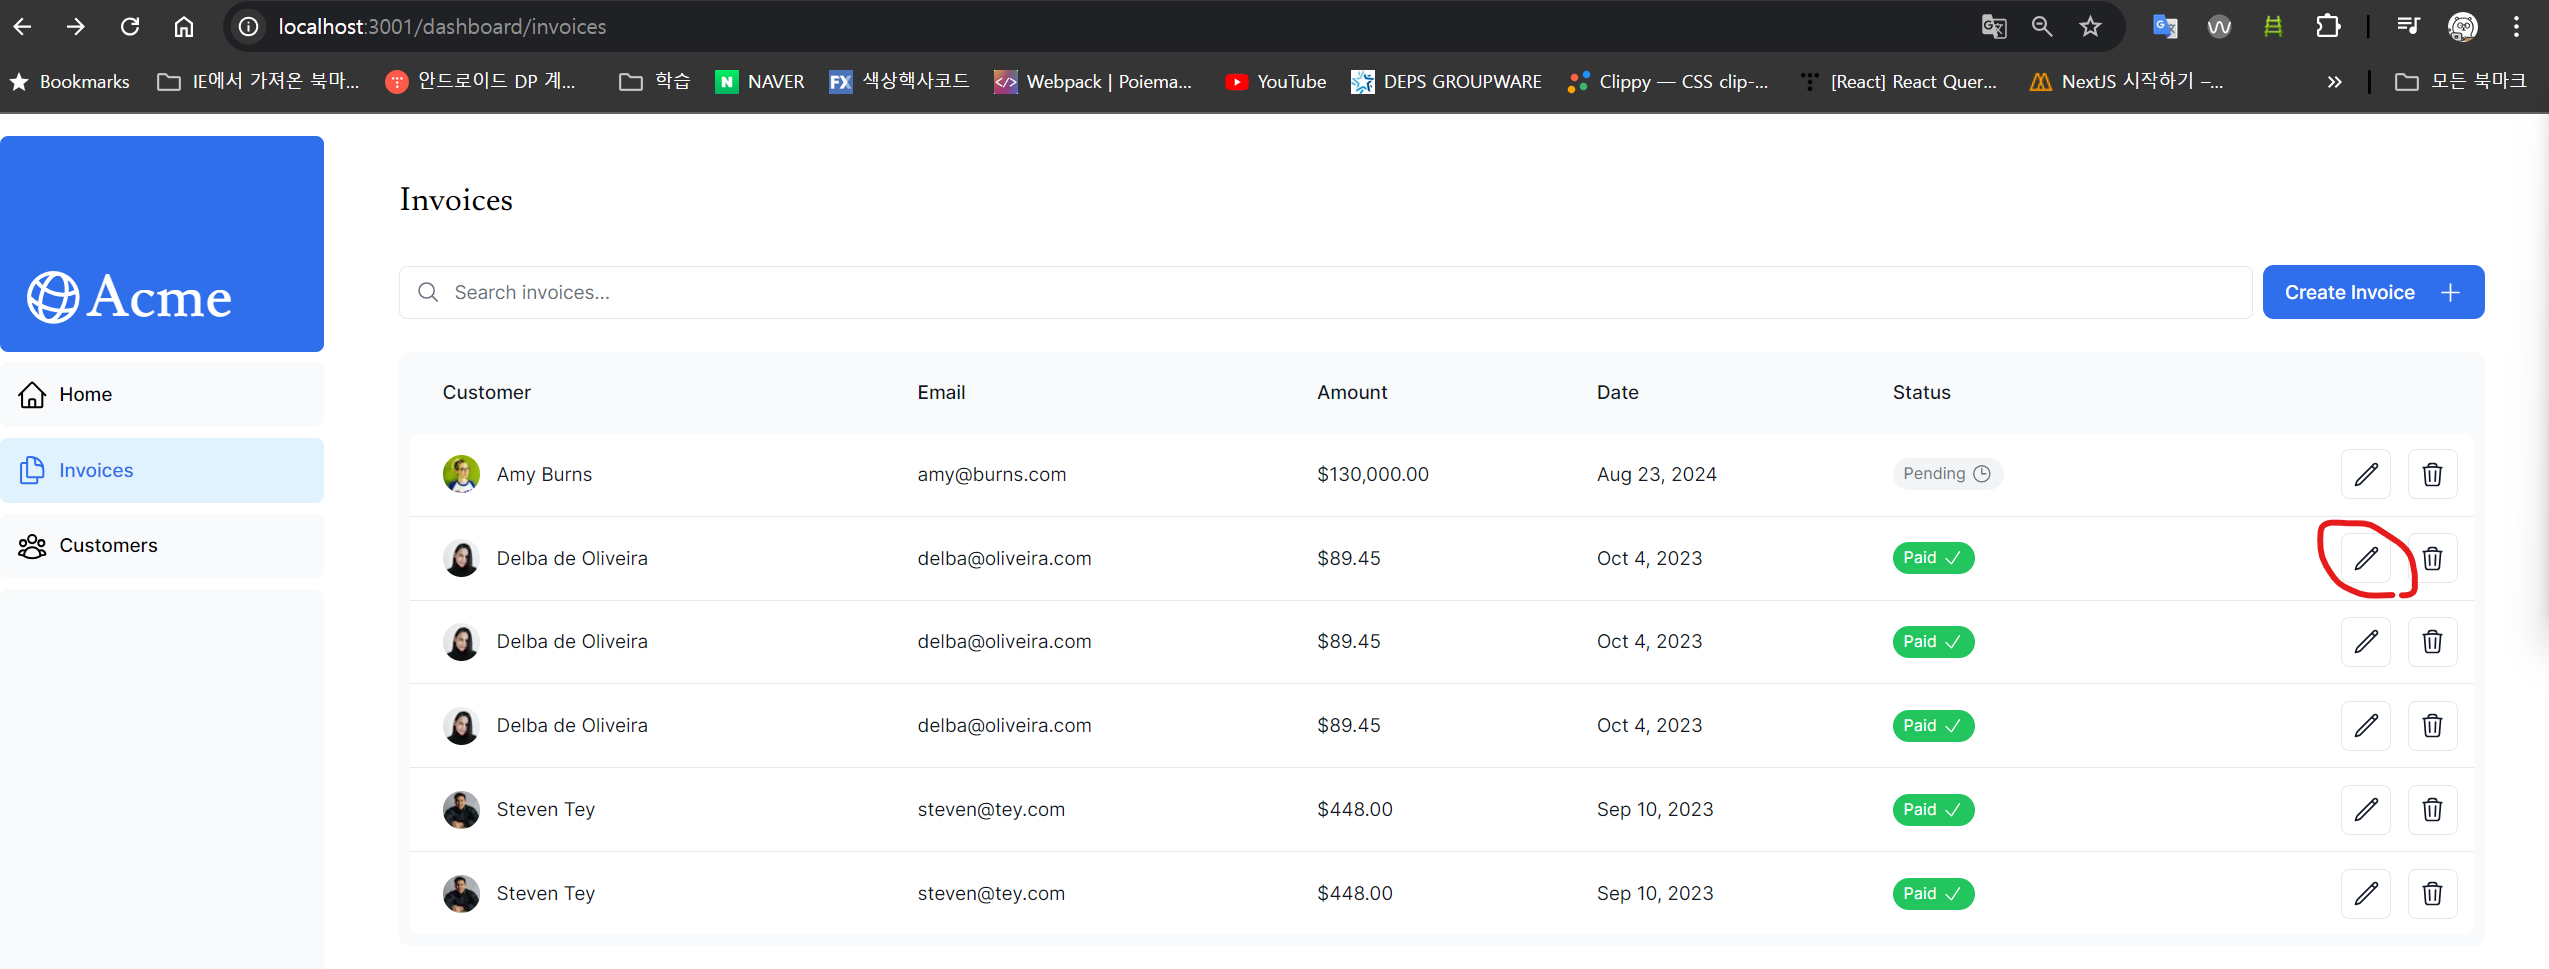
}결과 화면
💡 UUID vs 자동 증가 키
이 프로젝트에서는 자동 증가 키 대신 UUID를 사용합니다.
UUID의 장점
- ✅ ID 충돌 위험 제거
- ✅ 전역적으로 고유한 식별자
- ✅ 열거 공격(enumeration attack) 방지
- ✅ 대규모 데이터베이스에서 안전성 보장
단점
- ❌ URL이 길어짐
- ❌ 가독성 저하
참고: 짧고 깔끔한 URL을 원한다면 자동 증가 키를 사용할 수도 있습니다.
🔄 5. 데이터베이스에서 Invoice 데이터 업데이트
STEP 1: Form Action 연결 시 주의사항
❌ 잘못된 방법
// 이 방식은 동작하지 않습니다!
<form action={updateInvoice(id)}>
  {/* ... */}
</form>
문제점:
updateInvoice(id)가 즉시 실행됨action속성은 URL 경로가 필요하지만 함수 실행 결과를 받게 됨- 폼 제출 시점이 아닌 렌더링 시점에 함수가 호출됨
✅ 올바른 방법 - bind 사용
// /app/ui/invoices/edit-form.tsx
import { updateInvoice } from "@/app/lib/actions";

export default function EditInvoiceForm({
  invoice,
  customers,
}: {
  invoice: InvoiceForm;
  customers: CustomerField[];
}) {
  const updateInvoiceWithId = updateInvoice.bind(null, invoice.id);

  return (
    <form action={updateInvoiceWithId}>
      {/* 폼 내용 */}
    </form>
  );
}
bind 메서드의 동작 방식:
- 함수의 인수(
invoice.id)를 미리 설정한 새로운 함수 생성 - 폼 제출 시에만 실행되는 함수 레퍼런스 전달
- 즉시 실행이 아닌 지연 실행 구현
STEP 2: updateInvoice 서버 액션 구현
// /app/lib/actions.ts
"use server";

import { sql } from "@vercel/postgres";
import { revalidatePath } from "next/cache";
import { redirect } from "next/navigation";
import { z } from "zod";

const FormSchema = z.object({
  id: z.string(),
  customerId: z.string(),
  amount: z.coerce.number(), // "100" -> 100 자동 변환
  status: z.enum(["pending", "paid"]),
  date: z.string(),
});

const UpdateInvoice = FormSchema.omit({ id: true, date: true });

export async function updateInvoice(id: string, formData: FormData) {
  // 1. 폼 데이터 추출 및 검증
  const { customerId, amount, status } = UpdateInvoice.parse({
    customerId: formData.get("customerId"),
    amount: formData.get("amount"),
    status: formData.get("status"),
  });

  // 2. 데이터 변환 (달러를 센트로)
  const amountInCents = amount * 100;

  // 3. 데이터베이스 업데이트
  await sql`
    UPDATE invoices
    SET customer_id = ${customerId}, amount = ${amountInCents}, status = ${status}
    WHERE id = ${id}
  `;

  // 4. 캐시 무효화
  revalidatePath("/dashboard/invoices");

  // 5. 리다이렉트
  redirect("/dashboard/invoices");
}
주요 작업 단계
- 📝 데이터 추출 -
formData.get()메서드 사용 - 🔍 데이터 검증 - Zod 스키마로 타입 검증
- 💱 데이터 변환 - 금액을 센트 단위로 변환
- 💾 SQL 쿼리 실행 - UPDATE 쿼리로 데이터 수정
- 🔄 캐시 무효화 -
revalidatePath로 클라이언트 캐시 갱신 - 🔀 리다이렉트 - 업데이트 완료 후 목록 페이지로 이동
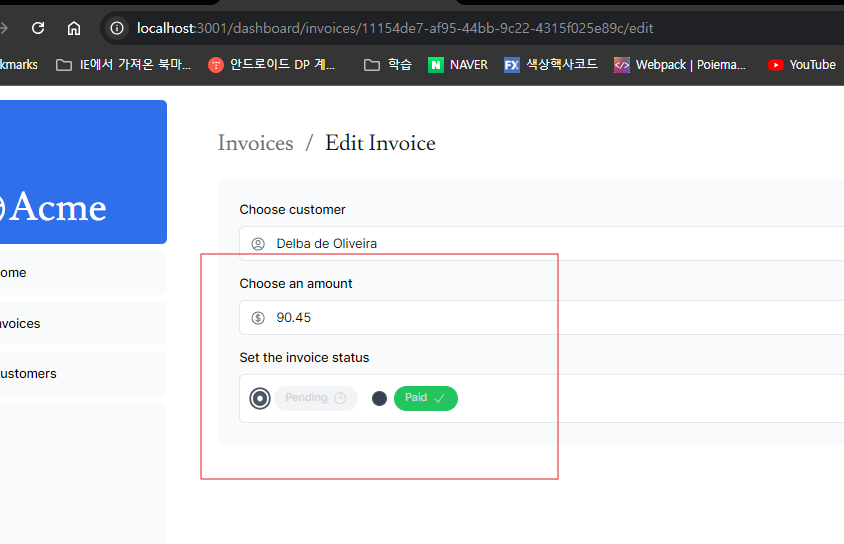
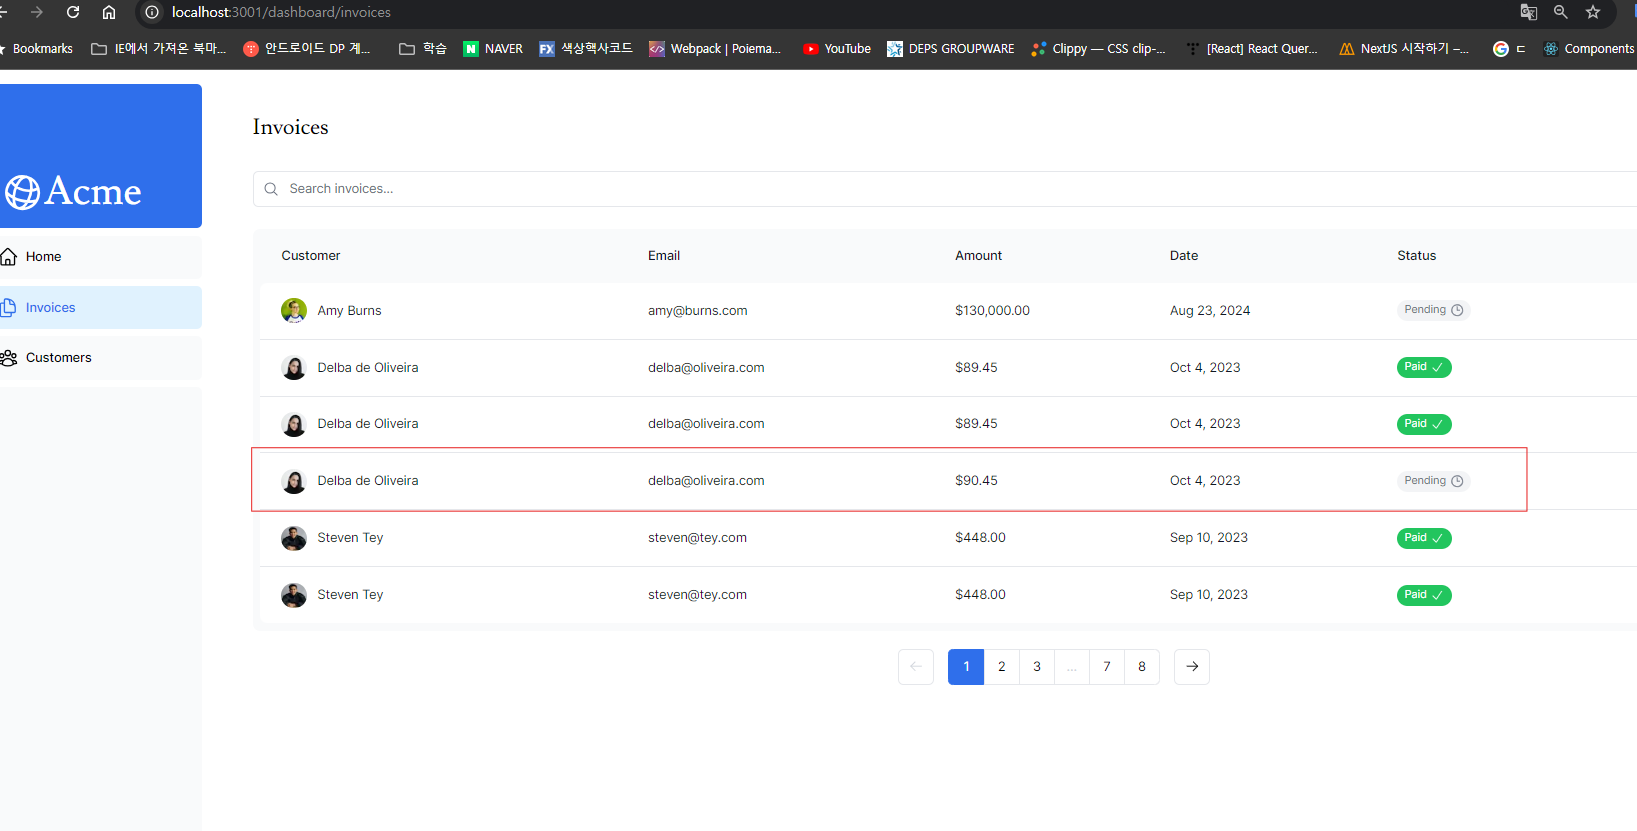
결과 화면
🗑️ Invoice 삭제 기능
삭제 버튼 구현
// /app/ui/invoices/buttons.tsx
import { deleteInvoice } from '@/app/lib/actions';

export function DeleteInvoice({ id }: { id: string }) {
  const deleteInvoiceWithId = deleteInvoice.bind(null, id);

  return (
    <form action={deleteInvoiceWithId}>
      <button type="submit" className="rounded-md border p-2 hover:bg-gray-100">
        <span className="sr-only">Delete</span>
        <TrashIcon className="w-4" />
      </button>
    </form>
  );
}
삭제 서버 액션
// /app/lib/actions.ts
export async function deleteInvoice(id: string) {
await sql`DELETE FROM invoices WHERE id = ${id}`;
revalidatePath("/dashboard/invoices");
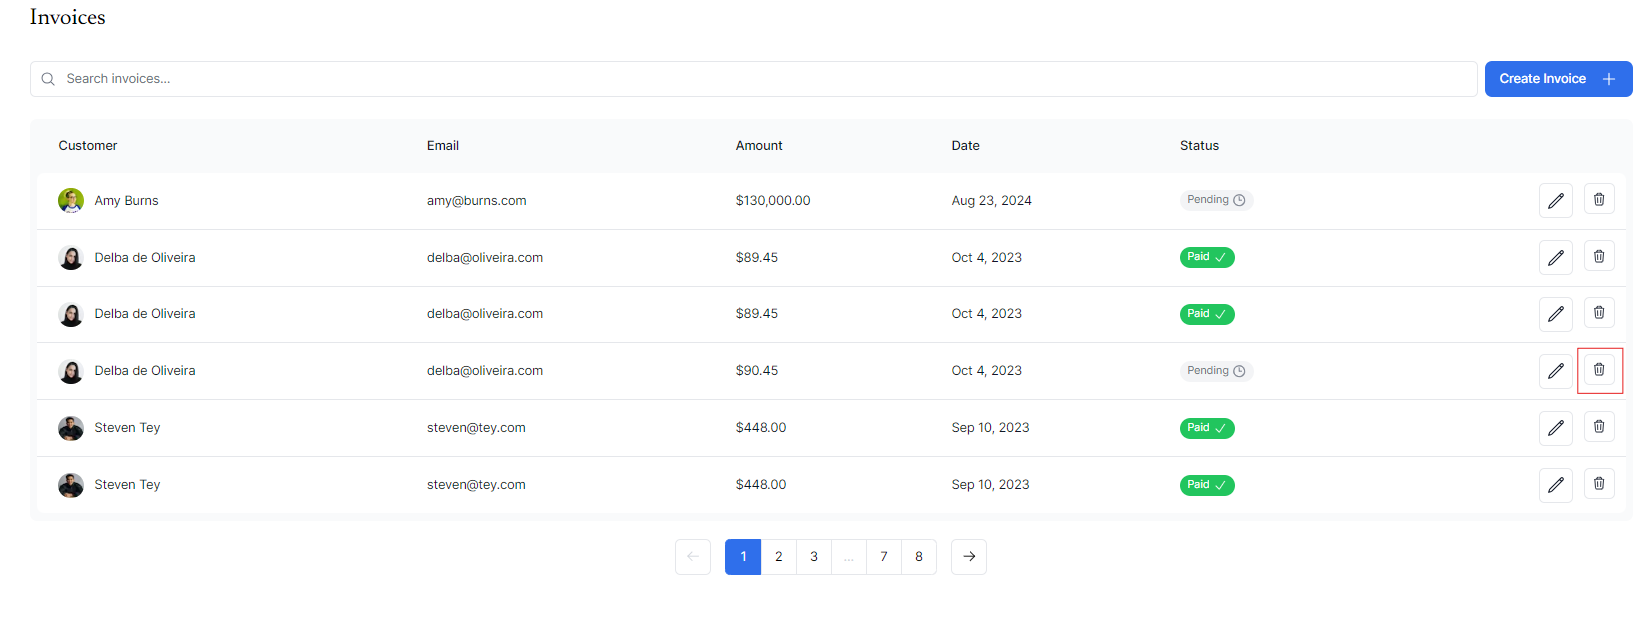
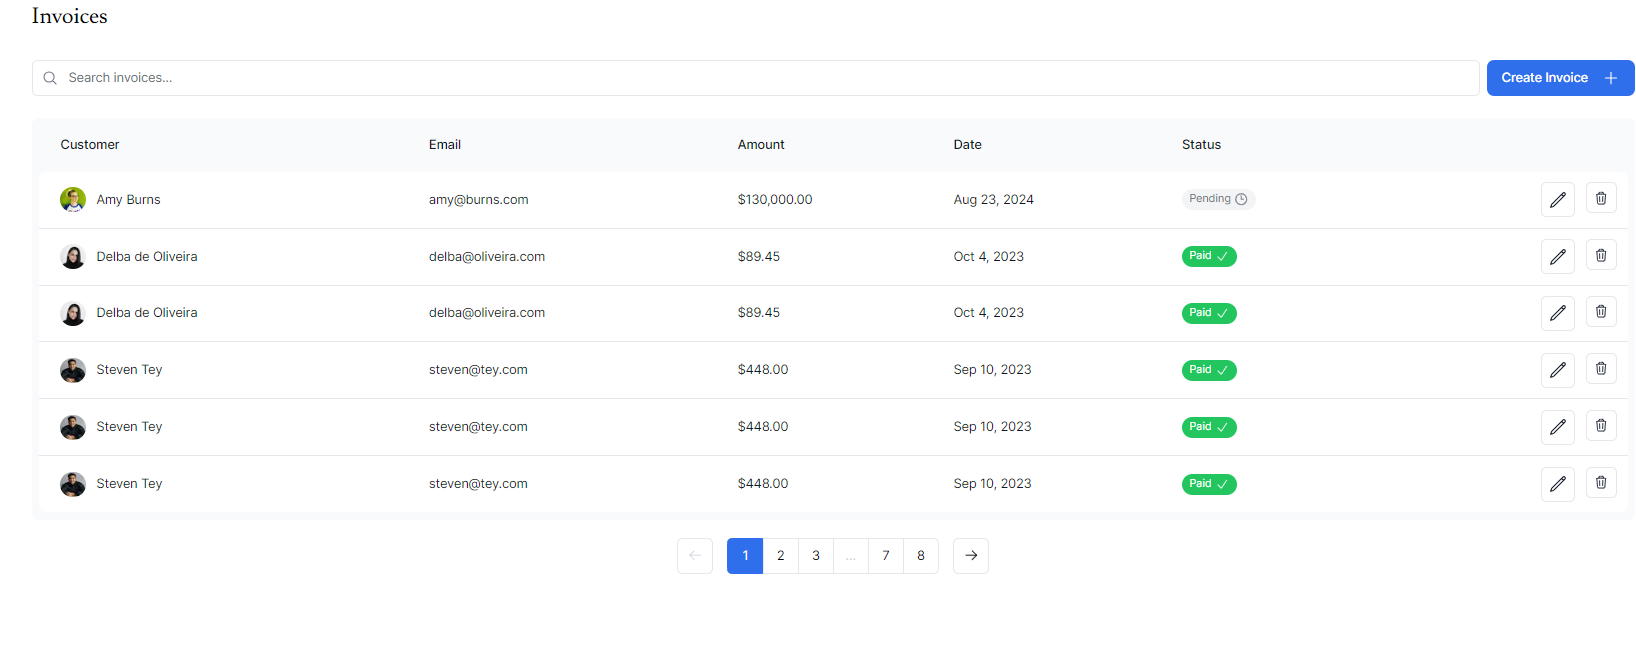
}결과 화면
🎯 핵심 포인트 정리
✨ 주요 학습 내용
- 동적 라우팅 - 대괄호를 사용한 동적 경로 생성
- bind 메서드 - 서버 액션에 파라미터 안전하게 전달
- 병렬 데이터 페칭 - Promise.all로 성능 최적화
- 데이터 검증 - Zod를 활용한 타입 안전성 확보
- 캐시 관리 - revalidatePath로 데이터 동기화
🛡️ 보안 고려사항
- UUID 사용으로 열거 공격 방지
- Zod 스키마로 입력 데이터 검증
- SQL 인젝션 방지를 위한 템플릿 리터럴 사용
🚀 성능 최적화
- Promise.all을 통한 병렬 처리
- revalidatePath를 통한 효율적인 캐시 관리
- 서버 액션을 통한 클라이언트-서버 간 최적화된 통신
이로써 Next.js Server Actions를 사용한 Invoice 데이터의 CRUD 작업 구현이 완료되었습니다. 다음 포스트에서는 에러 처리와 사용자 경험 개선에 대해 다루어보겠습니다.

프론트엔드 입문 개발자입니다.