
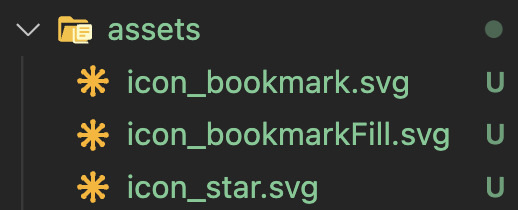
상위에 assets 폴더 생성 후 SVG 파일을 생성한다.
SVG 파일
<svg width="18" height="20" viewBox="0 0 18 20" fill="none" xmlns="http://www.w3.org/2000/svg">
<path d="M12.8059 2H5.08596C3.38917 2 2 3.38917 2 5.08596V16.3582C2 17.797 3.03196 18.4122 4.29215 17.7077L8.19178 15.5346C8.60853 15.3064 9.28329 15.3064 9.69012 15.5346L13.5898 17.7077C14.8499 18.4122 15.8819 17.797 15.8819 16.3582V5.08596C15.8918 3.38917 14.5026 2 12.8059 2Z" fill="#292D32" stroke="#292D32" stroke-width="2.5" stroke-linecap="round" stroke-linejoin="round"/>
<path d="M15.8918 5.08596V16.3582C15.8918 17.797 14.8599 18.4023 13.5997 17.7077L9.70005 15.5346C9.2833 15.3064 8.60853 15.3064 8.19178 15.5346L4.29215 17.7077C3.03196 18.4023 2 17.797 2 16.3582V5.08596C2 3.38917 3.38917 2 5.08596 2H12.8059C14.5026 2 15.8918 3.38917 15.8918 5.08596Z" fill="#292D32" stroke="#292D32" stroke-width="2.5" stroke-linecap="round" stroke-linejoin="round"/>
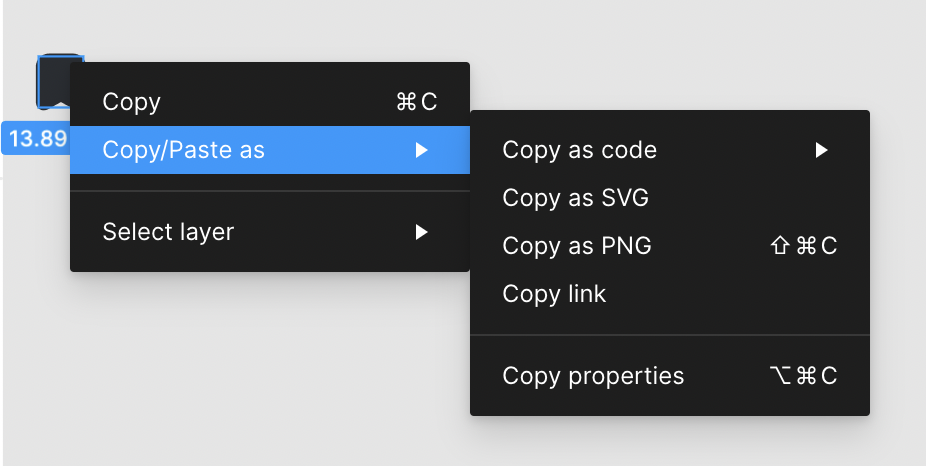
</svg>피그마툴 사용할 경우 해당 아이콘을 우클릭 하여 Copy as SVG를 선택하면 알아서 SVG 코드가 복사된다 👍
@svgr/webpack 설치
$yarn add -D @svgr/webpack
$npm install -D @svgr/webpack
next.config.js 환경세팅
module.exports = {
  async rewrites() {
    return [
      {
        source: "/:path*",
        destination: ""
      },
    ];
  },
  reactStrictMode: true,
  ✅ webpack: (config) => {
    config.module.rules.push({
      test: /\.svg$/i,
      issuer: /\.[jt]sx?$/,
      use: ["@svgr/webpack"],
    });
    return config;
  },
};
✅ 로 시작된 { } 블록 구간 코드들 추가하기
SVG를 컴포넌트로 import 해오기
import BookMark from "assets/icon_bookmark.svg";

const MyPage = () => {
  return (
    <BookMark />
  )
}

export default MyPage;
이렇게 사용할 수 있다.

아늑한 뇌공간 🧠
좋은 글 감사합니다.