
안녕하세요. 별똥별🌠입니다!
이번 시간에는 Composable Architecture (TCA)를 활용해 SwiftUI의 Alert와 Confirmation Dialog를 구현하는 방법을 살펴보겠습니다.
이번 예제는 TCA의 단방향 데이터 흐름과 SwiftUI의 alert 및 confirmationDialog를 자연스럽게 결합하여 사용자 경험을 극대화하는 방법을 보여줍니다.
1️⃣ Reducer 정의
AlertAndConfirmationDialog Reducer는 Alert와 Confirmation Dialog 상태와 액션을 관리하며, 사용자 입력 이벤트를 처리합니다.
@Reducer
struct AlertAndConfirmationDialog {
    @ObservableState
    struct State: Equatable {
        @Presents var alert: AlertState<Action.Alert>?
        @Presents var confirmationDialog: ConfirmationDialogState<Action.ConfirmationDialog>?
        var count = 0
    }

    enum Action {
        case alert(PresentationAction<Alert>)
        case alertButtonTapped
        case confirmationDialog(PresentationAction<ConfirmationDialog>)
        case confirmationDialogButtonTapped

        @CasePathable
        enum Alert {
            case incrementButtonTapped
        }
        @CasePathable
        enum ConfirmationDialog {
            case incrementButtonTapped
            case decrementButtonTapped
        }
    }

    var body: some Reducer<State, Action> {
        Reduce { state, action in
            switch action {
            case .alert(.presented(.incrementButtonTapped)),
                 .confirmationDialog(.presented(.incrementButtonTapped)):
                state.alert = AlertState { TextState("1 증가!") }
                state.count += 1
                return .none

            case .alert:
                return .none

            case .alertButtonTapped:
                state.alert = AlertState(
                    title: {
                        TextState("Alert!")
                    },
                    actions: {
                        ButtonState(role: .cancel) {
                            TextState("Cancel")
                        }
                        ButtonState(action: .incrementButtonTapped) {
                            TextState("Increment")
                        }
                    },
                    message: {
                        TextState("This is an alert")
                    }
                )
                return .none

            case .confirmationDialog(.presented(.decrementButtonTapped)):
                state.alert = AlertState { TextState("1 감소!") }
                state.count -= 1
                return .none

            case .confirmationDialog:
                return .none

            case .confirmationDialogButtonTapped:
                state.confirmationDialog = ConfirmationDialogState {
                    TextState("Confirmation dialog")
                } actions: {
                    ButtonState(role: .cancel) {
                        TextState("Cancel")
                    }
                    ButtonState(action: .incrementButtonTapped) {
                        TextState("Increment")
                    }
                    ButtonState(action: .decrementButtonTapped) {
                        TextState("Decrement")
                    }
                } message: {
                    TextState("This is a confirmation dialog.")
                }
                return .none
            }
        }
        .ifLet(\.$alert, action: \.alert)
        .ifLet(\.$confirmationDialog, action: \.confirmationDialog)
    }
}
주요 포인트
- State 정의
- @Presents var alert: AlertState 타입의 선택적 상태로, Alert를 관리합니다.
- @Presents var confirmationDialog: ConfirmationDialogState 타입의 선택적 상태로, Confirmation Dialog를 관리합니다.
- var count: Alert나 Dialog를 통해 증감되는 값입니다.
- Action 정의
- alert와 confirmationDialog는 각각의 이벤트를 처리하기 위한 액션과 PresentationAction을 제공합니다.
- alertButtonTapped와 confirmationDialogButtonTapped는 Alert와 Dialog를 표시하기 위한 트리거입니다.
- Reducer 로직
- 특정 버튼 이벤트 발생 시 state.alert 또는 state.confirmationDialog를 생성하여 Alert/Dialog를 표시합니다.
- Alert/Dialog 버튼 클릭 이벤트는 state.count를 증가/감소하거나 다른 상태 변화를 유발합니다.
- .ifLet을 사용해 Alert/Dialog 상태와 액션을 하위 Reducer에 연결합니다.
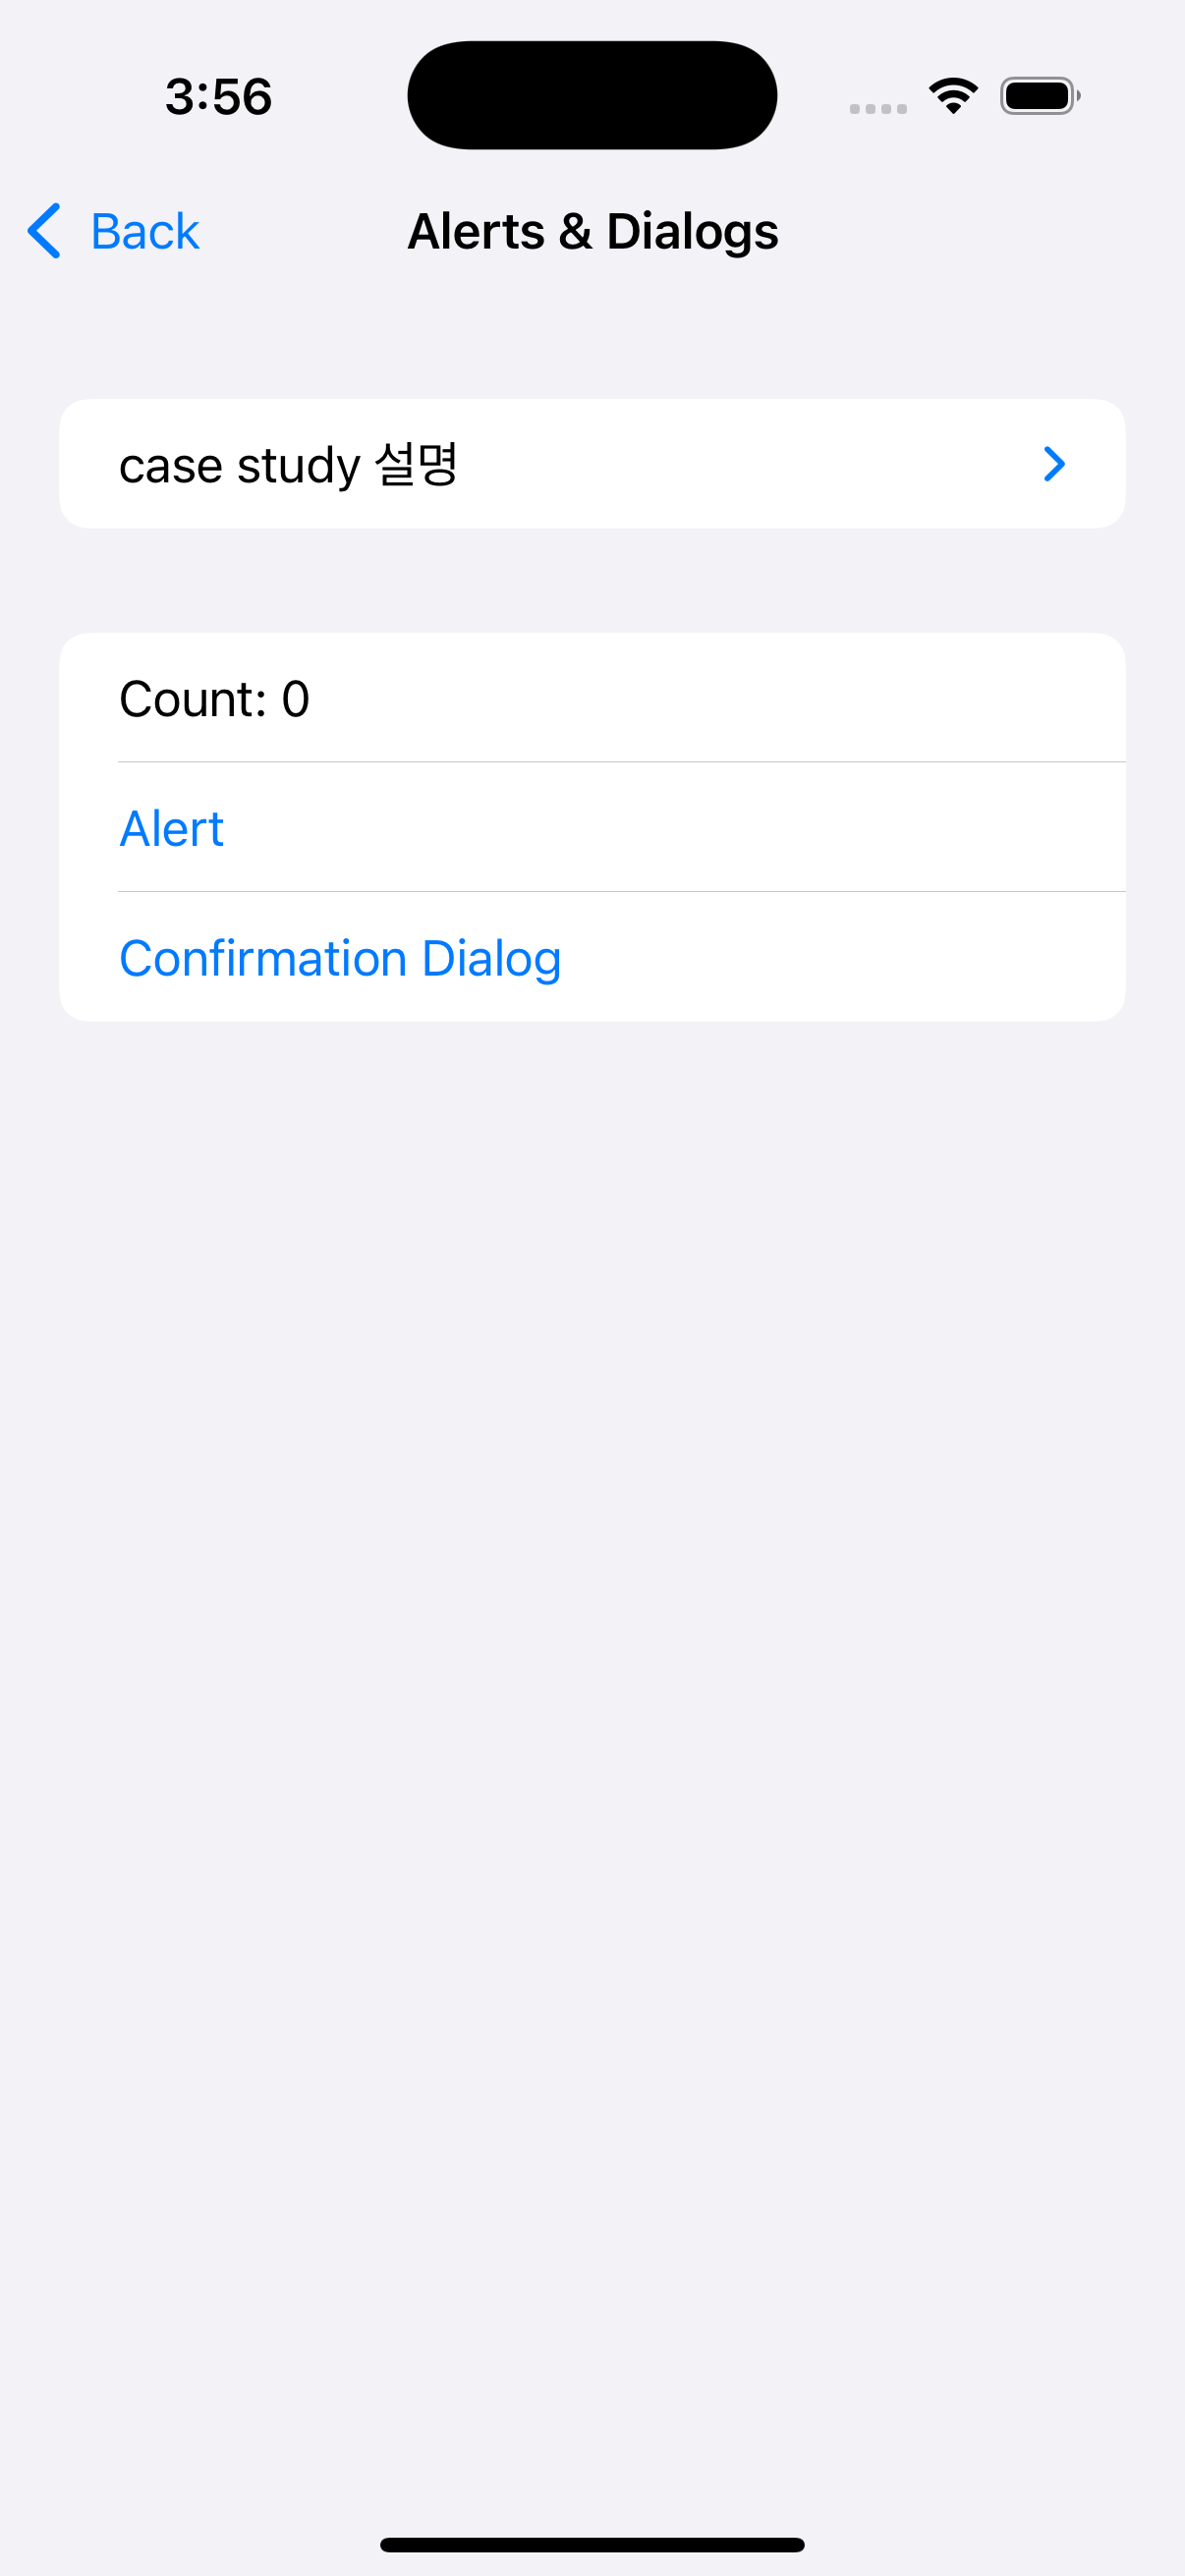
2️⃣ View 구현
AlertAndConfirmationDialogView는 Reducer와 연결된 상태 및 액션을 기반으로 UI를 구성합니다.
struct AlertAndConfirmationDialogView: View {
    @Bindable var store: StoreOf<AlertAndConfirmationDialog>

    var body: some View {
        Form {
            Section {
                AboutView(readMe: readMe)
            }

            Text("Count: \(store.count)")

            Button("Alert") {
                store.send(.alertButtonTapped)
            }

            Button("Confirmation Dialog") {
                store.send(.confirmationDialogButtonTapped)
            }
        }
        .navigationTitle("Alerts & Dialogs")
        .alert($store.scope(state: \.alert, action: \.alert))
        .confirmationDialog($store.scope(state: \.confirmationDialog, action: \.confirmationDialog))
    }
}
주요 포인트
- Alert와 Confirmation Dialog 트리거 버튼
- "Alert" 버튼: .alertButtonTapped 액션을 전송하여 Alert를 표시합니다.
- "Confirmation Dialog" 버튼: .confirmationDialogButtonTapped 액션을 전송하여 Confirmation Dialog를 표시합니다.
- scope를 활용한 상태 바인딩
- alert: @Presents로 정의된 alert 상태를 스코프 처리하여 SwiftUI의 .alert와 연결합니다.
- confirmationDialog: 동일하게 confirmationDialog 상태를 .confirmationDialog와 연결합니다.
- Dynamic UI
- state.alert와 state.confirmationDialog의 값에 따라 UI에 Alert 또는 Confirmation Dialog가 나타납니다.
3️⃣ Preview 구현
Preview를 통해 구현된 UI와 상태 변화를 빠르게 테스트할 수 있습니다.
#Preview {
    NavigationStack {
        AlertAndConfirmationDialogView(
            store: Store(initialState: AlertAndConfirmationDialog.State()) {
                AlertAndConfirmationDialog()
            }
        )
    }
}
🌟 핵심 포인트 정리
- @Presents를 사용한 Presentation 상태 관리
- TCA의 @Presents를 활용하면 Alert와 Confirmation Dialog와 같은 Presentation 상태를 간단히 관리할 수 있습니다.
- 선택적 상태(nil 또는 값 존재 여부)를 기반으로 UI에 표시 여부를 동적으로 결정할 수 있습니다.
- ifLet으로 하위 Reducer 연결
- Reducer 내에서 .ifLet을 사용해 Presentation 상태에 따라 하위 Reducer를 호출합니다.
- Presentation 상태가 없으면 해당 액션 처리가 건너뛰어 효율성을 유지합니다.
- 상태 기반 UI 구성
- SwiftUI의 alert와 confirmationDialog를 TCA 상태와 결합하여 UI와 로직을 명확히 분리합니다.
- Alert/Dialog 버튼 클릭에 따라 state.count가 증감되는 상태 변화를 명확히 처리할 수 있습니다.
마무리
이번 사례를 통해 TCA에서 SwiftUI의 Alert와 Confirmation Dialog를 어떻게 구현하고 관리할 수 있는지를 배웠습니다.
이처럼 TCA의 단방향 데이터 흐름을 활용하면 Presentation 상태와 관련된 복잡한 로직도 쉽게 처리할 수 있습니다. 😊
다음 시간에도 더 흥미로운 TCA 사례로 찾아오겠습니다! 🌠

밍밍