JHipster Entity 추가하는 방법
JHipster에서 Entity에 필요한 요소들은 아래와 같다.
- A database table
- A Liquibase change set
- A JPA Entity
- A Spring Data JPA Repository
- A Spring MVC REST Controller, which has the basic CRUD operations
- An Angular router, a component and a service
- An HTML view
- Integration tests, to validate everything works as expected
- Performance tests, to see if everything works smoothly
아래의 방법들을 여러개의 Entity를 연결시켜줄 수도 있다.
- A database foreign key
- Specific JavaScript and HTML code for managing this relationship
JHipster에서는 entity sub-generator를 통해 이런 파일들을 자동으로 만들어줄 수 있다.
jhipster entity <원하는 이름>
sub-generator은 필요한 파일들을 만들어주고, 각 entity의 CRUD front-end도 제공해준다.
JHipster Entity명령어로 CRUD 게시판 만들어보기
-
JHipster 프로젝트를 생성해준다.(참고. https://velog.io/@max9106/JHipster-JHipster-%ED%94%84%EB%A1%9C%EC%A0%9D%ED%8A%B8-%EC%83%9D%EC%84%B1-rjk17hk9cq)
-
mysql을 사용해줄 것이므로, application-dev에서 mysql 설정해준다.(참고. https://velog.io/@max9106/JHipster-JHipster-mysql-%EC%97%B0%EB%8F%99%ED%95%98%EA%B8%B0-a9k17kc58i)
-
'jhipster entity [entity이름]' 명령어로 entity를 생성해준다.
book entity와 author entity를 생성해주겠다.한 명의 author가 여러권의 책을 쓸 수 있으므로, one to many relationship이다. -author는 name(String), birthDate(LocaleDate)로 구성할 것이고, -book은 title(String), description(String), publicationDate(LocaleDate), price(BigDecimal), bookImage(blob)로 구성할 것이다. 먼저 jhipster entity author 명령어로 author entity를 생성해준다. entity의 필드를 추가할 것인지 묻는 질문이다. name과 birthDate 2개의 필드를 추가해야하므로 y를 적고 엔터를 눌러준다. 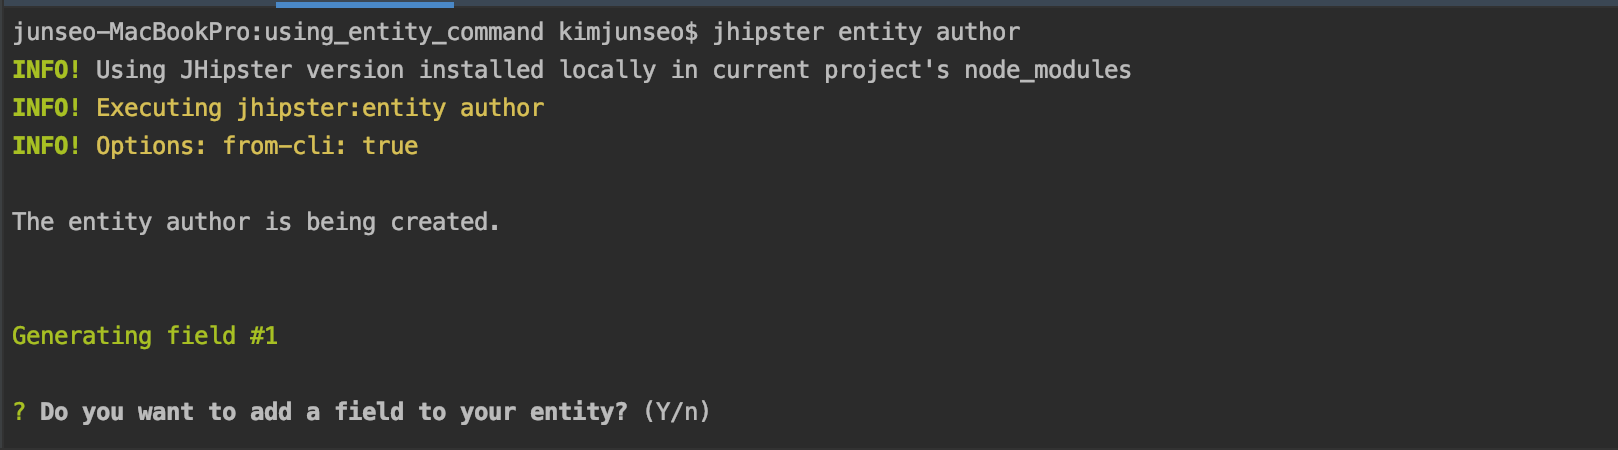 필드의 이름과 타입을 지정해준다. 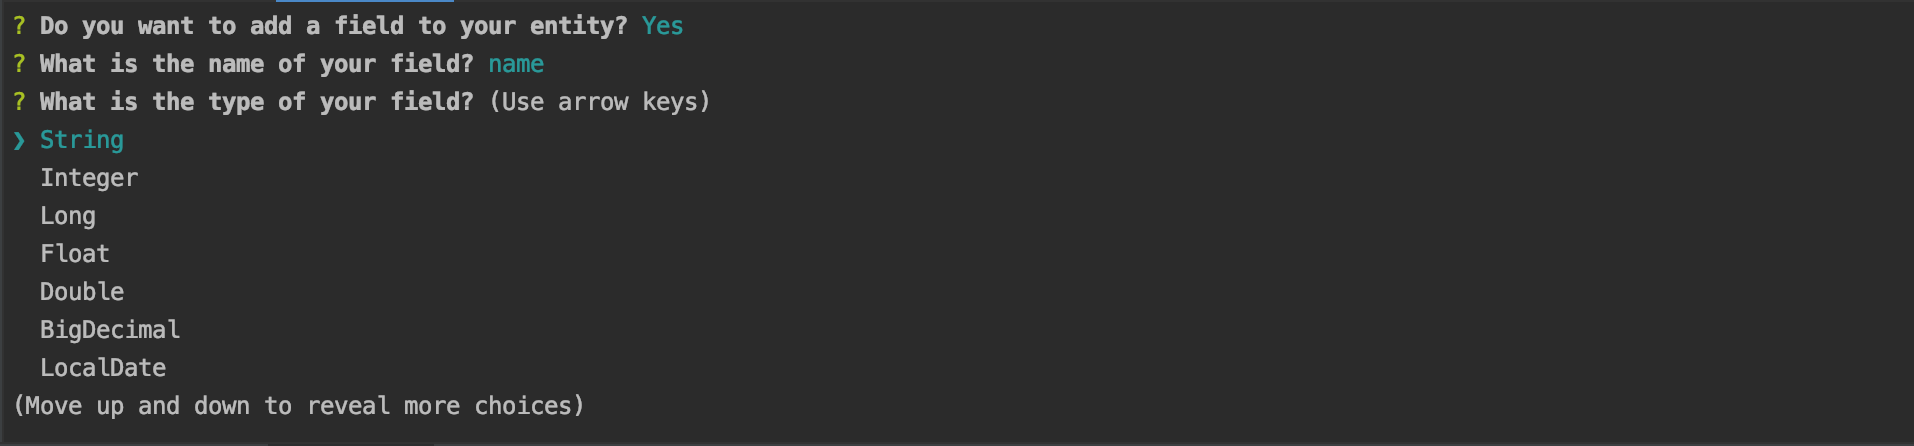 validation rule도 정해줄 수 있다. 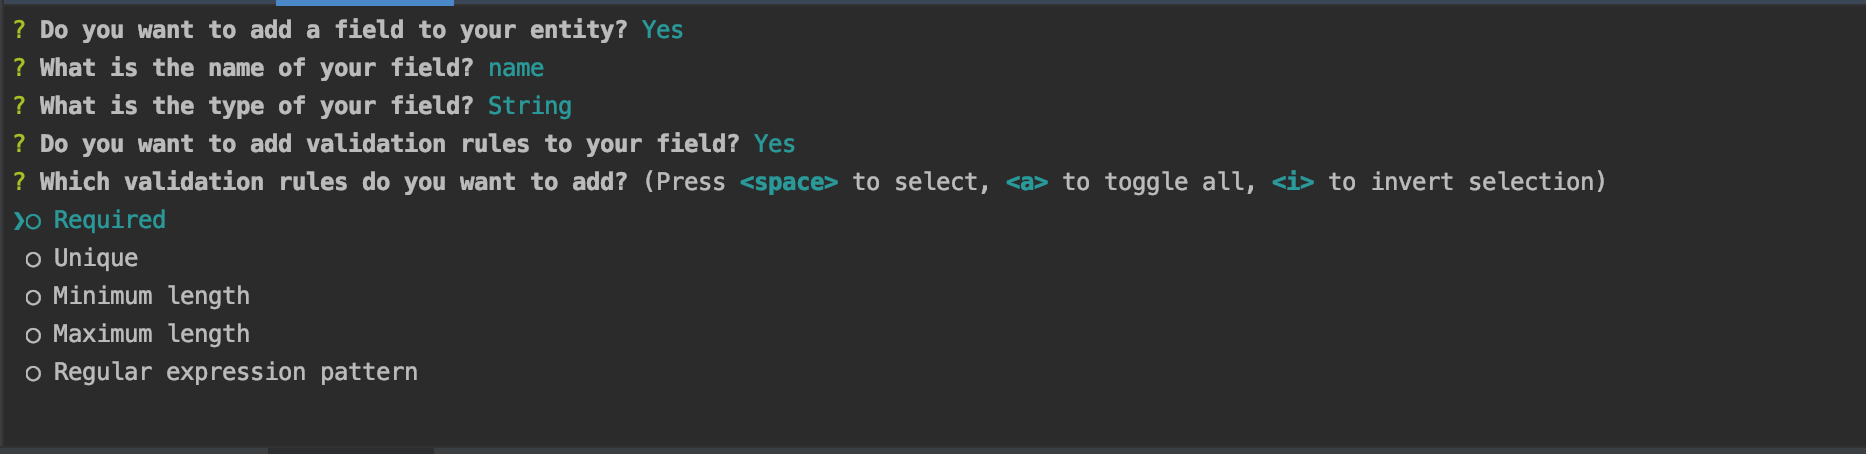 여기까지 설정해주면, 첫 번째 필드에 관한 설정이 완료된 것이다. 필요하면 필드를 위와 똑같은 방법으로 추가해줄 수 있다. (birthDate를 추가해준다.)  필드를 모두 추가하고 나서 n을 눌러주면, 다른 entity와의 relationship을 설정해줄 수 있다. 우리는 author 와 book 사이에 one to many relationship을 가지고 있으므로, y를 눌러 설정해준다. 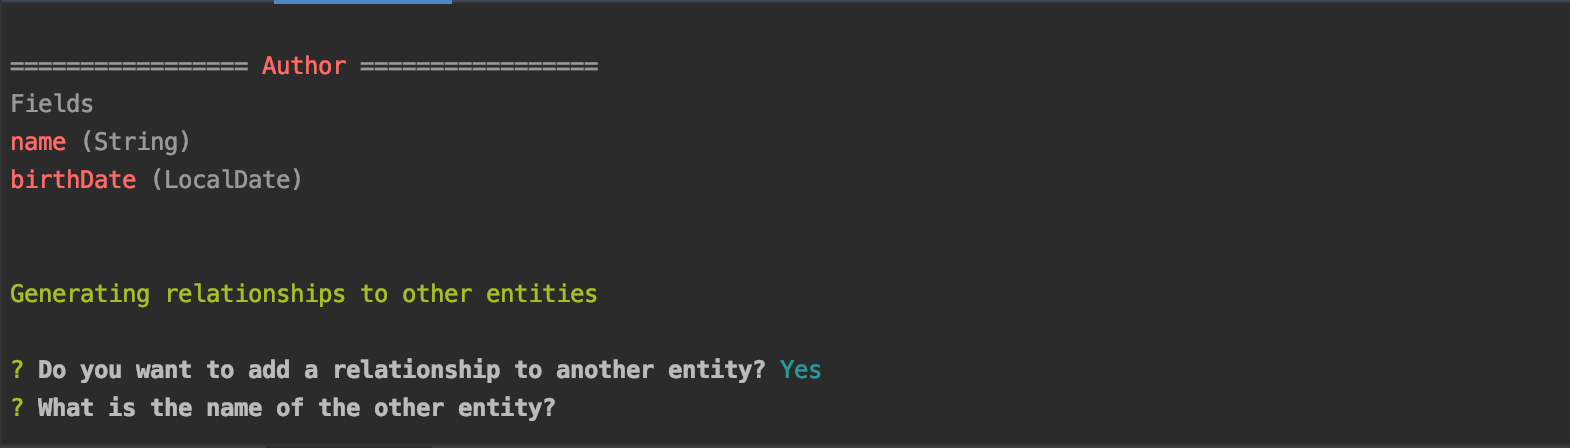 relation을 맺을 다른 entity의 이름을 적어준다. 우리는 book을 적어주면 된다(아직 book entity는 없는 상태이다.) relation의 이름과 type도 설정해주면, 하나의 relation이 완성된다. 다른 relation을 추가하고 싶으면 위와 같은 과정을 반복하면 된다. 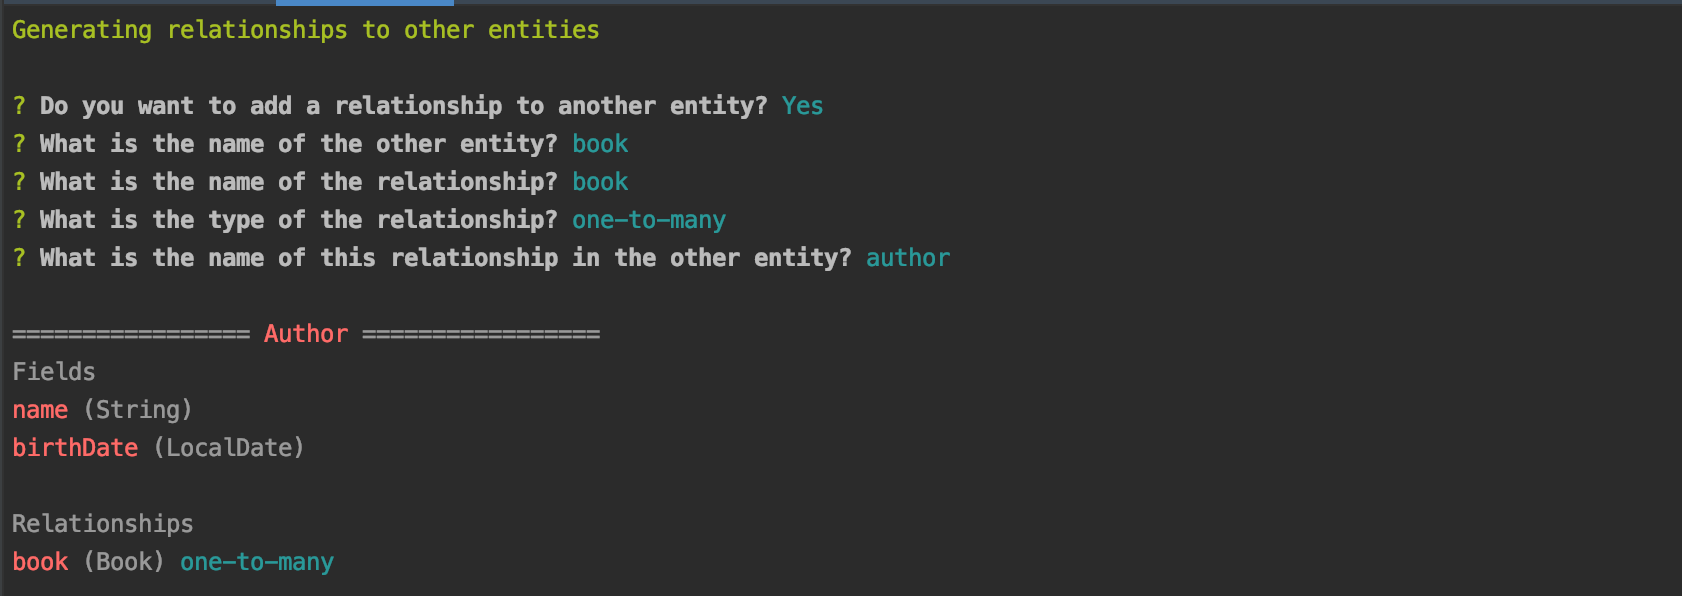 relation 설정이 완료된 후, service class를 추가해줄 수도 있다. (여기서는 사용하지 않을 것이다.) read-only설정도 해줄 수 있고, pagination도 설정해 줄 수있다. 이번 예제에서는 아래와 같이 하겠다.  모든 설정을 완료하고 나서 master.xml에 a 를 입력해 덮어쓰기 해주면 끝이다. 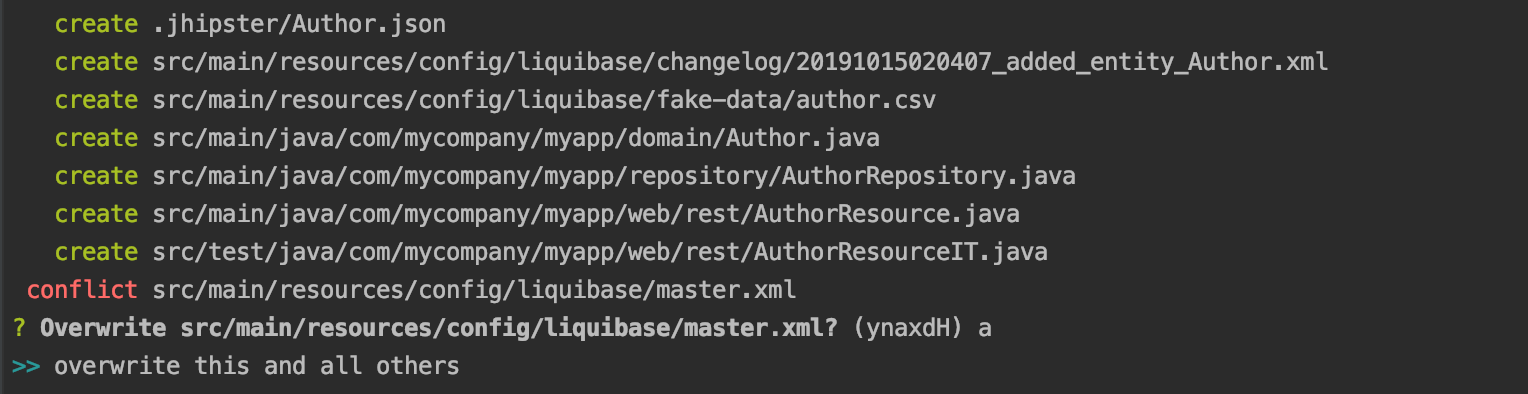 이렇게 하고나면 error가 발생하는데, 아직 book entity를 만들어주지 않았는데, relation설정을 해주어서 그렇다. book entity를 생성해주면 error가 사라진다. book entity도 author entity와 같은 방식으로 생성해준다. *단 relation 설정에서 author entity에서 해준 것과 반대로 many to one type으로 author entity와 연결해준다. book entity에서 사용할 author entity의 field까지 정해준다. 여기서는 author의 name으로 하겠다. validation rule, service class, read-only, pagiantion도 설정해주고, master.xml에 덮어쓰면 끝이다. 
-
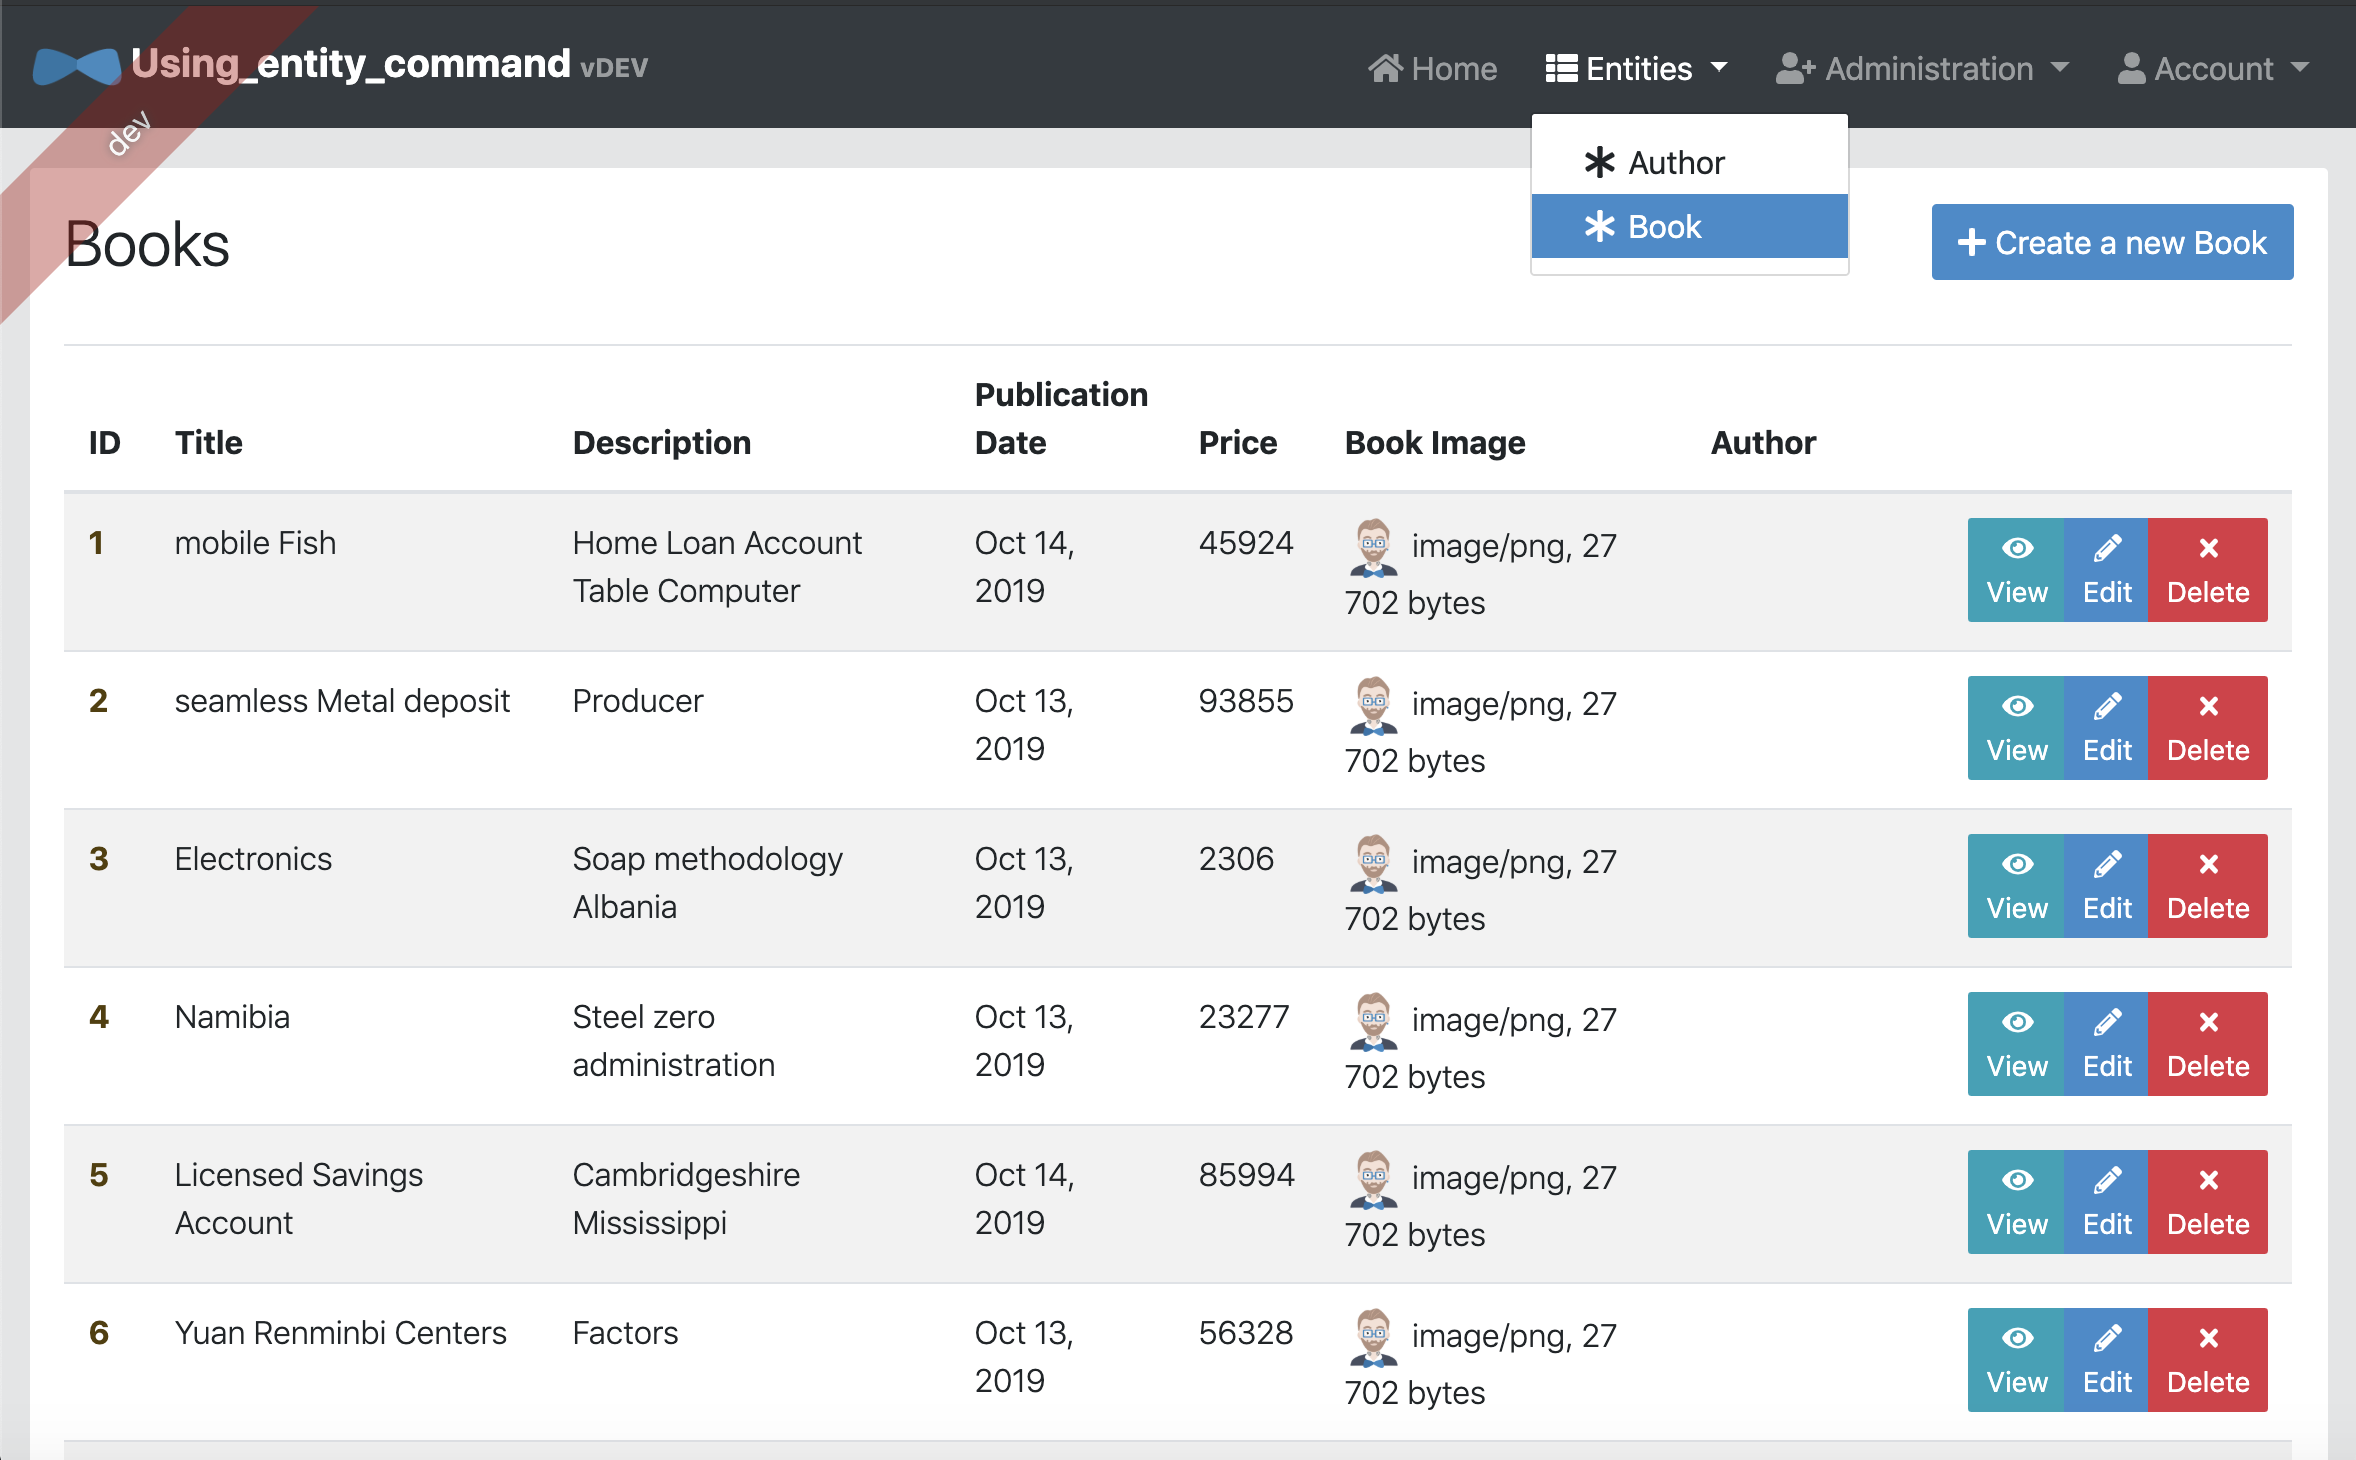
'./mvnw'로 백엔드를 실행시킨다.
로그인 후, entity 탭을 가보면, author와 book entity가 만들어져있고, fake 데이터가 들어가 있는 것을 볼 수 있다. CRUD 기능이 모두 구현되어 있음을 볼 수 있다.