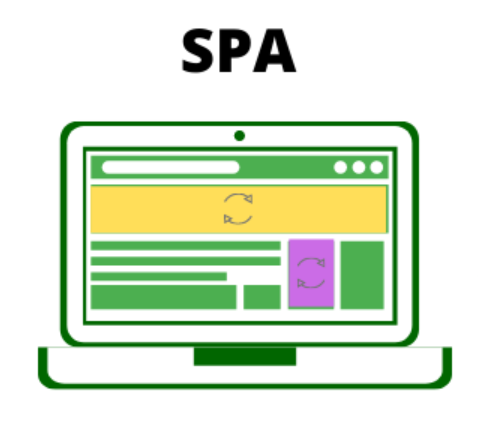
📌 SPA란?
SPA(Sinlge Page Application)

- 말 그대로 페이지가 하나인 어플리케이션 => 기본 HTML 파일을 하나로 두는 것
- 다른 페이지로 이동할 때 새로운 HTML 파일을 가져오는 것이 아니라 필요한 부분만을 수정하여 바꿔끼우는 방식
- initial request 시에 모든 정적 리소스들(이미지, HTML, JS 등)를 다운받고, 해당 페이지에 필요한 데이터는 클라이언트에서 요청하여 서버로부터 동적으로 받아온다.
- 프론트엔드 프레임워크 3대장인 React, Vue, Angular가 SPA 방식을 채택하면서 유명해졌다.
- SPA를 구현하는 데 주로 CSR 렌더링 방식이 사용된다 .
📌 history API를 이용한 SPA의 구현
history API란? 에서 history API란 무엇인지, 또 어떻게 사용하는 지 알아보았다. 이번에는 history API를 이용해 SPA를 구현하고자 할 때, 꼭 신경써야 하는 부분 3가지를 알아보자.
1. a 태그 링크 이동 방지
<body>
    <div id="container"></div>
    <a class="LinkItem" href="/study-list">study list</a>
    <a class="LinkItem" href="/play-list">play list</a>
원래 브라우저에서 a 태그를 클릭했을 때의 기본 동작은, href에 연결된 url로의 페이지 이동이다. 즉, 내 local client 기준으로 생각하면, 위 코드에서 첫번째 a 태그를 클릭했을 때 http://localhost:3000/study-list/index.html 라는 파일을 찾으려고 한다.
그런데 우리는 원하는 동작은 url만 /study-list로 변경하고 이에 따라 페이지의 일부분을 변경하는 것이다. 또한, 현재 study-list/index.html 파일을 우리가 가지고 있는 것이 아니기 때문에, 404 error가 발생한다.
따라서, pushState를 통해 SPA를 구현하고자 할 때, a 태그를 클릭했을 때 위와 같은 a 태그의 기본 역할이 실행되지 않도록 우선 해줘야한다. 이는 이벤트 버블링을 이용해 구현할 수 있다.
<a class="LinkItem" href="/study-list">study list</a>
<a class="LinkItem" href="/play-list">play list</a>
<script>
  window.addEventListener("click", (e) => {
    if (e.target.className === "LinkItem")
      e.preventDefault();
    }
  });
</script>
여기서 클릭이벤트가 이벤트 버블링되면서 a 태그에서 window 까지 올라갈텐데, className이 LinkItem인 a태그가 클릭되었다면, a 태그가 이동하지 않도록 preventDefault()를 실행해 페이지 이동을 방지할 수 있다.
2. 클릭에 따라 history state 변경
이제 a 태그가 클릭되었을 때, 링크로 이동하지 않고, url도 변경되지 않는다. 이제 a 태그가 클릭되었을 때, hisrtory state를 쌓아서 url만 변경해주려고 한다.
window.addEventListener("click", (e) => {
  if (e.target.className === "LinkItem")
    e.preventDefault();

    const { href } = e.target; // http://localhost:3000/study-list
    const path = href.replace(window.location.origin, ""); // http://localhost:3000을 없애주고 /study-list만 가져와준다.
    history.pushState(null, null, path);
    route();
  }
});
history.pushstate를 이용해 a 태그의 href 속성 값에서 path를 구하고 path를 url로 설정해주면, a 태그를 클릭했을 때 http://localhost:3000/study-list로 url이 바뀌고 화면은 이동하지 않게 된다.
하지만 여기서, 만약 새로고침을 누른다면, 브라우저는 다시
http://localhost:3000/study-list/index.html을 찾으려고 하고, 404 error를 발생시킨다. 따라서, 이러한 상황일 때, 루트에 있는 index.html로 돌려주는 처리가 필요하다.현재 폴더를 기준으로 터미널을 실행 후,
npx serve - s를 실행하면 404 error가 발생하면, 루트 폴더의 index.html로 이동시켜주는 동작을 지원해준다.=> history API를 쓰는 SPA 방식의 라우팅을 지원하는 모든 라이브러리는 이런 문제를 가지고 있기 때문에 적절히 대응해줘야 한다 !
3. state에 따라 화면 그려주기
a 태그를 클릭할 때 마다 history state를 변경해줌으로써 url을 변경했다면 이제 이 url을 기준으로 어떤 컴포넌트를 화면에 그릴지 결정해줘야 한다!
현재 location.pathname을 기준으로 컴포넌트를 그려주는 route() 함수를 정의했다.
function route() {
 const { pathname } = location;
 const container = document.querySelector("#container");
 if (pathname === "/") {
   container.innerHTML = "Todo List!!";
 } else if (pathname === "/study-list") {
   container.innerHTML = `<h1>공부할 것들</h1>`;
 } else if (pathname === "/play-list") {
   container.innerHTML = `<h1>놀거리들</h1>`;
 }
}
각 url은 a 태그의 클릭을 통해서도 변경될 수 있지만, 뒤로가기, 앞으로가기 버튼의 클릭, 콘솔에서 forward(), back(), go()를 통해서도 변경될 수 있고, 이러한 경우에도 화면을 다시 그려줘야 한다. popstate event를 이용해 구현해줄 수 있다.
window.addEventListener("popstate", () => route());새로고침 버튼이나,
history.go(0)를 실행했을 때는 url의 변경이 일어나지 않기 때문에 popstate event가 발생되지 않는다.
전체 코드는 다음과 같다.
<!DOCTYPE html>
<html lang="en">
<head>
<meta charset="UTF-8" />
<meta name="viewport" content="width=device-width, initial-scale=1.0" />
<title>Document</title>
</head>
<body>
<div id="container"></div>
<a class="LinkItem" href="/study-list">study list</a>
<a class="LinkItem" href="/play-list">play list</a>
<script>
function route() {
const { pathname } = location;
const container = document.querySelector("#container");
if (pathname === "/") {
container.innerHTML = "Todo List!!";
} else if (pathname === "/study-list") {
container.innerHTML = `<h1>공부할 것들</h1>`;
} else if (pathname === "/play-list") {
container.innerHTML = `<h1>놀거리들</h1>`;
}
}
route();
window.addEventListener("click", (e) => {
if (e.target.className === "LinkItem") {
e.preventDefault();
const { href } = e.target; // http://localhost:3000/study-list
const path = href.replace(window.location.origin, ""); // http://localhost:3000을 없애주고 /study-list만 가져와준다.
history.pushState(null, null, path);
route();
}
});
window.addEventListener("popstate", () => route());
</script>
</body>
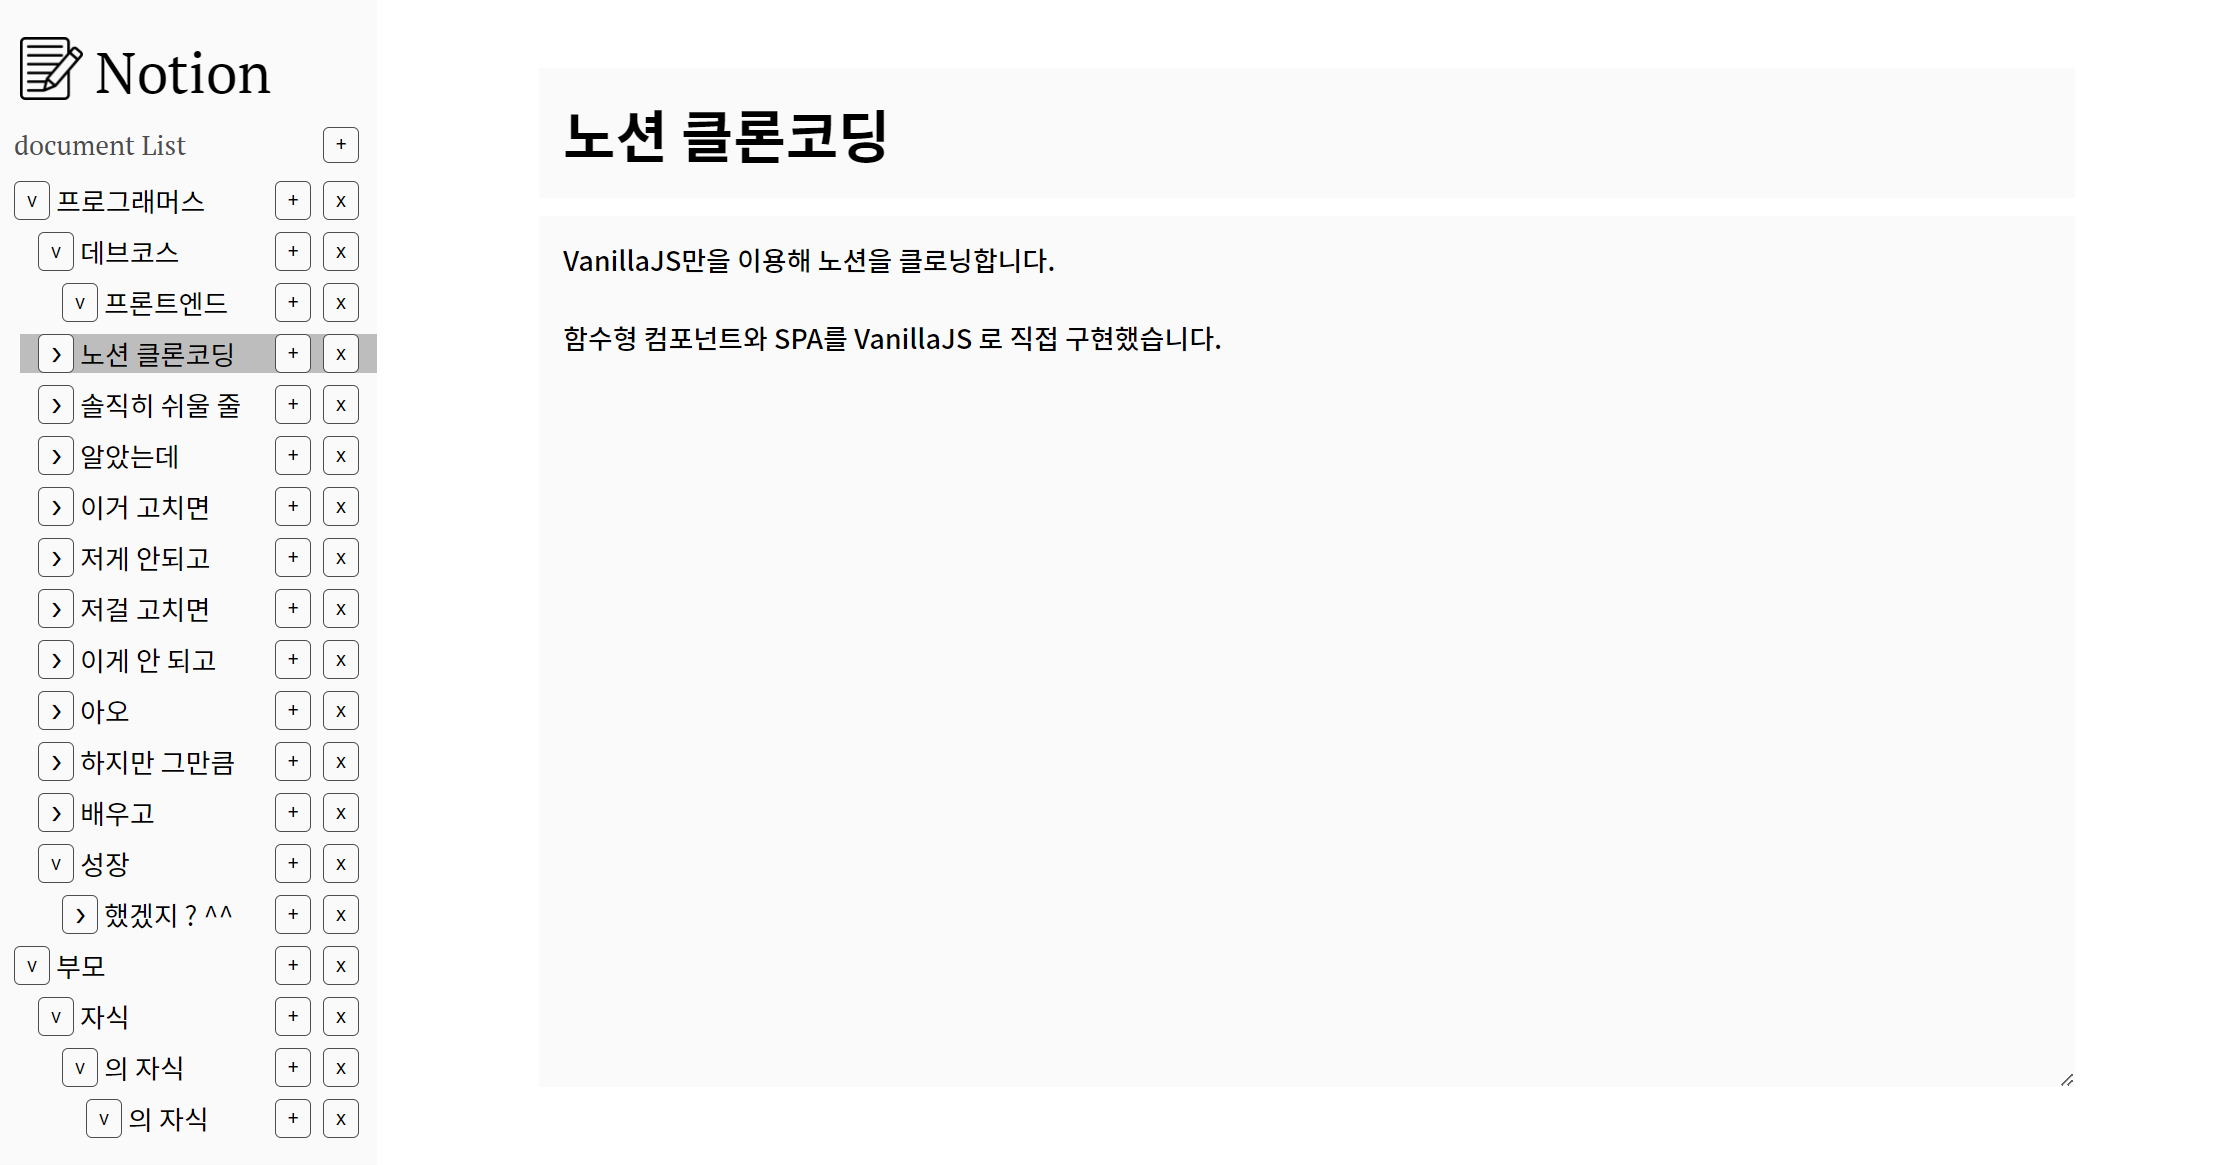
</html>📌 프로젝트 적용 예시
개인 프로젝트인 노션 프로젝트에 실제로 history API를 이용해 SPA를 구현했는지에 대한 내용이다.
이 프로젝트에서는 보여질 수 있는 페이지를 크게 2가지로 나누었다.
-
선택된 document가 없는 메인 페이지
=> ex)
http://localhost:3000
-
특정 document에 대한 페이지
=> ex)
http://localhost:3000/88179
그래서 현재 선택된 document의 Id를 바탕으로 페이지의 라우팅을 관리하고자 했고, 이 data를 App 컴포넌트의 state인 selectedDocumentId로 관리했다.
this.route = () => {
  // 현재 url의 pathname으로 selectedId를 변경
  const { pathname } = location;

  if (pathname === "/") {
    this.setState({ selectedDocumentId: null }); // editPage를 다시 렌더링
    this.render(); // sideBar 다시 렌더링
  } else {
    const [, documentId] = pathname.split("/");
    this.setState({ selectedDocumentId: documentId });
    this.render();
  }
};- 현재 선택된 document가 바뀔 때마다 pushState를 통해 url을 업데이트해 줌.
- 특정 document가 선택 =>
pushState(null, null, selectedDocumentId) - 특정 document가 생성 =>
pushState(null, null, selectedDocumentId) - 첫 접속 시 메인 페이지 or 현재 document가 삭제 =>
pushState(null, null, "/")
- 특정 document가 선택 =>
app컴포넌트에서route()함수 실행- url에 해당하는 id로 selectedDocumentId를 변경
- 이에 따라 sideBar와 editPage를 다시 렌더링
🙇🏻♂️ 참고