
MyBatis
MyBatis Start
MyBatis는 데이터베이스를 쓰기 위한 Framework이다. JDBC만 이용해 데이터베이스를 쓴다고 생각해 봤을 때 단순한 CRUD를 할 때 sql 문은 한 줄인 반면 작성해야 하는 코드는 배우 길다. 실제로 Insert 기능 하나를 구현하기 위해서는 아래 코드가 필요하고 복잡하고 실수를 만들기도 좋다.
public void executeInsert(Student student) {
    String sql = "INSERT INTO students (name, age, phone, email) VALUES (?, ?, ?, ?)";
    try (Connection connection = dataSource.getConnection();
         PreparedStatement statement = connection.prepareStatement(sql)){

        statement.setString(1, student.getName());
        statement.setInt(2, student.getAge());
        statement.setString(3, student.getPhone());
        statement.setString(4, student.getEmail());

        statement.executeUpdate();
    } catch (SQLException e) {
        log.error(e.getMessage(), e);
    }
}
MyBatis
JDBC를 활용해 만들어진 프레임워크로 데이터베이스를 다루는 부분에 있어 우리의 코드를 전달해 주는 역할을 한다. Interface 메소드에 SQL을 연결하고 메소드를 호출했을 때 SQL을 실행하도록 해 준다. 인자와 결과를 Java 객체로 더욱 활용하기 쉽고 조금 복잡하지만 동적인 SQL 사용이 가능해진다.
MyBatis는 Spring Initialize 사이트에서 의존성을 추가해 프로젝트를 생성할 수 있다.

이후 데이터베이스를 활용해야 하기 때문에 SQLite 의존성을 추가해 준다.
runtimeOnly 'org.xerial:sqlite-jdbc:3.41.2.2MyBatis는 데이터베이스를 다루기 위해 필요한 도구이지 데이터베이스 생성은 직접 해 줘야 한다. 따라서 데이터베이스를 추가하고 어제 했던 INSERT를 통해 데이터를 실행해 준다. 따라서 오늘 써야 할 테이블을 생성해 준다.
DROP TABLE IF EXISTS students;
CREATE TABLE IF NOT EXISTS students (
    id INTEGER PRIMARY KEY AUTOINCREMENT,
    name TEXT,
    age INTEGER,
    phone TEXT,
    email TEXT
);
이후 application.yaml 파일을 생성해 준다. application.properties와 함께 모두 둘 다 spring 프로젝트를 위한 설정 파일인데 문법적인 부분만 다르다. 예를 들어 데이터베이스의 위치를 나타내는 말을 적어 보자.
spring.datasouce.url=jdbc:sqlite:db.sqlitespring:
datasource:
url: jdbc:sqlite:db.sqlite현재는 yaml파일이 더욱 선호되는 추세이다. 이후 데이터베이스에 관련된 속성을 더 추가해 준다.
spring:
  datasource:
    url: jdbc:sqlite:db.sqlite
driver-class-name: org.sqlite.JDBC
# username:
# password:이후 MyBatis 관련된 설정을 마쳐 준다.
spring:
  datasource:
    url: jdbc:sqlite:db.sqlite
    driver-class-name: org.sqlite.JDBC
 #   username:
 #   password:
mybatis:
mapper-locations: "classmath:mybatis/mappers/*.xml"
type-aliases-package: "com.example.mybatis.model"
configuration:
map-underscore-to-camel-case: truemap-underscore-to-camel-case 설정은 언더바를 자동으로 Camel Case로 바꿔 매칭해 준다는 설정이다.
데이터베이스는 some_variable로 snake_case이고 JAVA는 someVariable로 camelCase 규칙을 따르기 때문이다.
이후 model이라는 패키지를 써서 데이터베이스를 저장할 객체를 사용한다. 이 안에 Student라는 객체를 생성한다.
import lombok.Data;

@Data //Getter, Setter, RequiredArgConstructor, ToString, EqualsandHashCode
public class Student {
    private Long id;
    private String name;
    private Integer age;
    private String phone;
    private String email;
}
@Data Annotaion은 Getter, Setter, RequiredArgConstructor, ToString, EqualsandHashCode를 모두 지원해 주는 Lombok Annotation이다.
int 대신 Integer, long 대신 Long 같은 참조 타입을 사용한 이유는 NULL 값이 들어갈 수 있기 때문이다.
이후 데이터베이스랑 실제로 소통할 때 사용할 Interface를 사용할 mapper 패키지를 만든 뒤 StudentMapper Interface를 만든다.
import org.apache.ibatis.annotations.Mapper;

@Mapper //Mapper가 붙은 클래스를 MyBatis가 데이터베이스 통신에 사용할 준비
public interface StudentMapper {
}
이후 Select Annotation을 통해 SELECT 구문을 완성한다.
import java.util.List;

@Mapper //Mapper가 붙은 클래스를 MyBatis가 데이터베이스 통신에 사용할 준비
public interface StudentMapper {
    // SELECT * FROM students; 를 실행할 메소드를 만드는데
    // 복수개의 students를 반환하게 하는 return type -> List<Student>
    @Select("SELECT * FROM students")
    List<Student> selectStudentAll();
}
이후 dao package를 만든 뒤 학생을 조회하는 코드를 다음과 같이 작성한다.
import com.example.mybatis.mapper.StudentMapper;
import com.example.mybatis.model.Student;
import org.apache.ibatis.annotations.Mapper;
import org.apache.ibatis.session.SqlSession;
import org.apache.ibatis.session.SqlSessionFactory;

import java.util.List;

@Repository
public class StudentDao {
    private final SqlSessionFactory sessionFactory;
    public StudentDao(SqlSessionFactory sessionFactory) {
        this.sessionFactory =sessionFactory;
    }

    public List<Student> readStudentAll() {
        try (SqlSession session = sessionFactory.openSession()) {
            StudentMapper studentMapper = session.getMapper(StudentMapper.class);
            return studentMapper.selectStudentAll();
        }
    }
}SqlSessionFactory: MyBatis에서 JDBC에 접근하기 위한 객체로 JDBC 기능을 추사화한 것이다. 이 객체 생성을 통해 Dependency Injection이 일어나게 된다. MyBatis는 JDBC의 connection 을 추상화해서 사용할 수 있도록 해 주는데, 그 기초가 되는 객체가 SqlSessionFactory 이다. Spring Boot가 정의한 dataSource 를 활용하여, 데이터베이스와의 연결을 담당하는 객체입니다.
실제로 실행하는 메소드는 readStudentAll() 이다.
SqlSession: SqlSession 객체는 데이터베이스와 연결되어 있다는 것을 나타내는 객체이다. sessionFactory가 Session을 열면 그 연결을 session으로 받아 오는 것이다. 아까 만든 StudentMapper의 Mapper를 달라고 말한 것은, MyBatis가 알고 있는 SQL문을 실행하려고 한다고 말해 주는 것과 같다.
여기까지의 과정은 비즈니스 로직과는 별개로 MyBatis를 통한 데이터베이스 연결을 할 때 항상 일어나야 하는 부분이다.
이후 MaBatisApplication을 다음과 같이 작성한 뒤 실행시키면 데이터가 확인되는 것을 볼 수 있다.
import com.example.mybatis.dao.StudentDao;
import org.springframework.context.ApplicationContext;
import org.springframework.boot.SpringApplication;
import org.springframework.boot.autoconfigure.SpringBootApplication;

@SpringBootApplication
public class MybatisApplication {

	public static void main(String[] args) {

		ApplicationContext applicationContext =
				SpringApplication.run(MybatisApplication.class, args);

		StudentDao dao = applicationContext.getBean(StudentDao.class);
		System.out.println(dao.readStudentsAll());
	}

}
이후 StudentMapper에 CRUD를 구현할 수 있다.
Insert
// INSERT INTO studnets (name, age, phone, email) VALUES (?, ?, ?, ?);
    @Insert("INSERT INTO studnets (name, age, phone, email) " +
            "VALUES (#{name}, #{age}, #{phone}, #{emial})")
    void insertStudent(Student student);
원래 VAULES (?, ?, ?, ?) 였던 부분들을 인자로 들어가는 객체를 기준으로 맞춰서 넣어 준다. 또한 SQL Injection에 대한 방어까지 적용한 채로 데이터를 추가해 준다.
SelectOne
같은 작업을 반복해 준다.
@Select("SELECT * FROM students WHERE id = #{id}")
    Student selectStudent(Long id);
public Student readStudent(Long id) {
try (SqlSession session = sessionFactory.openSession()) {
StudentMapper studentMapper = session.getMapper(StudentMapper.class);
return studentMapper.selectStudent(id);
}
}System.out.println(dao.readStudent(1L));Mapper.xml
UPDATE
id로 학생을 지정해서 값을 수정해 주는 기능을 구현하고자 한다. mapper package에 있는 StudentMapper.java에 다음과 같은 Mapper 기능을 추가해 준다. 수정하고 싶은 부분만 수정하기 위해서는 값을 새로 입력받고 올바른 정보가 입력된 객체를 완전체로 전달해 줌으로 그 기능을 구현할 수 있다.
@Update("UPDATE students SET *" +
            "name = #{name}" +
            "age = #{age}" +
            "phone = #{phone}" +
            "email = #{email}" +
            "WHERE id = #{id}")
    void updateStudent(Student student);
이때 쿼리문이 복잡해질 때마다 Annotation의 작은 괄호 안에 넣는 것이 어려울 수도 있다. 이를 해결하기 위해 Annotation 기반으로 쿼리문을 작성하는 것이 아니라 .xml 형태로 작성된 외부 파일에 SQL 문을 저장해 두고 사용하도록 설정할 수 있다. 이 기능을 위해 새로운 Mapper인 StudentXmlMapper를 생성한다.
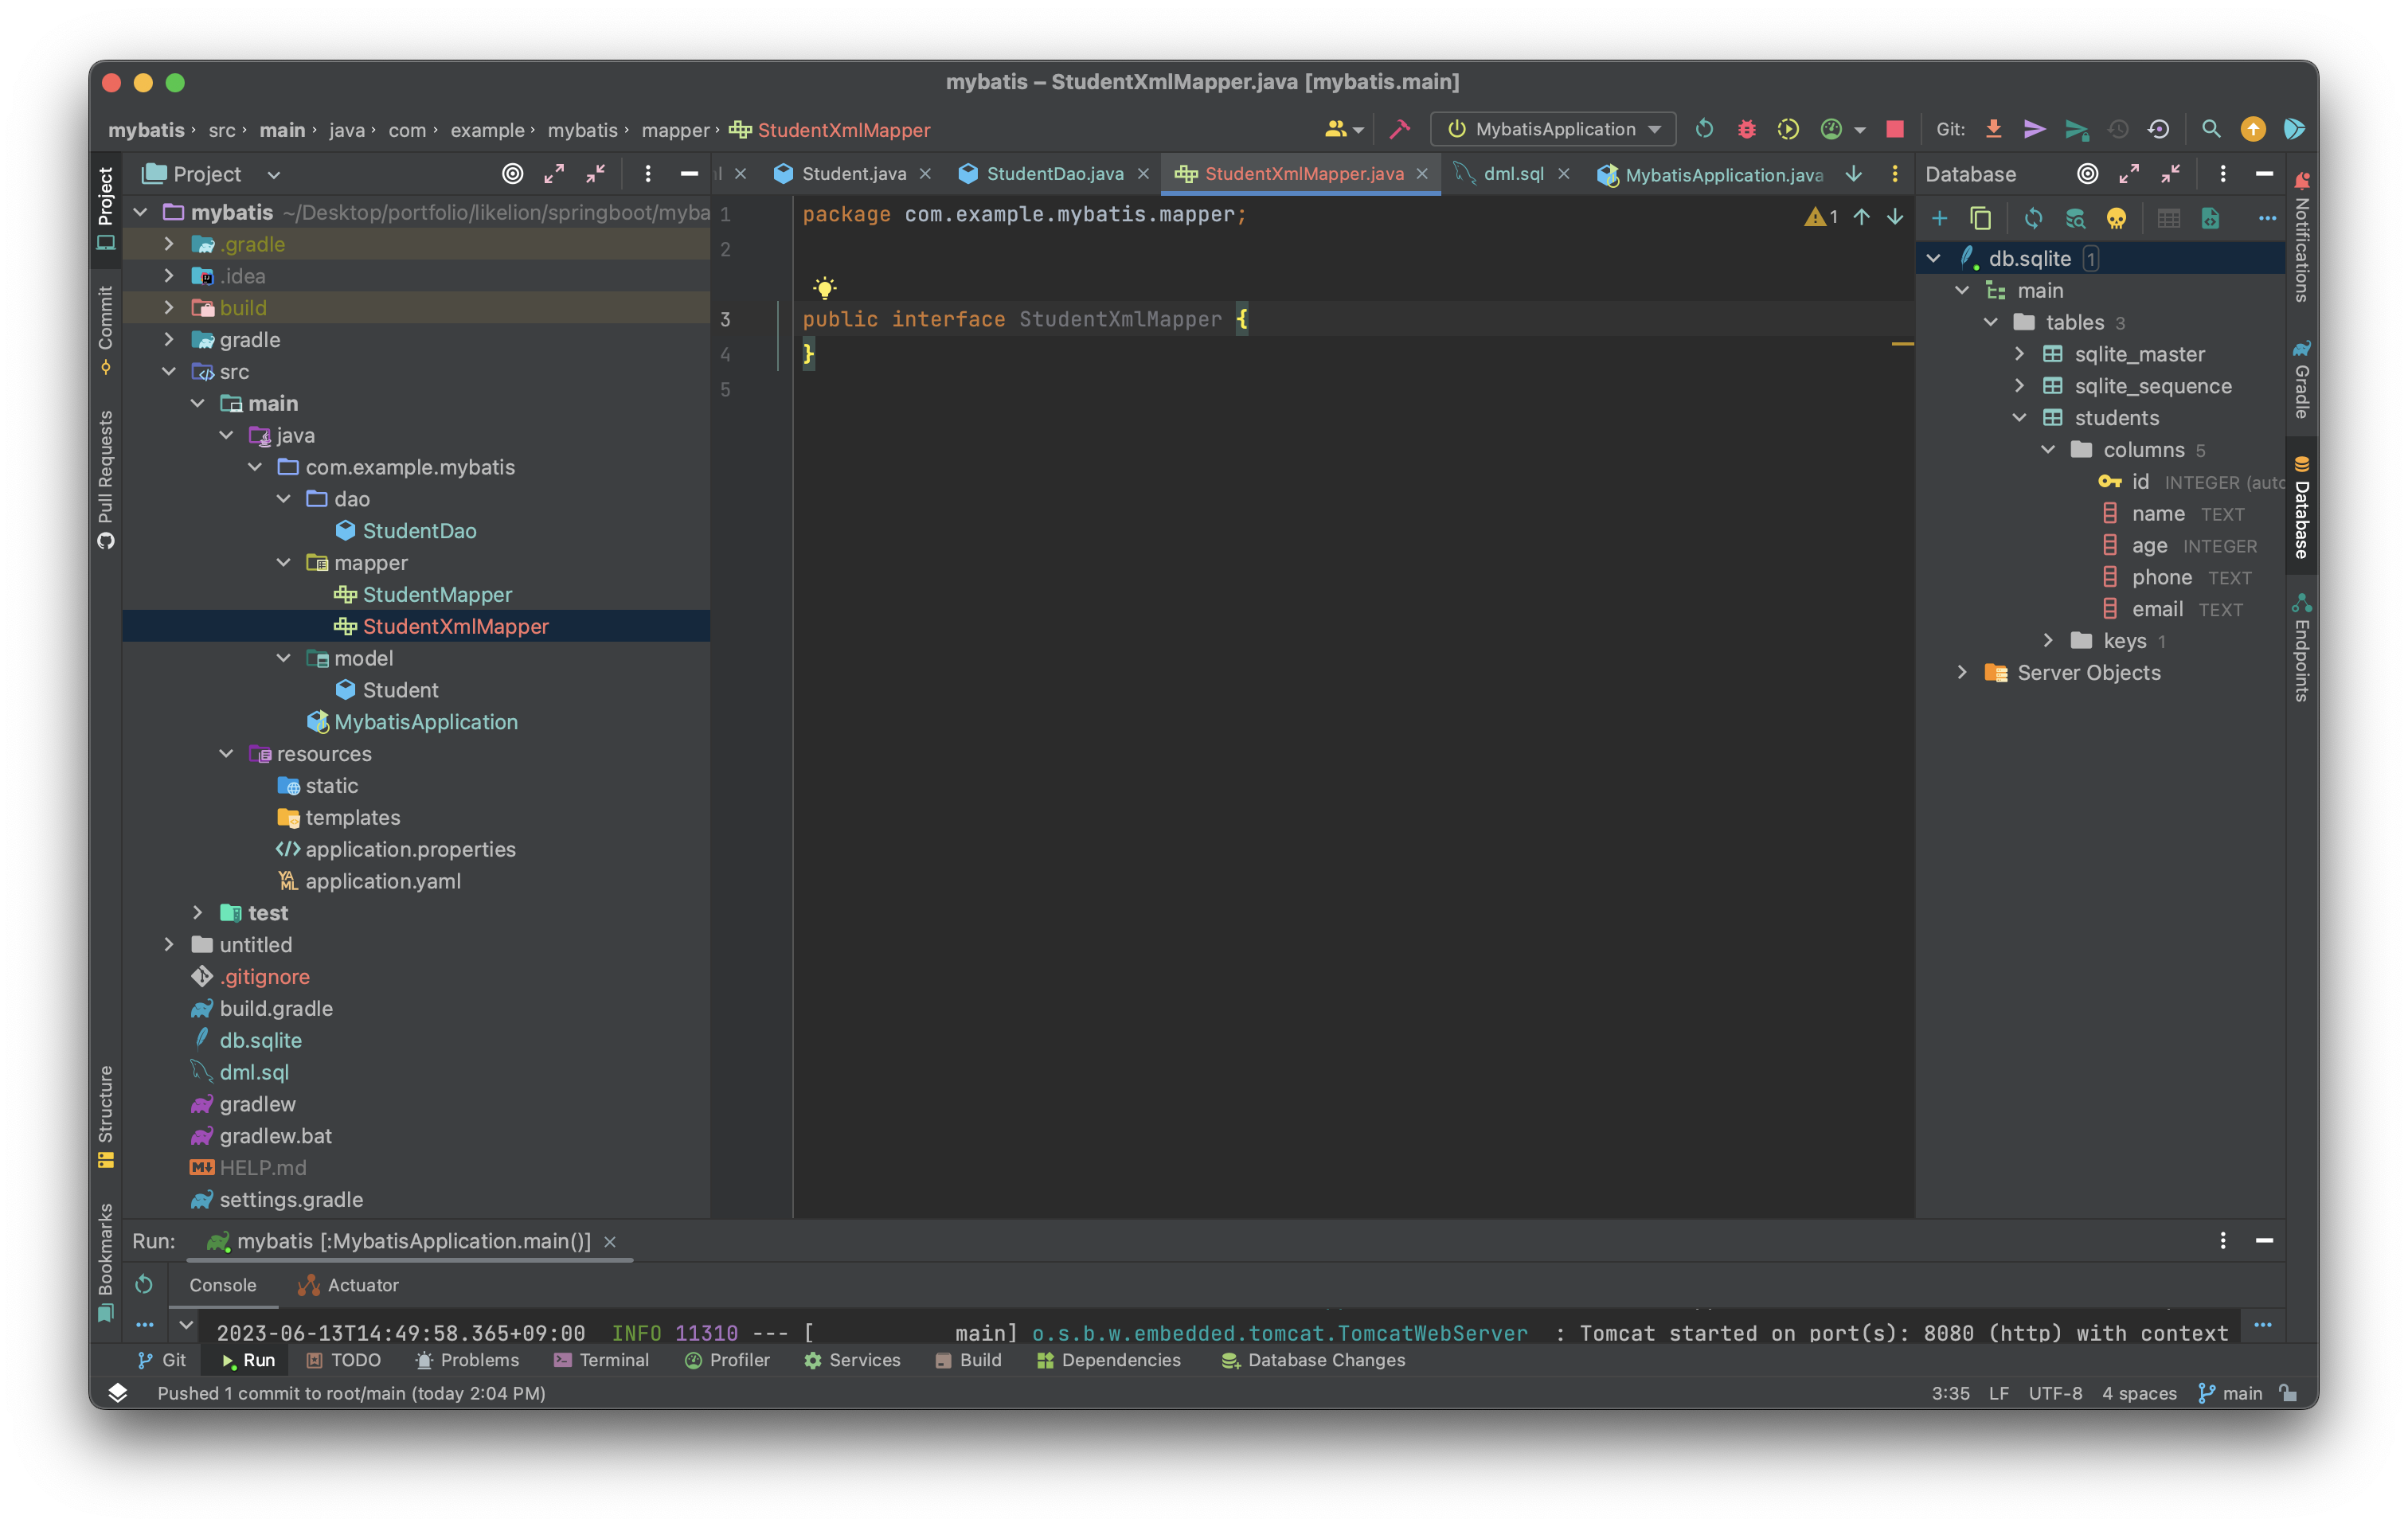
이후 resources/mybatis/mappers/StudentMapper.xml 파일을 만든다.
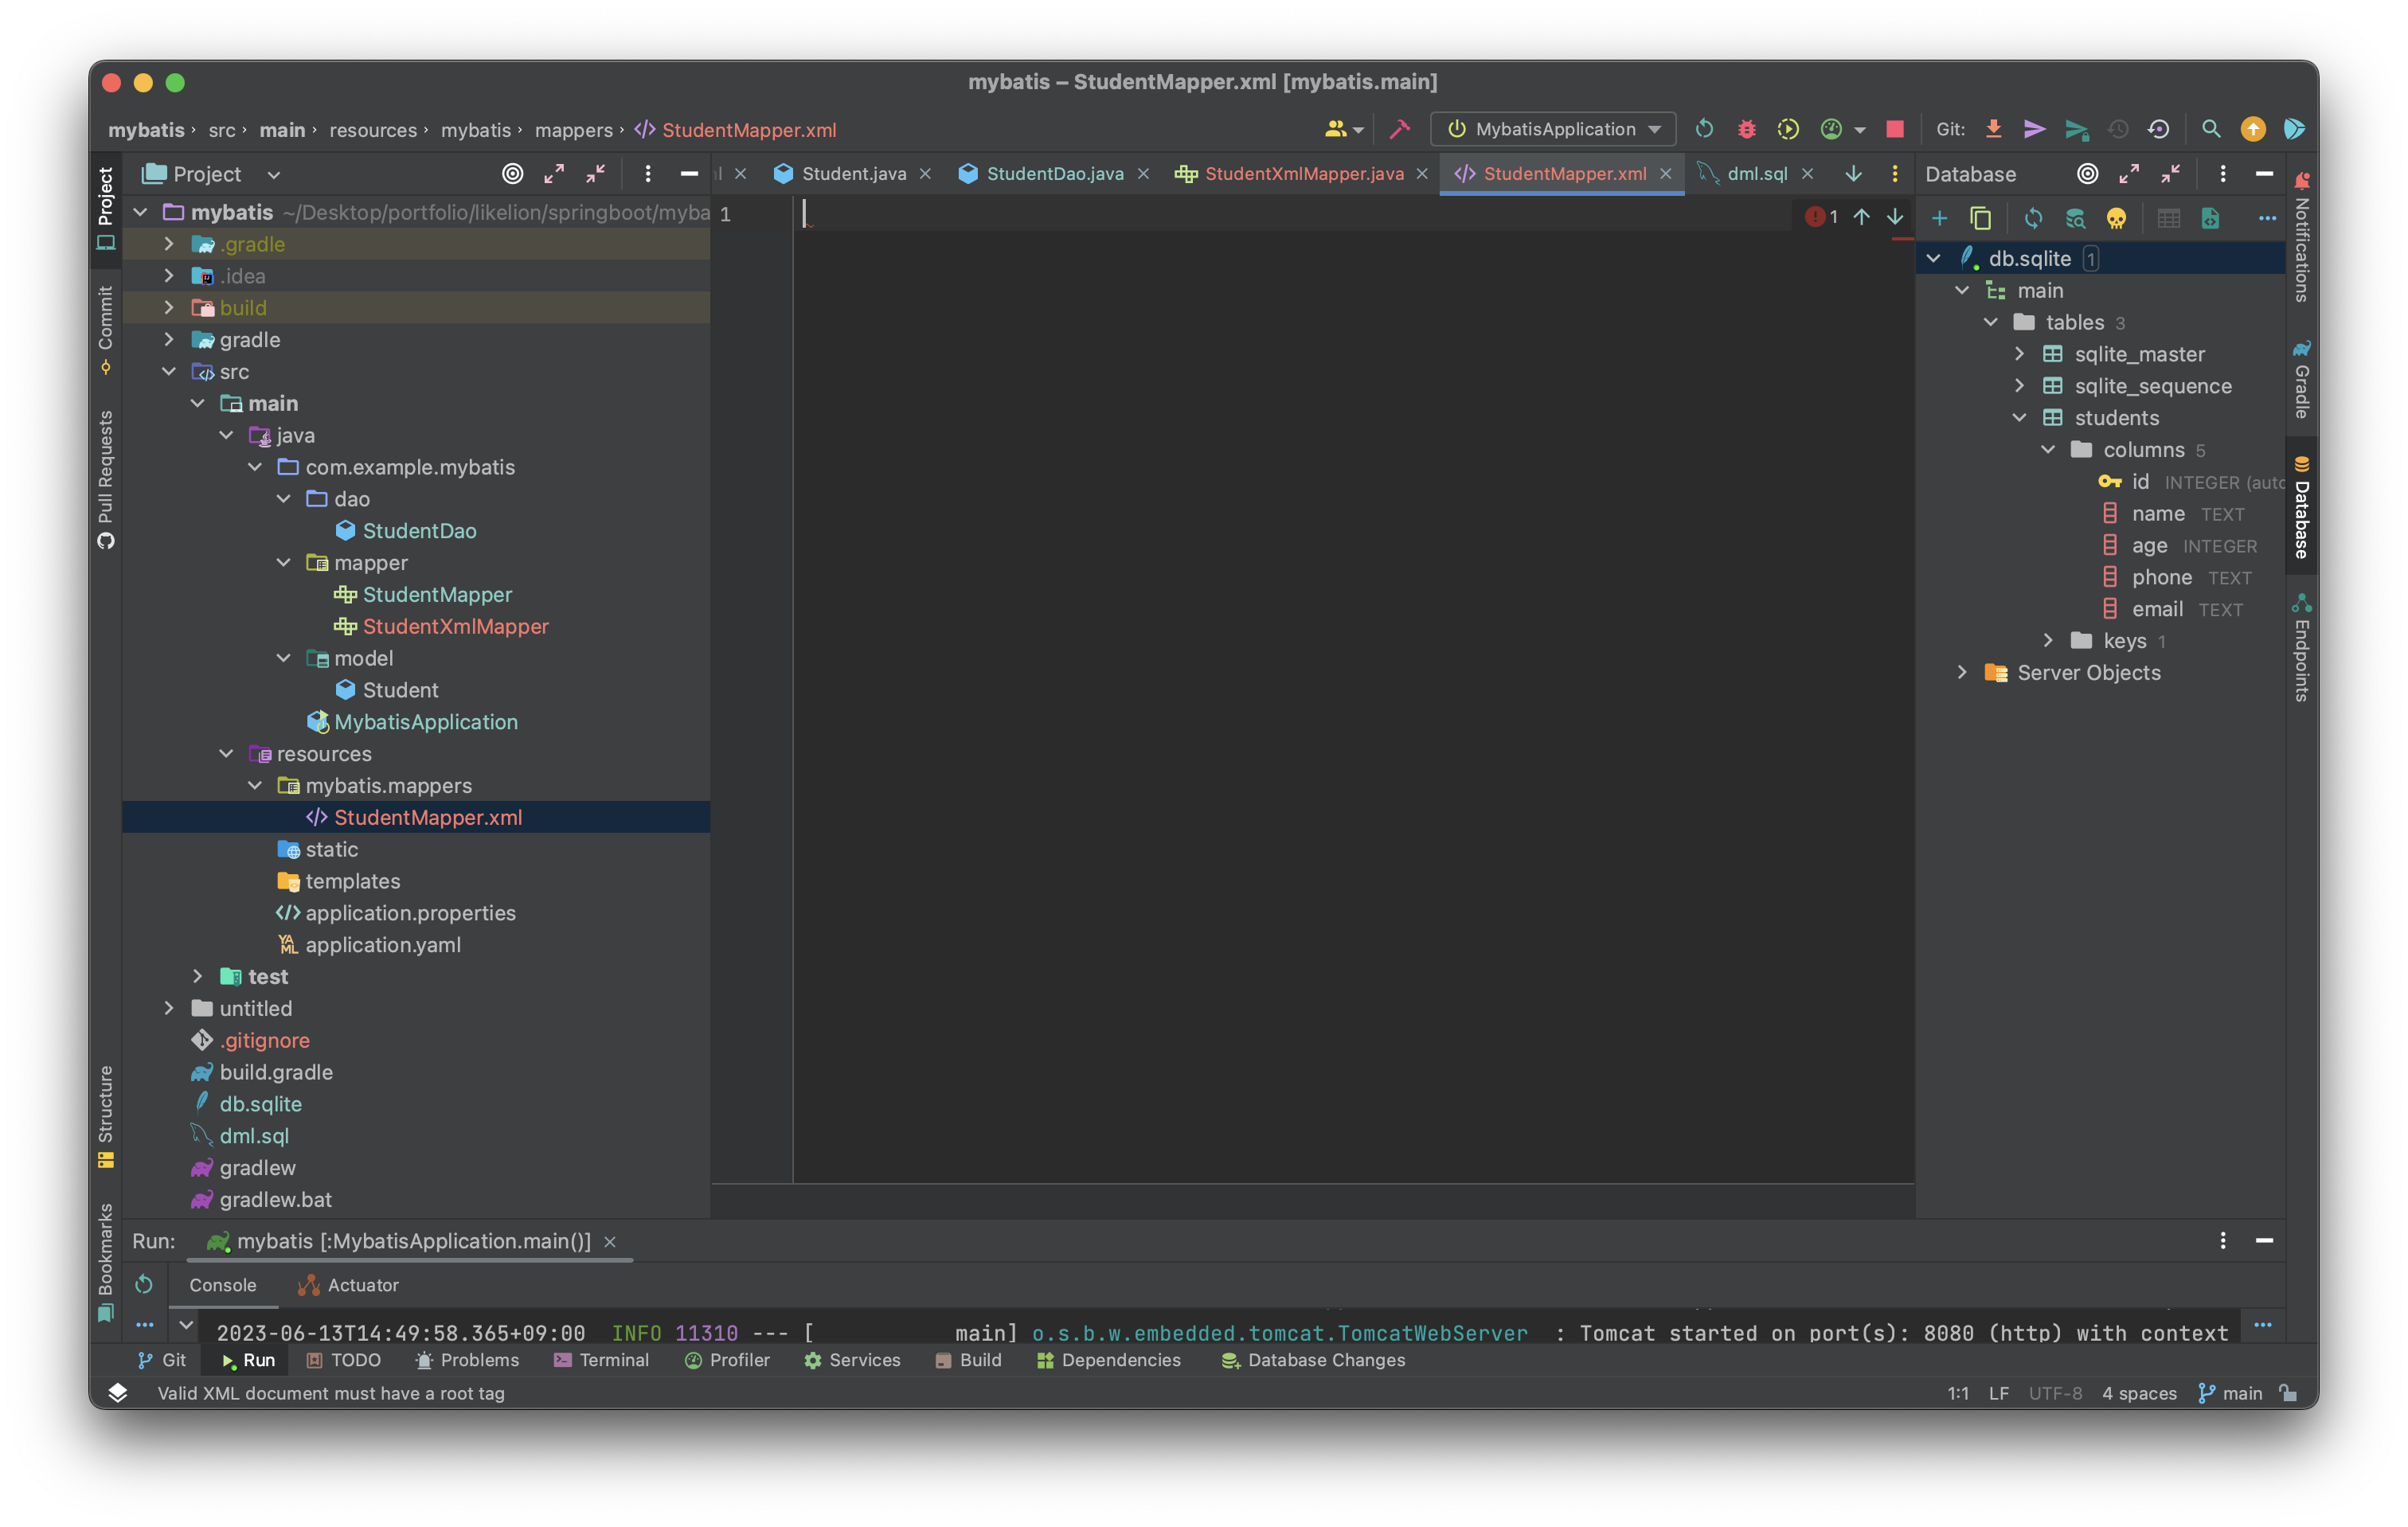
아까 설정했던 application.yaml 파일을 보면 이미 SQL 문을 가져올 폴더 경로를 지정해 준 설정을 볼 수 있다.
spring:
  datasource:
    url: jdbc:sqlite:db.sqlite
    driver-class-name: org.sqlite.JDBC
 #   username:
 #   password:
mybatis:
  **mapper-locations: "classmath:mybatis/mappers/*.xml"**
  type-aliases-package: "com.example.mybatis.model"
  configuration:
    map-underscore-to-camel-case: true
이후 아래와 같은 xml 포맷 안에 내가 사용할 SQL의 명세를 작성할 수 있다.
<?xml version="1.0" encoding="UTF-8" ?>
<!DOCTYPE mapper PUBLIC "-//mybatis.org//DTD Mapper 3.0//EN"
        "http://mybatis.org/dtd/mybatis-3-mapper.dtd">
<mapper namespace="com.example.mybatis.mapper.StudentXmlMapper">

</mapper>
내가 사용할 select문과 리턴 타입을 명세해서 작성해 줄 수 있다.
<?xml version="1.0" encoding="UTF-8" ?>
<!DOCTYPE mapper PUBLIC "-//mybatis.org//DTD Mapper 3.0//EN"
        "http://mybatis.org/dtd/mybatis-3-mapper.dtd">
<mapper namespace="com.example.mybatis.mapper.StudentXmlMapper">
    <select resultType="Student">
        SELECT * FROM students
    </select>
</mapper>
그리고 내가 해당 SQL문을 사용할 메소드 이름을 id로 설정해 줘야 한다.
<?xml version="1.0" encoding="UTF-8" ?>
<!DOCTYPE mapper PUBLIC "-//mybatis.org//DTD Mapper 3.0//EN"
        "http://mybatis.org/dtd/mybatis-3-mapper.dtd">
<mapper namespace="com.example.mybatis.mapper.StudentXmlMapper">
    <select id="**selectStudentAll**" resultType="Student">
        SELECT * FROM students
    </select>
</mapper>
이후 같은 이름을 가진 메소드를 인터페이스에 추가해 주면 해당 xml 파일에서 SQL문을 읽어 와서 작업을 수행할 수 있다.
package com.example.mybatis.mapper;

import com.example.mybatis.model.Student;

import java.util.List;

public interface StudentXmlMapper {
    List<Student> **selectStudentAll**();
}
StudentXmlMapper와 세션을 수립해서 해당 기능을 확인해 보기 위해 StudentDao 파일에 코드를 작성해 준다.
public List<Student> readAllXmlStudent() {
        try (SqlSession session = sessionFactory.openSession()) {
            StudentXmlMapper studentXmlMapper = session.getMapper(StudentXmlMapper.class);
            return studentXmlMapper.selectStudentAll();
        }
    }
이후 Application 실행 화면에서 해당 코드를 돌리면 올바르게 기능이 작동하는 것을 볼 수 있다.
System.out.println(dao.readAllXmlStudent());SelectOne
학생 하나를 선택하는 기능을 반복해서 만들며 연습해 보자.
<select id="selectStudent" resultType="Student" parameterType="Long">
        SELECT * FROM students WHERE id = #{id};
    </select>
Student selectStudent(Long id);public Student readStudentXml(Long id) {
try (SqlSession session = sessionFactory.openSession()){
StudentXmlMapper studentXmlMapper = session.getMapper(StudentXmlMapper.class);
return studentXmlMapper.selectStudent(id);
}
}