💡CI/CD
“개발부터 배포까지 모든 단계를 자동화하는 것”
- CI : Continuous Integration (지속적 통합) ⇒ 새로운 코드들이 자동으로 빌드 및 테스트 되어 레포지토리에 통합되는 것을 의미
- 개발자들은 최대한 작은 단위로 개발하며, 빈번하게 merge해야 함.
- 애플리케이션들의 빌드, 테스트, 병합 과정을 주기적으로 자동화해주어야 함- CD : Continuous Delivery/Deployment(지속적 제공/배포) ⇒ 빌드, 테스트가 완료되어 배포 준비가 된 애플리케이션을 개발자가 자동/수동으로 배포를 진행하는 것
- 수동 : Continuous Delivery
- 자동 : Continuous Deployment- CI/CD 파이프라인
- 개발자가 작은 단위로 코드 짜고 메인 레포에 merge → 자동 빌드 → 자동 테스트 → 릴리즈 → 배포
Jenkins
- CI/CD 파이프라인을 구축하고 관리하는데 사용되는 도구 중 하나
- 개발자 요청을 받아 빌드, 배포, 테스트를 관리하는 오픈 소스 자동화 도구이다. 개발자들은 코드 변경 사항을 통합하고, 자동으로 테스트하며 배포하는 과정을 효율적으로 관리할 수 있음
Jenknis 작동 원리
- Git, SVN 등의 버전 관리 시스템과 연동 → 코드 변경 감지
- 코드 변경 감지 시 자동으로 빌드 시작
- 빌드 결과물에 대한 테스트 실행
- 테스트 성공 시 배포 작업 실행
- 빌드, 테스트, 배포 결과를 보고서 형태로 제공
Jenkins 설치
0. Chocolatey & Helm 설치
- Kubernetes 클러스터 안에 Jenkins 설치를 위해 네임 스페이스 생성 후 설치 진행
# powershell 관리자 권한으로 실행
Set-ExecutionPolicy Bypass -Scope Process -Force; `
[System.Net.ServicePointManager]::SecurityProtocol = [System.Net.ServicePointManager]::SecurityProtocol -bor 3072; `
iex ((New-Object System.Net.WebClient).DownloadString('https://community.chocolatey.org/install.ps1'))

# 버전 확인
choco --version

# Helm 설치
choco install kubernetes-helm

# 버전 확인
helm version
1. Jenkins Helm 설치
- 관리자 권한으로 PowerShell 실행 후 진행
# 젠킨스 실행할 네임스페이스 생성
> kubectl create namespace jenkins

# 젠킨스 저장소 추가, 업데이트
> helm repo add jenkins https://charts.jenkins.io
> helm repo update

# 젠킨스 설치
helm install jenkins jenkins/jenkins -n jenkins

# 설치 후 확인
kubectl get pods -n jenkins
1-1) Jenkins 초기 설정 시 지정한 Port가 아닌 내가 지정한 port로 접속하기
# 텍스트 편집기 열기
notepad jenkins-values.yaml
# For minikube, set this to NodePort, elsewhere uses LoadBalancer
# Use ClusterIP if your setup includes ingress controller
# -- k8s service type
serviceType: NodePort # ClusterIP -> NodePort로 변경
# -- k8s service clusterIP. Only used if serviceType is ClusterIP
clusterIp:
# -- k8s service port
servicePort: 8080
# -- k8s target port
targetPort: 8080
# -- k8s node port. Only used if serviceType is NodePort
nodePort: "<내가 쓸 포트번호>"- ServiceType : ClusterIP -> NodePort
➡️ 쿠버네티스 외부(PC 브라우저)에서 Jenkins에 접속하기 위해서는 ClusterIP가 아닌 NodePort 방식이어야 함
➡️ ClusterIP(기본값)은 클러스터 내부에서만 접근이 가능하기 때문 - nodePort : 내가 쓸 포트 지정
- 지정한 port 번호로 localhost:포트번호 접속해서 확인
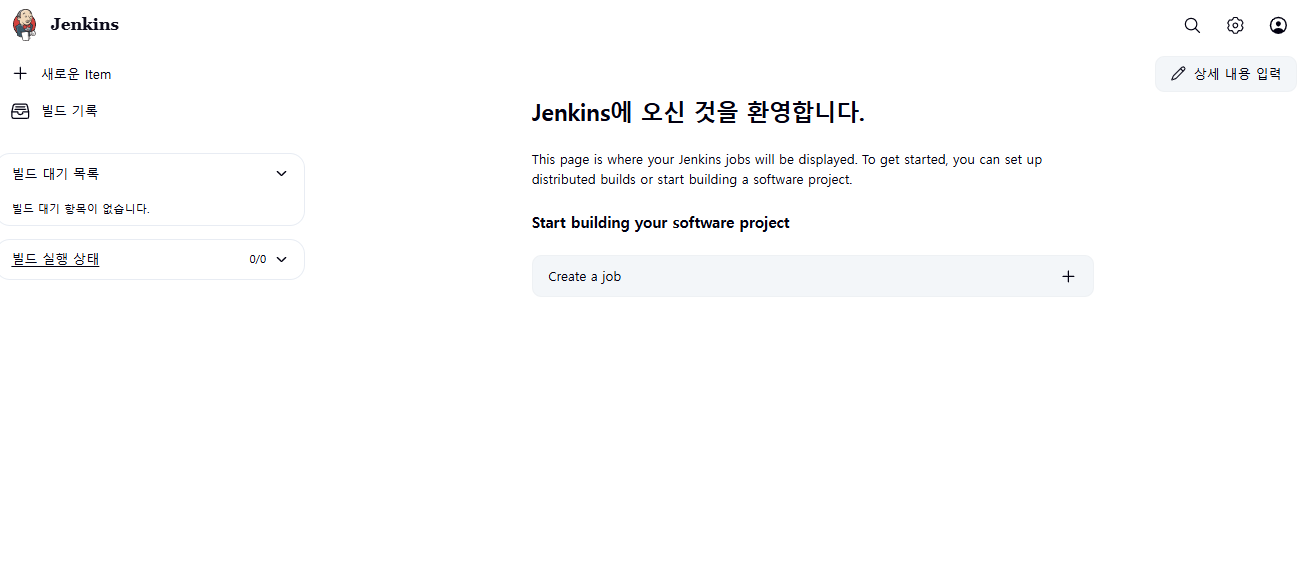
예쁘게 잘 뜨는걸 확인할 수 있다!
3. 웹훅(WebHook)
- 이벤트 발생 시 서버나 애플리케이션으로 데이터 전송
젠킨스 컨테이너 접속, SSH 키 생성
> kubectl exec -it jenkins-0 -n jenkins -c jenkins -- /bin/bash
> ssh-keygen -t ed25519 -C "<이메일 주소>"-
생성한 SSH 공개키를 Git 저장소에 등록
-Settings에서 좌측 메뉴의Deploy keys을 선택한다.
-Add deploy key버튼을 클릭하고 SSH 공개 키를 등록한다. -
Jenkins에도 SSH 키를 등록한다
-Jenkins 관리->Credentials>System의 global>Add Credentials
-New credentials페이지에서 kind로SSH Username with private key를 선택하고 내용을 작성
-Private Key항목에Enter directly→ SSH 개인 키를 복붙
-
GitHub 웹훅 설정
-Settings에서 좌측 메뉴의Webhooks을 선택Add webhook버튼을 클릭하고 새로운 웹훅을 설정Payload URL에는http://젠킨스 주소/github-webhook/를 입력Content type에는application/json를 선택해 주고Add webhook버튼을 클릭해 웹훅을 생성
ArgoCD 설치
# namespace 생성
kubectl create namespace argocd
# 공식 홈페이지에서 제공하는 yaml파일 이용
kubectl apply -n argocd -f https://raw.githubusercontent.com/argoproj/argo-cd/stable/manifests/install.yaml

# 확인
kubectl get po -n argocd  -w

# 초기 비밀번호 확인
kubectl get secret -n argocd argocd-initial-admin-secret -o jsonpath="{.data.password}" | base64 -d

# 초기 비밀번호 변경
kubectl exec -it -n argocd deployment/argocd-server -- /bin/bash
argocd login localhost:8080
Username: admin
Password: "<확인한 비밀번호>"

argocd account update-password
*** Enter password of currently logged in user (admin): "<초기 비밀번호>"
*** Enter new password for user admin: "<초기 비밀번호>"
*** Confirm new password for user admin: "<새 비밀번호>"
Password updated
포트포워딩
- 간단한 테스트
# 새 포트 번호로 접속하고 싶을 경우
kubectl -n argocd port-forward svc/argocd-server "<설정할 포트 번호>":443
- 포트 영구 설정
# argocd-server 서비스 편집
kubectl -n argocd edit svc argocd-server
- 메모장이 뜨면 편집 화면에서 포트 변경
ipFamilies:
- IPv4
ipFamilyPolicy: SingleStack
ports:
- name: http
  port: 80             # Service 포트
  protocol: TCP
  targetPort: 8080     # Pod containerPort
  nodePort: "<새 포트번호>"      # NodePort 지정 (생략하면 자동 할당)
- name: https
  port: 443
  protocol: TCP
  targetPort: 8080
  nodePort: "<새 포트번호>"      # NodePort 지정
selector:
  app.kubernetes.io/name: argocd-server
sessionAffinity: None
type: NodePort          # <- ClusterIP에서 NodePort로 변경
status:
  loadBalancer: {}
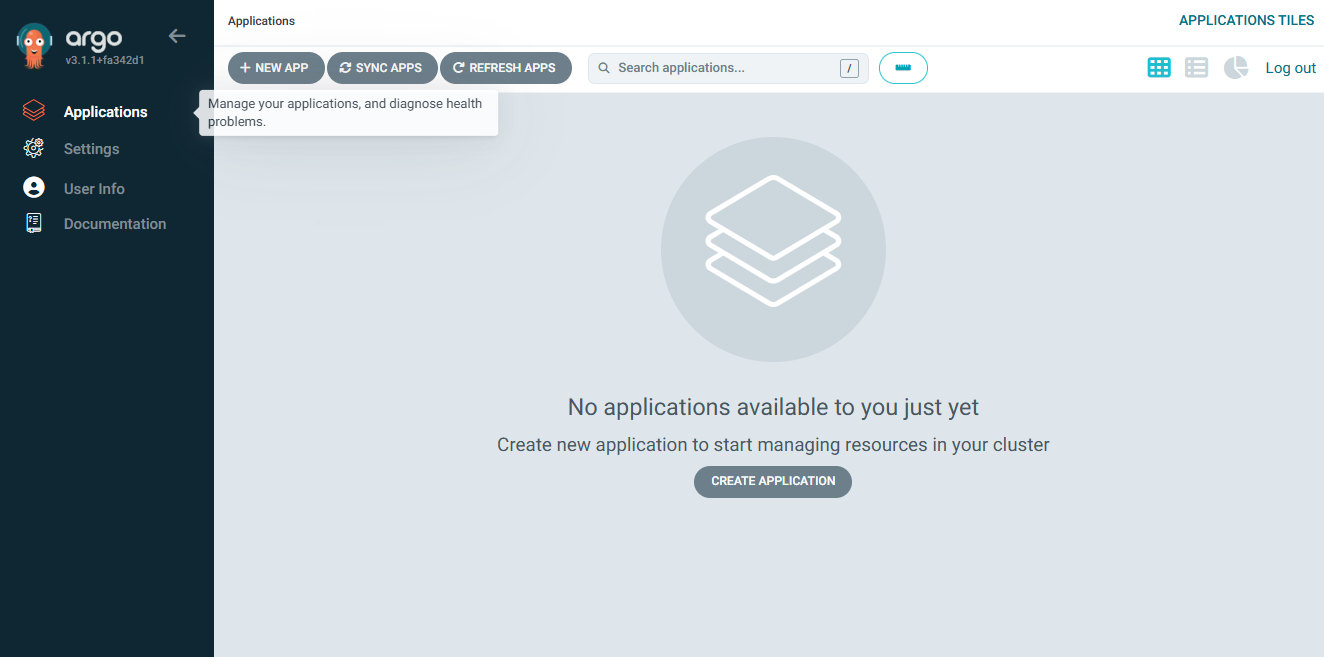
- 예쁘게 잘 뜨는걸 확인할 수 있다

백엔드 개발자 나무입니다