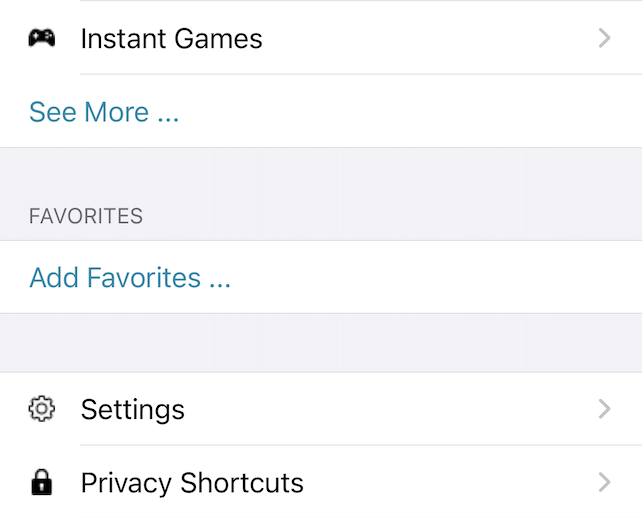
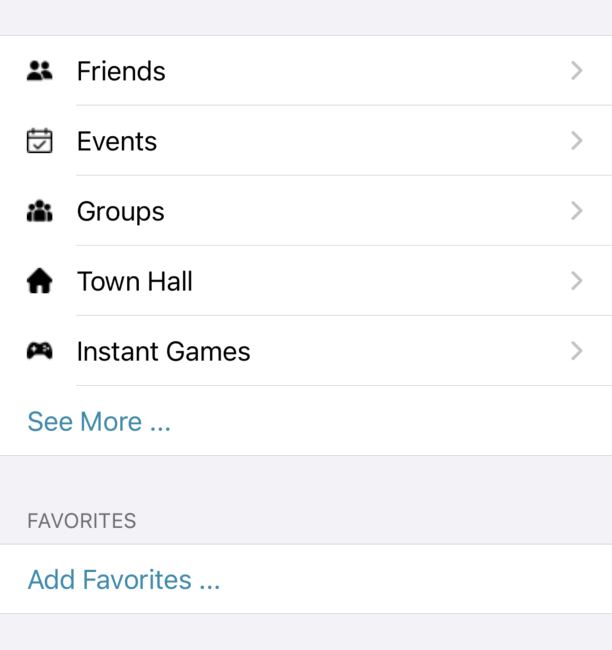
TableView는 다음과 같이 Section에 따라 나눌 수 있으며 custom하여 각 Cell의 모습을 달리 할 수 있다.

테이블 Array 설정
먼저 테이블이 구분될 Section의 Array를 만들어준다.
[
    TableKey.Rows: [
        [TableKey.ImageName: Specs.imageName.friends, TableKey.Title: "Friends"],
        [TableKey.ImageName: Specs.imageName.events, TableKey.Title: "Events"],
        [TableKey.ImageName: Specs.imageName.groups, TableKey.Title: "Groups"],
        [TableKey.ImageName: Specs.imageName.townHall, TableKey.Title: "Town Hall"],
        [TableKey.ImageName: Specs.imageName.instantGames, TableKey.Title: "Instant Games"],
        [TableKey.Title: TableKey.seeMore]
    ]
],
[
    TableKey.Section: "FAVORITES",
    TableKey.Rows: [
        [TableKey.Title: "Add Favorites ..."]
    ]
]
위의 Array의 결과는 다음과 같은 모습이 될 예정이다.

TableView DataSource
TableView의 Array를 모두 설정하였으면 Array를 DataSource에 추가한다.
private var tableViewDataSource: [[String: Any]] {
    get {
        return TableArray명
    }
}
이제 이전 포스팅에서 언급했던 numberOfSections, numberOfRowsInSection, cellForRowAt indexPath 외에도 다음의 클래스 설정이 필요하다.
section마다 표현될 row의 개수를 정의
func tableView(_ tableView: UITableView, numberOfRowsInSection section: Int) -> Int { }section마다 표현될 title을 정의
func tableView(_ tableView: UITableView, titleForHeaderInSection section: Int) -> String? { }Cell 높이 설정
func tableView(_ tableView: UITableView, heightForRowAt indexPath: IndexPath) -> CGFloat { }
