
Updating Data
- 데이터를 생성하는 것과 비슷하게 Form 태그를 사용해 데이터를 업데이트함
예제에서는 loader를 재활용했지만, 일반적으로는 컴포넌트마다 각각의 loader를 가짐
src/routes/edit.jsx
import { Form, useLoaderData } from "react-router-dom";

export default function EditContact() {
  const contact = useLoaderData();

  return (
    <Form method="post" id="contact-form">
      <p>
        <span>Name</span>
        <input
          placeholder="First"
          aria-label="First name"
          type="text"
          name="first"
          defaultValue={contact.first}
        />
        <input
          placeholder="Last"
          aria-label="Last name"
          type="text"
          name="last"
          defaultValue={contact.last}
        />
      </p>
      <label>
        <span>Twitter</span>
        <input
          type="text"
          name="twitter"
          placeholder="@jack"
          defaultValue={contact.twitter}
        />
      </label>
      <label>
        <span>Avatar URL</span>
        <input
          placeholder="https://example.com/avatar.jpg"
          aria-label="Avatar URL"
          type="text"
          name="avatar"
          defaultValue={contact.avatar}
        />
      </label>
      <label>
        <span>Notes</span>
        <textarea
          name="notes"
          defaultValue={contact.notes}
          rows={6}
        />
      </label>
      <p>
        <button type="submit">Save</button>
        <button type="button">Cancel</button>
      </p>
    </Form>
  );
}
main.jsx
/* existing code */
import EditContact from "./routes/edit";

const router = createBrowserRouter([
  {
    path: "/",
    element: <Root />,
    errorElement: <ErrorPage />,
    loader: rootLoader,
    action: rootAction,
    children: [
      {
        path: "contacts/:contactId",
        element: <Contact />,
        loader: contactLoader,
      },
      {
        path: "contacts/:contactId/edit",
        element: <EditContact />,
        loader: contactLoader,
      },
    ],
  },
]);

/* existing code */
Updating Contacts with FormData
- Form에서 받은 데이터를 action을 통해 업데이트 해주는 과정을 거쳐야 함
- Form이 submit되면 action에 데이터를 전달하고 데이터르 자동으로 검증하게 됨
edit.jsx
import {
  Form,
  useLoaderData,
  redirect,
} from "react-router-dom";
import { updateContact } from "../contacts";

export async function action({ request, params }) {
  const formData = await request.formData();
  const updates = Object.fromEntries(formData);
  await updateContact(params.contactId, updates);
  return redirect(`/contacts/${params.contactId}`);
}

/* existing code */
main.jsx
/* existing code */
import EditContact, {
  action as editAction,
} from "./routes/edit";

const router = createBrowserRouter([
  {
    path: "/",
    element: <Root />,
    errorElement: <ErrorPage />,
    loader: rootLoader,
    action: rootAction,
    children: [
      {
        path: "contacts/:contactId",
        element: <Contact />,
        loader: contactLoader,
      },
      {
        path: "contacts/:contactId/edit",
        element: <EditContact />,
        loader: contactLoader,
        action: editAction,
      },
    ],
  },
]);

/* existing code */
수정 결과:
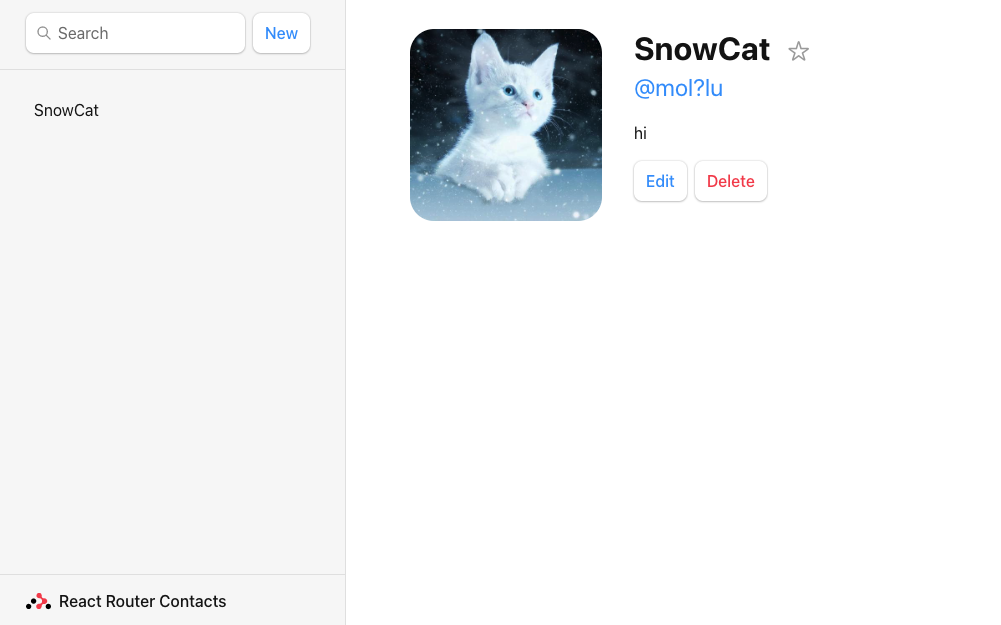
Mutation Discusstion
- input 태그에는 name 속성이 있는데, 이를 사용해 formData.get(name) 형식으로 데이터를 받아올 수 있음
edit.jsx
export async function action({ request, params }) {
  const formData = await request.formData();
  const firstName = formData.get("first");
  const lastName = formData.get("last");
  // ...
}- formData는 각각 분리되기 때문에 Object.formEntries 메서드를 사용해 각각의 formData를 하나의 객체에 모아서 업데이트 하게 됨
request, request.formData, Object.formEntries는 리액트 라우터에서 제공하는게 아닌 웹 플렛폼에서 제공
const updates = Object.fromEntries(formData);
updates.first; // "Some"
updates.last; // "Name"- loader와 마찬가지로 http요청에 대한 Response를 받음
- redirect를 사용하면 새로고침 없이 response에 대한 응답을 해줄 수 있음
  const formData = await request.formData();
  const updates = Object.fromEntries(formData);
  await updateContact(params.contactId, updates);
  return redirect(`/contacts/${params.contactId}`);
}
Redirecting new records to the edit page
- action과 redirect를 조합해 빈 연락처 컴포넌트가 생성되자마자 edit page로 리다이렉트 시킬 수 있음
root.jsx
import {
  Outlet,
  Link,
  useLoaderData,
  Form,
  redirect,
} from "react-router-dom";
import { getContacts, createContact } from "../contacts";

export async function action() {
  const contact = await createContact();
  return redirect(`/contacts/${contact.id}/edit`);
}
Active Link Styling
- NavLink를 사용해 sidebar 네비게이션에서 무엇을 선택하는지 분명하게 표현할 수 있음
- user를 실제 선택시 isActive, 데이터가 로딩 중일때 isPending 속성이 적용되게 됨 => 스타일을 통한 피드백 가능
root.jsx
import {
  Outlet,
  NavLink,
  useLoaderData,
  Form,
  redirect,
} from "react-router-dom";

export default function Root() {
  return (
    <>
      <div id="sidebar">
        {/* other code */}

        <nav>
          {contacts.length ? (
            <ul>
              {contacts.map((contact) => (
                <li key={contact.id}>
                  <NavLink
                    to={`contacts/${contact.id}`}
                    className={({ isActive, isPending }) =>
                      isActive
                        ? "active"
                        : isPending
                        ? "pending"
                        : ""
                    }
                  >
                    {/* other code */}
                  </NavLink>
                </li>
              ))}
            </ul>
          ) : (
            <p>{/* other code */}</p>
          )}
        </nav>
      </div>
    </>
  );
}
Global Pending UI
- 페이지 사이를 이동할 때 로딩이 발생하게 되고 이 때 사용자는 먹통이 됬다고 생각할 수 있음
- 이를 방지하기 위해 로딩 중이라는 피드백을 제공할 필요가 있음
root.jsx
import {
  // existing code
  useNavigation,
} from "react-router-dom";

// existing code

export default function Root() {
  const { contacts } = useLoaderData();
  const navigation = useNavigation();

  return (
    <>
      <div id="sidebar">{/* existing code */}</div>
      <div
        id="detail"
        className={
          navigation.state === "loading" ? "loading" : ""
        }
      >
        <Outlet />
      </div>
    </>
  );
}- useNavigation hook은 idle, submitting, loading의 3가지 상태를 부여할 수 있게 해줌
- loading 클래스를 추가해 페이드 아웃 이펙트를 줌으로써 로딩중이라는 신호를 제공함
Deleting Records
- Form 컴포넌트는 action 속성을 이용해 Link to 와 같이 다른 경로로 이동할 수 있음
- 이동한 경로의 route를 생성해 action 메서드를 호출하게 만들어 form 제출시 로직을 따로 분리 가능
contact.jsx
<Form
  method="post"
  action="destroy"
  onSubmit={(event) => {
    if (
      !confirm(
        "Please confirm you want to delete this record."
      )
    ) {
      event.preventDefault();
    }
  }}
>
  <button type="submit">Delete</button>
</Form>
routes/destroy.jsx
import { redirect } from "react-router-dom";
import { deleteContact } from "../contacts";

export async function action({ params }) {
  await deleteContact(params.contactId);
  return redirect("/");
}
main.jsx
/* existing code */
import { action as destroyAction } from "./routes/destroy";

const router = createBrowserRouter([
  {
    path: "/",
    /* existing root route props */
    children: [
      /* existing routes */
      {
        path: "contacts/:contactId/destroy",
        action: destroyAction,
      },
    ],
  },
]);

/* existing code */
Contextual Errors
- destroy.jsx에 고의로 에러를 발생시키게 해보자
export async function action({ params }) {
  throw new Error("oh dang!");
  //await deleteContact(params.contactId);
  //return redirect("/");
}
결과:
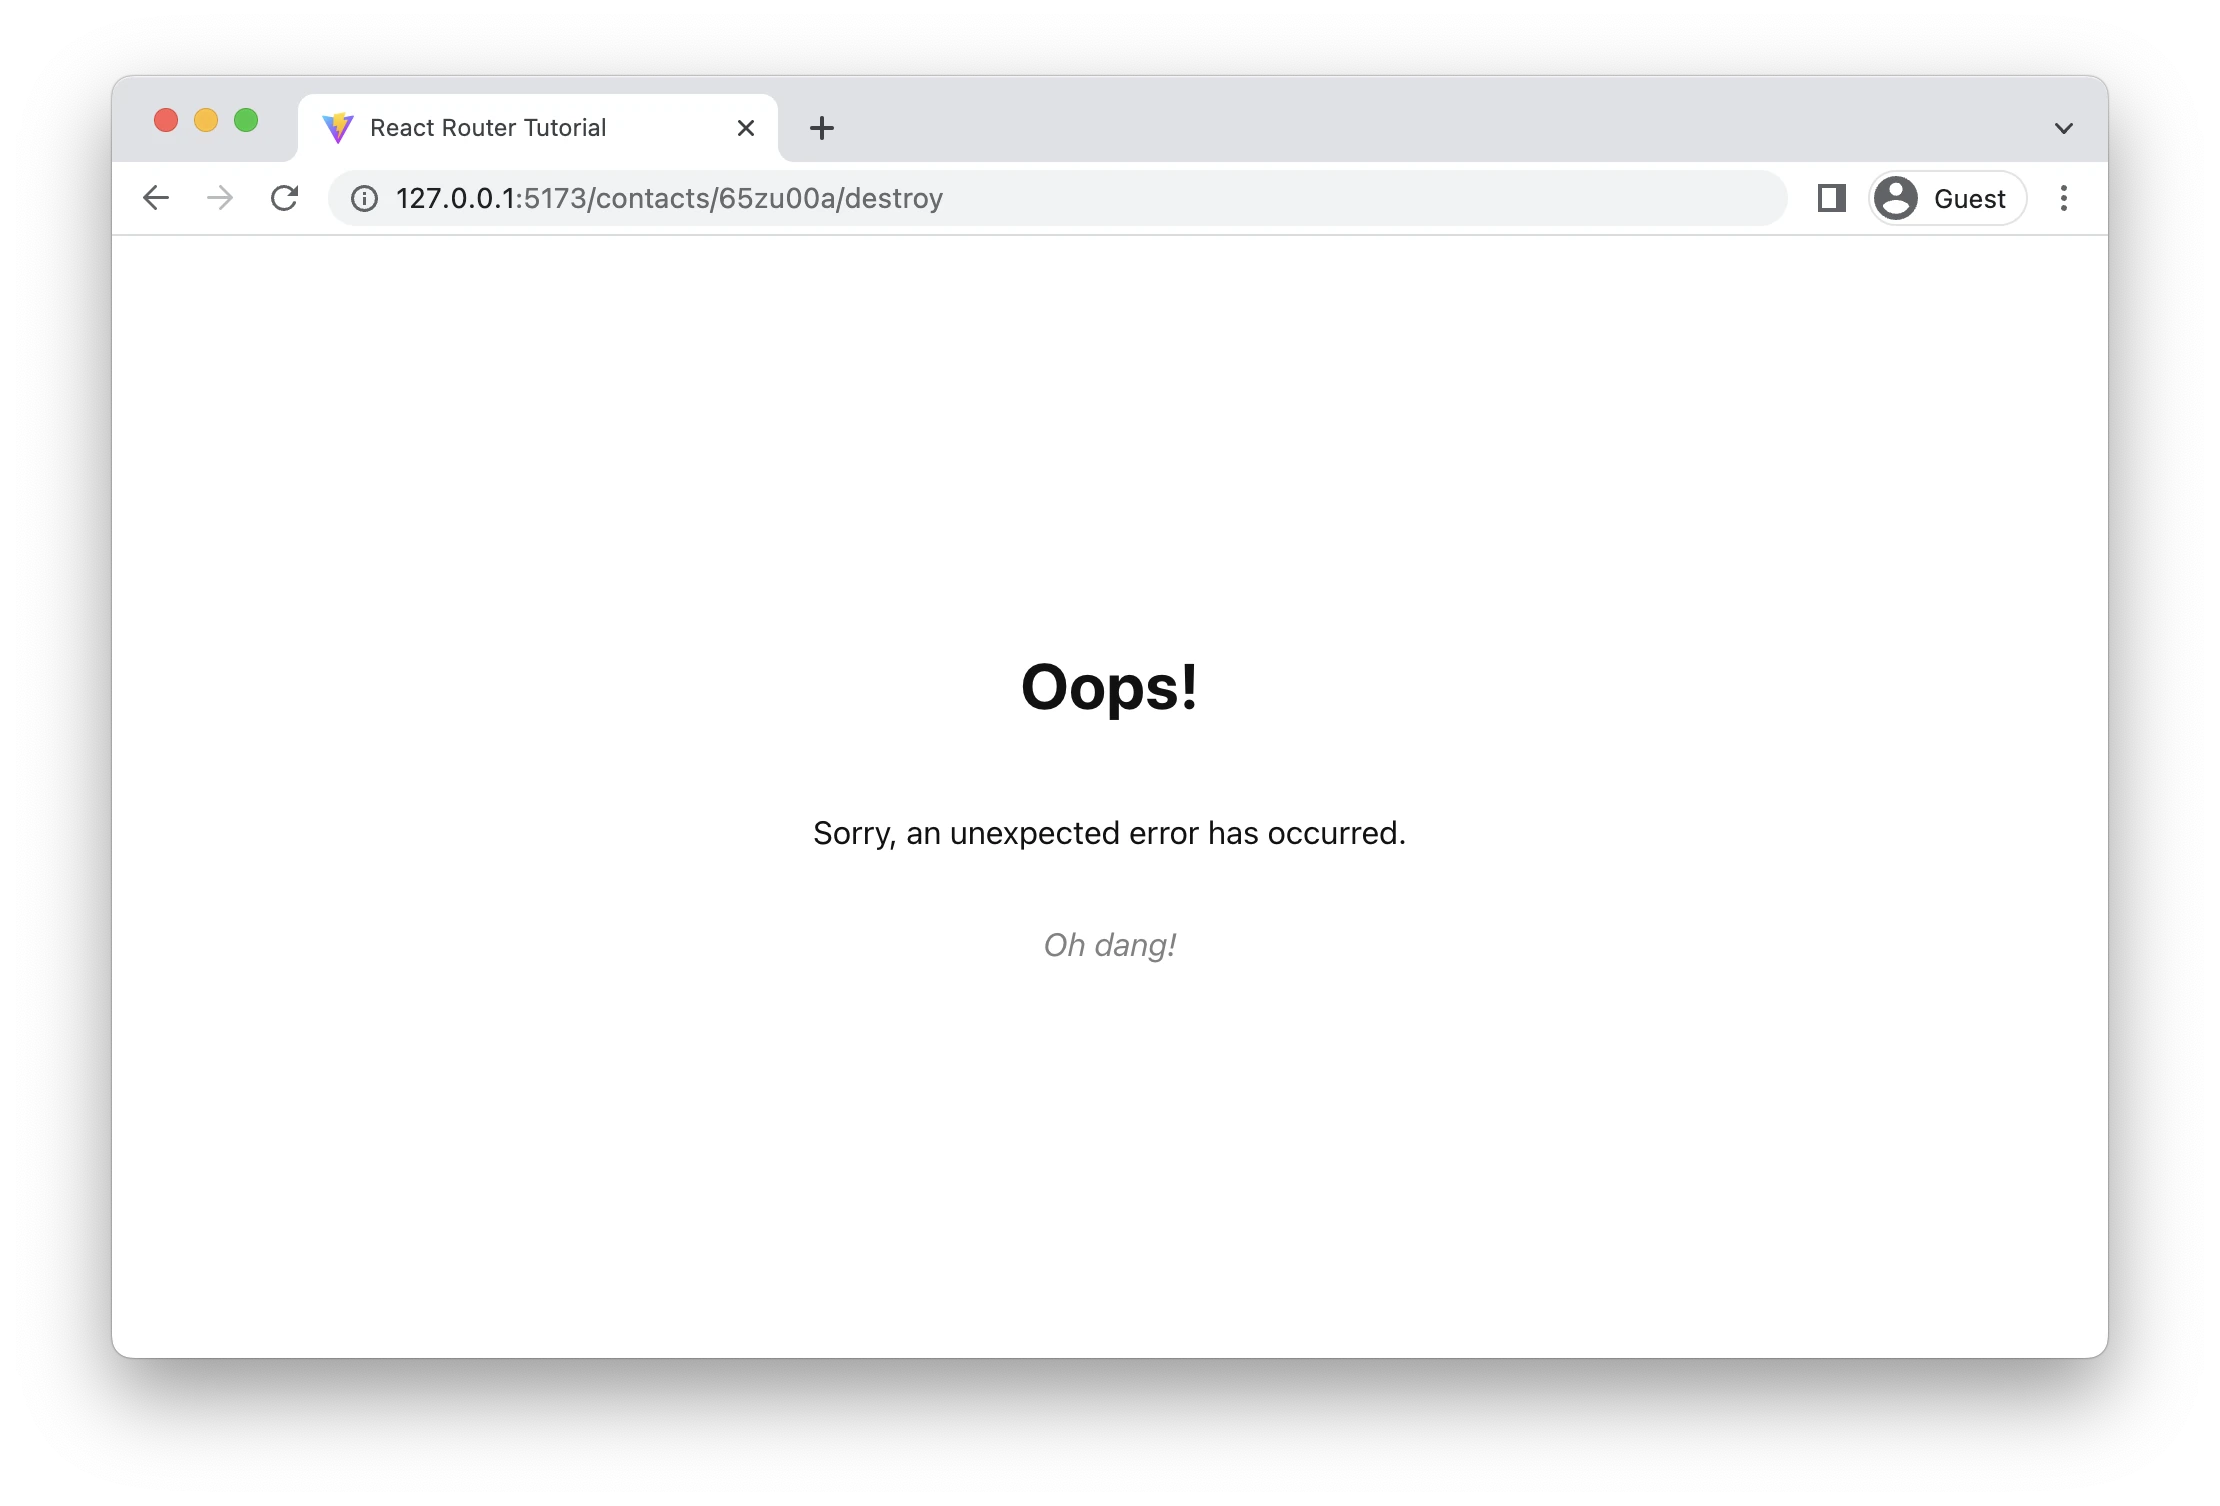
- 오류 창이 출력되기는 했지만 root element의 오류창을 가져와 출력함
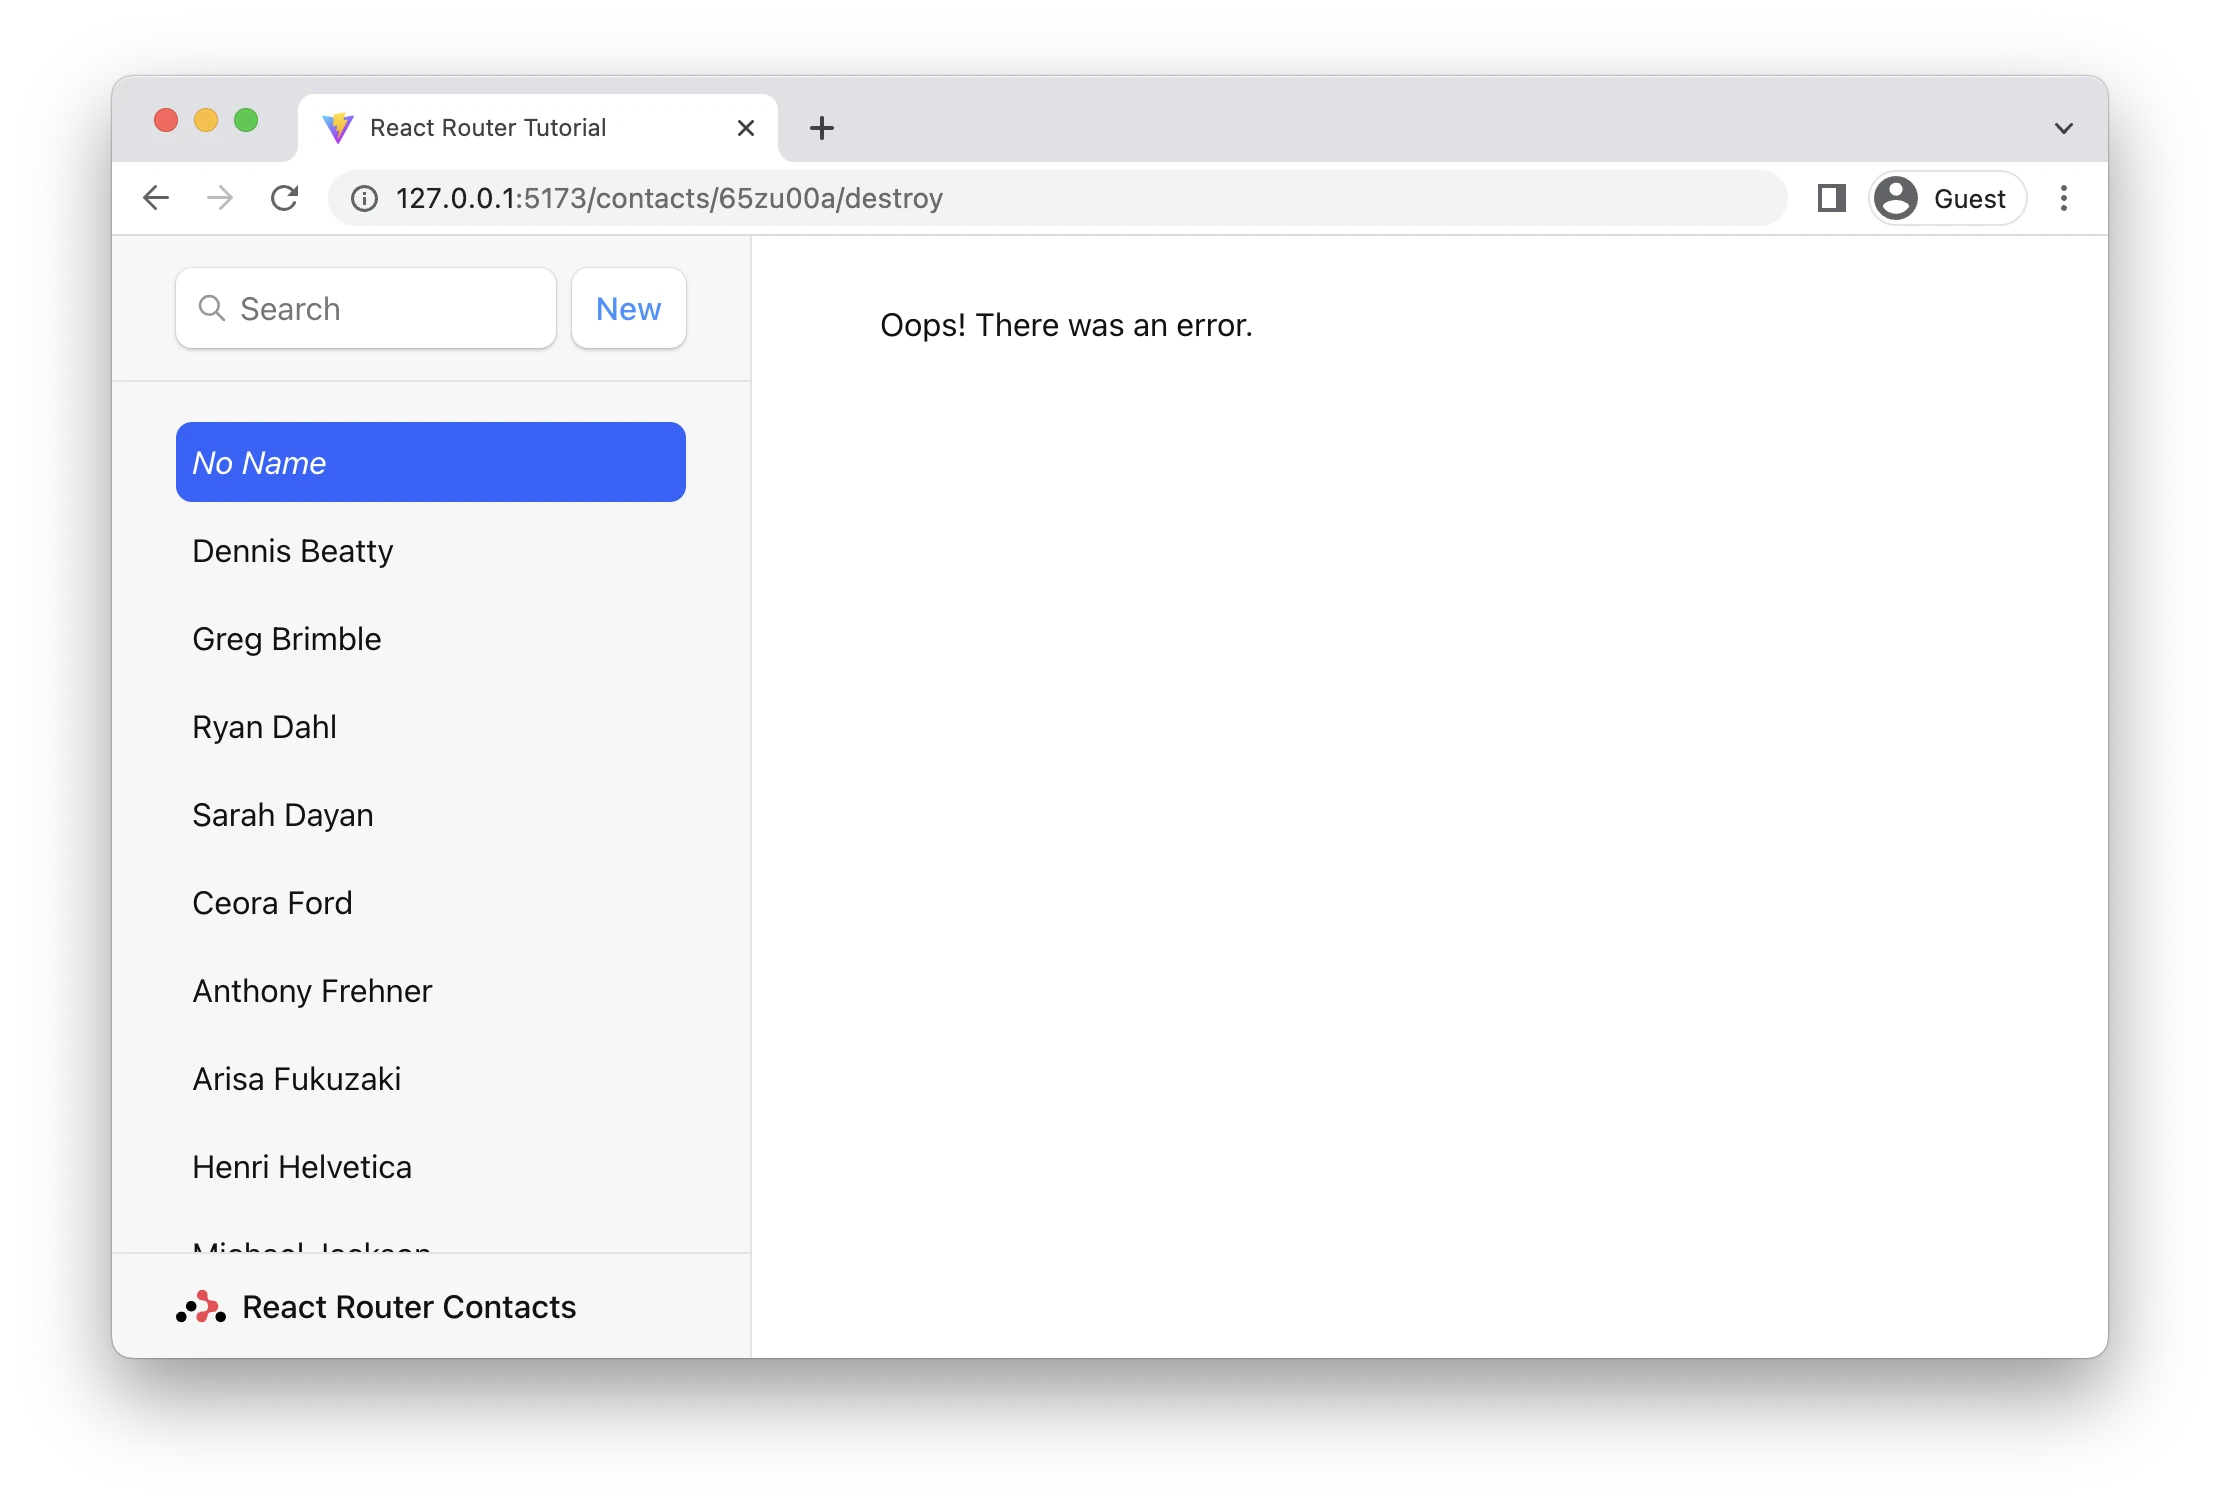
컴포넌트에 errorElement가 없는 경우 parent의 errorElement를 찾아 출력함 - 컴포넌트와의 간섭 없이 오류창을 출력하기 위해서는 다음과 같이 route를 하는 부분에 errorElement를 출력해야 함
[
  /* other routes */
  {
    path: "contacts/:contactId/destroy",
    action: destroyAction,
    errorElement: <div>Oops! There was an error.</div>,
  },
];
결과:
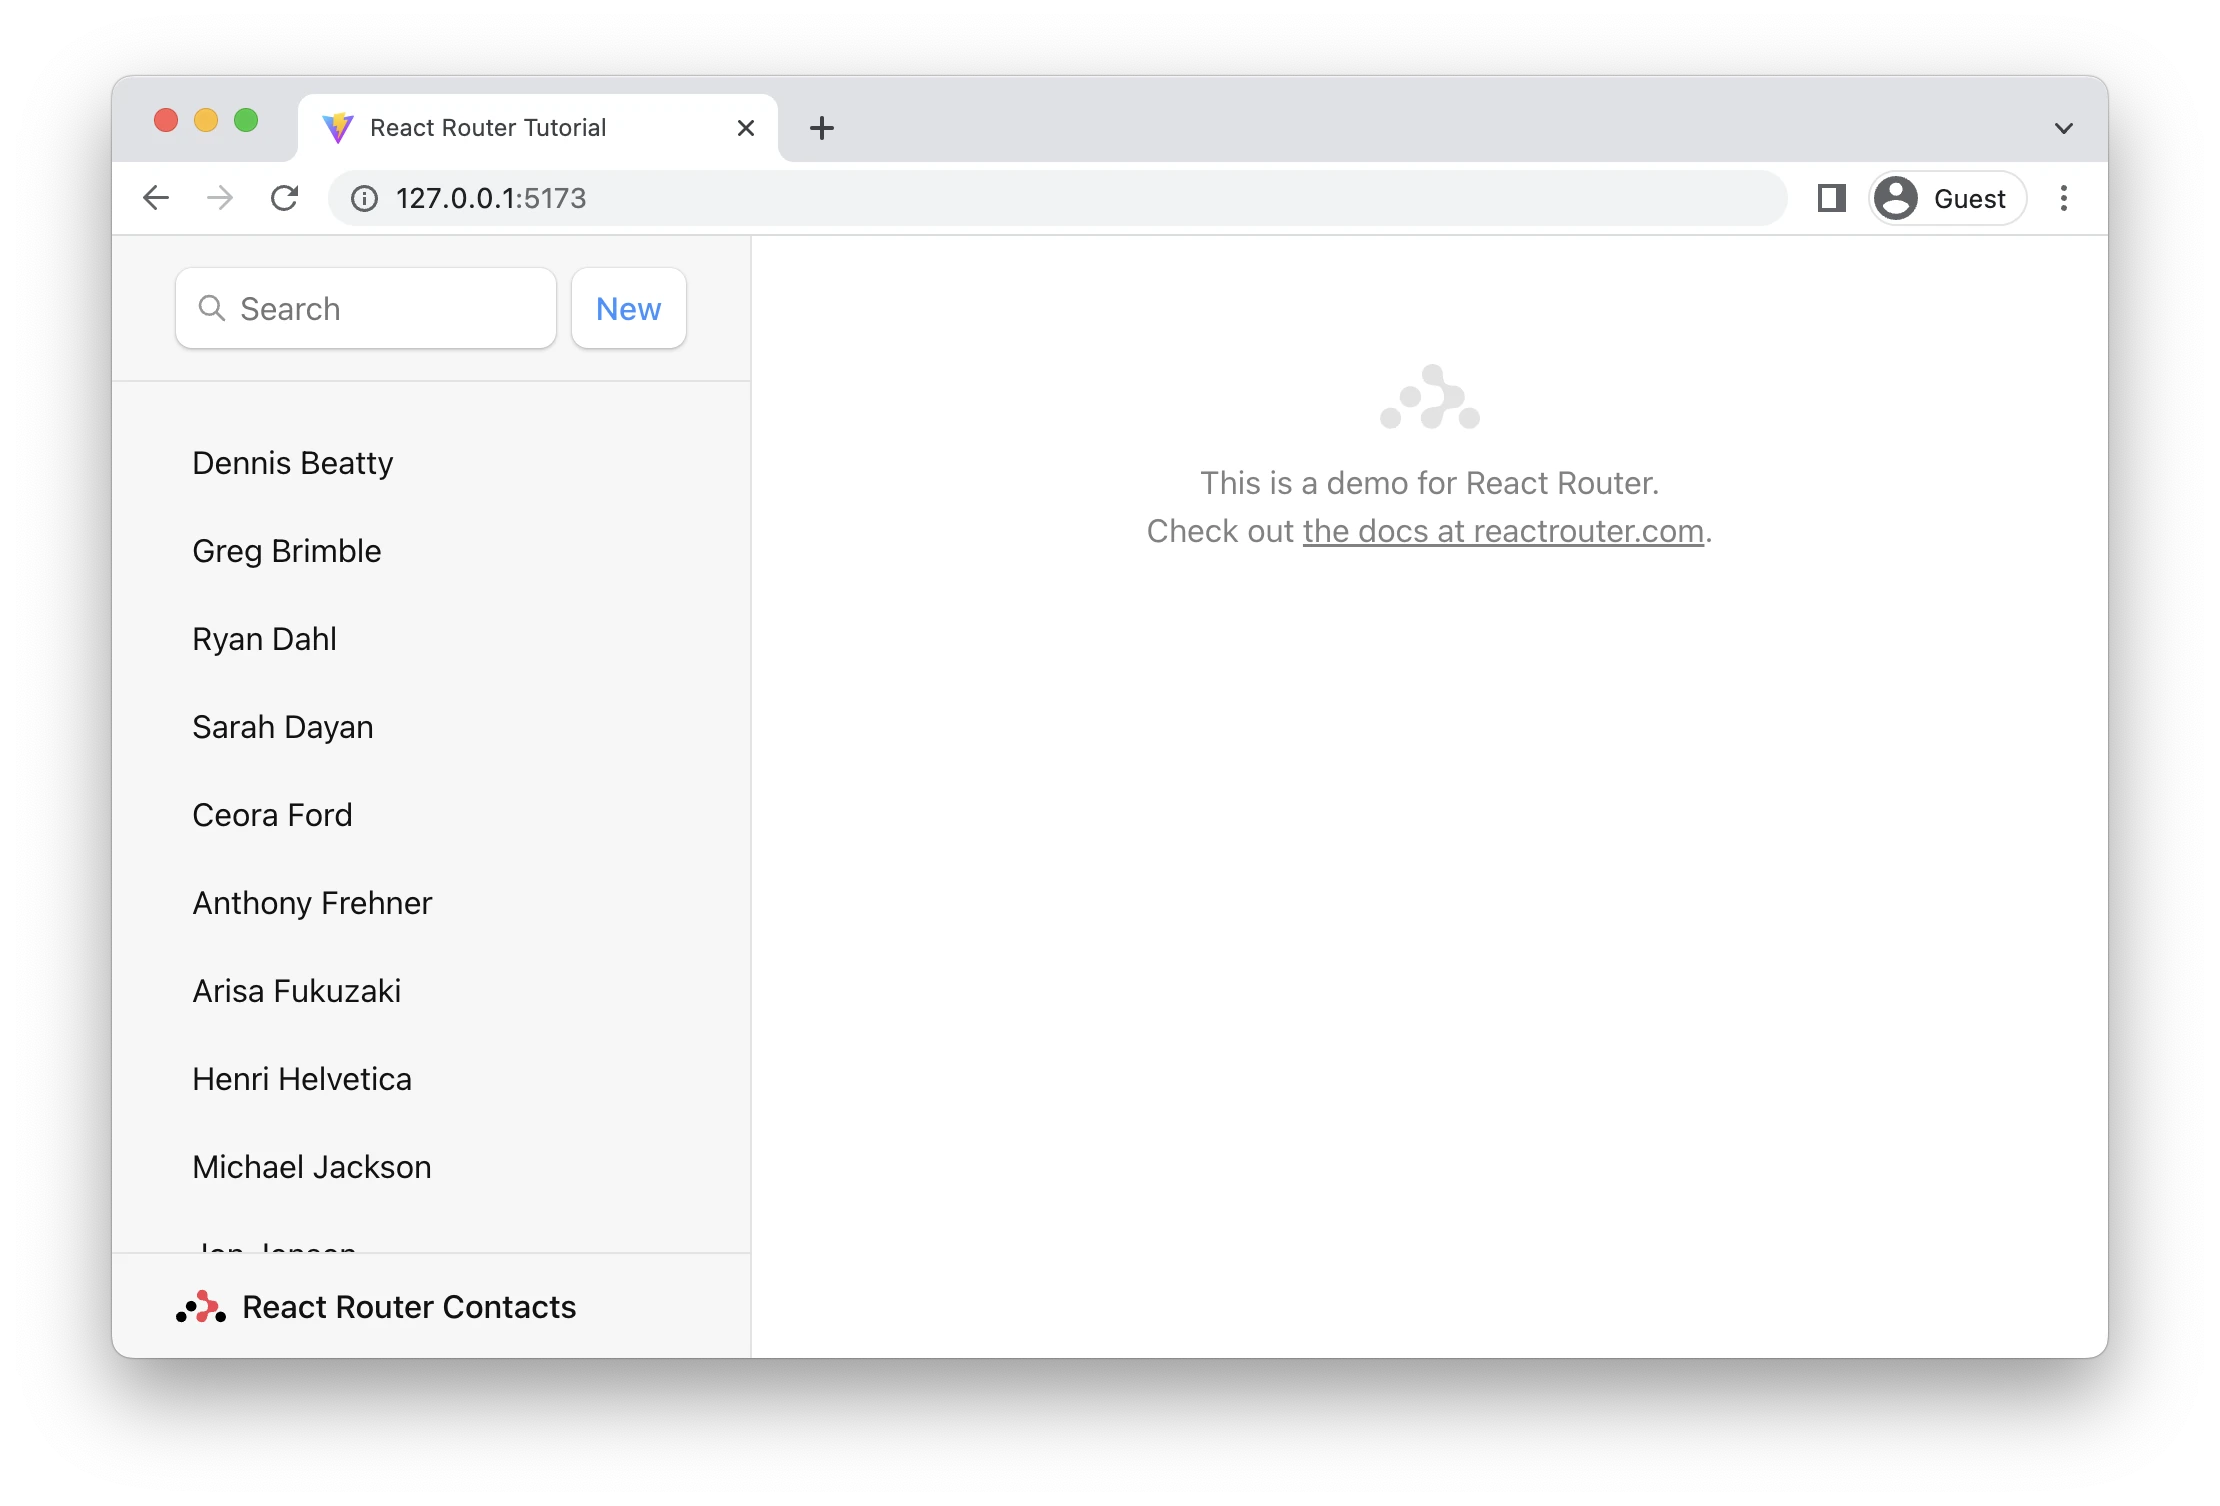
Index Routes
- 앱을 처음 실행시킬 때 경로와 일치하는 자식 컴포넌트가 존재하지 않기 때문에 Outlet 위치에는 흰 화면이 출력되게 됨
- 이를 해결하기 위해 컴포넌트 하나를 index 로 만들어두면 Outlet에 출력할 컴포넌트가 존재하지 않을 때 index를 출력하게 됨
routes/index.jsx
export default function Index() {
  return (
    <p id="zero-state">
      This is a demo for React Router.
      <br />
      Check out{" "}
      <a href="https://reactrouter.com">
        the docs at reactrouter.com
      </a>
      .
    </p>
  );
}
main.jsx
// existing code
import Index from "./routes/index";

const router = createBrowserRouter([
  {
    path: "/",
    element: <Root />,
    errorElement: <ErrorPage />,
    loader: rootLoader,
    action: rootAction,
    children: [
      { index: true, element: <Index /> },
      /* existing routes */
    ],
  },
]);
결과:
Cancel Button
- 연락처 편집 창에서 취소 버튼을 구현하기 위해 useNavigate 사용 가능
- useNavigate는 특정 경로를 지정하는 것 이외에도 뒤로 가기 등의 행동을 구현 가능
edit.jsx
import {
  Form,
  useLoaderData,
  redirect,
  useNavigate,
} from "react-router-dom";

export default function EditContact() {
  const contact = useLoaderData();
  const navigate = useNavigate();

  return (
    <Form method="post" id="contact-form">
      {/* existing code */}

      <p>
        <button type="submit">Save</button>
        <button
          type="button" {/* button 속성 사용시 html 이벤트 방지 가능 */}
          onClick={() => {
            navigate(-1);
          }}
        >
          Cancel
        </button>
      </p>
    </Form>
  );
}
냐아아아아아아아아앙