1. OpenCV, C++ 설치
OpenCV Install
brew install opencv
다음과 같이 버전이 나오면 알맞게 설치된 것이다.
C++ Install
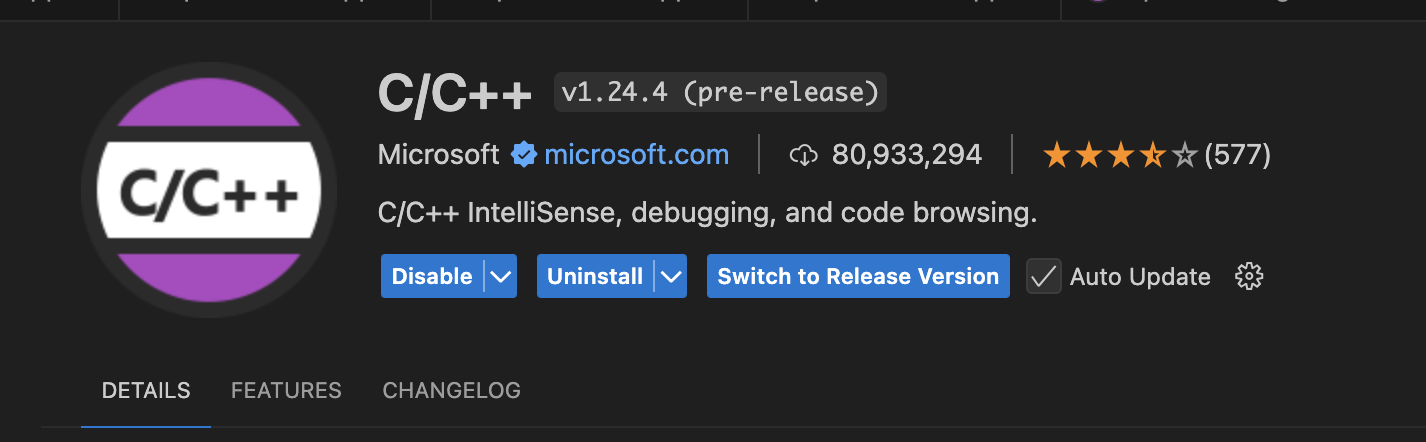
vscode에 extension으로 C/C++ extension을 설치해준다.
그리고 임의의 파일을 하나 생성해준 뒤, command+shift+B로 빌드해준다.
이때 위에 창이 뜨면 C/C++: g++ 활성 파일 빌드 탭 옆의 톱니 바퀴를 눌러준다.
그렇게 되면 tasks.json 파일이 열린다.
다음과 같이 수정해주자.
{
	"version": "2.0.0",
	"tasks": [
		{
			"type": "cppbuild",
			"label": "C/C++: g++ build active file",
			"command": "/usr/bin/g++",
			"args": [
				"-fdiagnostics-color=always",
				"-g",
				"${file}",
				"-o",
				"${fileDirname}/${fileBasenameNoExtension}",
				"`pkg-config", "--libs", "--cflags", "opencv4`", "-std=c++11"
			],
			"options": {
				"cwd": "${fileDirname}"
			},
			"problemMatcher": [
				"$gcc"
			],
			"group": {
				"kind": "build",
				"isDefault": true
			},
			"detail": "compiler: /usr/bin/g++",
			"dependsOn": ["run OpenCV"]
		},
		{
            "label": "run OpenCV",
            "type": "shell",
            "command": "${fileDirname}/${fileBasenameNoExtension}",
            "options": {
                "cwd": "${fileDirname}"
            },
            "group": {
                "kind": "test",
                "isDefault": true
            }
        }
	]
}
command+shift+B 버튼을 누르면 자동으로 빌드 되도록 하였다.
2. 경로 설정해주기
command+shift+p를 눌러서 C/C++ Edit Configurations(UI)를 눌러준다.

그리고 경로 설정을 해준다.
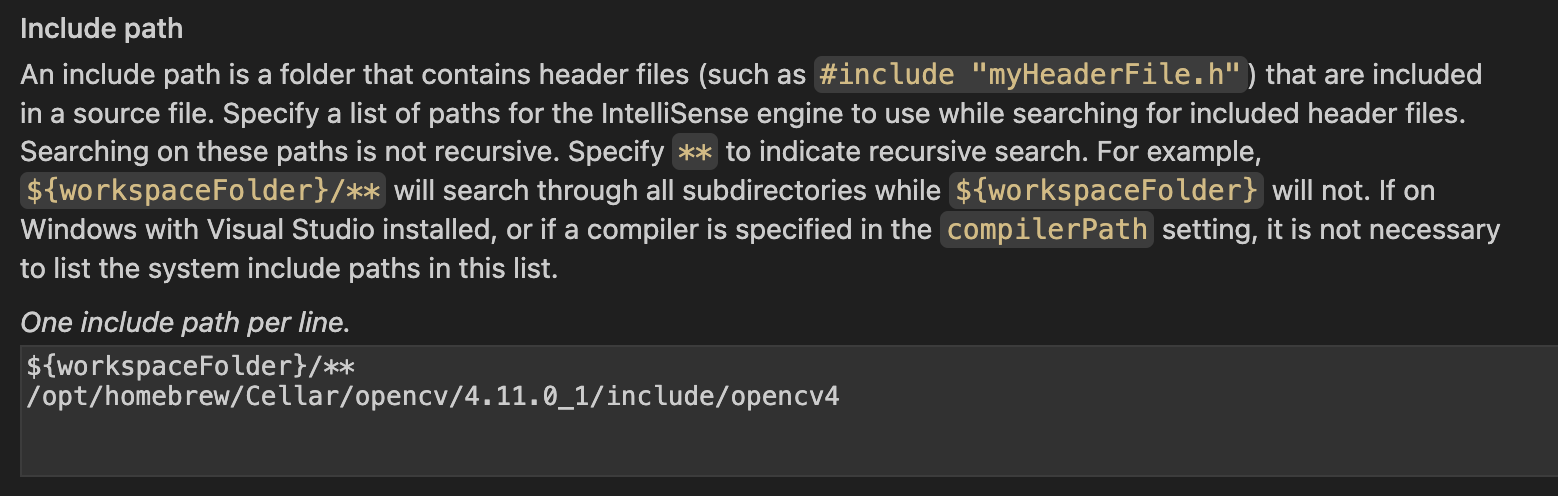
버전은 사용자마다 다르기에 각자 맞는 버전에 맞춰 적어준다
3. pkg-config 설정
brew install pkg-config필요하다면 위와 같은 명령어를 사용해 pkg-config를 설치한다.
export PKG_CONFIG_PATH=/opt/homebrew/Cellar/opencv/<버전>/lib/pkgconfig그리고 다음과 같이 경로 설정을 해준다.
4. 실행
g++ -std=c++11 `pkg-config opencv4 --libs --cflags opencv4` <파일이름>.cpp -o output해당 파일 이름을 적어 다음과 같이 입력하여 빌드를 완료할 수 있지만 우리는 command+shift+B 단축키를 통해 자동 빌드가 되도록 설정하였다.
💣 오류
zsh:1: no such file or directory: 실행하려는 파일이 경로에 없거나 해당 경로가 실행가능한 파일이 아닐 때에 다음과 같은 오류가 발생한다고 한다.
해당 파일이 경로에 있는지 확인 후, VSC 터미널창에 다음과 같이 명령어를 입력해 실행 파일을 만들어준다.
g++ -std=c++11 <파일이름>.cpp -o <파일이름> \
  -I/opt/homebrew/include/opencv4 \
  -L/opt/homebrew/lib \
  -lopencv_core -lopencv_imgcodecs -lopencv_highgui -lopencv_imgproc

공부 기록 공간 '◡'