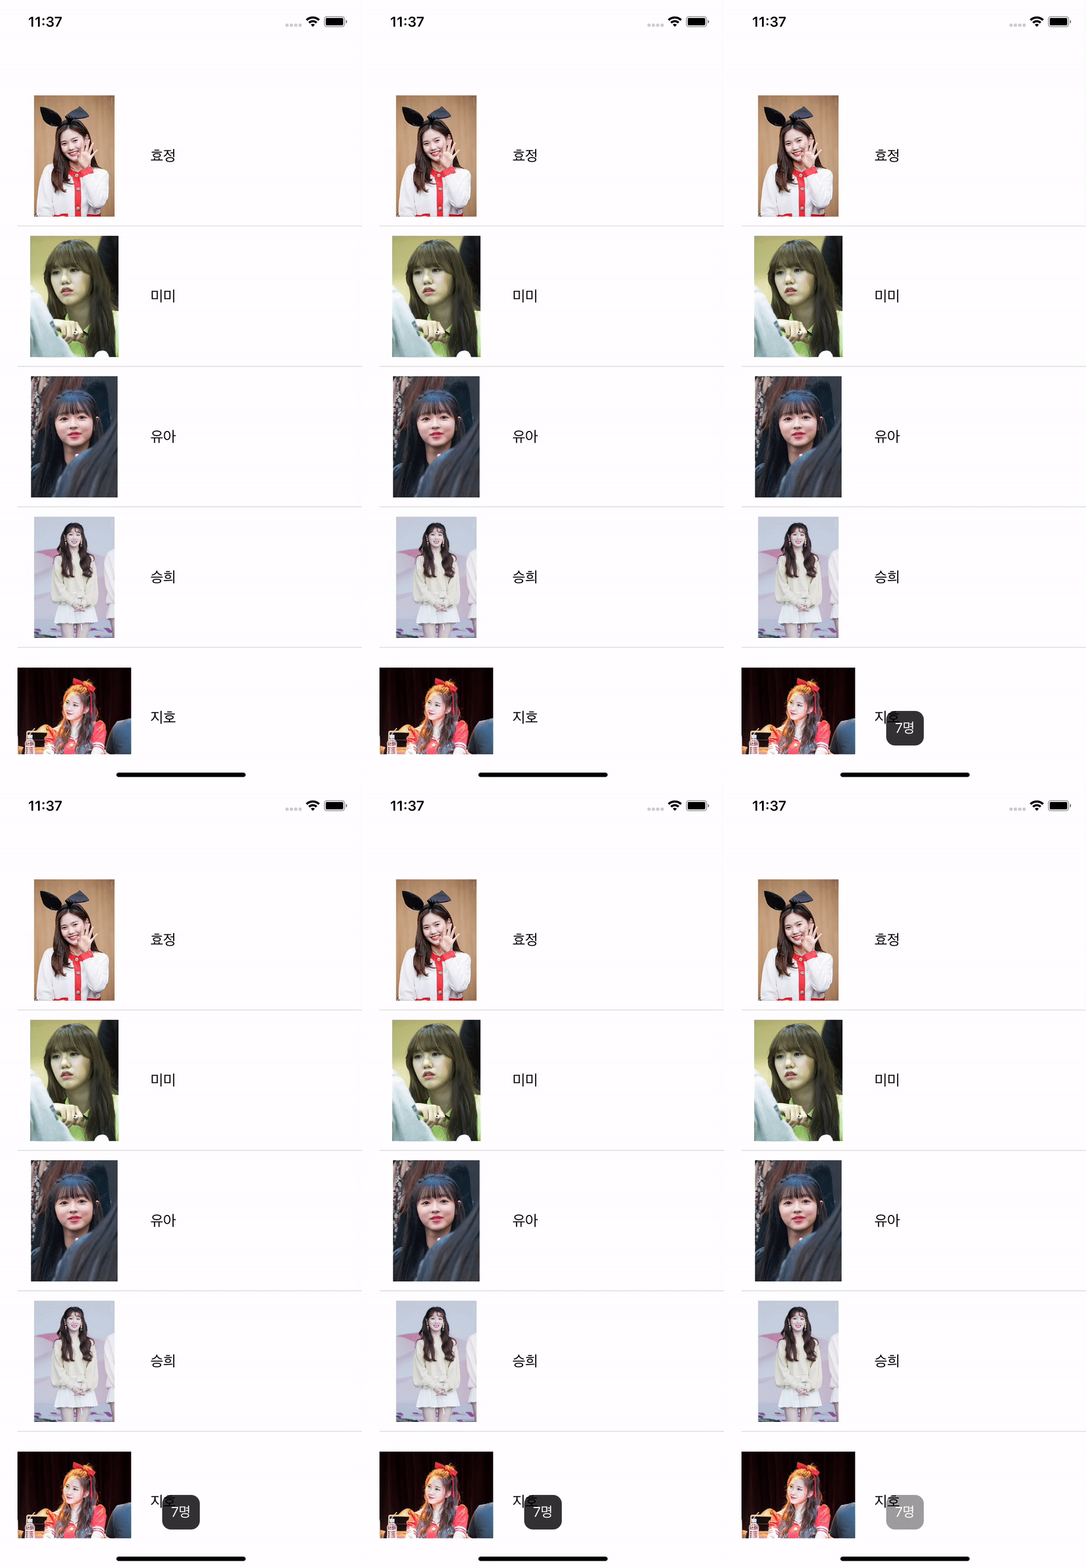
TableView를 생성하는 과정은 생략합니다. 만약 TableView 생성 방법이 궁금하시다면 아래 링크를 참고하시기 바랍니다.
Programmatically
https://velog.io/@panther222128/UITableView-Programmatically-Practice
Storyboard
https://velog.io/@panther222128/UITableView
Storyboard + XIB
https://velog.io/@panther222128/UITableView-with-XIB-Practice
Toast는 아래 gif에서 보이는 것처럼 Action이 있을 때 어떤 String을 일시적으로 보여주는 것을 말합니다. 찾다보니 안드로이드는 기능을 갖추고 있지만, iOS는 그렇지 않아 Toast Library를 받아야 합니다. Toast Library를 설치하기 전에 CocoaPods를 설치해야 합니다. CocoaPods를 통해 Toast Library를 사용할 수 있기 때문입니다.
TableView를 생성하고 ImageView와 Label 하나를 갖는 Cell을 만들었습니다. 저는 스토리보드로 작업했고 TableView 내에 Cell을 추가한 뒤 아래 코드처럼 class를 인식하게 하고 Reuse Identifier도 설정했습니다.
class TableViewCell: UITableViewCell {
    @IBOutlet weak var memberImageView: UIImageView!
    @IBOutlet weak var memberNameLabel: UILabel!
}
ViewController는 코드로 설명하겠습니다.
import UIKit
import Toast_Swift

class ViewController: UIViewController {

    @IBOutlet weak var tableView: UITableView!

    private let memberName = ["효정", "미미", "유아", "승희", "지호", "비니", "아린"]
    private let memberImage = [UIImage(named: "효정.jpg"), UIImage(named: "미미.jpg"), UIImage(named: "유아.jpg"), UIImage(named: "승희.jpg"), UIImage(named: "지호.jpg"), UIImage(named: "비니.jpg"), UIImage(named: "아린.jpg")]

    override func viewDidLoad() {
        super.viewDidLoad()
        tableView.delegate = self
        tableView.dataSource = self
    }

    // header가 tap되면 동작할 메소드입니다. ViewController의 View에서 Toast를 만듭니다.
    @objc func headerTap() {
        self.view.makeToast("7명")
    }

}

extension ViewController: UITableViewDelegate, UITableViewDataSource {

    func tableView(_ tableView: UITableView, cellForRowAt indexPath: IndexPath) -> UITableViewCell {
        let cell = tableView.dequeueReusableCell(withIdentifier: "TableViewCell", for: indexPath) as! TableViewCell
        cell.memberImageView.image = memberImage[indexPath.row]
        cell.memberNameLabel.text = memberName[indexPath.row]
        return cell
    }

    func tableView(_ tableView: UITableView, numberOfRowsInSection section: Int) -> Int {
        return memberName.count
    }

    func tableView(_ tableView: UITableView, titleForHeaderInSection section: Int) -> String? {
    // 이 메소드 아래에 있는 메소드를 동시에 사용하면 지금 이 메소드, 즉 Header Title은 보이지 않습니다.
        return "오마이걸 멤버"
    }

    func tableView(_ tableView: UITableView, viewForHeaderInSection section: Int) -> UIView? {
    // 위 메소드를 동시에 쓴다고 하더라도 지금의 이 메소드가 return 하는 headerView만 보일 것입니다.
    // 출력하려는 headerView를 새로 생성해서 원하는 형태로 만들 수 있겠습니다.
        let headerView = UIView()
    // tapRecognizer를 추가합니다. header가 tap되면 위에서 정의한 headerTap 메소드를 수행합니다.
        let tapRecognizer = UITapGestureRecognizer(target: self, action: #selector(headerTap))
        headerView.addGestureRecognizer(tapRecognizer)
        return headerView
    }

    func tableView(_ tableView: UITableView, heightForHeaderInSection section: Int) -> CGFloat {
        return 50
    }

}
결과는 아래와 같습니다.

