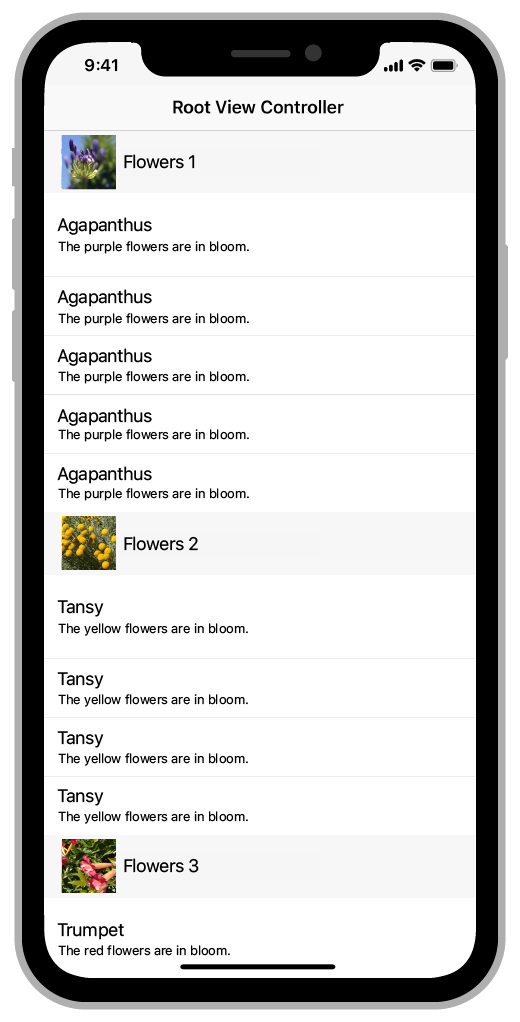
이 글은 UITableView를 새로 생성해서 적용한 내용이 아닙니다. 만약 ViewController 내부에 코드가 많아 분리하고 싶으시다면 이전에 작성한 Collection View Practice를 참고하시길 바랍니다. 아래에 링크를 남기겠습니다.
https://velog.io/@panther222128/UICollectionView
코드로 UITableView를 구현하는 방법은 아래 링크를 참고하실 수 있습니다.
https://velog.io/@panther222128/UITableView-Programmatically-Practice
스토리보드와 XIB를 활용한 Custom Cell 생성 및 TableView 구현은 아래 링크를 참고하실 수 있습니다.
https://velog.io/@panther222128/UITableView-with-XIB-Practice
https://developer.apple.com/documentation/uikit/uitableview
"A view that presents data using rows arranged in a single column."
행으로 정렬된 데이터를 한 열에 담아 제공하는 View입니다.
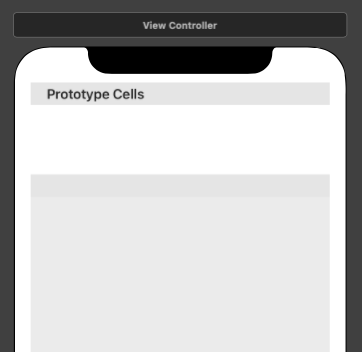
스토리보드에 TableView를 추가하고 TableView 객체를 View Controller에 연결한 상태이며, Autolayout도 설정되어 있습니다.
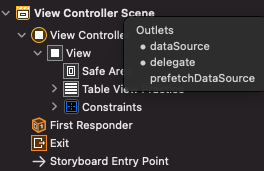
우선 시간이 지났을 때 잊기 쉬운 dataSource, delegate를 어디서 할지 설정합니다. 아래 이미지에서 Table View를 키보드 Control을 누른 채로 드래그해서 View Controller에 드랍합니다. 그러면 Outlets가 나오는데, Control을 누른 채로 dataSource와 delegate를 클릭하면 아래처럼 선택되었다는 표시인 점이 생깁니다.
셀의 사이즈를 설정하려면 Table View에서 Row Height에 원하는 값을 설정합니다. 중요한 점은 Table View Cell이 아닌 Table View에서 설정한다는 점입니다.

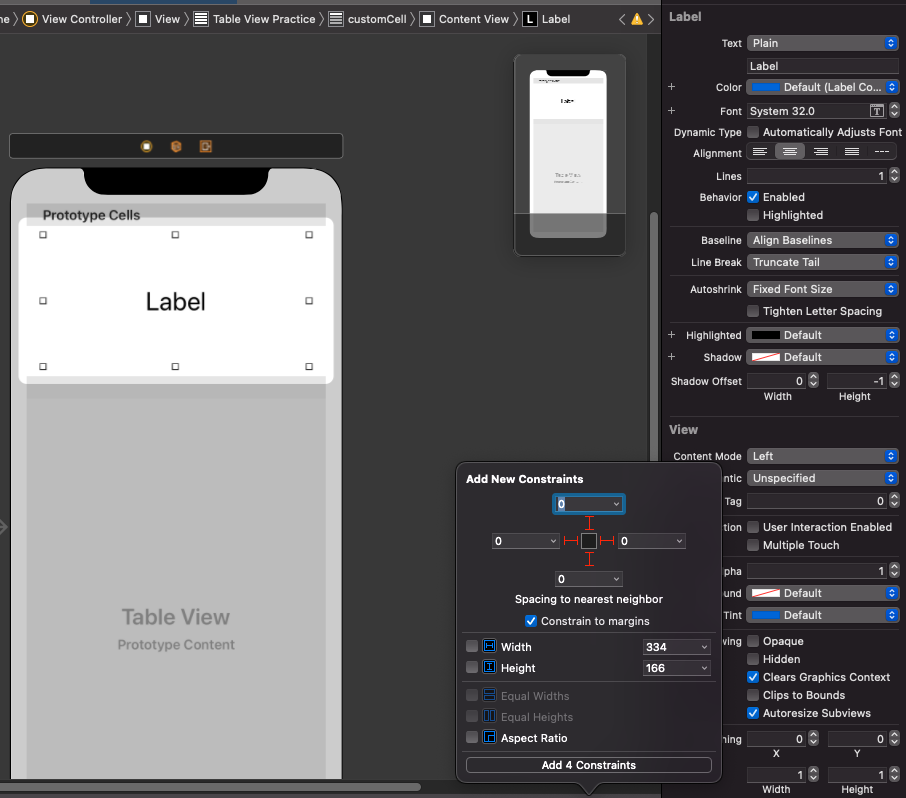
셀에 원하는 View를 추가합니다. 저는 간단하게 label 하나만 추가했습니다. 그리고 Auto layout도 설정했습니다. 글자의 크기는 아래 이미지 오른쪽에서 보이는 것처럼 폰트 사이즈 32로 설정하고 가운데 정렬도 선택했습니다.
스토리보드에서 작업할 내용은 마무리했습니다. 다음은 ViewController에 대한 내용입니다. 아래 코드를 보시면 TableViewPractice라는 Table View를 스토리보드로부터 연결했음을 확인할 수 있습니다. 그리고 extension을 통해 보여줄 데이터의 수가 몇인지, 셀이 보여줘야 하는 것은 무엇인지 Table View Protocol을 작성했습니다. Table View를 코드로 작성하거나 XIB로 작성했을 때와 다른 점은 tableViewPractice.delegate = self와 tableViewPractice.dataSource = self를 설정해줄 필요가 없다는 점입니다. 앞서 스토리보드를 통해 드래그 앤 드랍으로 두 가지를 설정해줬기 때문입니다.
data는 아직 설명하지 않은 부분입니다. 코드 다음에서 간략하게 보겠습니다.
class ViewController: UIViewController {

    @IBOutlet weak var tableViewPractice: UITableView!

    private let data = Data()

    override func viewDidLoad() {
        super.viewDidLoad()
    }

}

extension ViewController: UITableViewDelegate, UITableViewDataSource {

    func tableView(_ tableView: UITableView, numberOfRowsInSection section: Int) -> Int {
        return data.memberName.count
    }

    func tableView(_ tableView: UITableView, cellForRowAt indexPath: IndexPath) -> UITableViewCell {
        let customCell = tableView.dequeueReusableCell(withIdentifier: "customCell", for: indexPath) as! TableViewCell
        customCell.label.text = data.memberName[indexPath.row]
        return customCell
    }

}data는 셀에서 보여줄 데이터를 간단하게 작성한 것입니다. 아래와 같습니다.
struct Data {
    let memberName = ["효정", "미미", "유아", "승희", "지호", "비니", "아린"]
}
Custom Cell에 대한 객체입니다. label 하나만 둘 것이므로 스토리보드로부터 label을 연결합니다. 이렇게 작성한 후 코드 밑에 있는 이미지처럼 스토리보드에서 셀을 선택하고 작성한 Class 연결 및 Reuse Identifier를 설정해줘야 합니다.
class TableViewCell: UITableViewCell {

    @IBOutlet weak var label: UILabel!

}

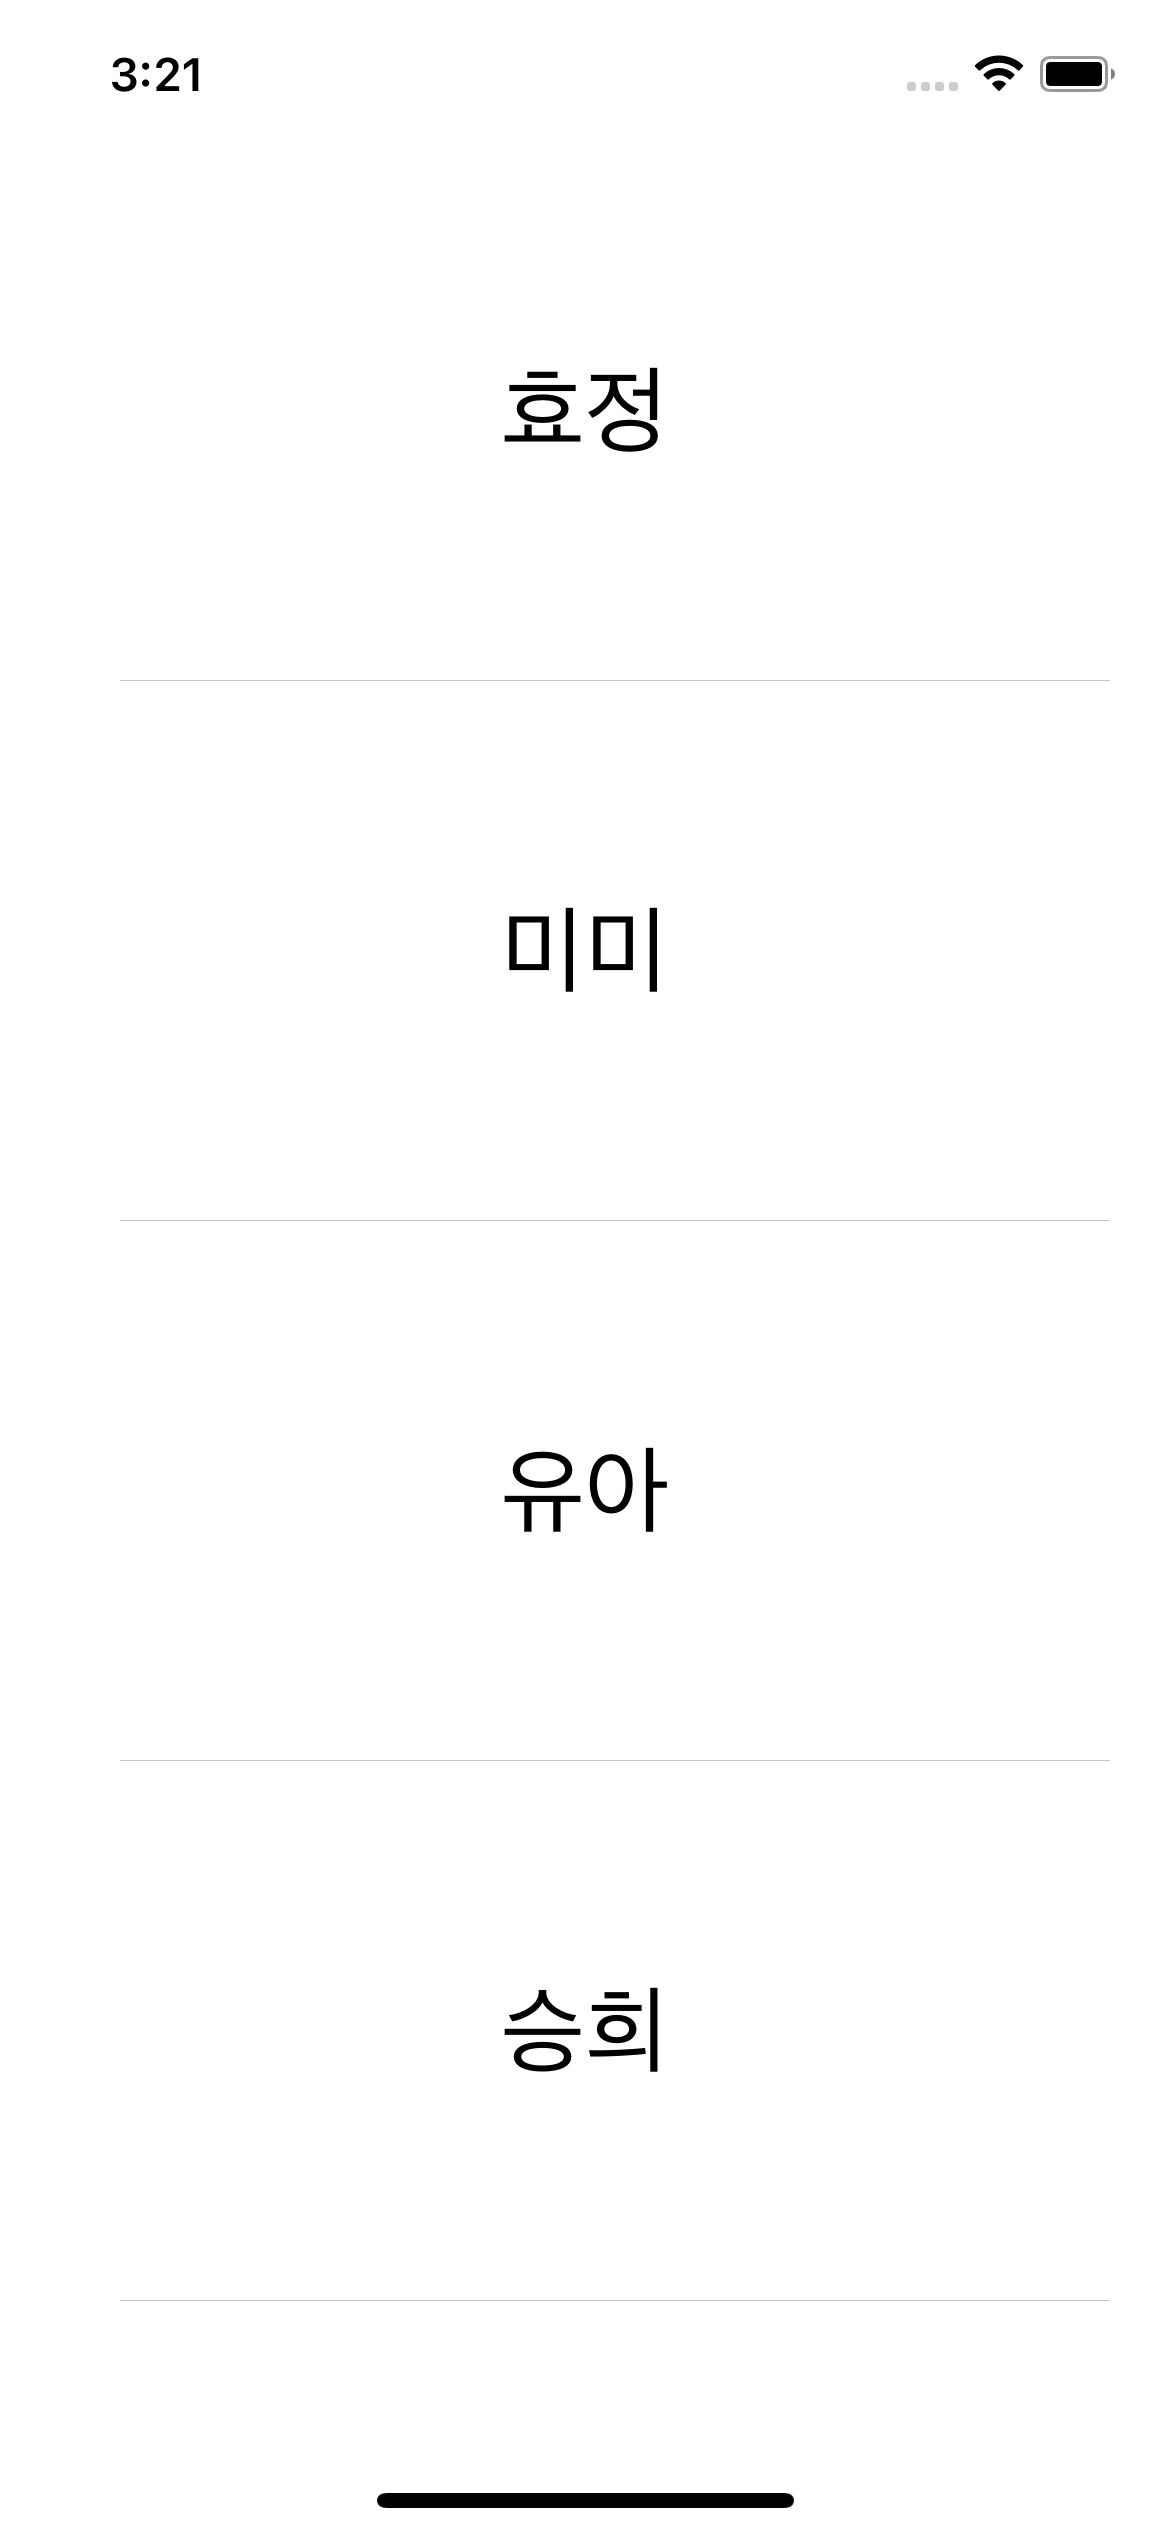
실행 후 Simulator의 모습입니다.
UITableView의 Protocol
UITableViewDelegate
https://developer.apple.com/documentation/uikit/uitableviewdelegate
"Methods for managing selections, configuring section headers and footers, deleting and reordering cells, and performing other actions in a table view."
selection과 section의 header, footer 설정, cell 삭제와 재정렬, TableView에서 다른 행동 수행과 관련이 있는 프로토콜입니다.
UICollectionView와 마찬가지로 기능 설명이 대부분 'Tells the delegate ~ '로 시작
역시 어떤 이벤트가 발생했다고 delegate를 전달하는 것이라고 이해하고 있습니다.
UITableViewDataSource
https://developer.apple.com/documentation/uikit/uitableviewdatasource
"The methods adopted by the object you use to manage data and provide cells for a table view."
UICollectionViewDataSource 설명과 맨 끝만 다릅니다.(CollectionView는 '~ for a collection view') Data 관리와 Cell을 제공하는 역할을 합니다.
Section, Header, Footer
https://developer.apple.com/documentation/uikit/views_and_controls/table_views/adding_headers_and_footers_to_table_sections
https://velog.io/@panther222128/Adding-Headers-and-Footers-to-Table-Sections
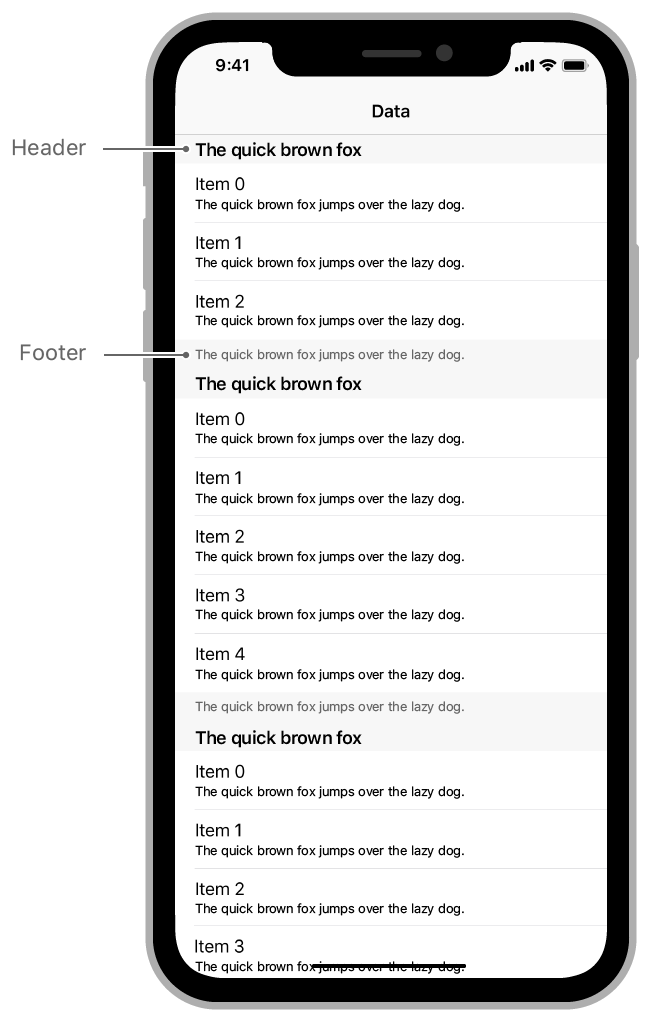
Section이 나눠질 수 있는 모양인데, Section 구분에 따라 Header와 Footer 설정이 가능한 모양입니다.
공식 문서에 나온 다른 이미지는 아래와 같습니다.
