진행 상황
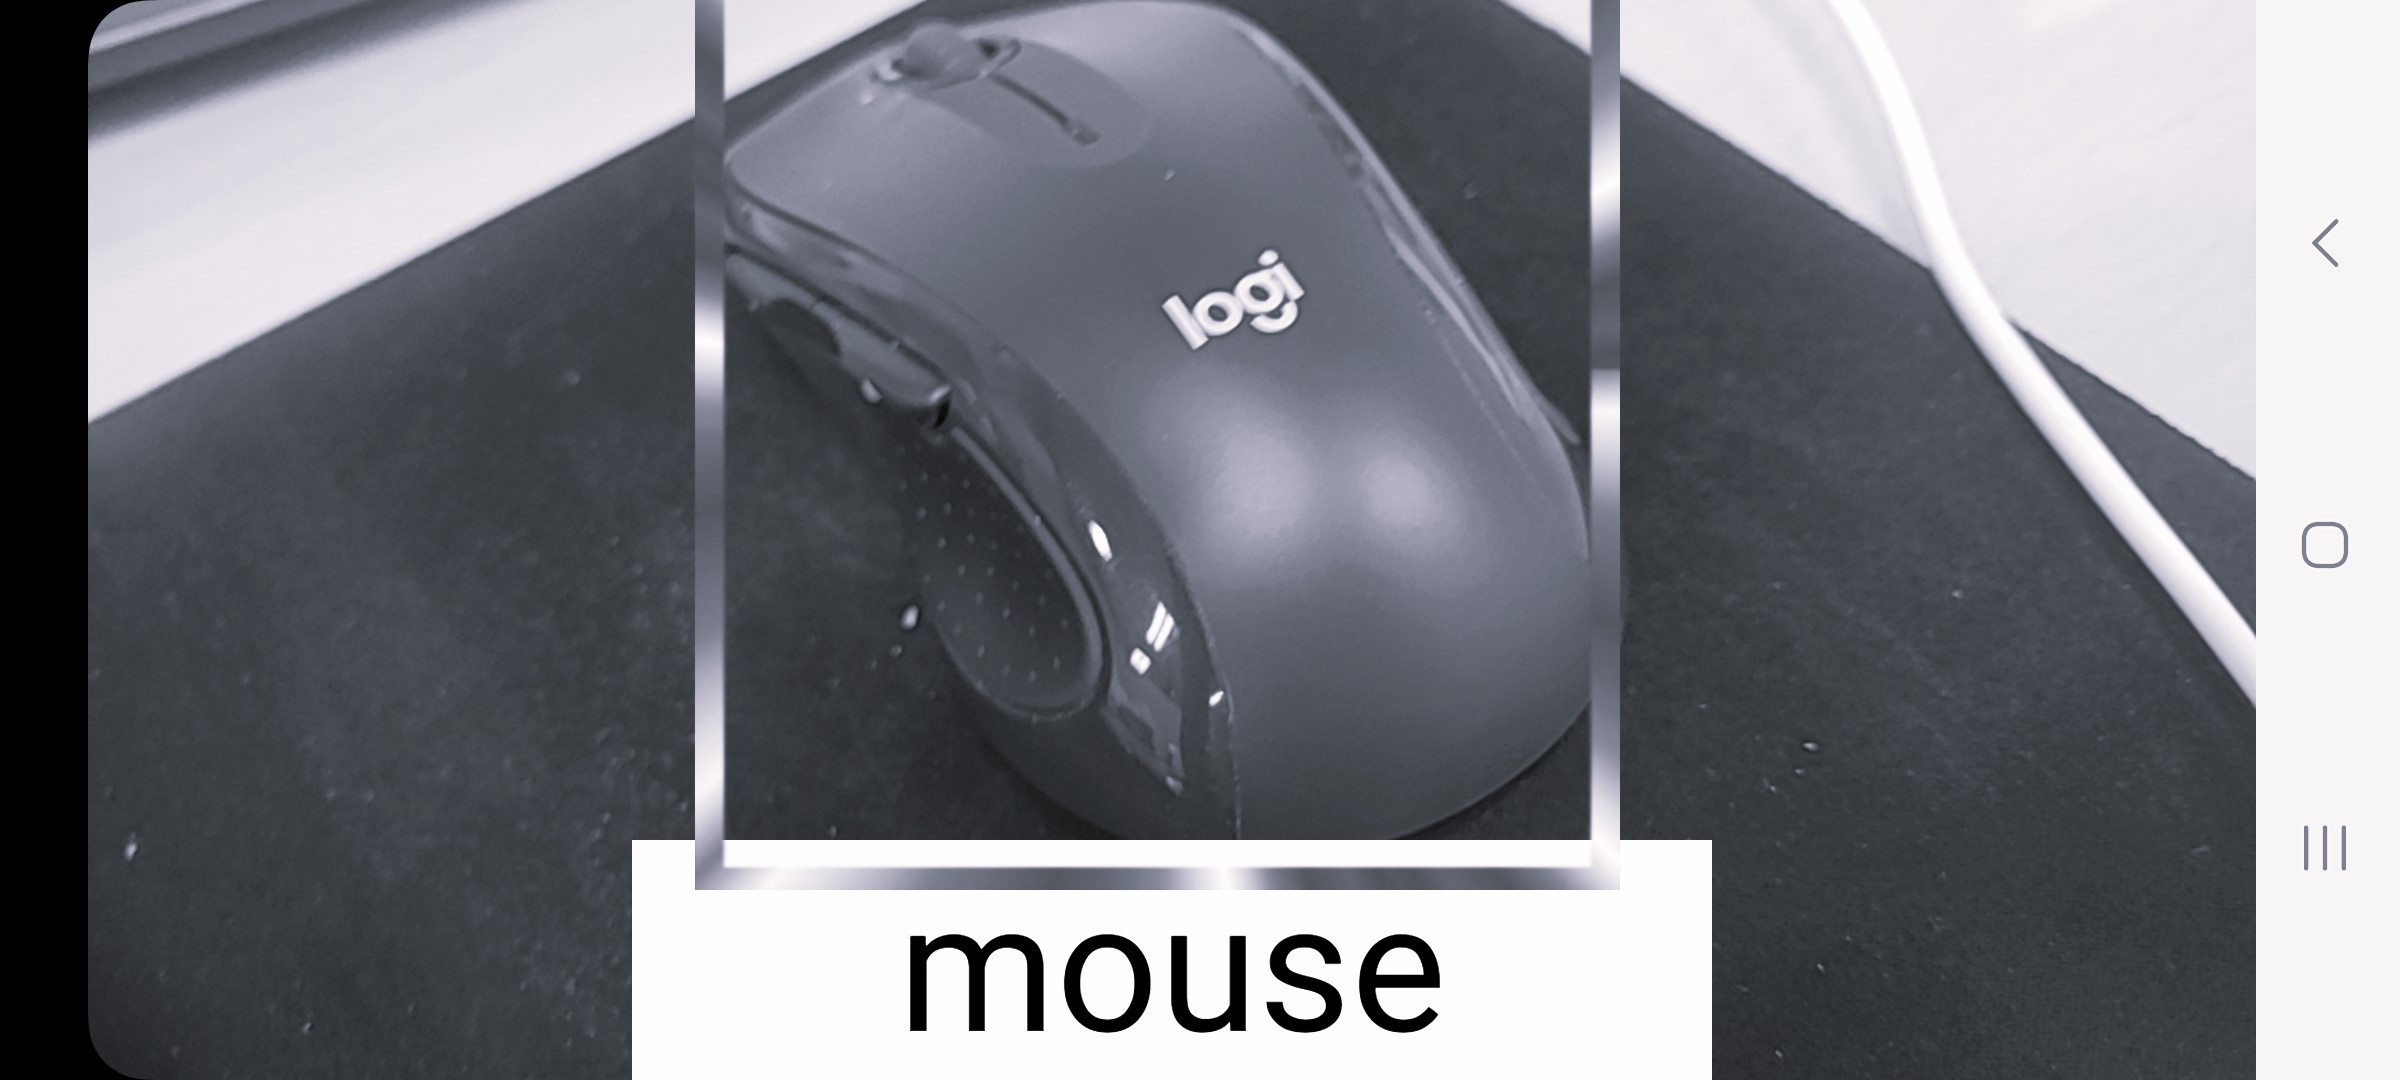
카메라 작동 및 이미지에서 EfficientDet 모델을 적용해 객체를 감지하는 데까지 성공했다.
이제 ObjectMarker 클래스와 updateRect() 함수로 EfficientDet이 반환하는 Rect 위치를 화면에 맞게 변환하여 실시간으로 변화되는 직사각형을 화면에 출력하는 코드를 작성한다.
ObjectMarker 생성
참고: MLKit Object Detection Sample Application
ObjectMarker.java
public class ObjectMarker extends View {
    private RectF rect;
    private int imageWidth;
    private int imageHeight;
    private int screenWidth;
    private int screenHeight;
    float postScaleWidthOffset = 0;
    float postScaleHeightOffset = 0;
    float scaleFactor = 1;
    float viewAspectRatio;
    float imageAspectRatio;

    private Activity dstActivity;
    private ConstraintLayout layout;
    private ImageView marker;
    private ConstraintSet constraintSet;

    public ObjectMarker(Activity dstActivity) {
        super(dstActivity);
        this.dstActivity = dstActivity;
    }

    public void updateRect(RectF newRect) {
        rect = transformRect(newRect);

        dstActivity.runOnUiThread(() -> {
            draw();
        });
    }

    public void setImageSourceInfo(int imageWidth, int imageHeight) {
        screenWidth = getResources().getDisplayMetrics().widthPixels;
        screenHeight = getResources().getDisplayMetrics().heightPixels;

        this.imageWidth = imageWidth;
        this.imageHeight = imageHeight;
    }

    private RectF transformRect(RectF originalRect) {
        // 가로, 세로 비율 계산
        viewAspectRatio = (float) screenWidth / screenHeight;
        imageAspectRatio = (float) imageWidth / imageHeight;

        float left = originalRect.left;
        float top = originalRect.top;
        float right = originalRect.right;
        float bottom = originalRect.bottom;

        if (viewAspectRatio > imageAspectRatio) {
            scaleFactor = (float) screenWidth / imageWidth;
            postScaleHeightOffset = ((float) screenWidth / imageAspectRatio - screenHeight) / 2;
        } else {
            scaleFactor = (float) screenHeight / imageHeight;
            postScaleWidthOffset = ((float) screenHeight * imageAspectRatio - screenWidth) / 2;
        }
        RectF newRect = new RectF(translateX(left), translateY(top), translateX(right), translateY(bottom));

        // return new Rect(left, top, right, bottom);
        return newRect;
    }

    private float translateX(float x) {
        return ((x * scaleFactor - postScaleWidthOffset));
    }

    private float translateY(float y) {
        return ((y * scaleFactor - postScaleHeightOffset));
    }

    private void draw() {
        if (rect != null) {
            layout = dstActivity.findViewById(R.id.constraintLayout);
            if (layout == null) {
                Log.e(TAG, "ConstraintLayout not found");
                return;
            }

            marker = dstActivity.findViewById(R.id.objectMarker);
            if (marker == null) {
                Log.e(TAG, "Marker ImageView not found");
                return;
            }

            constraintSet = new ConstraintSet();
            constraintSet.clone(layout);

            // 위치와 크기 변환
            float left = rect.left;
            float top = rect.top;
            float right = rect.right;
            float bottom = rect.bottom;

            // 위치와 크기 설정
            constraintSet.connect(marker.getId(), ConstraintSet.LEFT, ConstraintSet.PARENT_ID, ConstraintSet.LEFT, (int) left);
            constraintSet.connect(marker.getId(), ConstraintSet.TOP, ConstraintSet.PARENT_ID, ConstraintSet.TOP, (int) top);

            // 크기 설정
            constraintSet.constrainWidth(marker.getId(), (int) (right - left));
            constraintSet.constrainHeight(marker.getId(), (int) (bottom - top));

            constraintSet.applyTo(layout);
        }
    }
}
요약
-
Screen Size 및 Image Size 데이터를 updateRect()를 실행하기 전 수집
-
AnalyzerUtils에서 받아온 RectF 데이터를 이용해 직사각형을 그리는 updateRect() 코드
-
scaleFactor로 이미지 해상도 비율 차이를 계산해 곱한 다음
높이 혹은 너비 차이만큼 그 값을 뺌
activity_main.xml 수정
activity_main.xml
<ImageView
android:id="@+id/objectMarker"
android:layout_width="0dp"
android:layout_height="0dp"
android:scaleType="fitXY"
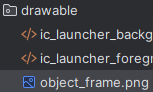
android:src="@drawable/object_frame"
app:layout_constraintLeft_toLeftOf="parent"
app:layout_constraintTop_toTopOf="parent" />
직사각형 이미지를 출력하는 ImageView를 추가한다.
그리고 drawable 폴더에 출력할 직사각형 이미지 파일을 넣어 주어야 한다.
마무리
이상으로 Object Detection이 마무리되었다.