그래픽 연산을 하기 위해 필요한 벡터 구조체와 벡터 함수들을 만들겠습니다. 이 벡터 구조체로 색상, 위치, 방향 등등의 많은 것들을 표현할 수 있습니다.
먼저 벡터 구조체와 함수의 선언을 vec3.h 헤더 파일에 작성합니다.
1. 벡터 정의하기
벡터 구조체
typedef struct s_vec3
{
  float        x;
  float        y;
  float        z;
}              t_vec3;
벡터 사칙연산 함수
t_vec3  *ft_vec3_add(t_vec3 *target, t_vec3 *u, t_vec3 *v);
t_vec3  *ft_vec3_sub(t_vec3 *target, t_vec3 *u, t_vec3 *v);
t_vec3  *ft_vec3_multi(t_vec3 *target, t_vec3 *u, t_vec3 *v);
t_vec3  *ft_vec3_div(t_vec3 *target, t_vec3 *u, t_vec3 *v);
t_vec3  *ft_vec3_multi_float(t_vec3 *target, float t, t_vec3 *v);
t_vec3  *ft_vec3_div_float(t_vec3 *target, float t, t_vec3 *v);
벡터 내적, 외적 연산 함수
float   ft_vec3_dot(t_vec3 *u, t_vec3 *v);
t_vec3  *ft_vec3_cross(t_vec3 *target, t_vec3 *u, t_vec3 *v);
기타 함수
float   ft_vec3_len(t_vec3 *target);
float   ft_vec3_len_sqr(t_vec3 *target);
t_vec3  *ft_vec3_unit_vec(t_vec3 *target, t_vec3 *v);
t_vec3  *ft_vec3_set_xyz(t_vec3 *target, float x, float y, float z);
함수의 정의를 vec3.c 파일에 작성하겠습니다.
기본적으로 모든 함수는 함수 내에서 동적할당을 하지 않기 위해 매개변수로 target이라는 포인터 변수를 받아 함수 밖에서 동적할당한 변수에 접근하도록 작성했습니다.
벡터 사칙연산 함수 정의
t_vec3  *ft_vec3_add(t_vec3 *target, t_vec3 *u, t_vec3 *v)
{
  target->x = u->x + v->x;
  target->y = u->y + v->y;
  target->z = u->z + v->z;
  return (target);
}

t_vec3  *ft_vec3_sub(t_vec3 *target, t_vec3 *u, t_vec3 *v)
{
  target->x = u->x - v->x;
  target->y = u->y - v->y;
  target->z = u->z - v->z;
  return (target);
}

t_vec3  *ft_vec3_multi(t_vec3 *target, t_vec3 *u, t_vec3 *v)
{
  target->x = u->x * v->x;
  target->y = u->y * v->y;
  target->z = u->z * v->z;
  return (target);
}

t_vec3  *ft_vec3_div(t_vec3 *target, t_vec3 *u, t_vec3 *v)
{
  target->x = u->x / v->x;
  target->y = u->y / v->y;
  target->z = u->z / v->z;
  return (target);
}

t_vec3  *ft_vec3_multi_float(t_vec3 *target, float t, t_vec3 *v)
{
  target->x = v->x * t;
  target->y = v->y * t;
  target->z = v->z * t;
  return (target);
}

t_vec3  *ft_vec3_div_float(t_vec3 *target, float t, t_vec3 *v)
{
  return (ft_vec3_multi_float(target, (1 / t), v));
}
벡터 내적, 외적 연산 함수 정의
float   ft_vec3_dot(t_vec3 *u, t_vec3 *v)
{
  return (u->x * v->x + u->y * v->y + u->z * v->z);
}

t_vec3  *ft_vec3_cross(t_vec3 *target, t_vec3 *u, t_vec3 *v)
{
  target->x = u->y * v->z - u->z * v->y;
  target->y = u->z * v->x - u->x * v->z;
  target->z = u->x * v->y - u->y * v->x;
  return (target);
}
기타 함수 정의
float   ft_vec3_len(t_vec3 *target)
{
  return (sqrt(ft_vec3_len_sqr(target)));
}

float   ft_vec3_len_sqr(t_vec3 *target)
{
  float result;

  result = pow(target->x, 2.0)
          + pow(target->y, 2.0)
          + pow(target->z, 2.0);
  return (result);
}

t_vec3  *ft_vec3_unit_vec(t_vec3 *target, t_vec3 *v)
{
  return (ft_vec3_div_float(target, ft_vec3_len(v)), v);
}

t_vec3  *ft_vec3_set_xyz(t_vec3 *target, float x, float y, float z)
{
  target->x = x;
  target->y = y;
  target->z = z;
  return (target);
}
2. 벡터 구조체로 이미지 생성하기
벡터 구조체를 이용하여 이미지를 만들어 보겠습니다. ft_draw() 함수로 윈도우의 좌표에 따라 색상을 계산하고 그 rgb값을 벡터 구조체인 t_vec3 타입의 color에 넣어 색상을 표현합니다.
int ft_draw(t_data *data)
{
int i;
int j;
t_vec3 color;
j = data->height - 1;
while (j >= 0)
{
i = 0;
ft_putstr_fd("\rScanlines remaining: ", 1);
ft_putnbr_fd(j, 1);
ft_putchar_fd(' ', 1);
while (i < data->width)
{
ft_vec3_set_xyz(&color, (float)i / (data->width - 1), (float)j / (data->height - 1), 0.25);
my_mlx_pixel_put(data, i, data->height - 1 - j, &color);
i++;
}
j--;
}
mlx_put_image_to_window(data->mlx, data->mlx_win, data->img, 0, 0);
return (0);
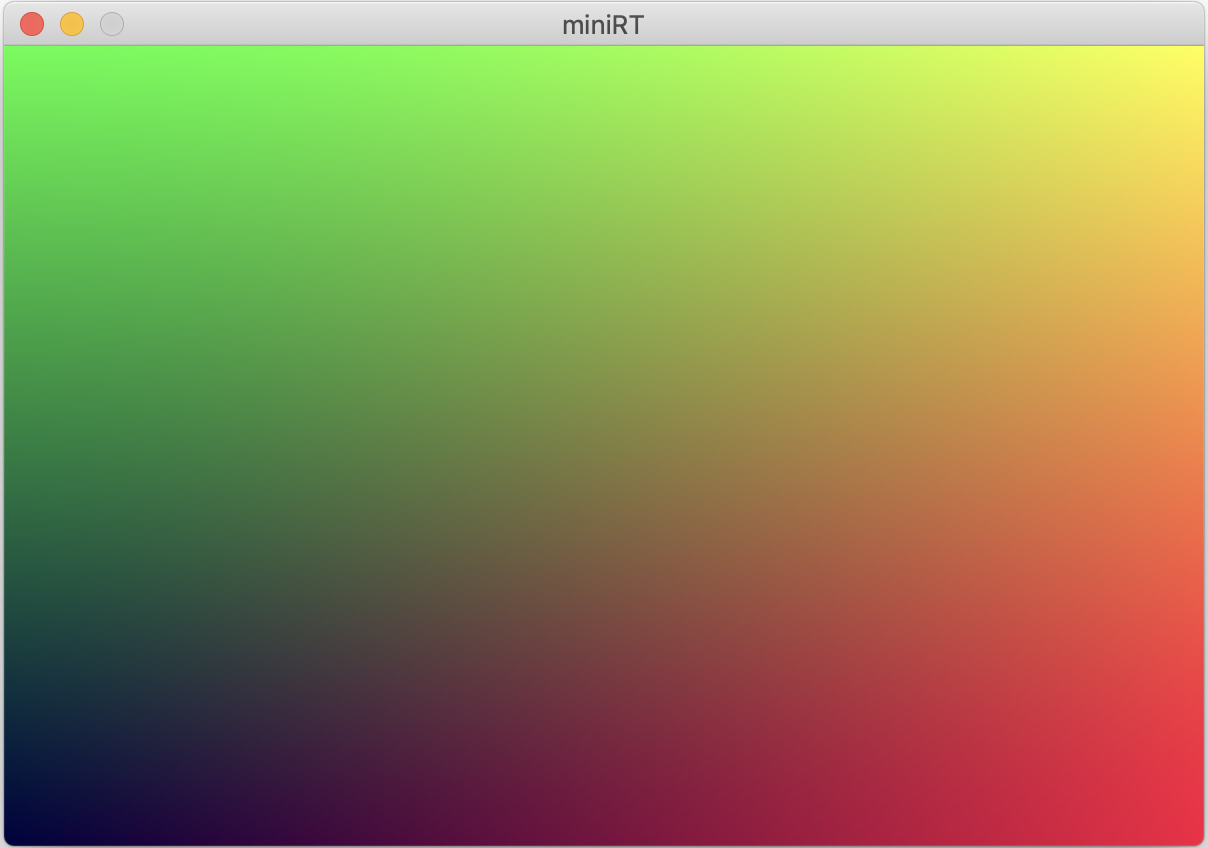
}윈도우의 왼쪽 상단이 원점입니다. (픽셀의 x좌표 / 너비), (픽셀의 y좌표 / 높이)로 r값과 g값을 지정하고 b값은 0.25로 고정합니다. 그다음 지난 시간에 구현했던 my_mlx_pixel_put() 함수로 픽셀의 색상을 이미지의 올바른 메모리 위치에 입력합니다. 완성한 ft_draw() 함수를 main문에 추가하여 실행하면 다음과 같은 이미지를 얻을 수 있습니다.

참고
Ray Tracing in One Weekend - Peter Shirley
https://raytracing.github.io/books/RayTracingInOneWeekend.html#thevec3class
