
Node.js로 서버 구축하기
// http 패키지를 사용
const http = require("http");
// 헤더값을 추가해서 보내주는데 응답을 보낼 때 헤더값을 통해서 상태코드 숫자를 보내게되고 어떤 타입인지도 보내게된다.
// 상태코드 200 : 응답을 잘 보낼때
// 404는 해당 응답이 정상적으로 이뤄지지 않을 때
// { "Content-Type": "test/html" } : html을 반환하겠다고 명시
// res.end("<p>Hello world</p>"); : 응답 보낼 코드 작성
// 서버 불러오게 하는 함수 listen -> 3000번에서 대기
const http = require("http");
http.createServer((req, res) => {
res.writeHead(200, { "Content-Type": "test/html" });
res.end("<p>Hello world</p>");
}).listen(3000, () => {
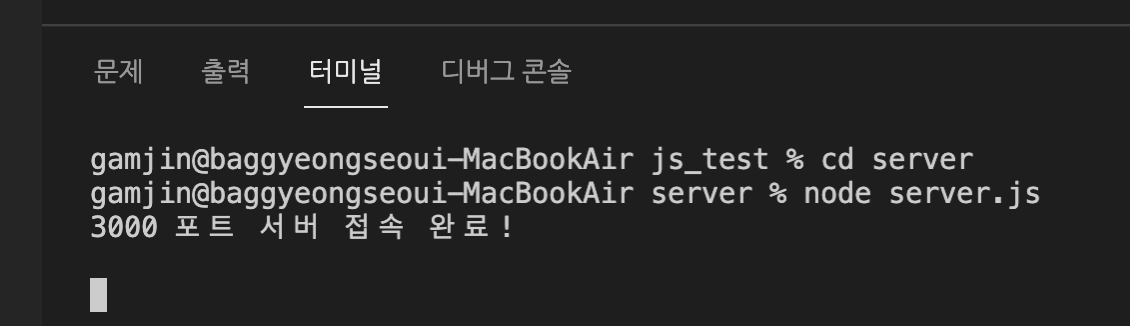
console.log("3000 포트 서버 접속 완료!");
})
http://localhost:3000/ 으로 접속하면 hello world가 출력된다.
localhost 는 서버 개발할 때 테스트 용으로 많이 쓰인다.
localhost = 127.0.0.1 는 같은 의미이다.
여기서 127.0.0.1 는 IP(Internet Protocol) 를 뜻한다. 이 주소를 통해서 우리는 서버에 접속할 수 있는 것이다.
포트(port)는 서버내의 프로세스를 구분하는 번호인데 프로세스는 기능이다. 서버에서는 다양한 일들을 처리한다. 예를 들면 http, db, https, ftp 등 다양하다.
API 서버
요청을 받고 응답을 하는 서버
postman으로 간단한 라우팅으로 응답을 받아보았다.
const http = require("http");

http.createServer((req, res) => {
    if(req.url === "/") {
        res.writeHead(200);
        res.end("main url");
    }else if(req.url === "/upload") {
        res.writeHead(200);
        res.end("upload url");
    }else if(req.url === "/delete") {
        res.writeHead(200);
        res.end("delete url");
    }else {
        res.writeHead(404);
        res.end("Not found!!!");
    }
}).listen(3000, () => {
    console.log("3000 포트 서버 접속 완료!");
})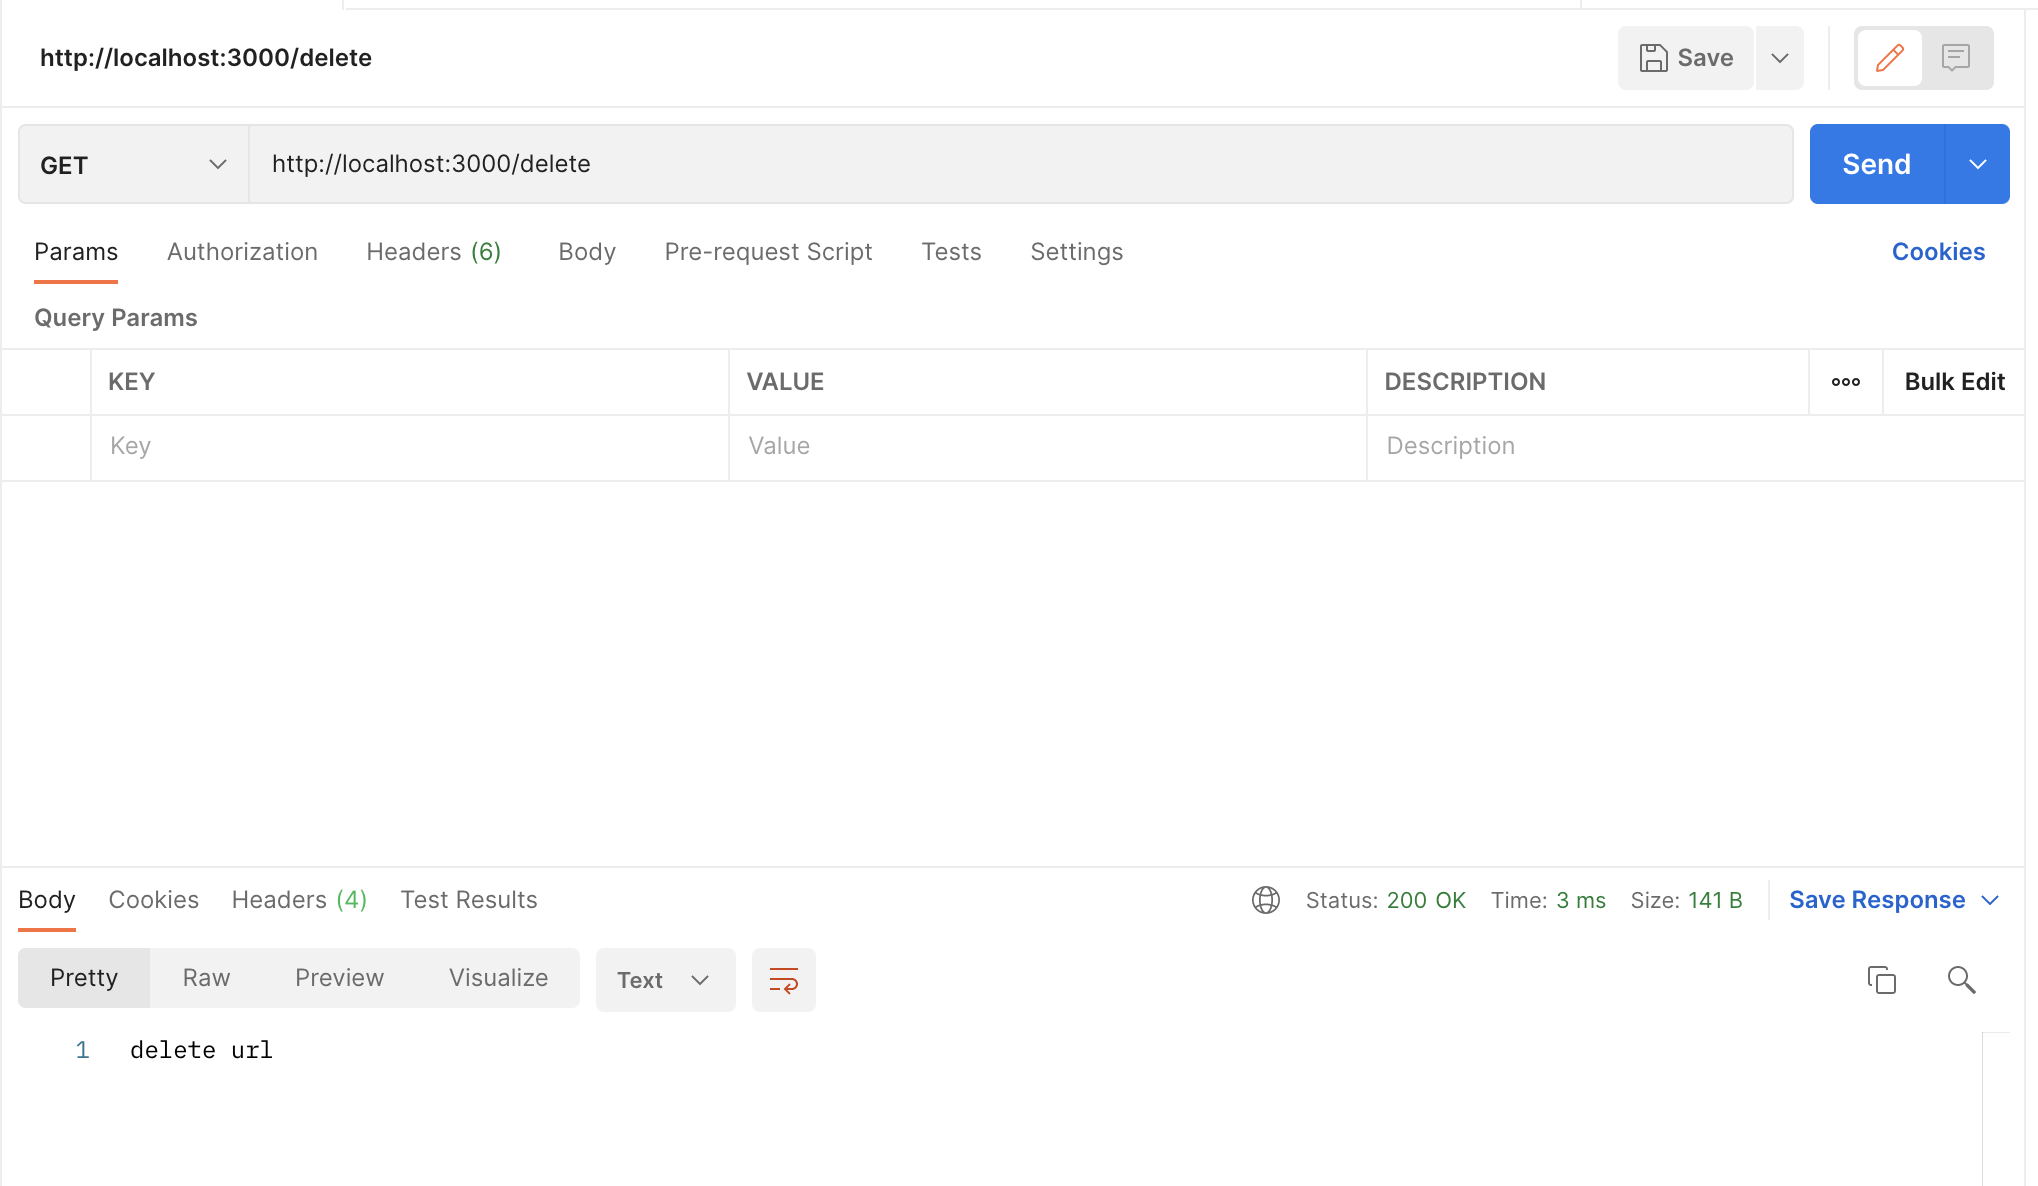
http://localhost:3000/delete 로 요청을 보낸 경우 res.end("delete url");의 값이 잘 응답되었다.
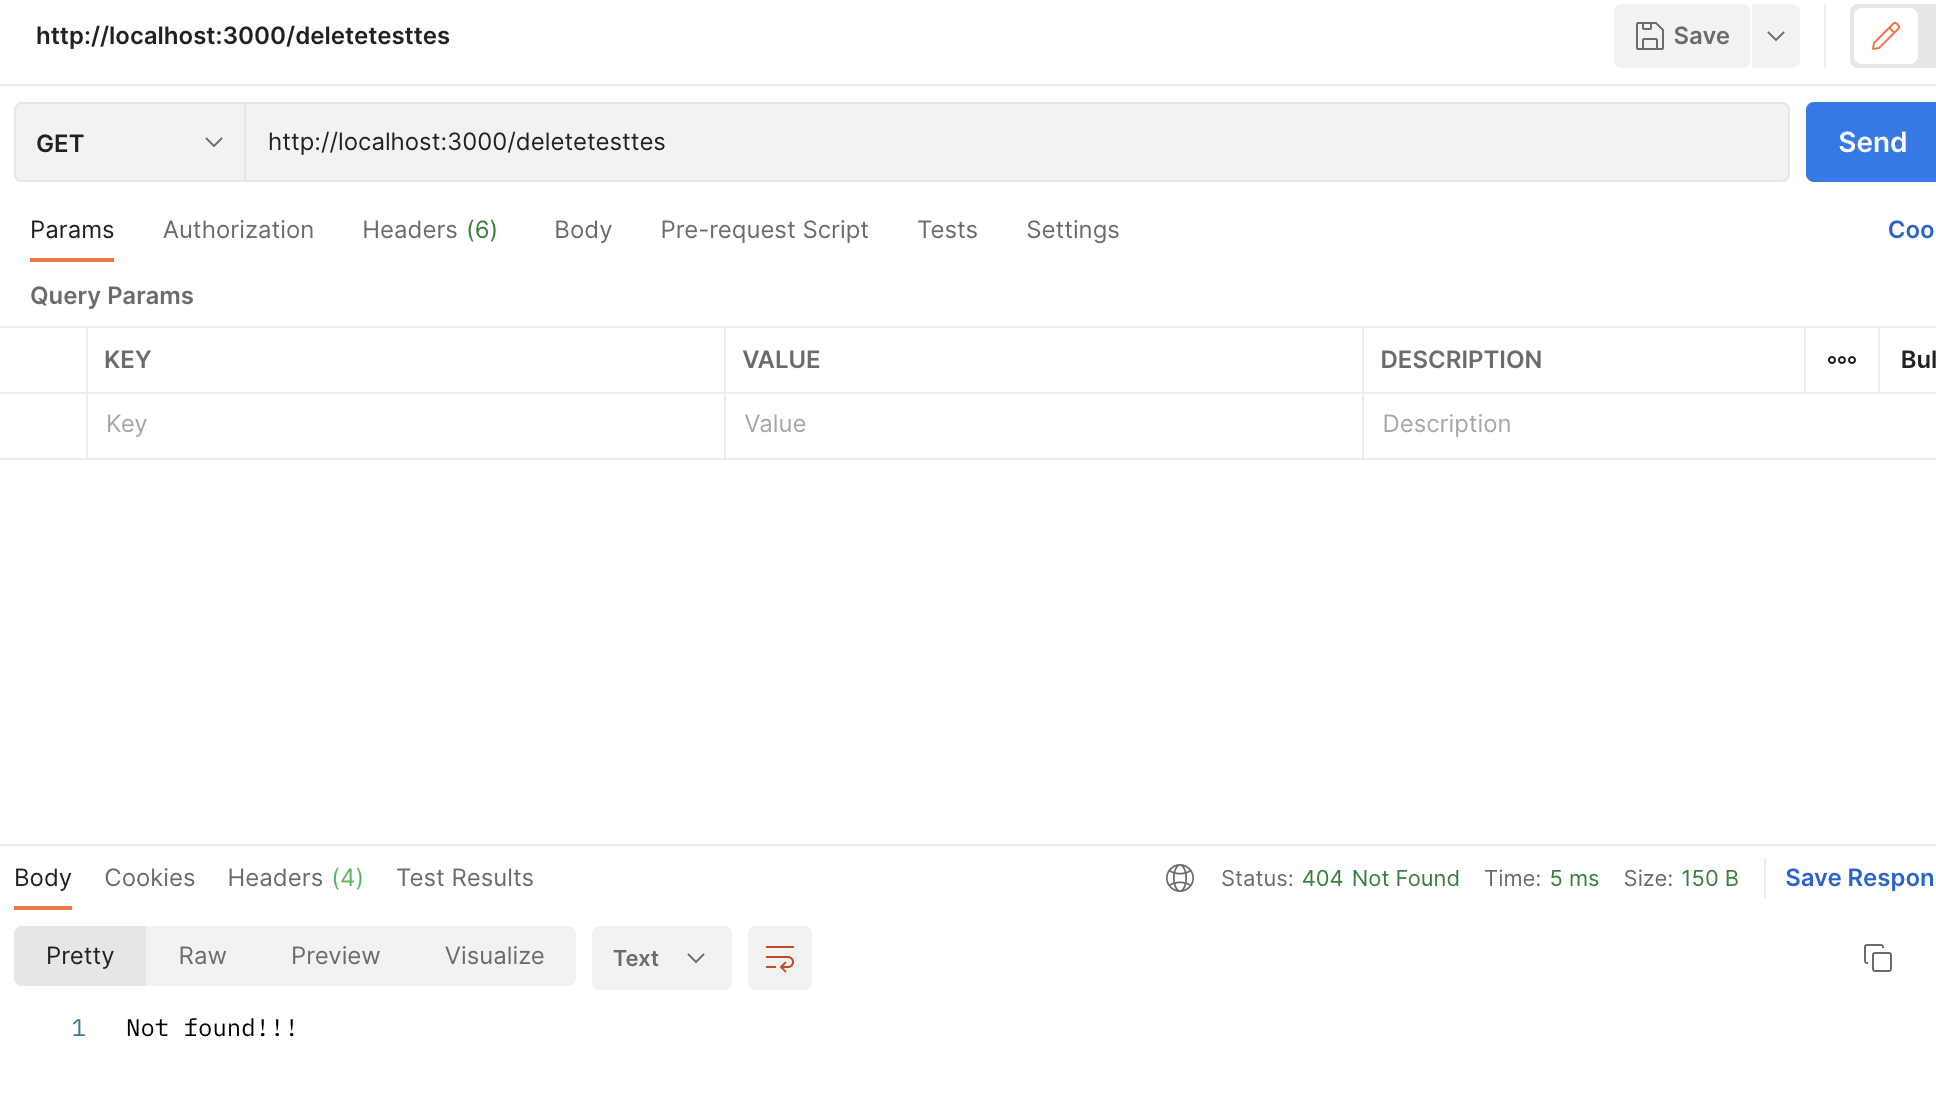
http://localhost:3000/deletetesttes 로 없는 요청을 보낸 경우, res.end("Not found!!!");의 404 Not Found가 잘 응답되었다.

얼레벌레 돌아가는 Frontend Developer