
과정
1. 레포 생성
=>이부분은 이미 프로젝트가 있다면 새로 만들지말고 기존 레포를 사용하자
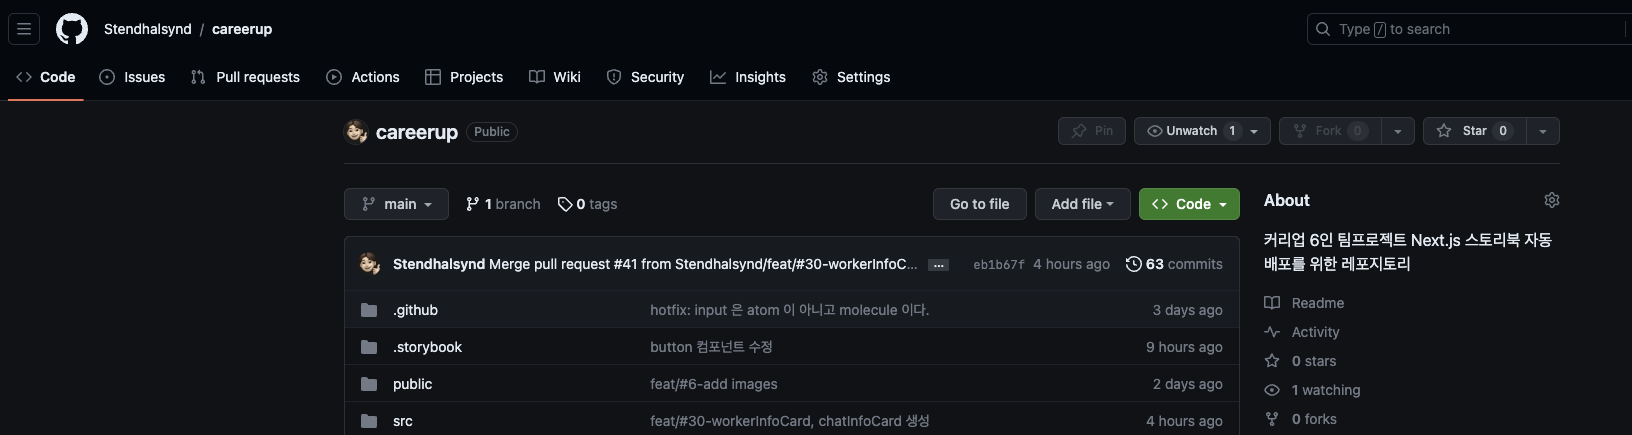
생성한 레포와 로컬 저장소 연결
git remote add storybook https://github.com/Stendhalsynd/careerup.git
git push -u storybook main
이미 origin 은 기존 프로젝트에서 사용중이라 다른 이름인 storybook 으로 remote 를 추가해주고 새로 생성한 레포에 푸시해주었다.
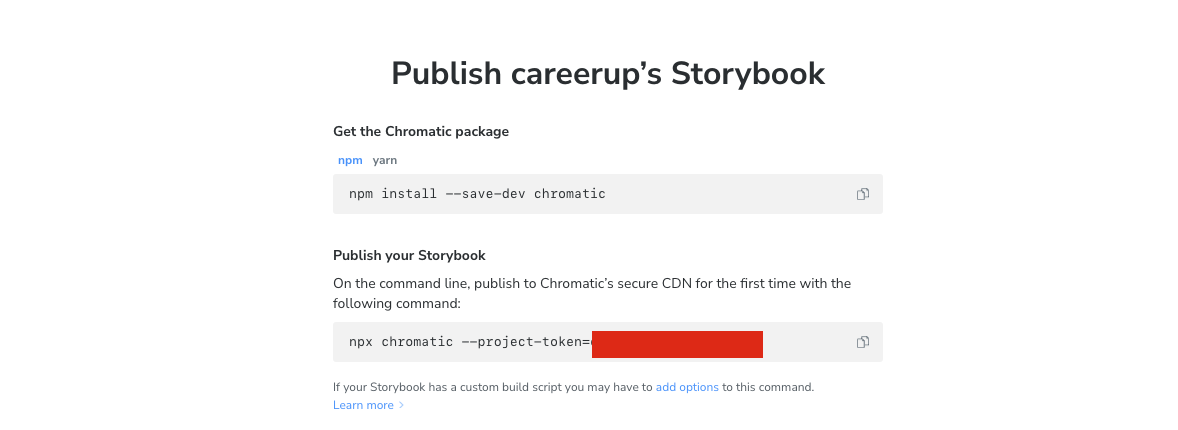
2. chromatic 설치
npm install --save-dev chromatic시간이 좀 걸린다.
패키지 설치후 Chromatic 에 github 아이디로 로그인
https://www.chromatic.com/start?utm_source=storybook_website&utm_medium=link&utm_campaign=storybook
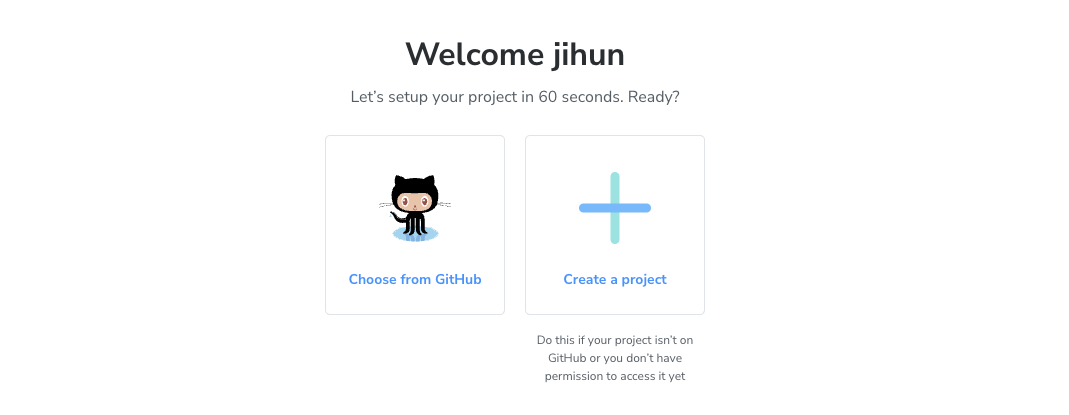
Choose from Github
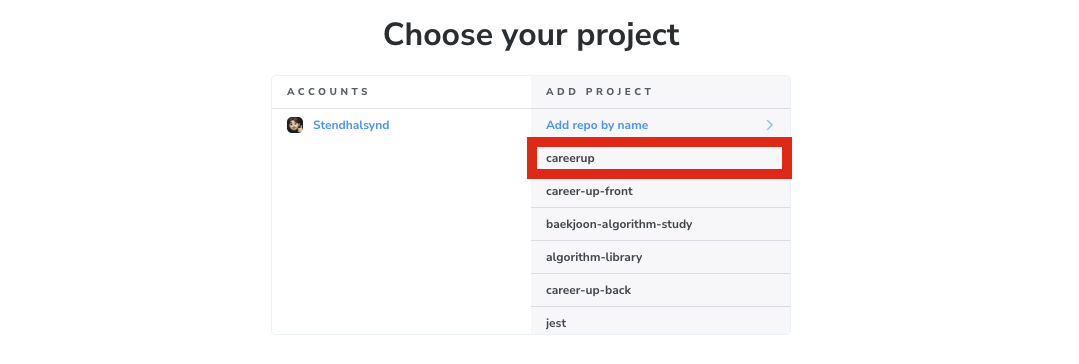
조금 전에 생성한 레포를 선택한다.
Publixh your Storybook
설정
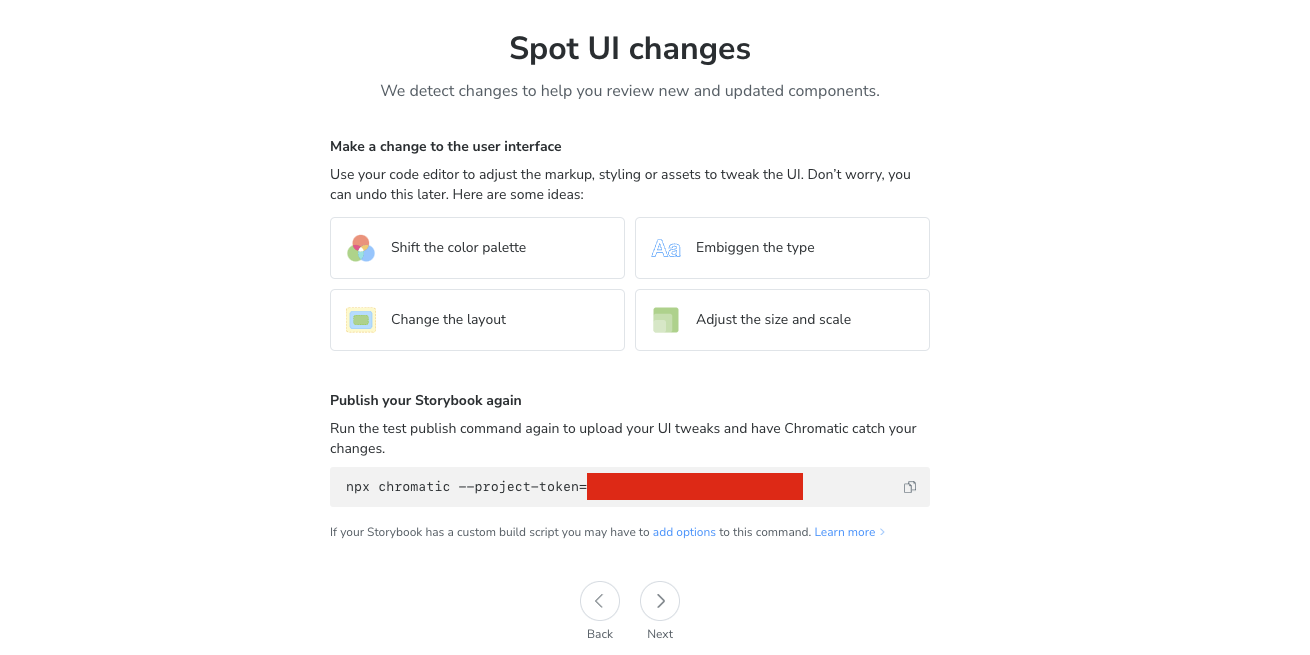
Catch a UI change 클릭
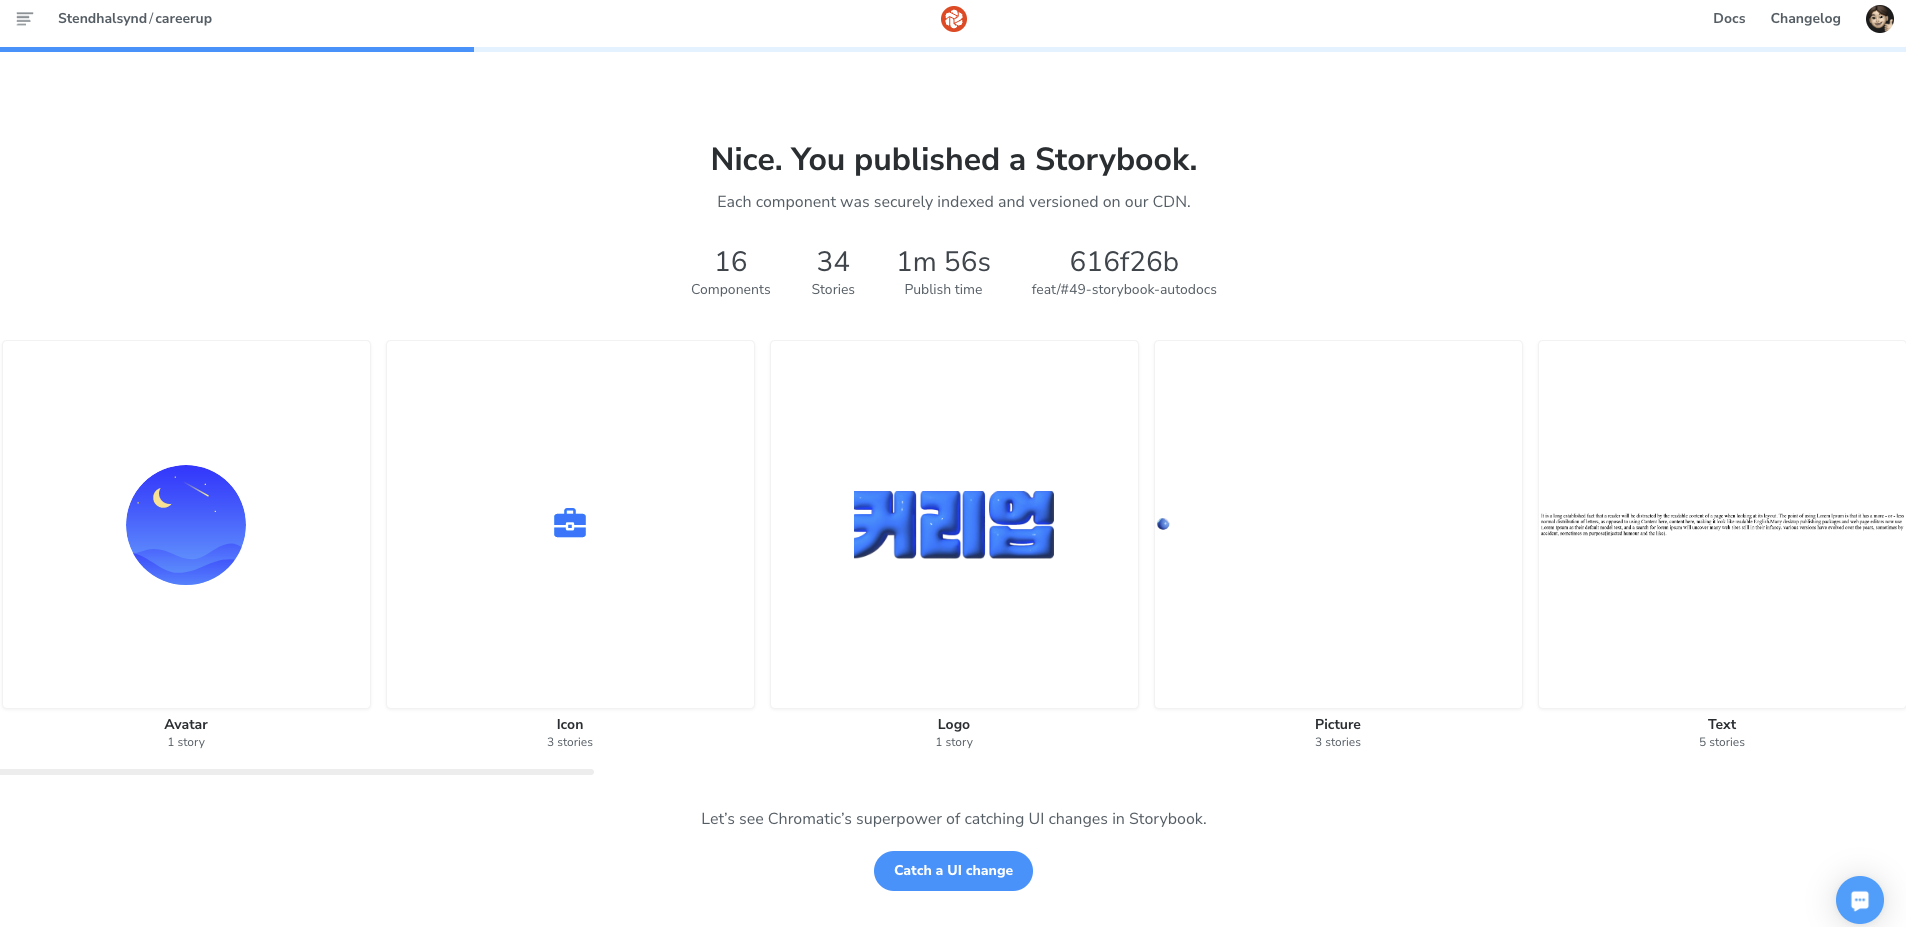
npx ~~ 를 실행하면 나오는 주소로 접속해보자. 그러면 Builds 탭으로 이동하여 View Storybook 을 클릭하면 Chromatic 으로 배포된 Storybook 페이지를 볼 수 있다.
다음 URL 이 배포된 주소다. 이 주소를 공유하여 디자이너, 같은 팀원들과 공유할 수 있다.
https://6560bd731f7f9e471fc4de1d-uyfmzgozdl.chromatic.com/
3. 크로마틱을 통한 지속적 배포
VSCode Extension Github actions 설치
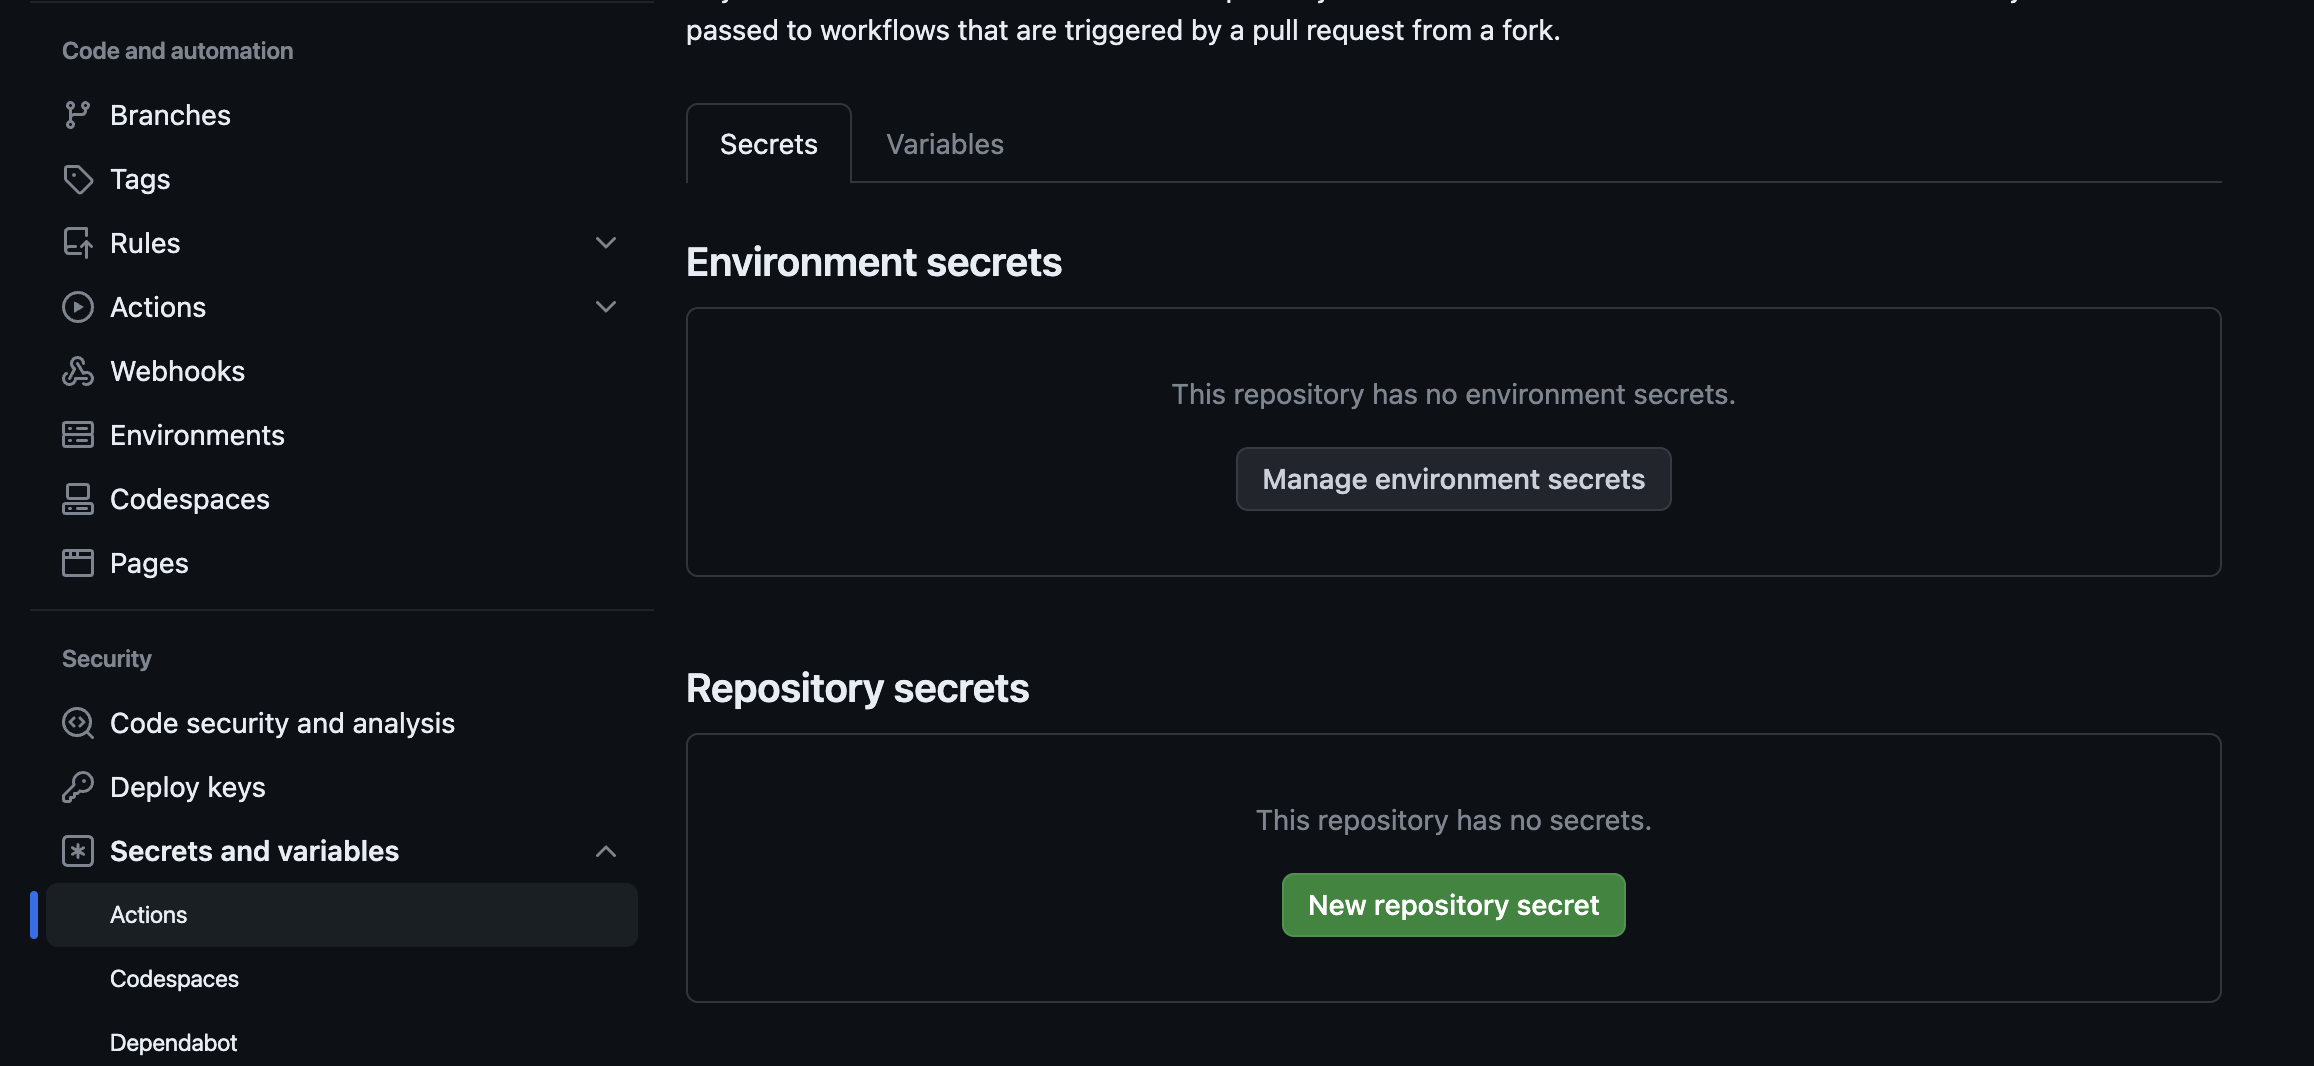
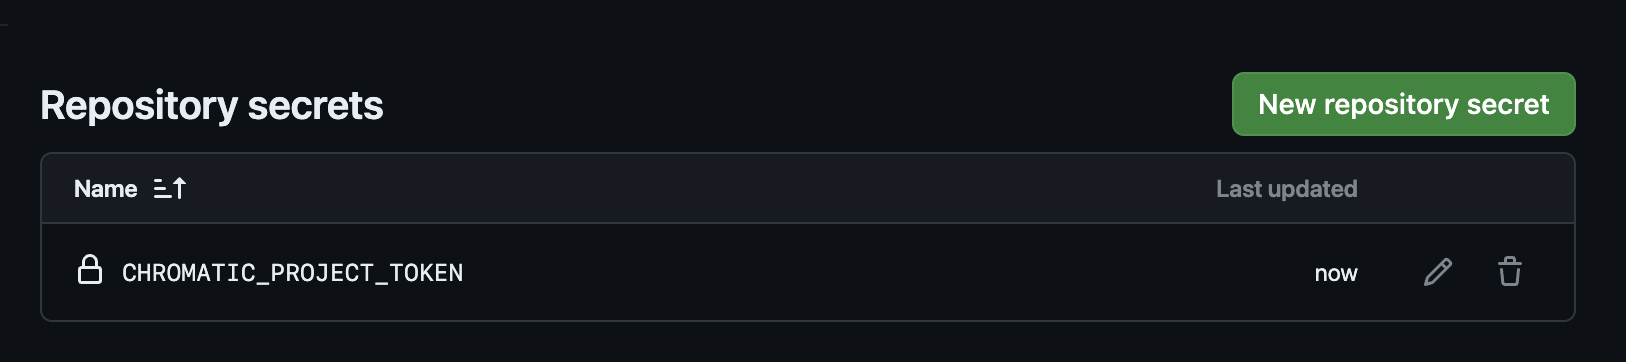
새로 생성한 레포 careerup 에서 필요한 CHROMATIC_PROJECT_TOKEN 를 등록한다.
.github/workflows/chromatic.yml 생성
다음은 storybook docs 에서 소개하는 chromatic.yml 파일이다.
# Workflow name
name: 'Chromatic Deployment'

# Event for the workflow
on: push

# List of jobs
jobs:
  test:
    # Operating System
    runs-on: ubuntu-latest
    # Job steps
    steps:
      - uses: actions/checkout@v1
      - run: yarn
        #👇 Adds Chromatic as a step in the workflow
      - uses: chromaui/action@v1
        # Options required for Chromatic's GitHub Action
        with:
          #👇 Chromatic projectToken, see https://storybook.js.org/tutorials/intro-to-storybook/react/ko/deploy/ to obtain it
          projectToken: ${{ secrets.CHROMATIC_PROJECT_TOKEN }}
          token: ${{ secrets.GITHUB_TOKEN }}
https://storybook.js.org/tutorials/intro-to-storybook/react/ko/deploy/
잘 동작하는데 실행해보면 시간이 좀 오래걸린다는 단점이 있었다. (한 5~10분정도)
그래서 github actions 의 cache 기능을 사용하면 더 빨리, 더 괜찮게 CI 를 구현할 수 있을 것 같아서 자료를 더 조사해봤다.
참고자료
담곰농 님의 블로그 포스트
93miki.log
// .github/workflows/chromatic.yml


# Workflow name
name: 'Chromatic Deployment'
run-name: ${{ github.actor }}의 스토리북 배포
# Event for the workflow
on: pull_request

# List of jobs
jobs:
  test:
    # Operating System
    runs-on: ubuntu-latest
    outputs:
      status: ${{ job.status }}
    # Job steps
    steps:
      - name: checkout repository
        uses: actions/checkout@v3
        with:
          fetch-depth: 0

      - name: cache dependencies
        id: cache
        uses: actions/cache@v3
        with:
          path: '**/node_modules'
          key: ${{ runner.os }}-node-${{ hashFiles('**/package-lock.json') }}-storybook

      - name: depedency install
        if: steps.cache.outputs.cache-hit != 'true'
        run: npm ci

      - name: publish to chromatic
        id: chromatic
        uses: chromaui/action@v1
        with:
          projectToken: ${{ secrets.CHROMATIC_PROJECT_TOKEN }}
          token: ${{ secrets.GITHUB_TOKEN }}

      - name: comment PR
        uses: thollander/actions-comment-pull-request@v1
        env:
          GITHUB_TOKEN: ${{ secrets.GITHUB_TOKEN }}
        with:
          message: '🚀storybook: ${{ steps.chromatic.outputs.storybookUrl }}'
처음 PR 을 보냈을 때 위와 같이 commet PR 부분에서 오류가 났다.

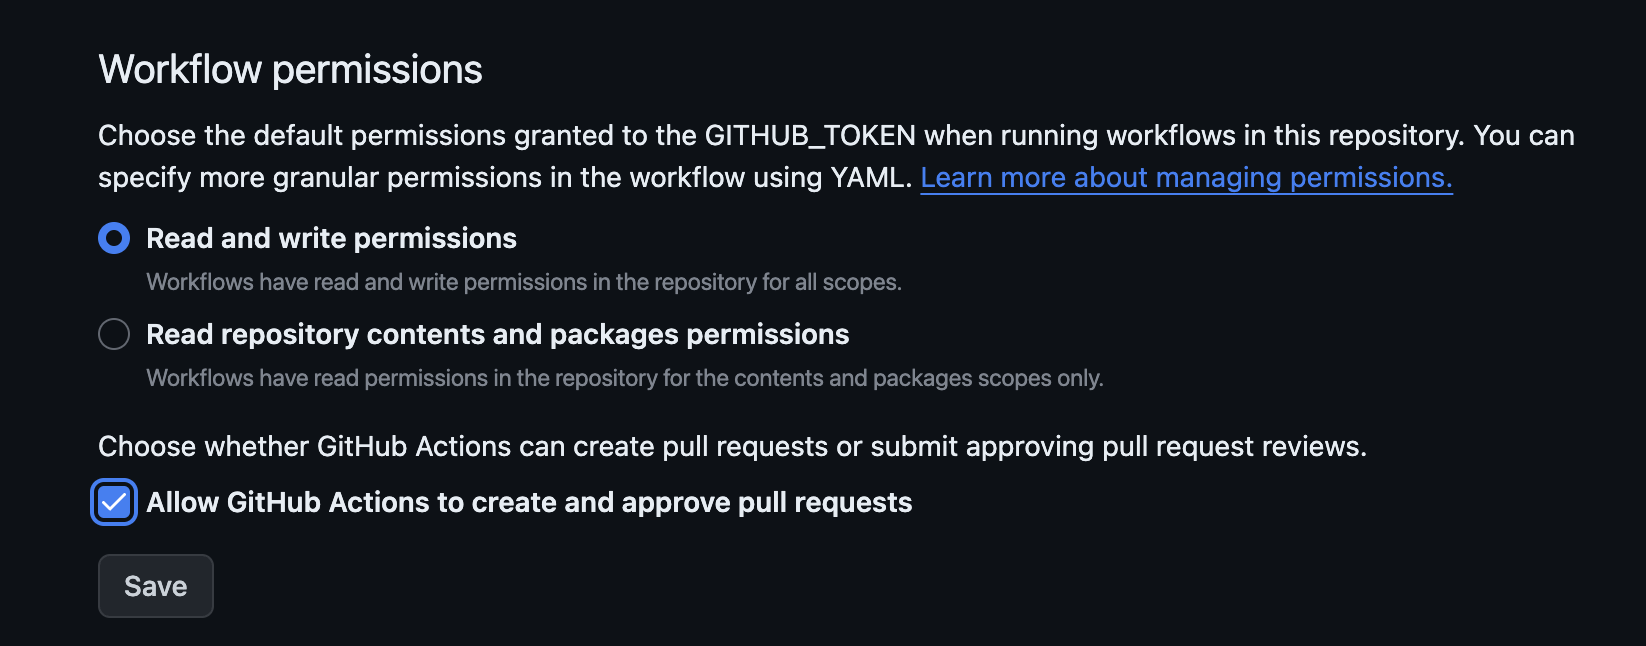
담곰농님 포스트를 쭉 보다보니 Workflow permissions 를 Read and write 로 설정해주어야 정상적으로 액션이 작동한다고 한다.
Settings > Actions > General
4. 무한 루프 - Resource not accessible by integration
PR 에 대해 댓글을 남기는 기능을 자동화했더니 위의 오류가 계속 떴다.
깃허브 docs 를 참고해보니 내가 pull_request 할때만 해당 자동화가 처리되도록 했는데 on: pull_request 라고만 해서 yml 파일을 잘못 작성한게 그 원인이 되었나 싶어서 yml 파일을 다시 수정했다.
-> 별 소용이 없었다.
Workflow permissions 는 이미 처리했는데 혹시나해서 Settings 를 가보니 분명 Read and write permissions 에 체크를 했었는데 Save 를 클릭하지 않았었는듯 저장이 되어있지 않았다.
혹시..?
바로 다시 푸시하여 PR 을 업데이트해줘봤다.
무친..

결론. 꼼꼼하게 글을 잘 읽자...
참고자료
chromatic docs github-actions
github action으로 comment bot 만들기