개요
저번에 만들었던 Behavior Tree를 수정해서 AI간의 자동 전투 시스템을 만들겠습니다.
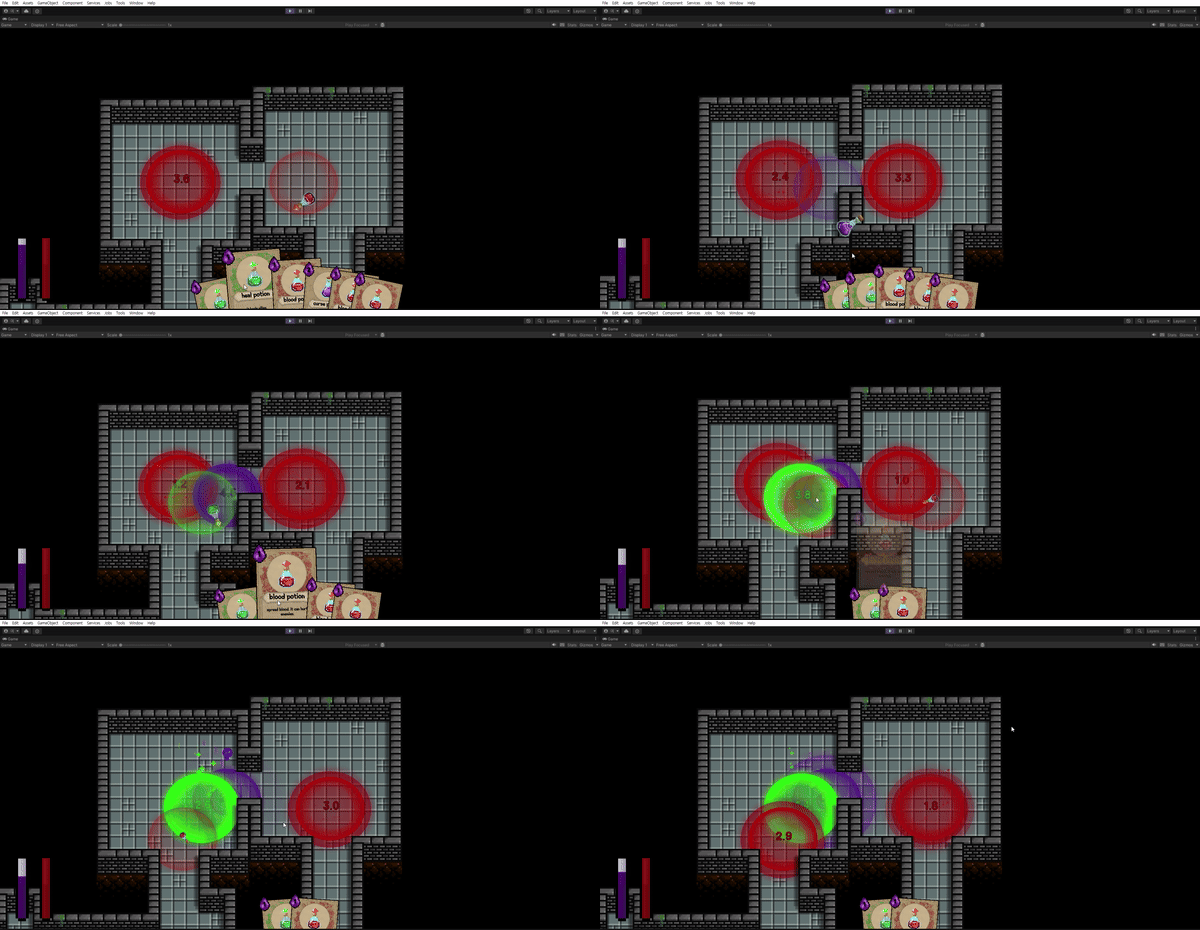
전투시스템 만들기 전에 몬스터를 카드로 만들고, 카드 비용 매커니즘을 간단하게 만들겠습니다.
구현
Mana, Blood
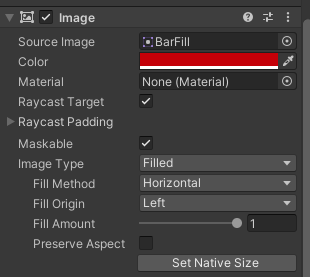
ImageType을 Filled로 바꾸고 이걸 게이지로 써보겠습니다.
public class SliderController : MonoBehaviour
{

    [SerializeField] private SliderMove manaFill;
    [SerializeField] private SliderMove bloodFill;

    public readonly float MaxMana = 10;
    public readonly float MaxBlood = 10;
    private float currentMana;
    private float currentBlood;

    private float progressTimer = 0f;
    private float restoreSpeed = 1f;

	//
  	//	Singleton Codes...
    //

    private void SetBloodFill(float dest)
    {
        currentBlood = dest;

        bloodFill.SetTargetV((float)dest / MaxBlood);

    }

    private void SetManaFill(float dest)
    {

        currentMana = dest;

        manaFill.SetTargetV((float)dest / MaxMana);

    }
    public void GameStart()
    {

        SetManaFill(MaxMana);
        SetBloodFill(MaxBlood);

        StartCoroutine(ManaRestoreCoroutine());
    }

    public bool UseCrystal(float num)
    {   if (currentMana >= num)
        {
            SetManaFill(currentMana - num);
            return true;
        }

        return false;
    }

    public void RestoreMana(float num)
    {
        float destNum = num + currentMana;
        if (destNum >= MaxMana) destNum = MaxMana;
        SetManaFill(destNum);

    }

    public void RestoreBlood(float num)
    {
        float destNum = num + currentBlood;
        if (destNum >= MaxBlood) destNum = MaxBlood;
        SetBloodFill(destNum);
    }

    public bool UseBlood(float num)
    {
        if (currentBlood >= num)
        {
            SetBloodFill(currentBlood - num);
            return true;
        }

        return false;
    }

    private IEnumerator ManaRestoreCoroutine()
    {
        progressTimer = 0f;

        while (true)
        {
            RestoreMana(Time.deltaTime * restoreSpeed);

            yield return new WaitForSeconds(Time.deltaTime);

        }
    }

}
Set, Restore, Use, 그리고 마나를 회복하는 ManaRestoreCoroutine 이 있습니다.
각 함수들은 값을 바로 바꾸는게 아니라 targetV를 바꿔서 게이지가 서서히 움직이는 것처럼 보이게 했습니다. 카드UI와 비슷합니다.
Use함수를 카드를 DragEnd 할 때 호출해줍니다.
    public void OnEndDrag(PointerEventData eventData)
    {
        CameraController.CanMove = true;
        isDragged = false;
        Vector3 pos = Camera.main.ScreenToWorldPoint(Input.mousePosition);

        if (isInField && MapGenerator.Instance.GetGridType(Mathf.FloorToInt(pos.x), Mathf.FloorToInt(pos.y)) != Define.GridType.None
            && PayCardCost())
        {

            ActivateEffect(Camera.main.ScreenToWorldPoint(Input.mousePosition));
            transform.parent.GetComponent<CardInHand>().RemoveCardInHand(transform.GetSiblingIndex());
        }
        else
        {
            UnPreviewEffect();
            SetColor(Color.white);
            transform.parent.GetComponent<CardInHand>().UpdateCardLayout();
        }

    }
PayCardCost 함수는 CardBase의 추상함수입니다.
포션이나 마법같은 카드는 마나를 사용하고 몬스터는 Blood를 사용해야하기 때문에 추상함수로 둬서 각 카드마다 구현하도록 했습니다.
Enemy 경로 설정
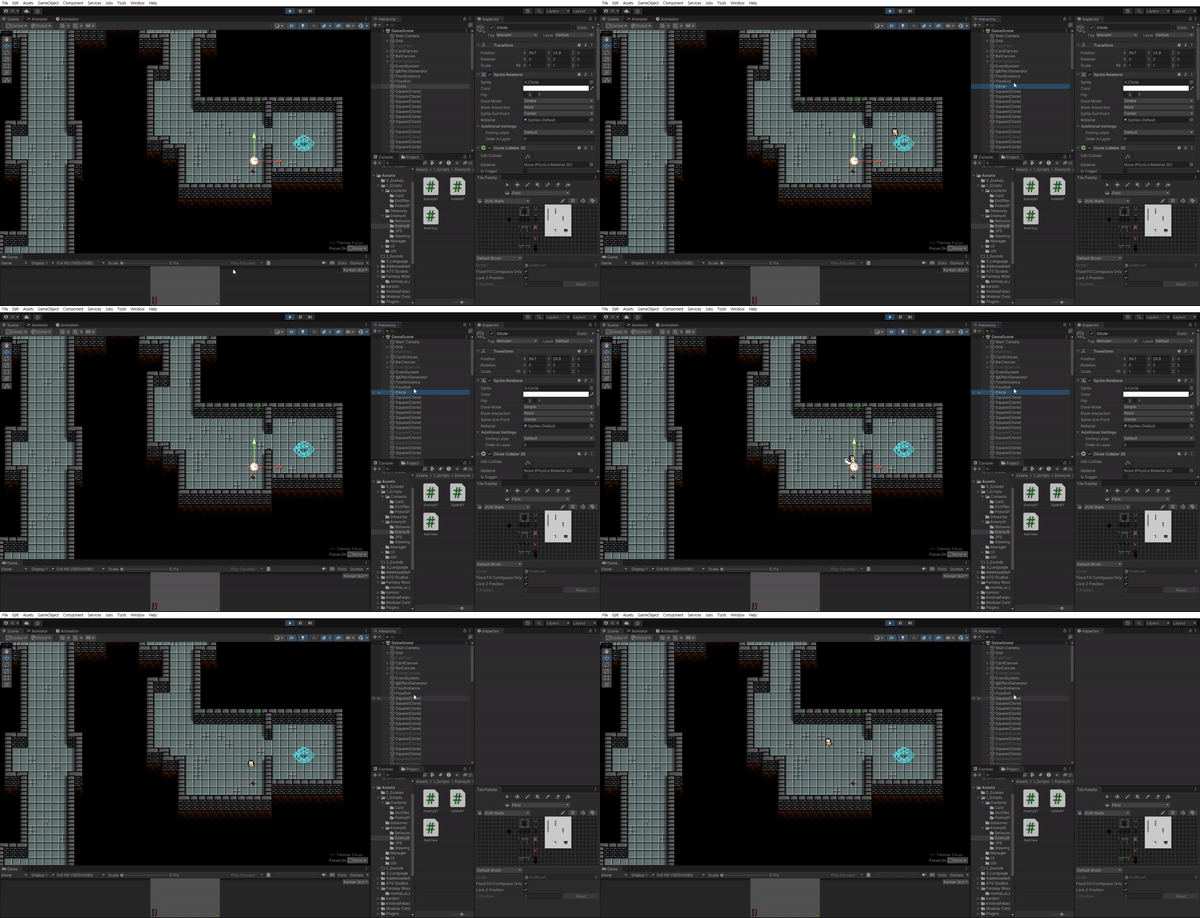
디버깅하기 위해서 Ctrl+마우스로 Enemy를 한 마리씩 소환했었는데, 그걸 출입구를 정해서 계속 적들이 나올 수 있도록 하겠습니다.
1. 플로이드-워셜 알고리즘
일단 MainRoom들 중에서 가장 거리가 먼 두 노드를 구해야합니다.
모든 노드 간의 거리를 구할 수 있는 플로이드-워셜 알고리즘을 사용하는게 좋을 것 같습니다.
public static (Vertex, Vertex) GetEntrance(HashSet<Delaunay.Vertex> points, List<Edge> edges)
    {
        int cnt = points.Count;

        int[,] dist = new int[cnt, cnt];


        for (int i = 0; i < cnt; i++)
        {
            for (int j = 0; j < cnt; j++)
            {
                dist[i, j] = (i == j) ? 0 : 1000000;
            }
        }

        // 간선 정보로 초기화
        foreach (Edge edge in edges)
        {
            int s = points.ToList().IndexOf(edge.a);
            int t = points.ToList().IndexOf(edge.b);
            dist[s, t] = dist[t, s] = (int)Mathf.Sqrt(Mathf.Pow(edge.a.x - edge.b.x, 2) + Mathf.Pow(edge.a.y - edge.b.y, 2));
        }

        // 플로이드 워셜 알고리즘
        for (int k = 0; k < cnt; k++)
        {
            for (int i = 0; i < cnt; i++)
            {
                for (int j = 0; j < cnt; j++)
                {
                    dist[i, j] = Mathf.Min(dist[i, j], dist[i, k] + dist[k, j]);
                }
            }
        }

        // 가장 거리가 먼 두 정점 찾기
        int maxDist = 0;
        int u = 0, v = 0;
        for (int i = 0; i < cnt; i++)
        {
            for (int j = i + 1; j < cnt; j++)
            {
                if (dist[i, j] > maxDist)
                {
                    maxDist = dist[i, j];
                    u = i;
                    v = j;
                }
            }
        }

        return (points.ToList()[u], points.ToList()[v]);
    }
플로이드-워셜 알고리즘으로 다 만들었지만, 실제로 사용하기에는 문제가 있습니다.
복도가 항상 방 간의 최단거리로 이어지는게 아니라 ㄱ, ㄴ자로 이어질 때도 있기 때문에 List상에서는 Edge가 이어져 있지 않아도 실제 맵에서는 이어지는 경우가 있습니다.
즉, 두 노드간의 거리가 가장 멀다는 것이 보장되지 않습니다.
2. JPS 알고리즘 변형
    private void SelectEntrances()
    {
        Vector2Int start = new Vector2Int(0, 0);
        Vector2Int end = new Vector2Int(0, 0);

        int maxDis = -1;
        foreach (var point1 in points)
        {
            foreach(var point2 in points)
            {
                if (point1 == point2) continue;
                var tmpDis = jpm.GetPathDistance(new Vector2Int(point1.y - minY, point1.x - minX), new Vector2Int(point2.y - minY, point2.x - minX));
                if (maxDis < tmpDis)
                {
                    maxDis = tmpDis;
                    start = new Vector2Int(point1.x - minX, point1.y - minY);
                    end = new Vector2Int(point2.x - minX, point2.y - minY);
                }
            }
        }

        // TODO : Instantiate으로 변경

        floorEntrance.transform.position = new Vector3(start.x, start.y, 0);
        floorExit.transform.position = new Vector3(end.x, end.y, 0);

    }
GetPathDistance 를 통해 모든 노드간의 JPS 경로상의 거리를 구하고 그 중 최댓값을 고릅니다.
Path List를 반환하는 함수를 그대로 복붙해서 최종 경로에서 마지막 JPSNode의 GetPassedCost를 받아오면 노드 간의 거리를 구할 수 있습니다.
이제 컨트롤을 누를때마다 floorEntrace에서 Enemy를 생성하고 floorExit를 목적지로 설정하면 여러 적들을 한 번에 테스트할 수 있습니다.
EnemyBT 수정
JPS 알고리즘을 Move에는 적용을 했는데, Track에는 적용을 하지 않아서, 만약 적들을 벽 뒤에서 발견한다면 게임이 영원히 끝나지 않는 경우가 생겼습니다.
이번에는 Track에 JPS 알고리즘을 구현하되, 매 프레임마다 부르는 것은 성능에 부담이 되므로 NodeData를 적극 활용해서 JPS 함수 호출을 최소화 해보겠습니다.
이렇게 보면 굉장히 간단해 보입니다만, NodeData의 생성/삭제 타이밍과 NodeState 리턴값까지 모든게 일치해야하기 때문에 생각보다 어려웠습니다.
        public override Node SetupRoot()
        {
            Node root = new Selector(new List<Node> {
                    new Sequence(new List<Node>
                    {
                        new IsDead(transform, enemyStat),
                        new Disappear(transform, enemyStat)
                    }) ,
                    new Sequence(new List<Node>
                    {
                        new Search(transform, searchRange, "Monster"),
                        new Move(transform, destination, enemyStat)
                    }),
                    new Sequence(new List<Node>
                    {
                        new IsAttacking(transform),
                        new Track(transform, attackRange, enemyStat),
                        new Attack(transform, enemyStat)
                    })
                });


            return root;
        }
트리를 생성하는 부분입니다.
이번에는 NodeData를 활용했기 때문에 노드의 개수 자체는 변하지 않았습니다.
IsDead, Disappear, IsAttacking은 변한게 없어서 생략하고 보겠습니다.
Search
        public override NodeState Evaluate()
        {

            var cols = Physics2D.OverlapCircleAll(transform.position, searchRange);
            foreach (var col in cols)
            {
                if (col.CompareTag(tagName))
                {
                    parent.parent.SetNodeData("BossObject", col.gameObject);
                    parent.SetNodeData("pathfindFlag", true);
                    return NodeState.Failure;
                }
            }

            if (GetNodeData("isTracked") != null) return NodeState.Failure;

            return NodeState.Success;
        }
여기서 중요한 부분은 GetNodeData("isTracked") 입니다. isTracked는 Track 에서만 생성/삭제 합니다.
Search에서는 Track중에는 주변에 적이 없어도 계속 그 적을 Track하고 싶기 때문에, Move에 도달하지 못하도록 Failure를 반환합니다.
Track
        public override NodeState Evaluate()
        {

            // BossObject 변수 받고 따라가기
            var boss = (GameObject)GetNodeData("BossObject");

            if(boss == null)
            {
                // 보스를 처치한 경우
                // 다시 가던길 가면됨
                RemoveNodeData("isTracked");
                return NodeState.Failure;
            }
            Vector3 dir = boss.transform.position - transform.position;
            float dis2 = dir.x * dir.x + dir.y * dir.y;

            //
            if (GetNodeData("isTracked") == null)
            {
                path = MapGenerator.Instance.PreprocessPath(new Vector2Int((int)transform.position.y, (int)transform.position.x),
            new Vector2Int((int)boss.transform.position.y, (int)boss.transform.position.x));
                currentPointIndex = 0;
                parent.parent.SetNodeData("isTracked", true);
            }


            // 성공 -> Seq의 다음노드 실행
            if (dis2 < attackRange * attackRange) {
                animator.SetBool("Walk", false);
                return NodeState.Success;
            }

            EnemyBT.SetAnimatior(animator, "Walk");


            // 실제 이동 구현부분
            if (currentPointIndex >= path.Count) {

                RemoveNodeData("isTracked");
                return NodeState.Failure; }


            Vector2 currentTarget = path[currentPointIndex];

            var step = stat.MoveSpeed * new Vector3(currentTarget.x - transform.position.x, currentTarget.y - transform.position.y, 0).normalized;


            rigid.MovePosition(transform.position + new Vector3(step.x, step.y, 0));


            animator.SetFloat("X", step.x);
            animator.SetFloat("Y", step.y);

            if (Vector2.Distance(transform.position, currentTarget) < 0.2f)
            {
                currentPointIndex++;
                if (currentPointIndex >= path.Count)
                {
                    // 도착
                    RemoveNodeData("isTracked");
                    return NodeState.Failure;
                }
            }

            return NodeState.Running;
        }
boss는 search에서 찾고 NodeData로 받은 데이터입니다.
Track에서는 주변에 적이 없어도 한 번 발견되면 계속 따라가기 때문에 Track의 실행과 중단을 이 GameObject로 판단하면 됩니다.
그 밑은 JPS알고리즘으로 경로를 만들고 그 길을 따라가는 로직입니다.
경로의 끝에 도달하면 isTracked를 삭제하고 움직이는 컨트롤을 Move노드로 넘깁니다.
Attack
        public override NodeState Evaluate()
        {
            if (!animator.GetBool("Attack"))
            {
                EnemyBT.SetAnimatior(animator, "Attack");

                var tr = (GameObject)GetNodeData("BossObject");

                if (tr == null)
                {
                    RemoveNodeData("BossObject");
                    return NodeState.Failure;
                }

                // 떄리는 로직
                if (tr.GetComponent<EnemyBT>() != null && tr.GetComponent<EnemyBT>().OnDamaged(stat.Attack))
                {
                    GameObject.Destroy(tr);
                    RemoveNodeData("BossObject");
                }
            }

            return NodeState.Success;
        }
attack했을 때 죽으면 BossObject를 NodeData에서 삭제해서 Track에서 알 수 있도록 합니다.
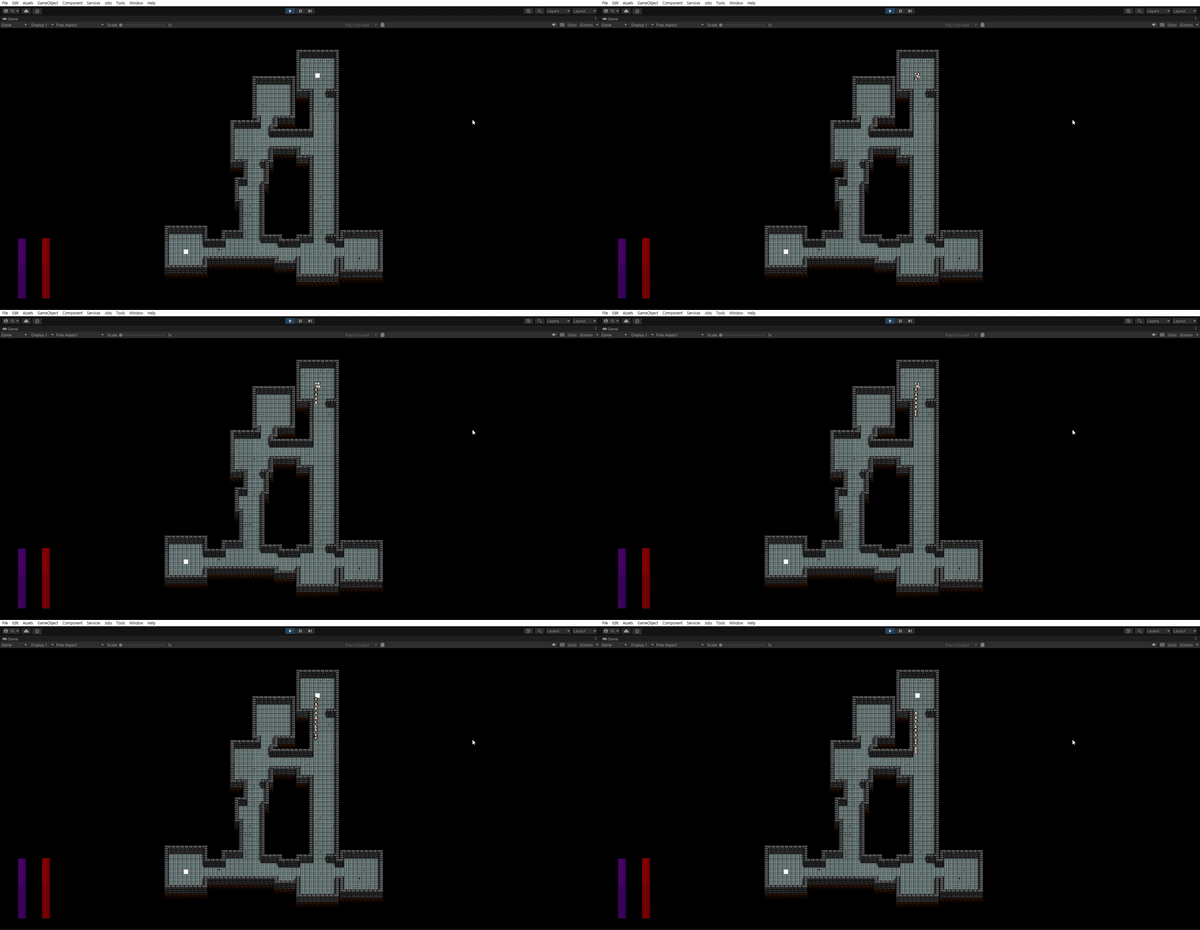
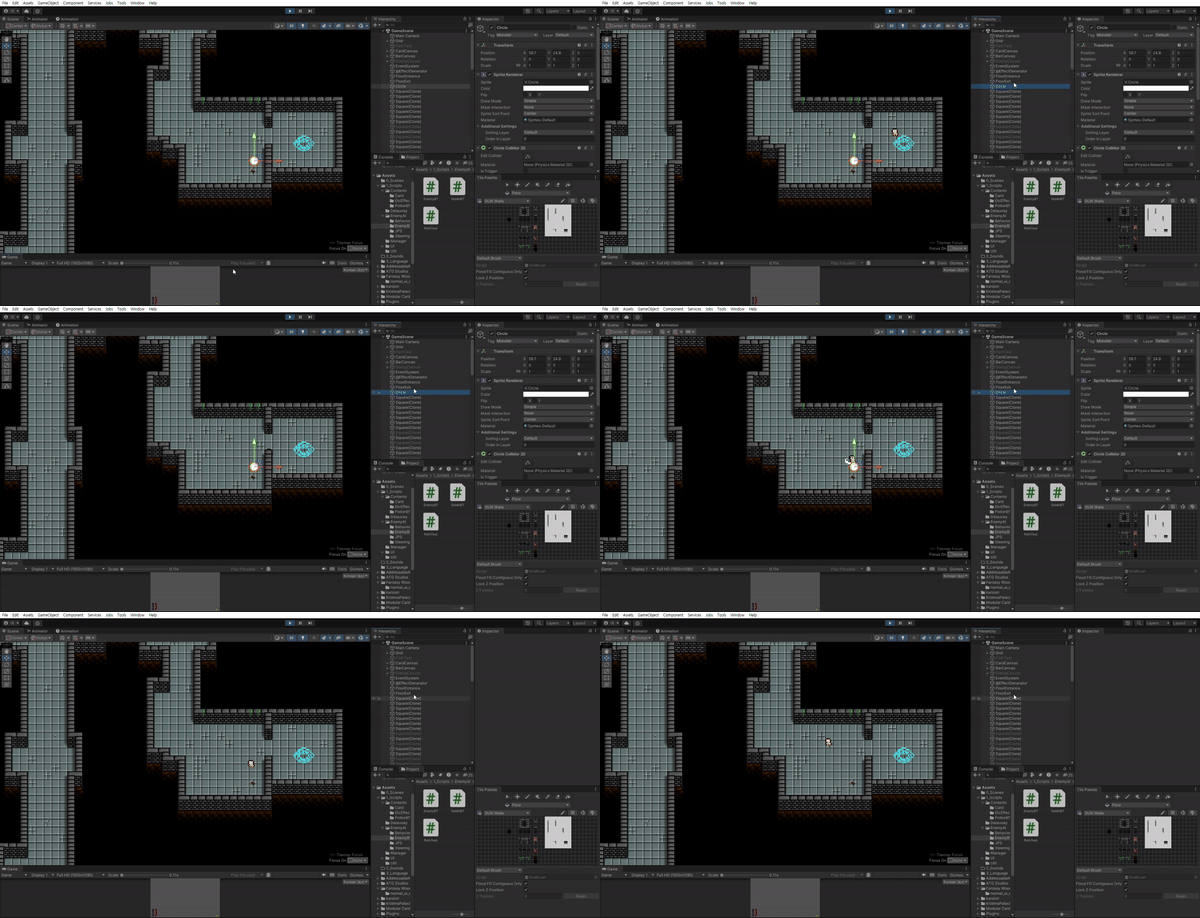
이렇게 경로를 따라가면서 적을 탐지하고 자동으로 전투를 할 수 있게 되었습니다.
아래는 실행화면입니다.
마무리
이번 코드는 짤 때에도 느꼈지만 조금 지저분합니다.
Behavior Tree의 각 Action Node 끼리의 변수전달이 NodeData를 통하고, 코드를 직접 제어하는게 아니기 때문에 NodeState와 Composite Node를 통해 그 값을 바로 받을 수 있도록 제어해야 했습니다.
다음은 이 Behavior Tree를 사용해서 GoblinBT를 만들고 카드로 소환해서 자동 전투를 만들어 보겠습니다.