1교시 : naver-game-right(visitor-section)

해당 서비스 화면에 대응되는 html과 css를 살펴보자.
-
html
-
css
코드리뷰 :
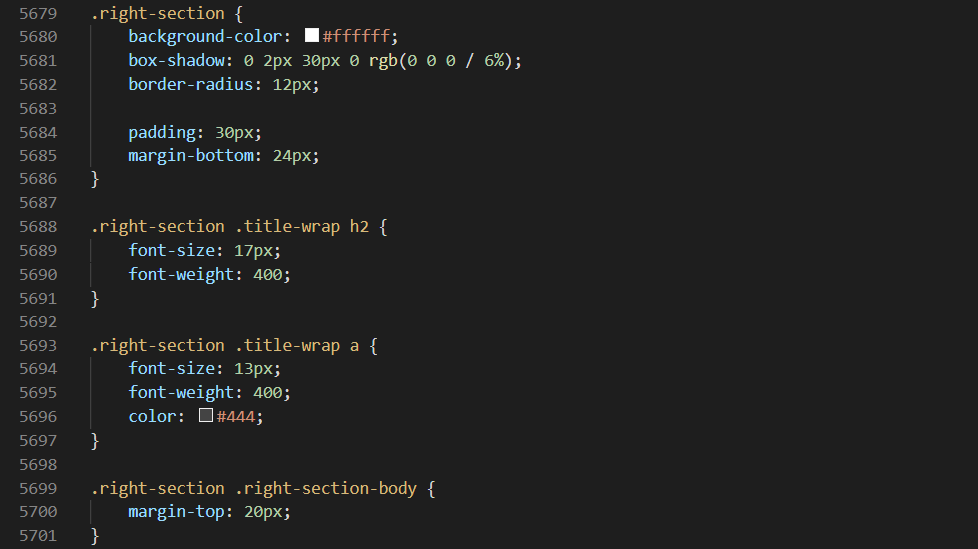
a. .right-section :
background-color: #ffffff; / box-shadow: 0 2px 30px 0 rgb(0 0 0 / 6%); /
border-radius: 12px; / padding: 30px; / margin-bottom: 24px; 을 적용한다.
위 코드를 정함으로서 각 영역의 기본 배경갑 테두리 그리고 maring padding값을 정하여 코딩의 중복을 최소화했다.
코드리뷰 :
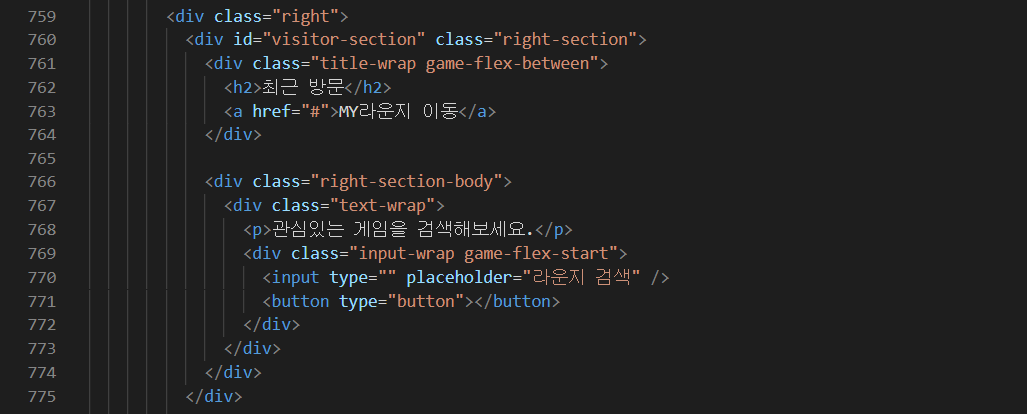
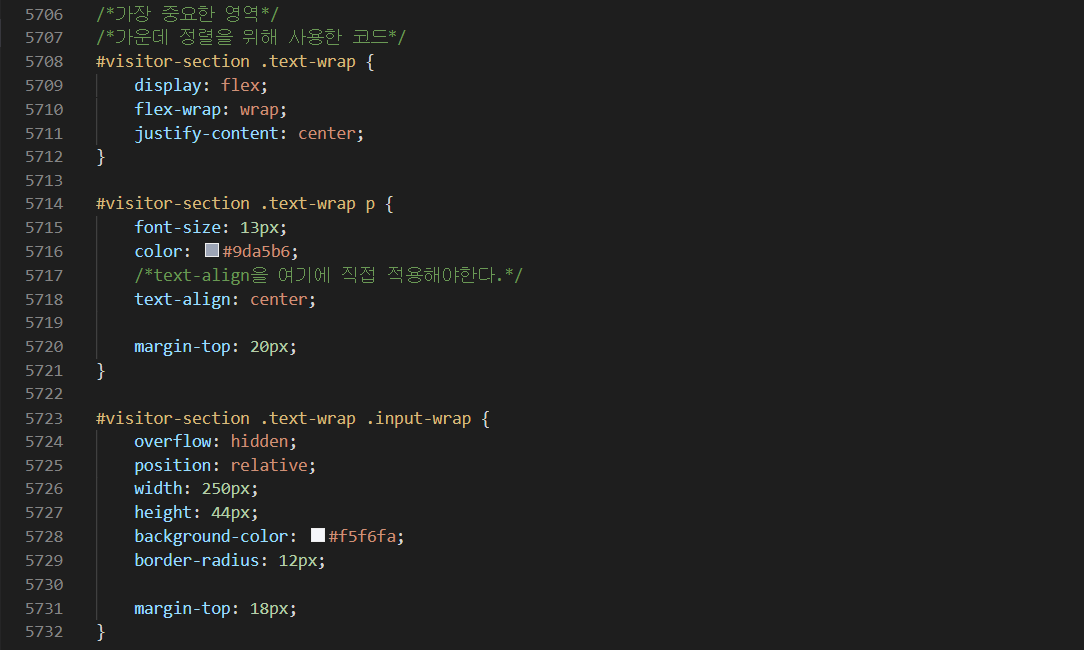
a. #visitor-section .text-wrap :
display: flex; / flex-wrap: wrap; / justify-content: center; 를 설정하였다.
이번 장에 있어 가장 중요한 부분이다. 서비스 화면 중앙에 input과 button을 위치 시키기 위해 어떻게 해야할지 생각할때 우리가 고려할 수 있는 방법이다.
하지만 만약 내가 개발자라면 위와 같은 방법보다는 position: rel/abs의 관계를 이용해서 top left값을 조정해서 중앙에 위치시키고자 할것같다.
b. #visitor-section .text-wrap p :
font-size: 13px; / color: #9da5b6; / text-align: center; / margin-top: 20px;
text-align값은 inline속성의 태그에서만 사용가능하다.
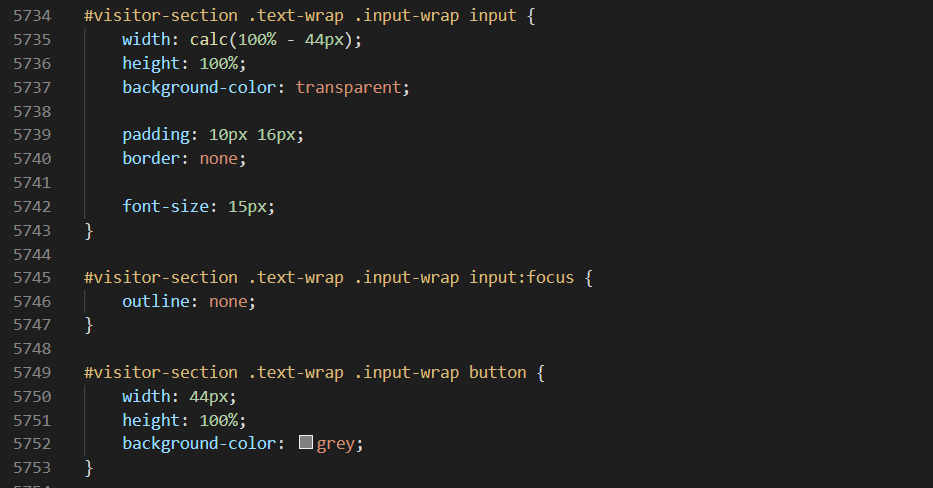
c. #visitor-section .text-wrap .input-wrap :
overflow: hidden; / width: 250px; / height: 44px; / background-color: #f5f6fa; /
border-radius: 12px; / margin-top: 18px;
여기서 가장 중요한 포인트는 overflow:hidden을 왜 사용했는지 이해하는 것이다.
이것을 사용한 이유는 해당 박스 내에 있는 input과 button의 스타일 속성이 해당 태그를 넘어갈 경우를 대비하는 것이다.
2교시 : naver-game-right(rank-section)
- html
코드리뷰 :
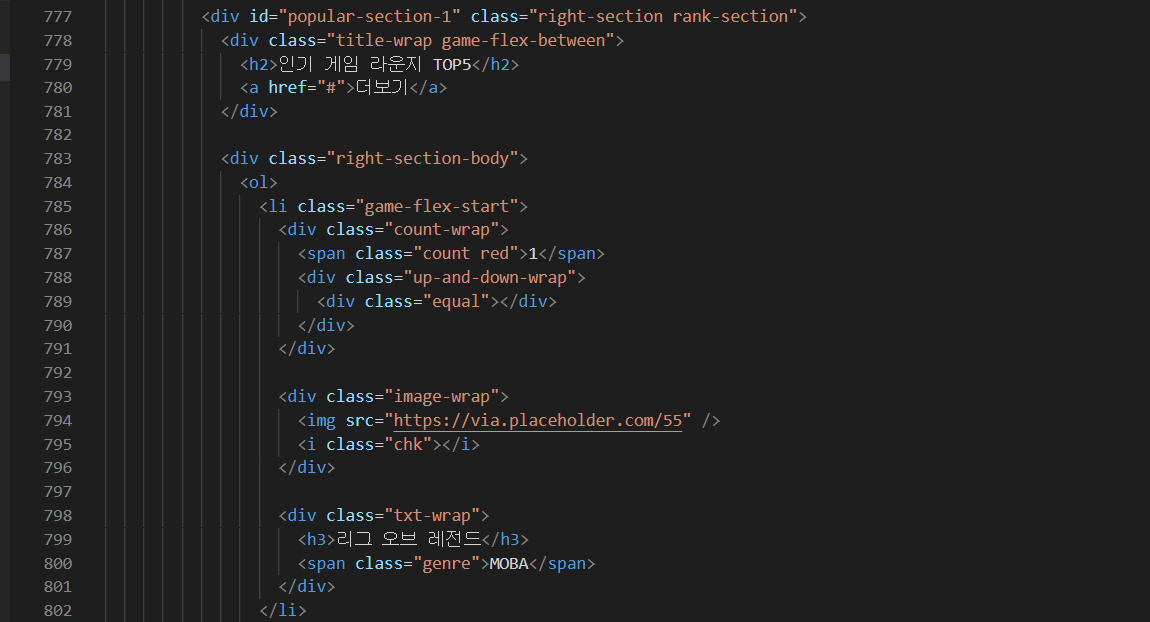
여기서 눈여겨 볼점은 id class를 어떻게 활용했는가이다.
id = popular-section-1 / class = right-section rank-section
앞서 만들어 놓은 right-section의 css값을 바로 속성으로 적용가능하게 하였고 rank-section을 새로 정하여 해당 영역에만 고유하게 적용되는 속성을 새롭게 적용할 수 있다.


- css
코드리뷰 :
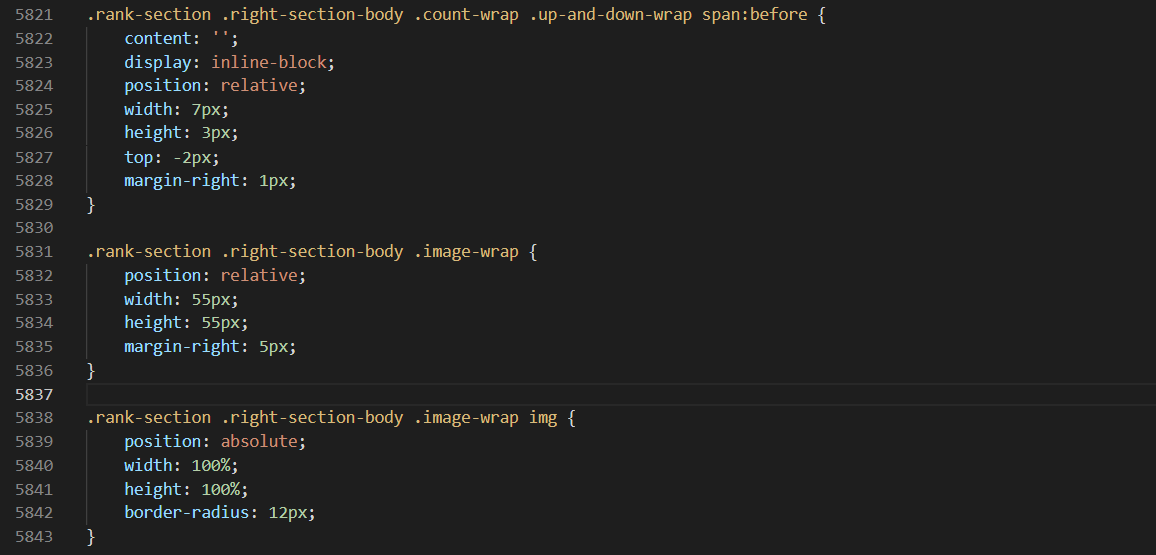
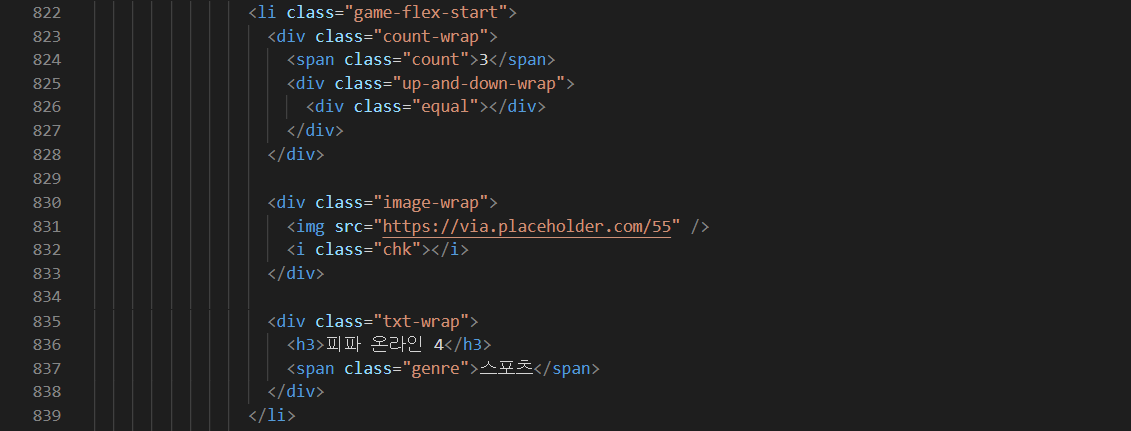
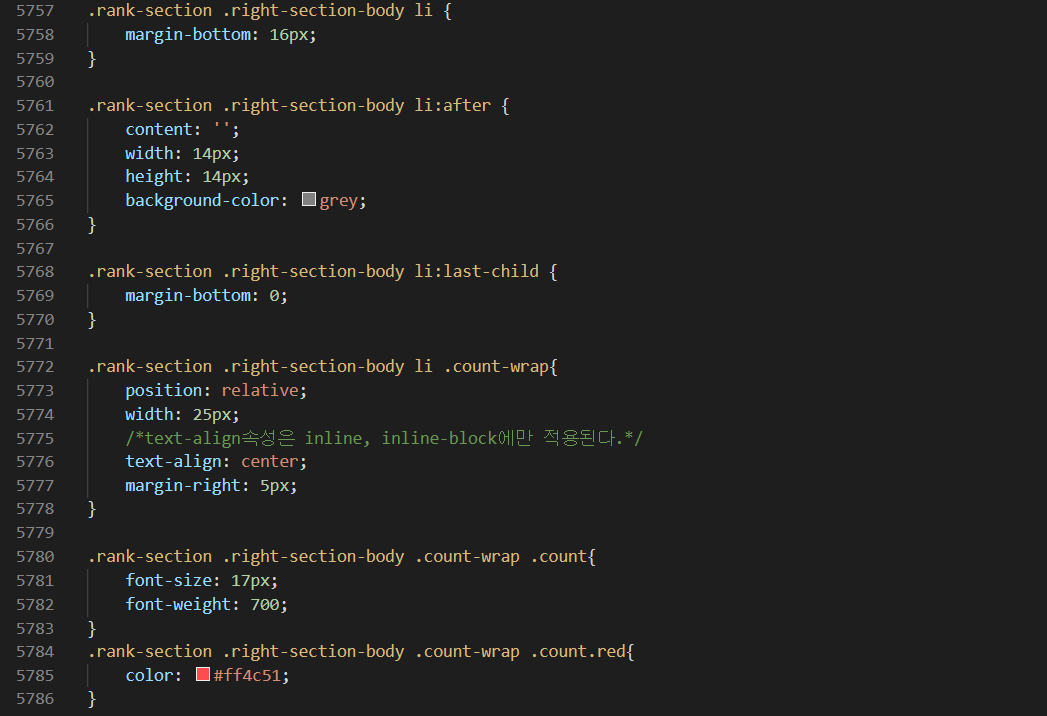
a. .rank-section .right-section-body li .count-wrap :
position: relative; / width: 25px; / text-align: center;/ margin-right: 5px;
position: rel을 활용한 이유는 li에 포함된 rank값에 있는 순위 변동 영역을 내가 원하는 위치로 이동시키기 위해서이다.
코드리뷰 :
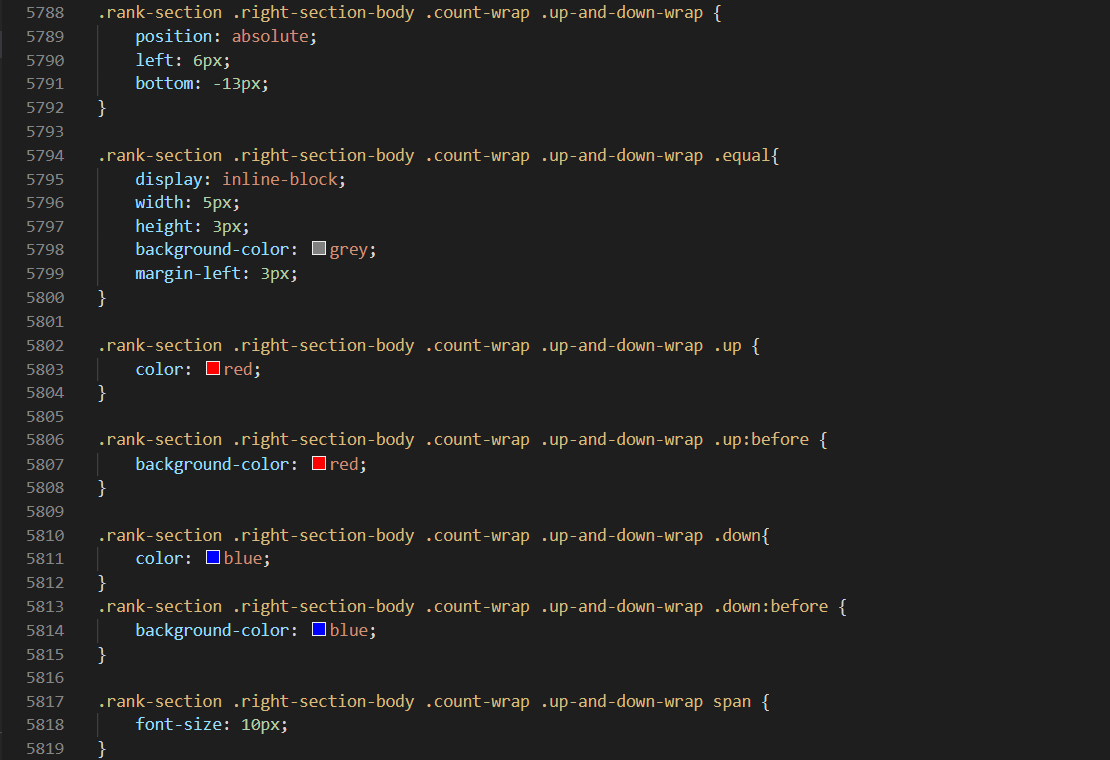
b. .rank-section .right-section-body .count-wrap .up-and-down-wrap :
position: absolute; / left: 6px; / bottom: -13px;