지정한 크기로 새 영상 생성하기
numpy.empty(shape, dtype=float, ...) -> arr
numpy.zeros(shape, dtype=float, ...) -> arr
numpy.ones(shape, dtype=None, ...) -> arr
numpy.full(shape, fill_value, dtype=None, ...) -> arr
- shape: 각 차원의 크기. (h, w) 또는 (h, w, 3)
- dtype: 원소의 데이터 타입. 일반적인 영상이면 numpy.uint8 지정
- arr: 생성된 영상(numpy.ndarray)
- 참고사항
- numpy.empty() 함수는 임의의 값으로 초기화된 배열을 생성
- numpy.zeros() 함수는 0으로 초기화된 배열을 생성
- numpy.ones() 함수는 1로 초기화된 배열을 생성
- numpy.full() 함수는 fill_value로 초기화된 배열을 생성
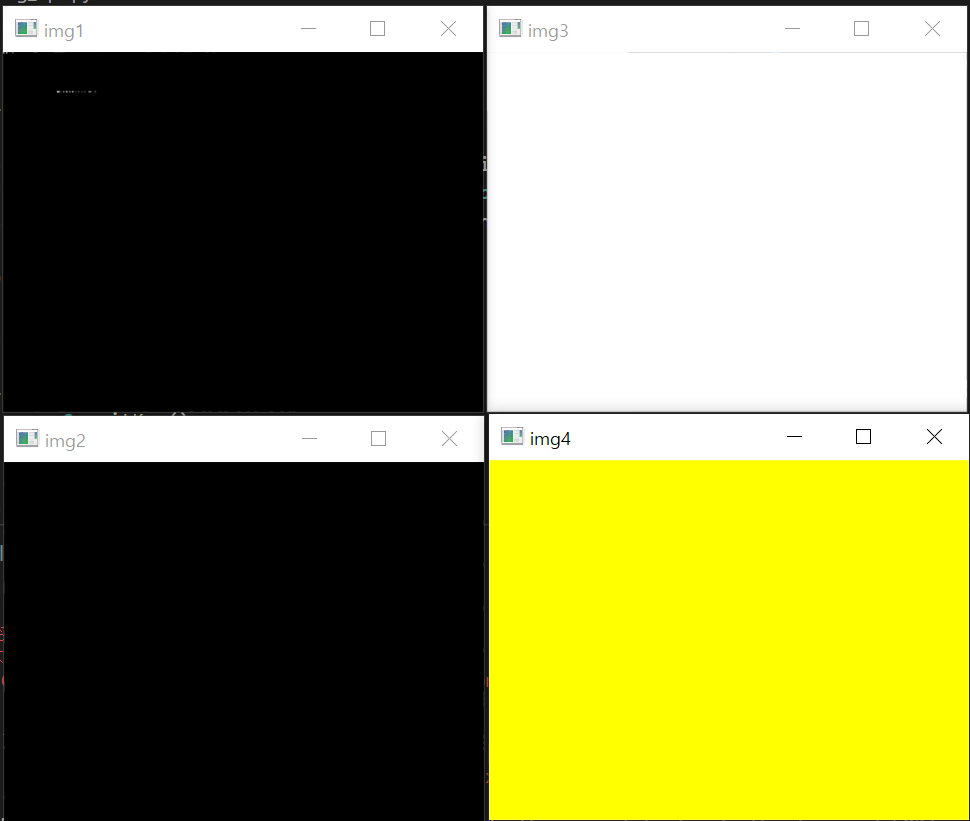
영상의 생성 예제 코드
img1 = np.empty((480, 640), dtype=np.uint8)
img2 = np.zeros((480, 640, 3), dtype=np.uint8)
img3 = np.ones((480, 640), dtype=np.unit8) * 255
img4 = np.full((480, 640, 3), (0, 255, 255), dtype=np.uint8)

영상의 참조 및 복사 예제 코드
img1 = cv2.imread('HappyFish.jpg')
img2 = img1
img3 = img1.copy()

img1 = cv2.imread('HappyFish.jpg')
img2 = img1
img3 = img1.copy()
img1.fill(255)

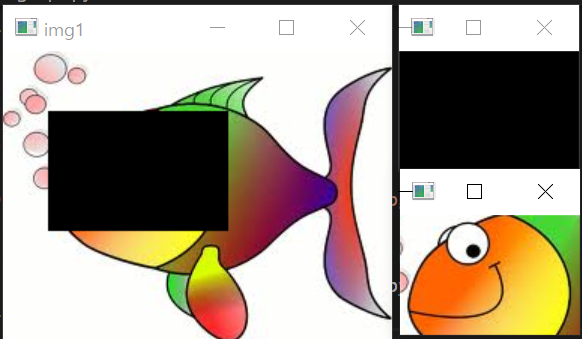
부분 영상 추출
img1 = cv2.imread('HappyFish.jpg')
img2 = img1[40:120, 30:150]
img3 = img1[40:120, 30:150].copy()
img2.fill(0)

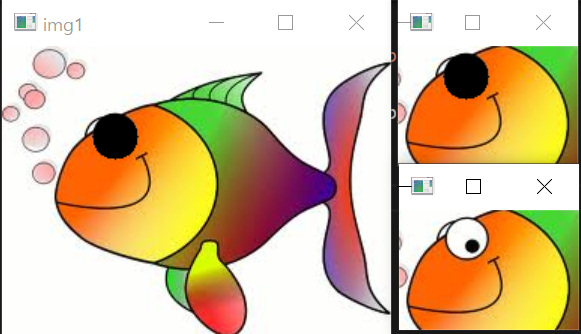
img1 = cv2.imread('HappyFish.jpg')
img2 = img1[40:120, 30:150]
img3 = img1[40:120, 30:150].copy()
cv2.circle(img2, (45, 20), 15, (0, 0, 0), -1)


