본격적으로 박스 모델을 활용해서 웹페이지를 꾸며보겠습니다.
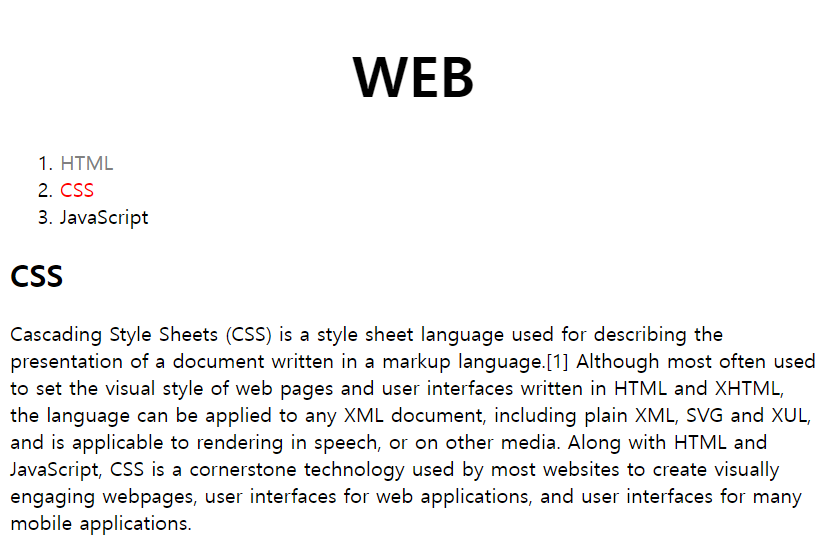
우선 처음의 html 파일입니다.
<!DOCTYPE html>
<html>
<head>
  <meta charset="utf-8">
  <title></title>
  <style>
    #active {
      color:red;
    }
    .saw {
      color:gray;
    }
    a {
      color:black;
      text-decoration: none;
    }
    h1 {
      font-size:45px;
      text-align: center;
    }
  </style>
</head>
<body>
  <h1><a href="index.html">WEB</a></h1>
  <ol>
    <li><a href="1.html" class="saw">HTML</a></li>
    <li><a href="2.html" class="saw" id="active">CSS</a></li>
    <li><a href="3.html">JavaScript</a></li>
  </ol>
  <h2>CSS</h2>
  <p>
    Cascading Style Sheets (CSS) is a style sheet language used for describing the presentation of a document written in a markup language.[1] Although most often used to set the visual style of web pages and user interfaces written in HTML and XHTML, the language can be applied to any XML document, including plain XML, SVG and XUL, and is applicable to rendering in speech, or on other media. Along with HTML and JavaScript, CSS is a cornerstone technology used by most websites to create visually engaging webpages, user interfaces for web applications, and user interfaces for many mobile applications.
  </p>
</body>
</html>
여기서 제목과 목록 그리고 본문을 선으로 나누어주고 싶다면 어떻게 할까요?
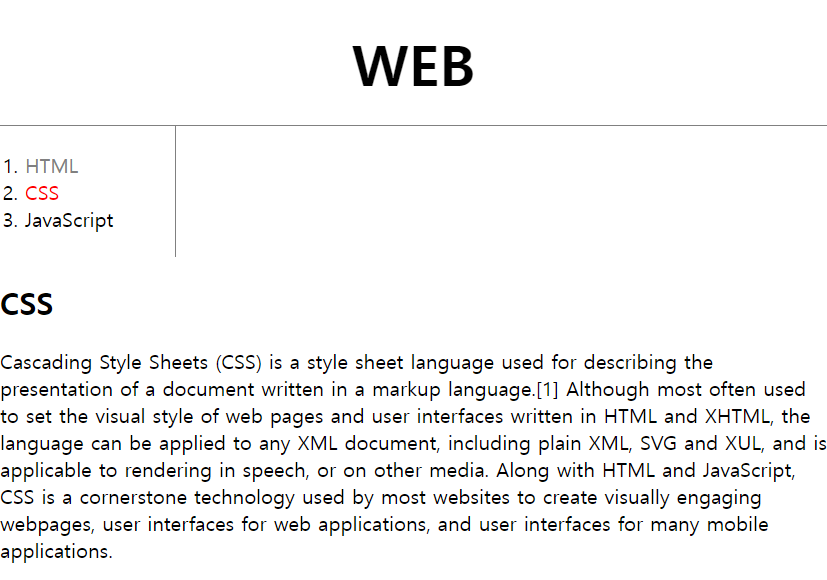
style 태그의 content, padding, border, margin 속성을 수정해보겠습니다.
  <style>
    body {
      margin : 0px;
    }
    #active {
      color:red;
    }
    .saw {
      color:gray;
    }
    a {
      color:black;
      text-decoration: none;
    }
    h1 {
      font-size:45px;
      text-align: center;
      border-bottom : 1px solid gray;
      margin : 0px;
      padding : 20px;
    }
    ol {
      border-right:1px solid gray;
      width : 100px;
      margin : 0px;
      padding : 20px;
    }
  </style>
style 태그를 수정해서 선을 그어주었습니다.
물론 처음부터 끝까지 한 번에 그은 것은 아닙니다.
비슷하게 만들수는 있지만 중간중간에 개발자 모드에 들어가서 디테일을 살려주는 작업이 있었습니다.
+) 개발자 모드 F12 활용하기
우선 개발자 모드에 들어갈 웹페이지에 접속해서 F12를 눌러줍니다

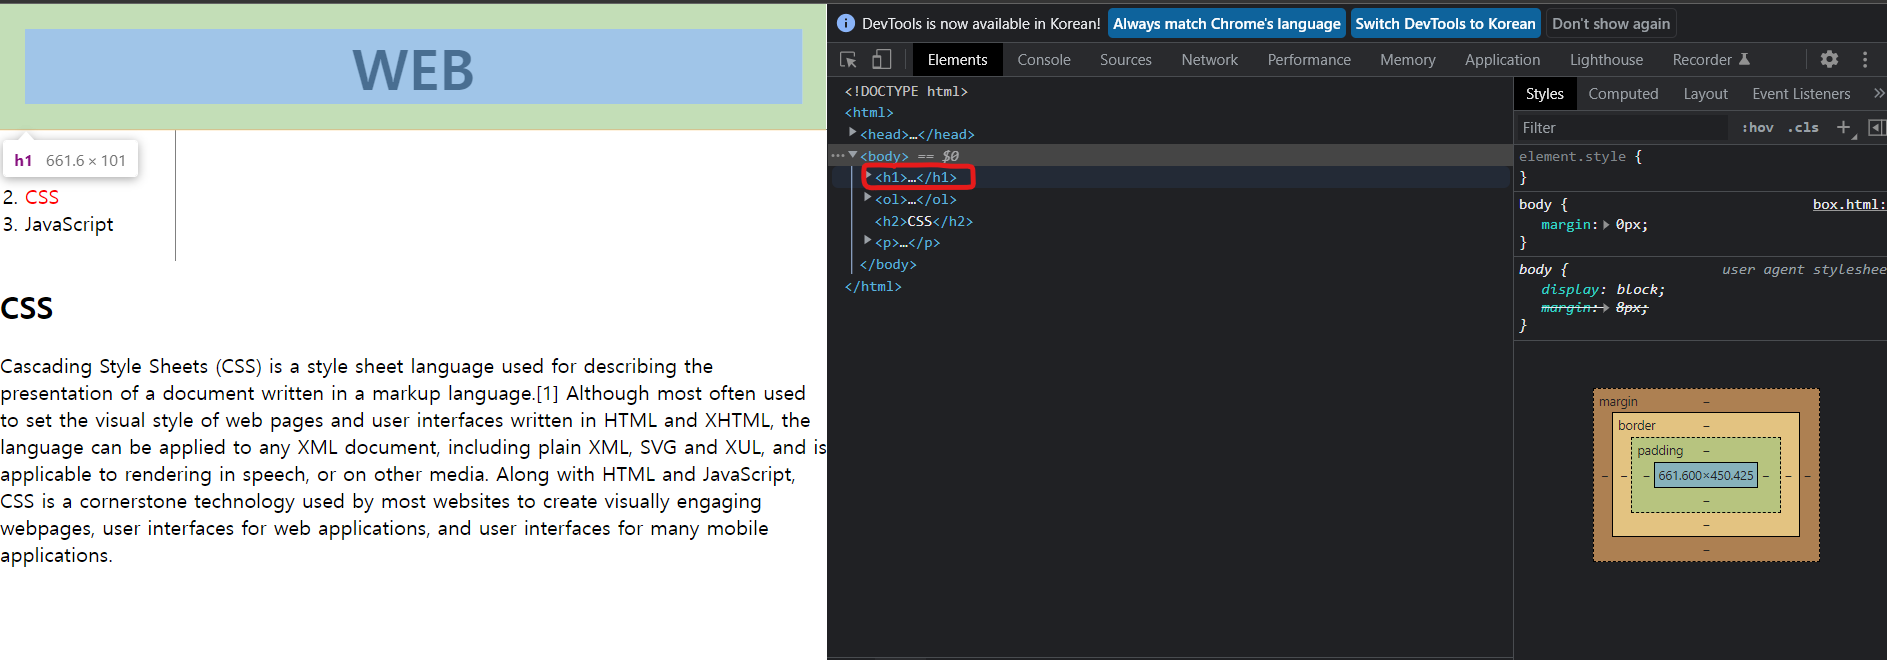
그러면 이러한 창이 나옵니다.
개발자 모드로 들어간 것입니다.
보통 content, padding, border, margin 속성값을 바꿀 때
이러한 개발자 모드를 사용하면 정말 편합니다.
예를 들어 h1 태그의 content를 알고싶다면

개발자 모드 창에 보이는 h1 태그를 커서로 대고 있으면
왼쪽 페이지창에 h1 태그의 content, padding, border, margin이 한눈에 보입니다.
이 기능을 사용해서 css의 디테일을 맞출 수 있겠네요!
