
1. 아래와 같이 파일을 구성해준다.
-
CollectionCell: TableView Cell내부의 각 Cell을 구성하는 파일의 모음
-
TableCell: TableView Cell을 구성할 파일들의 모음
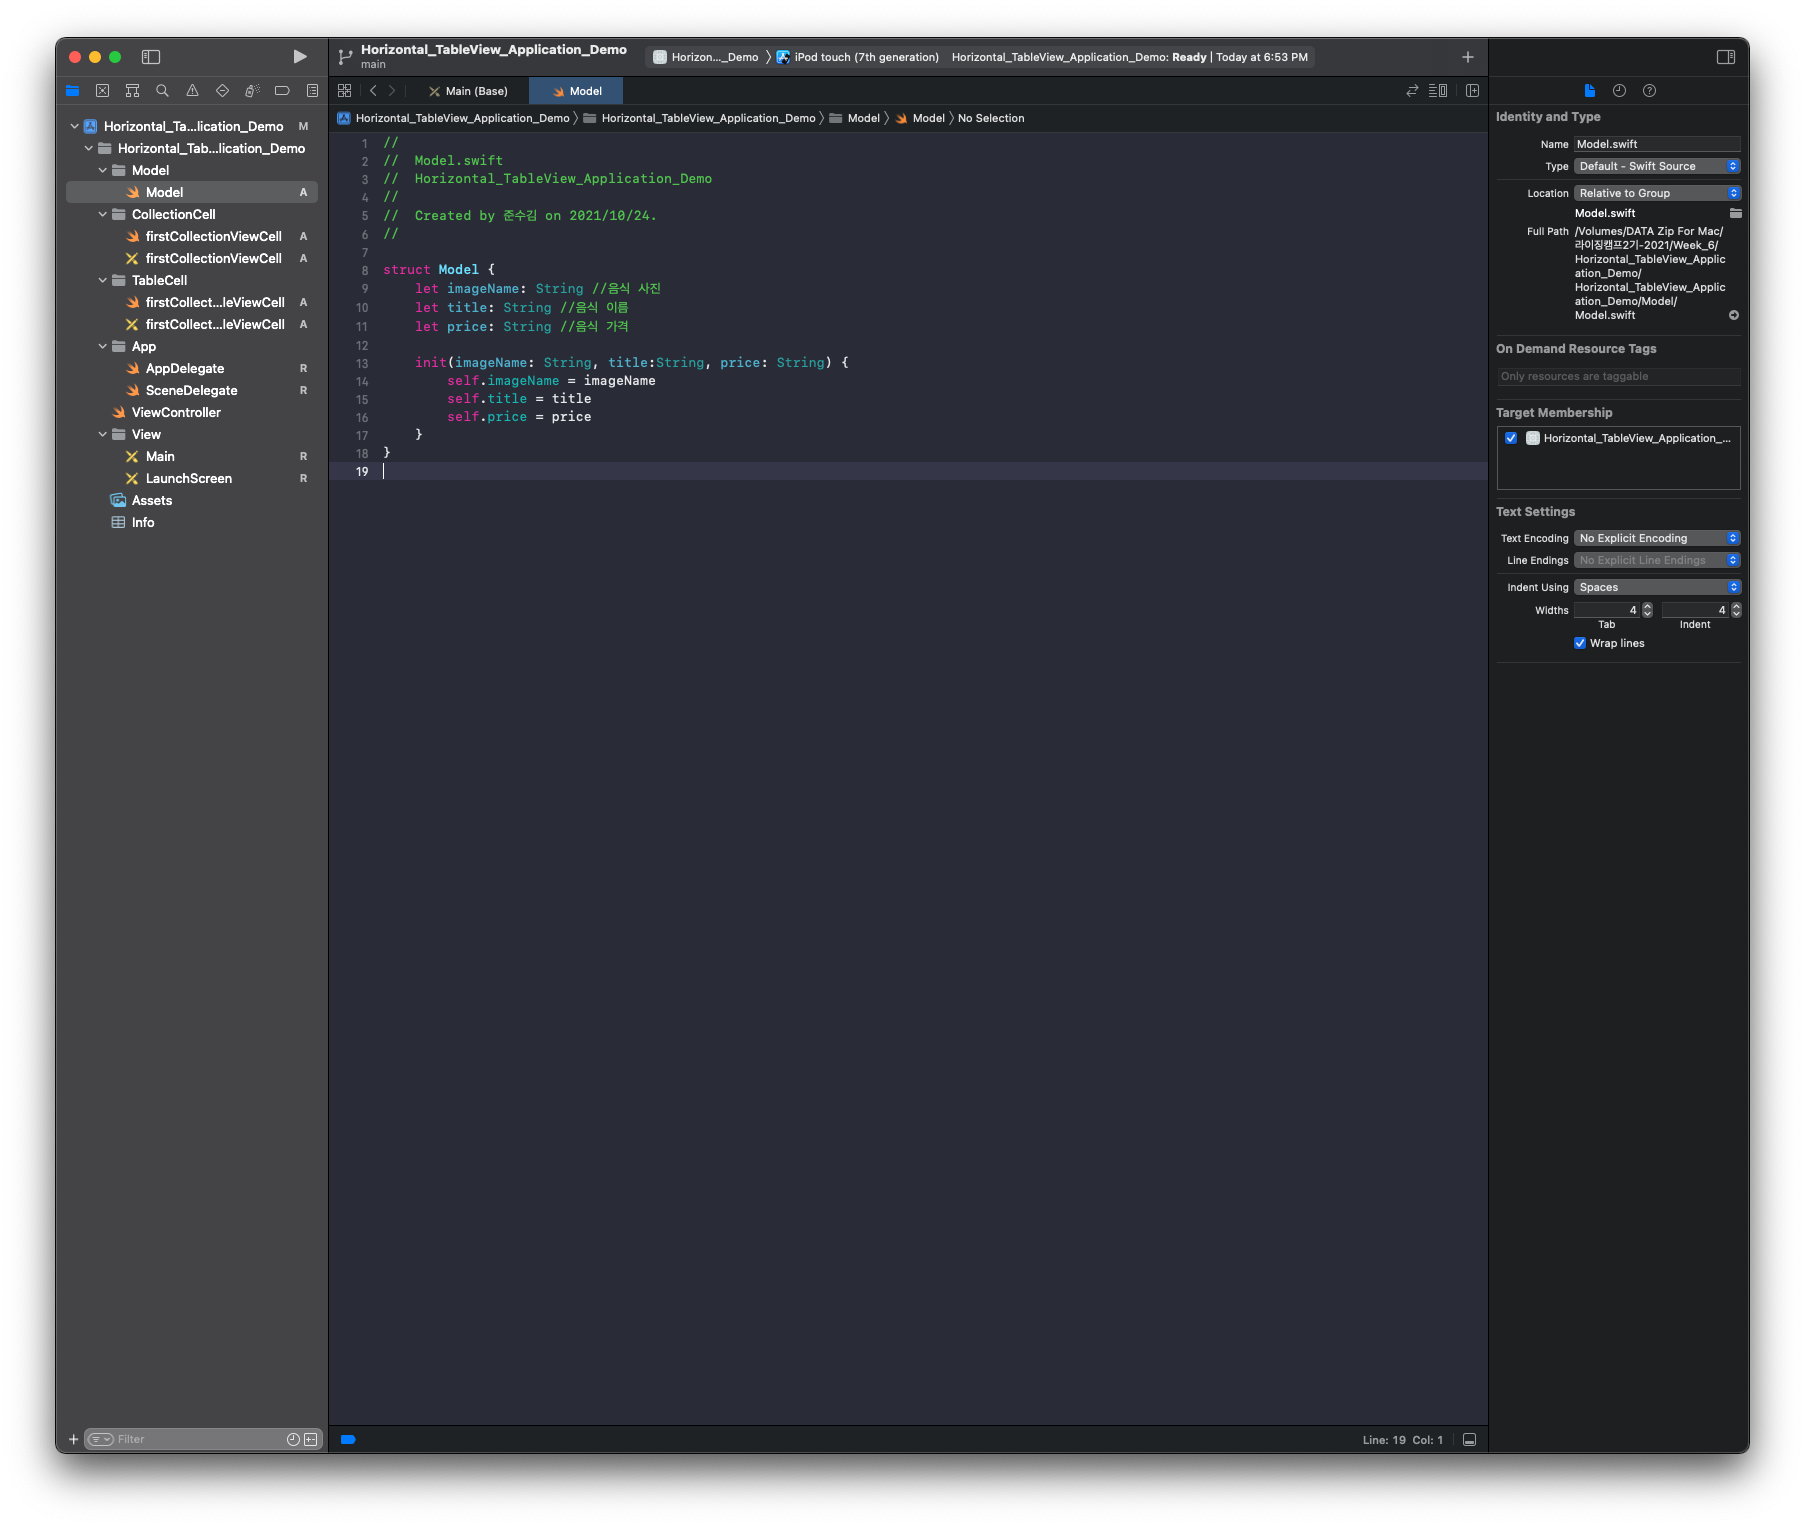
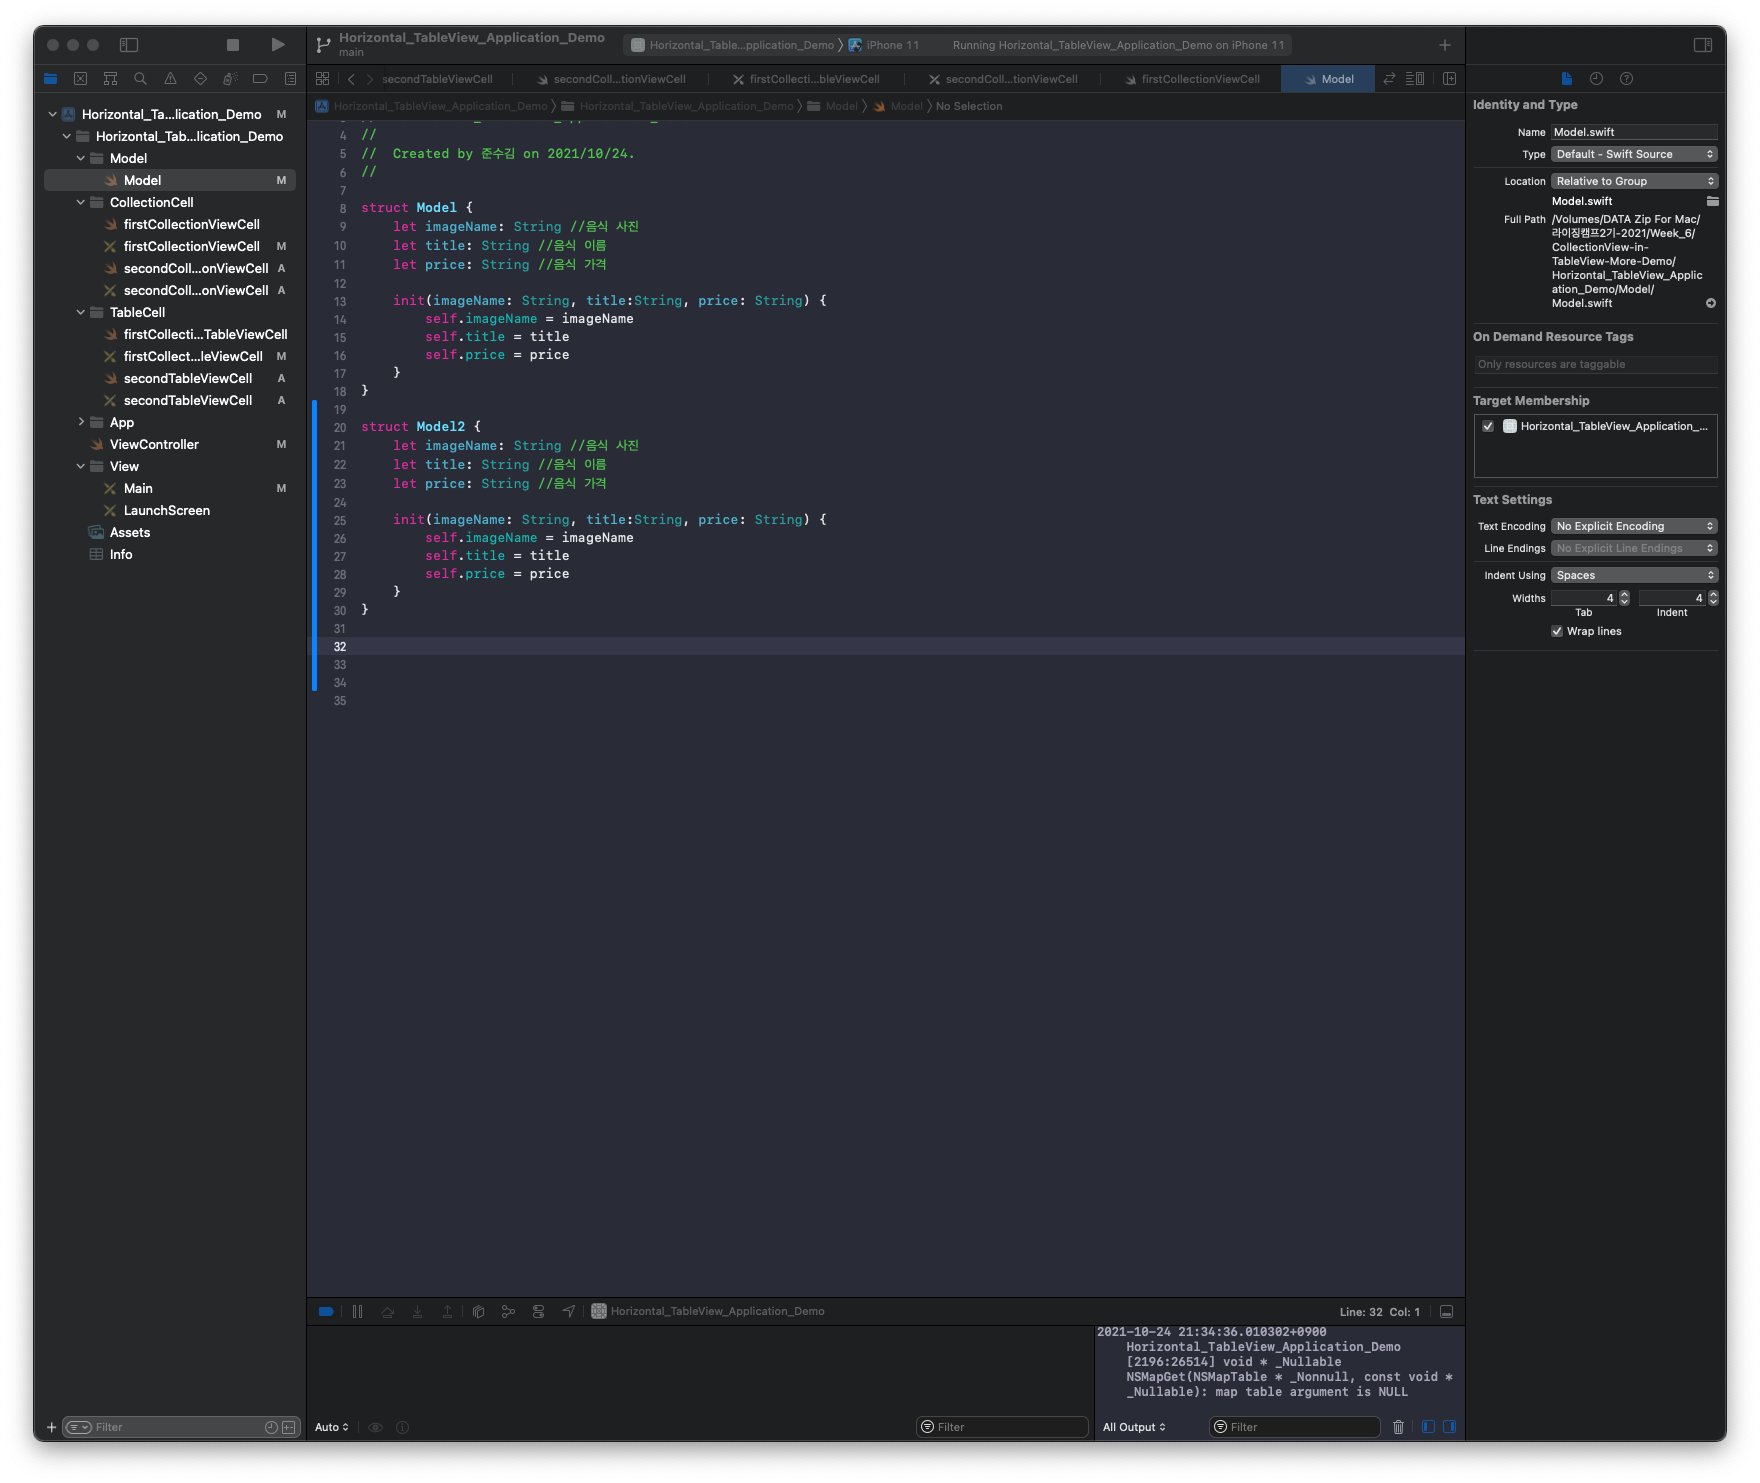
2. 데이터는 아래와 같이 구성할 것이기 때문에 DataModel을 만들어준다.
3. tableView에 대한 코드를 작성해준다.
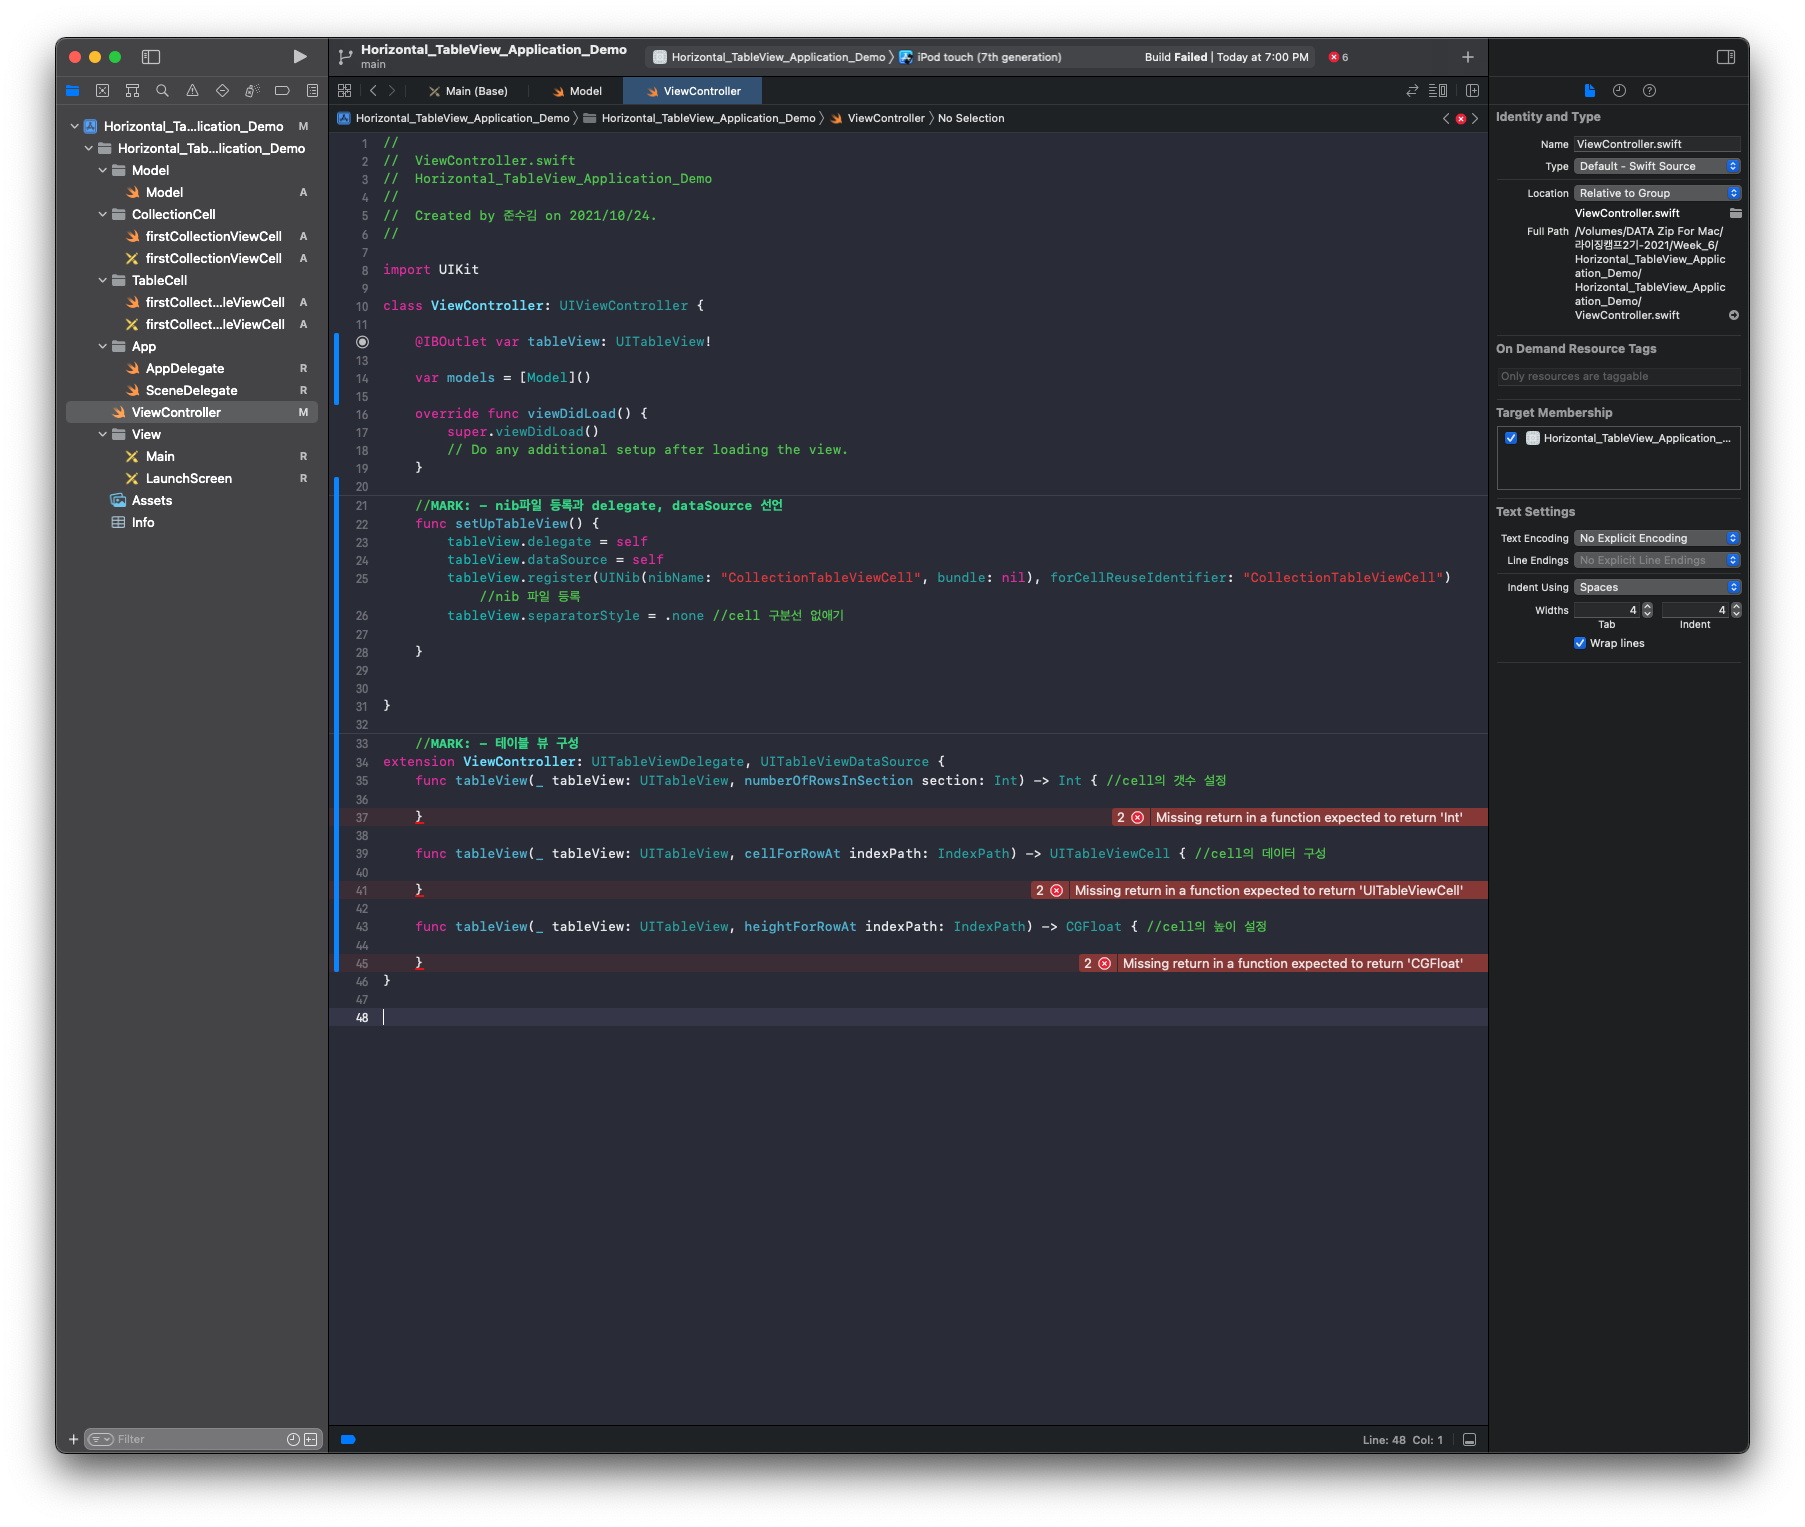
MainStoryboard에 가서 segue연결까지 완료해야함.
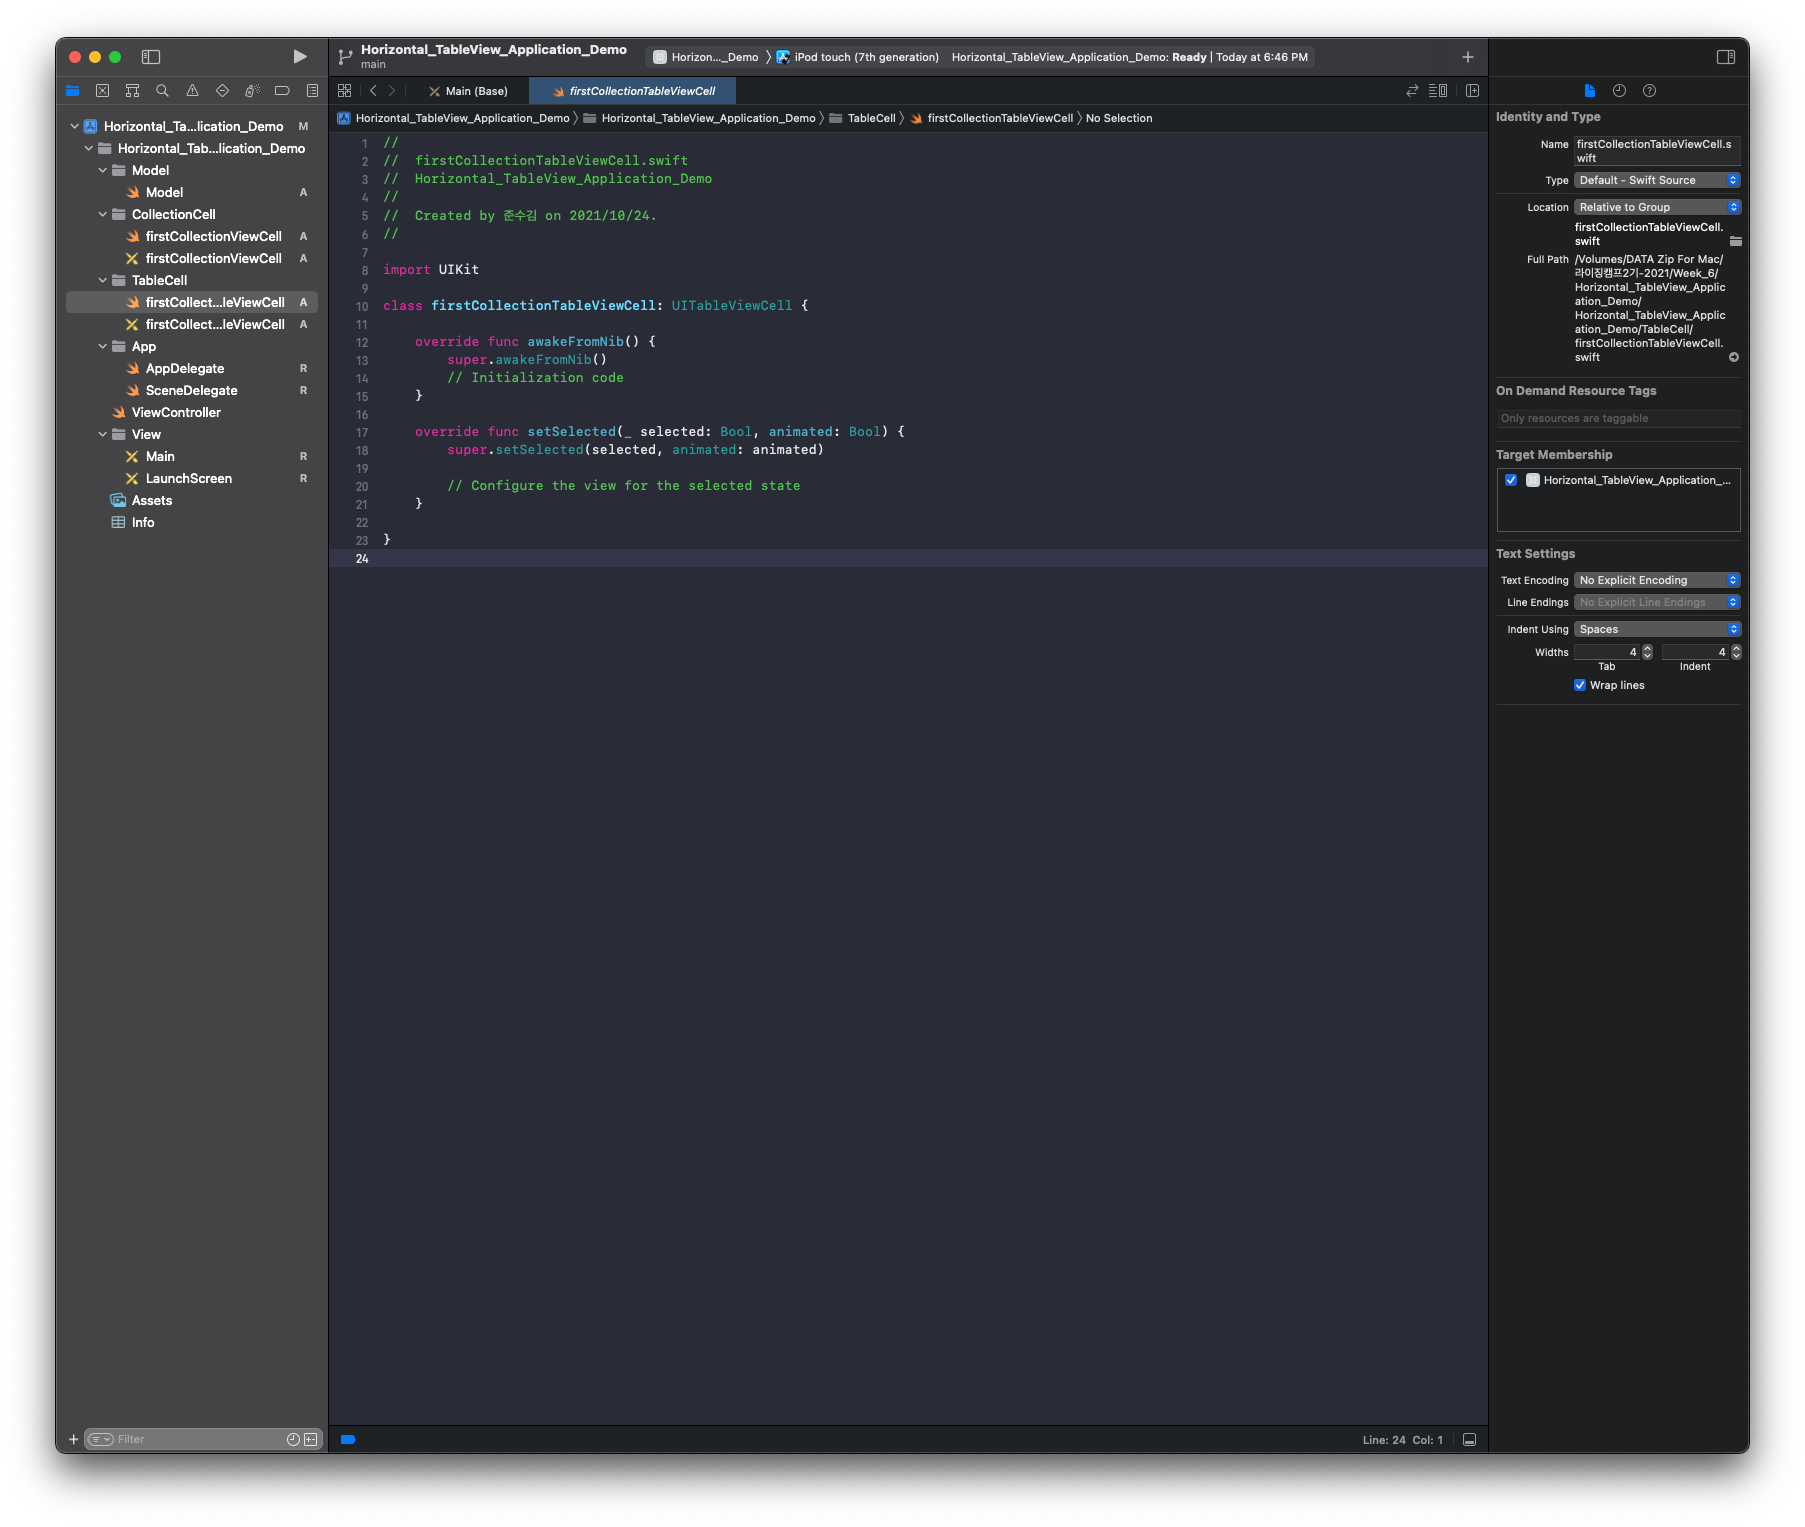
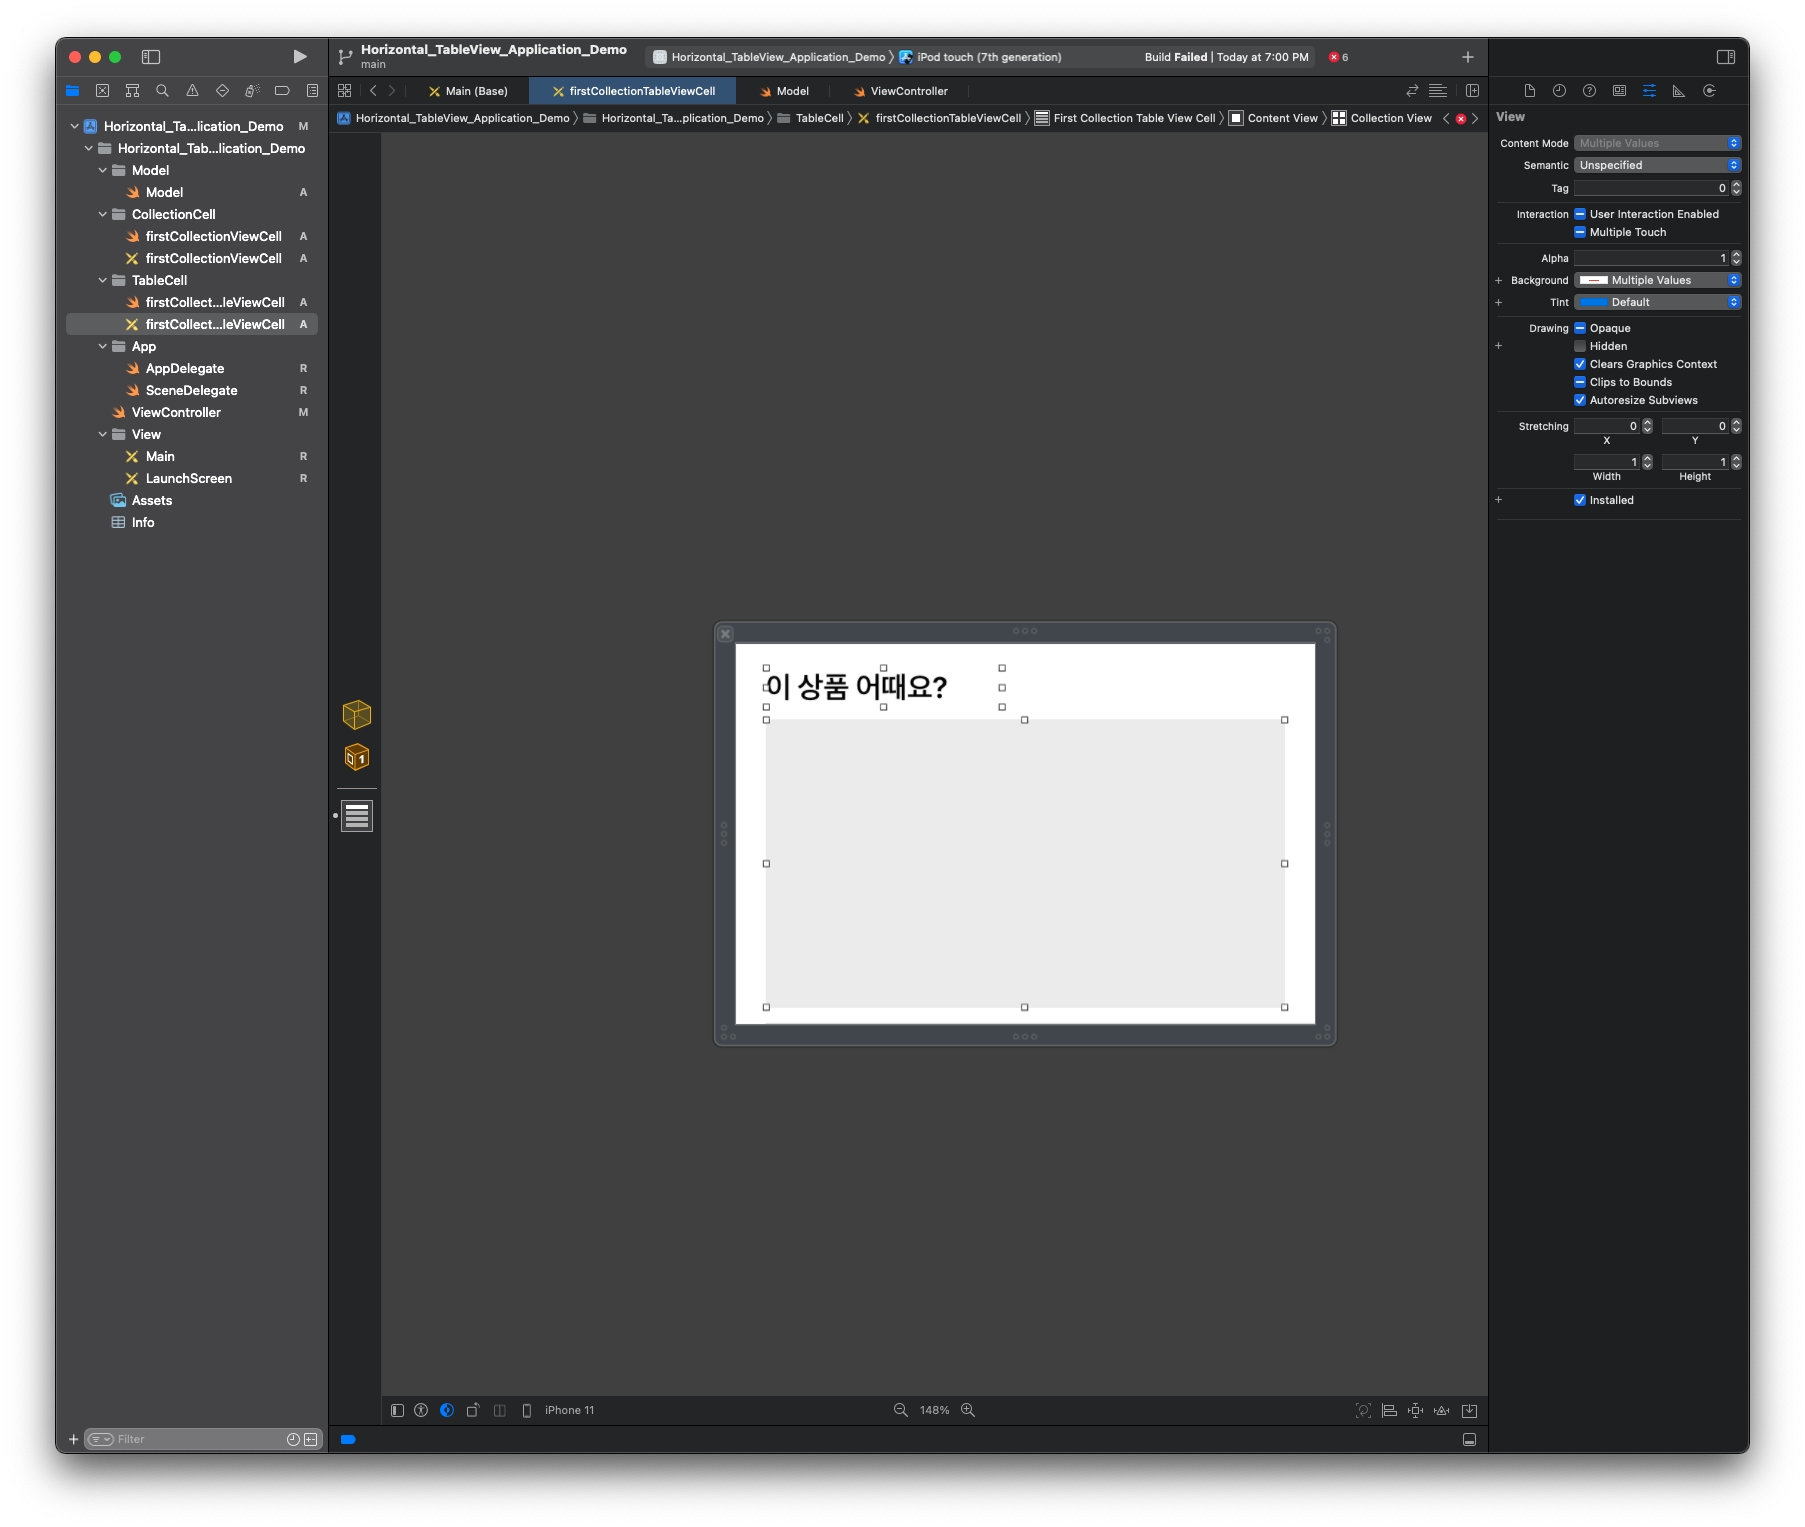
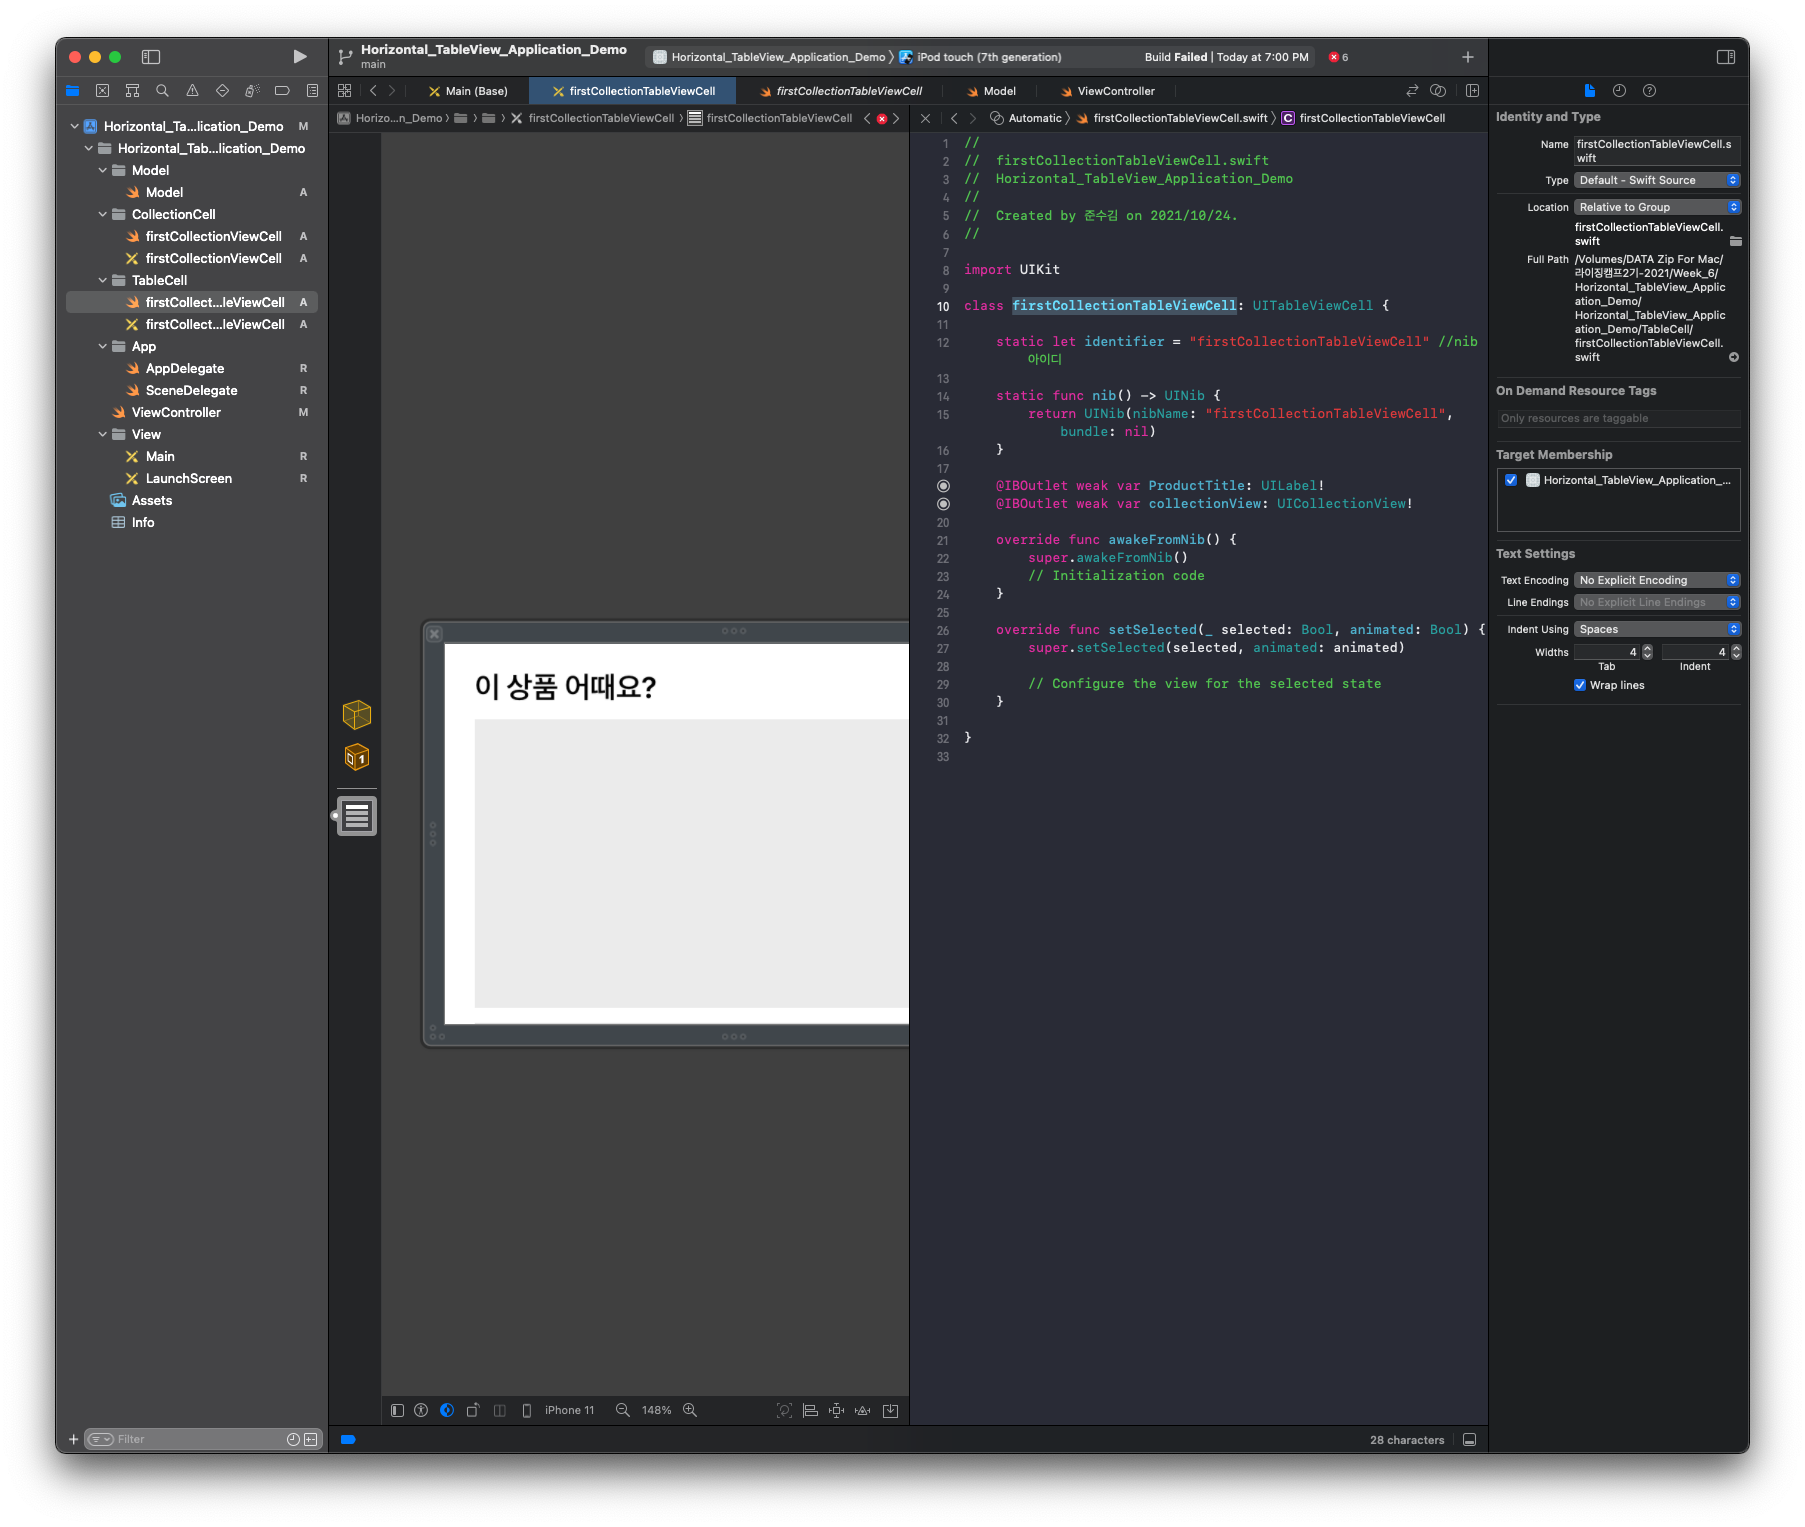
4. 이제 TableViewCell에 들어갈 Cell을 구성해보자.
- 상단에는 고정되어 있는 Title을 만들기 위해서 Label을 따로 구성해주었고, 아래에는 상품 사진과, 상품 가격이 같이 수평 스크롤되어야 하기 때문에CollectionView를 구성해준다.
5. 변수를 선언하고 IBOutlet을 연결해준다. 그리고 TableViewCell의 identifier를 설정해준다. + 스크롤 방향설정 (CollectionView - Scroll Direction)
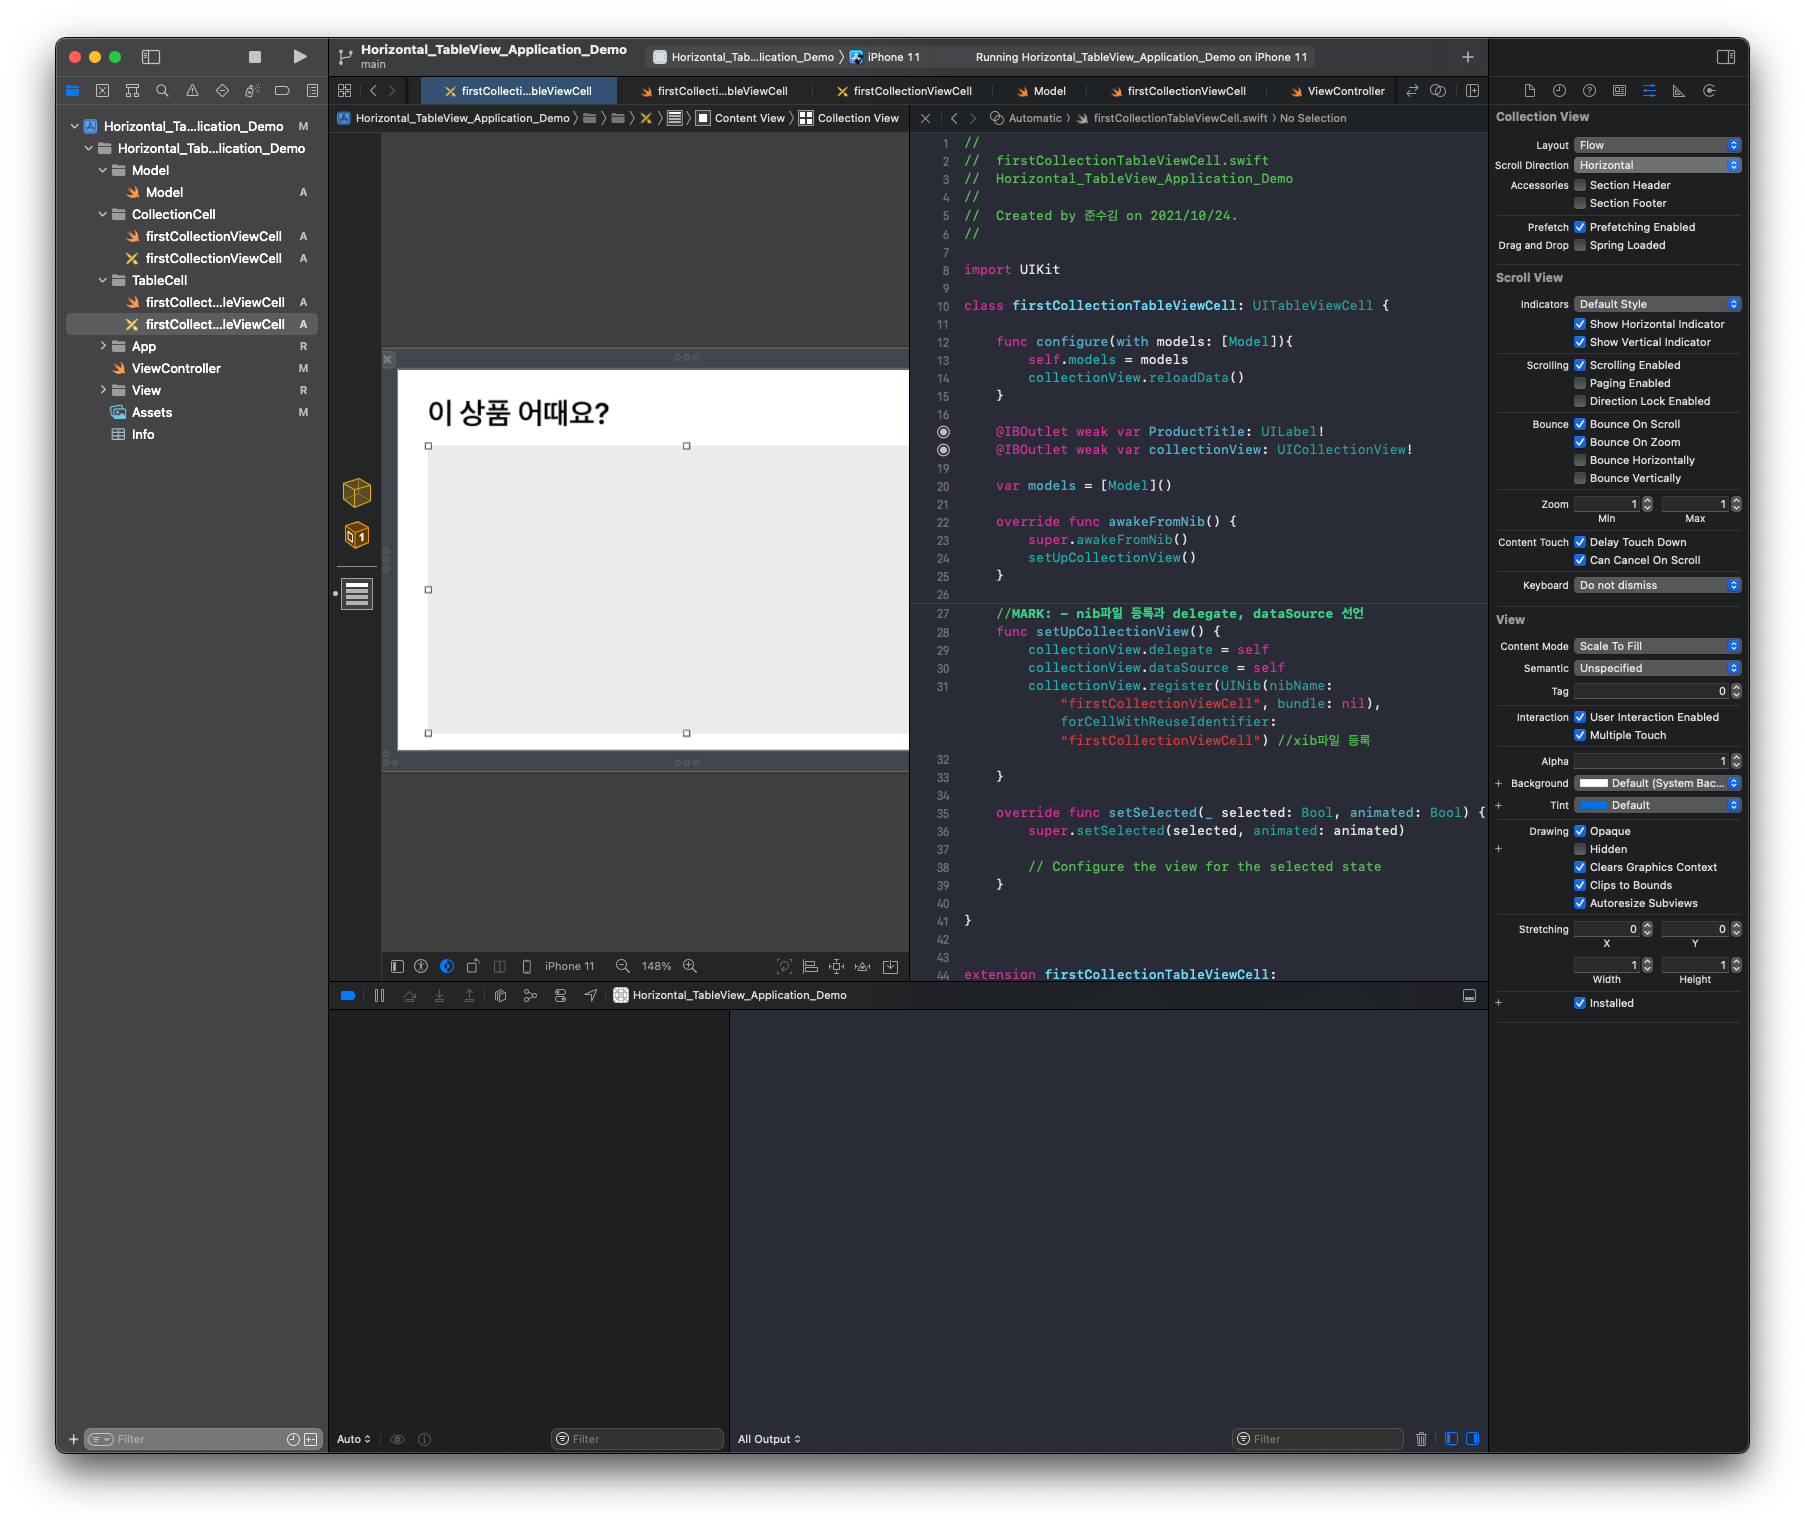
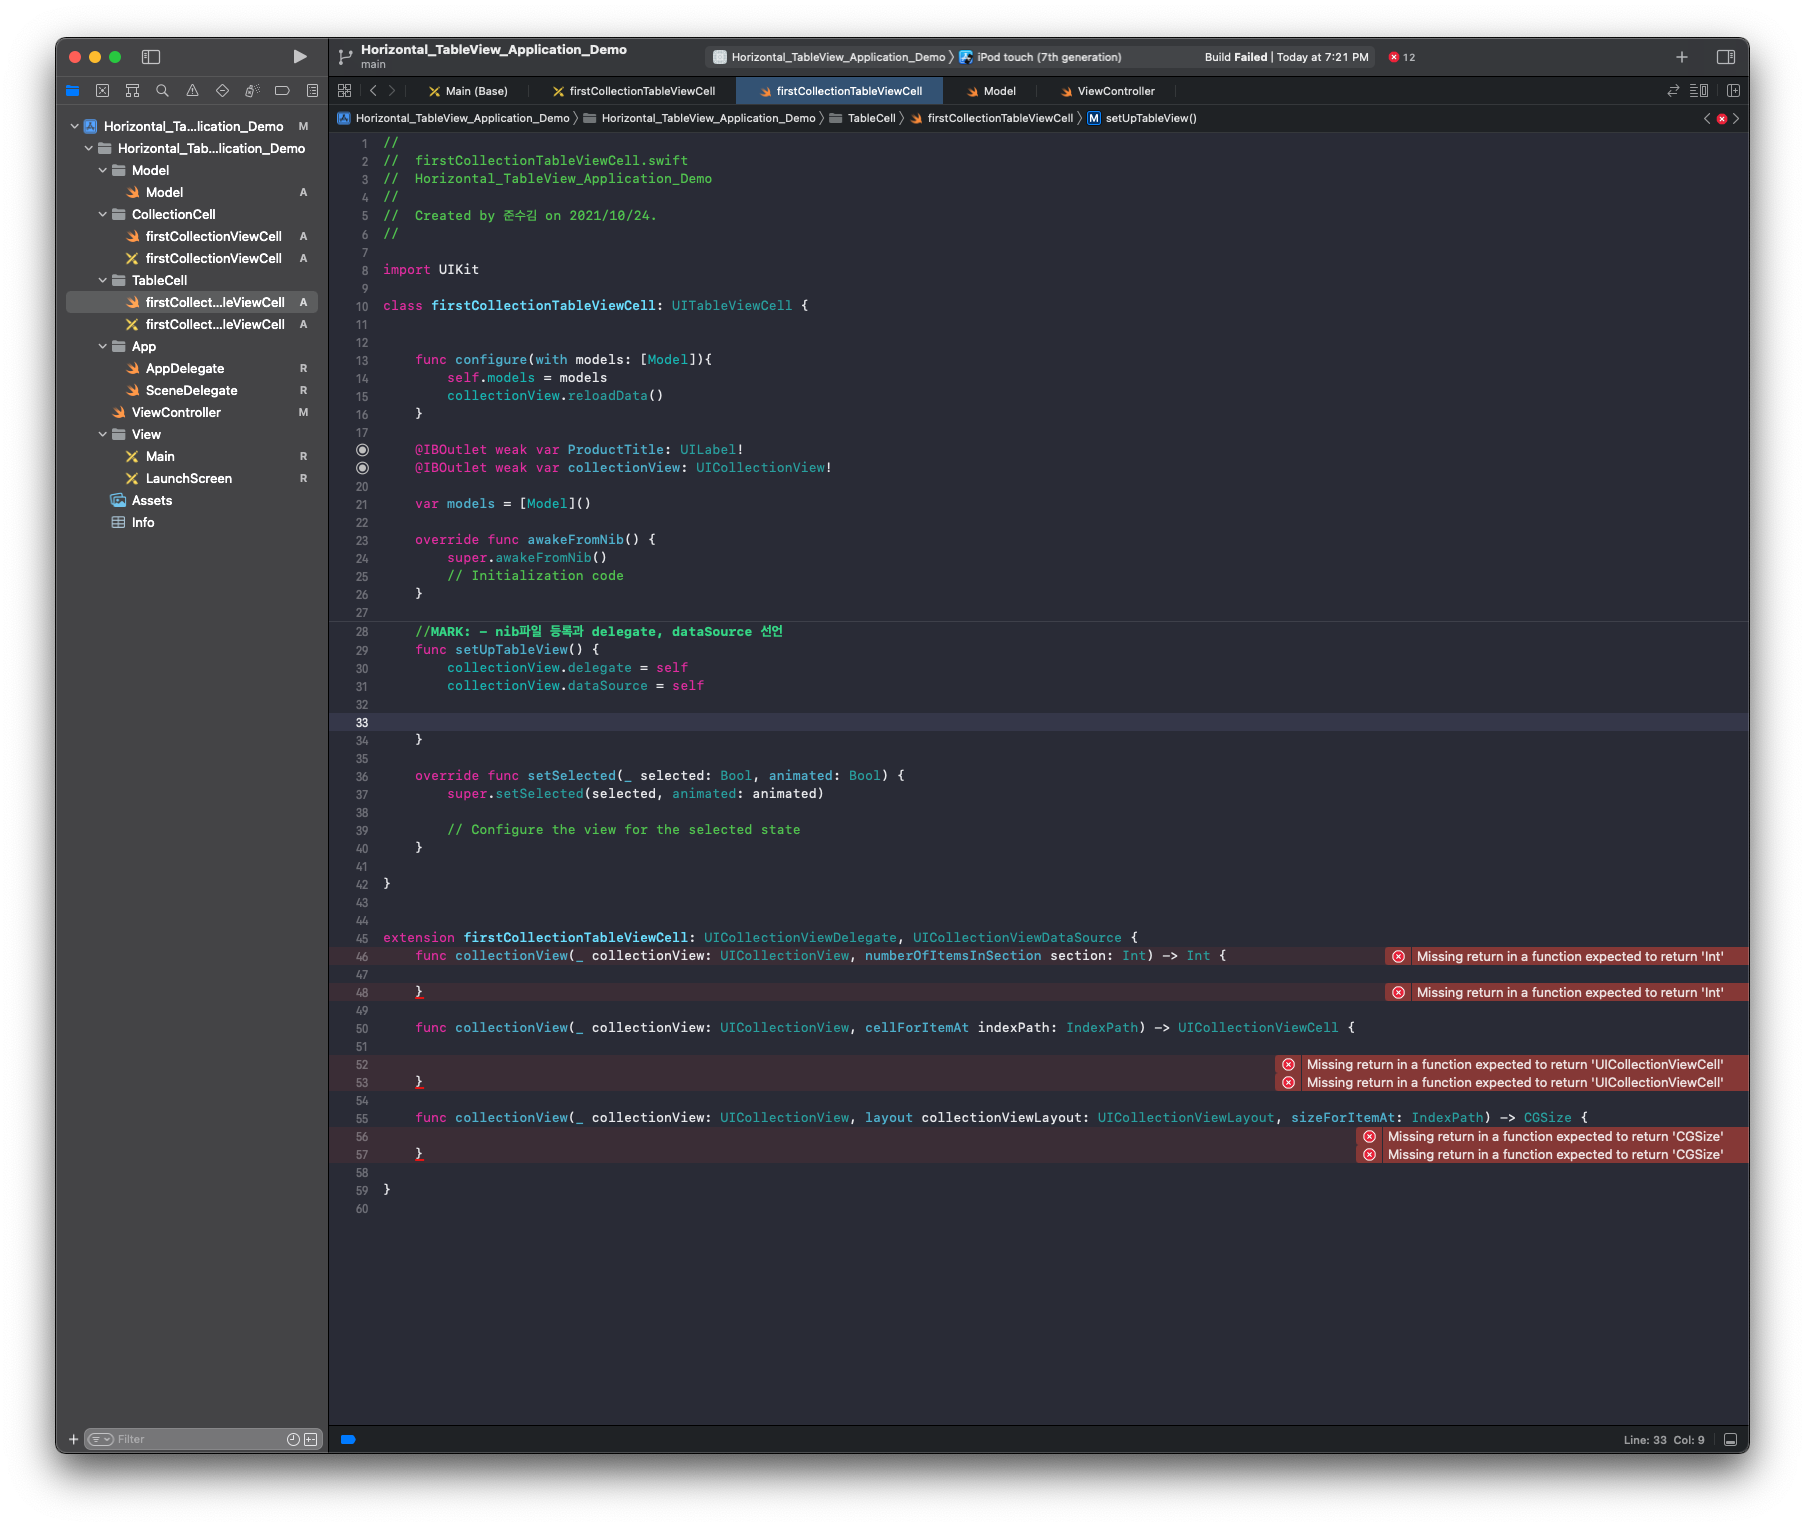
6. CollectionView에 대한 코드를 작성해준다.
7. 이제 CollectionView cell을 구성해보자.
- identifier를 설정해준다.
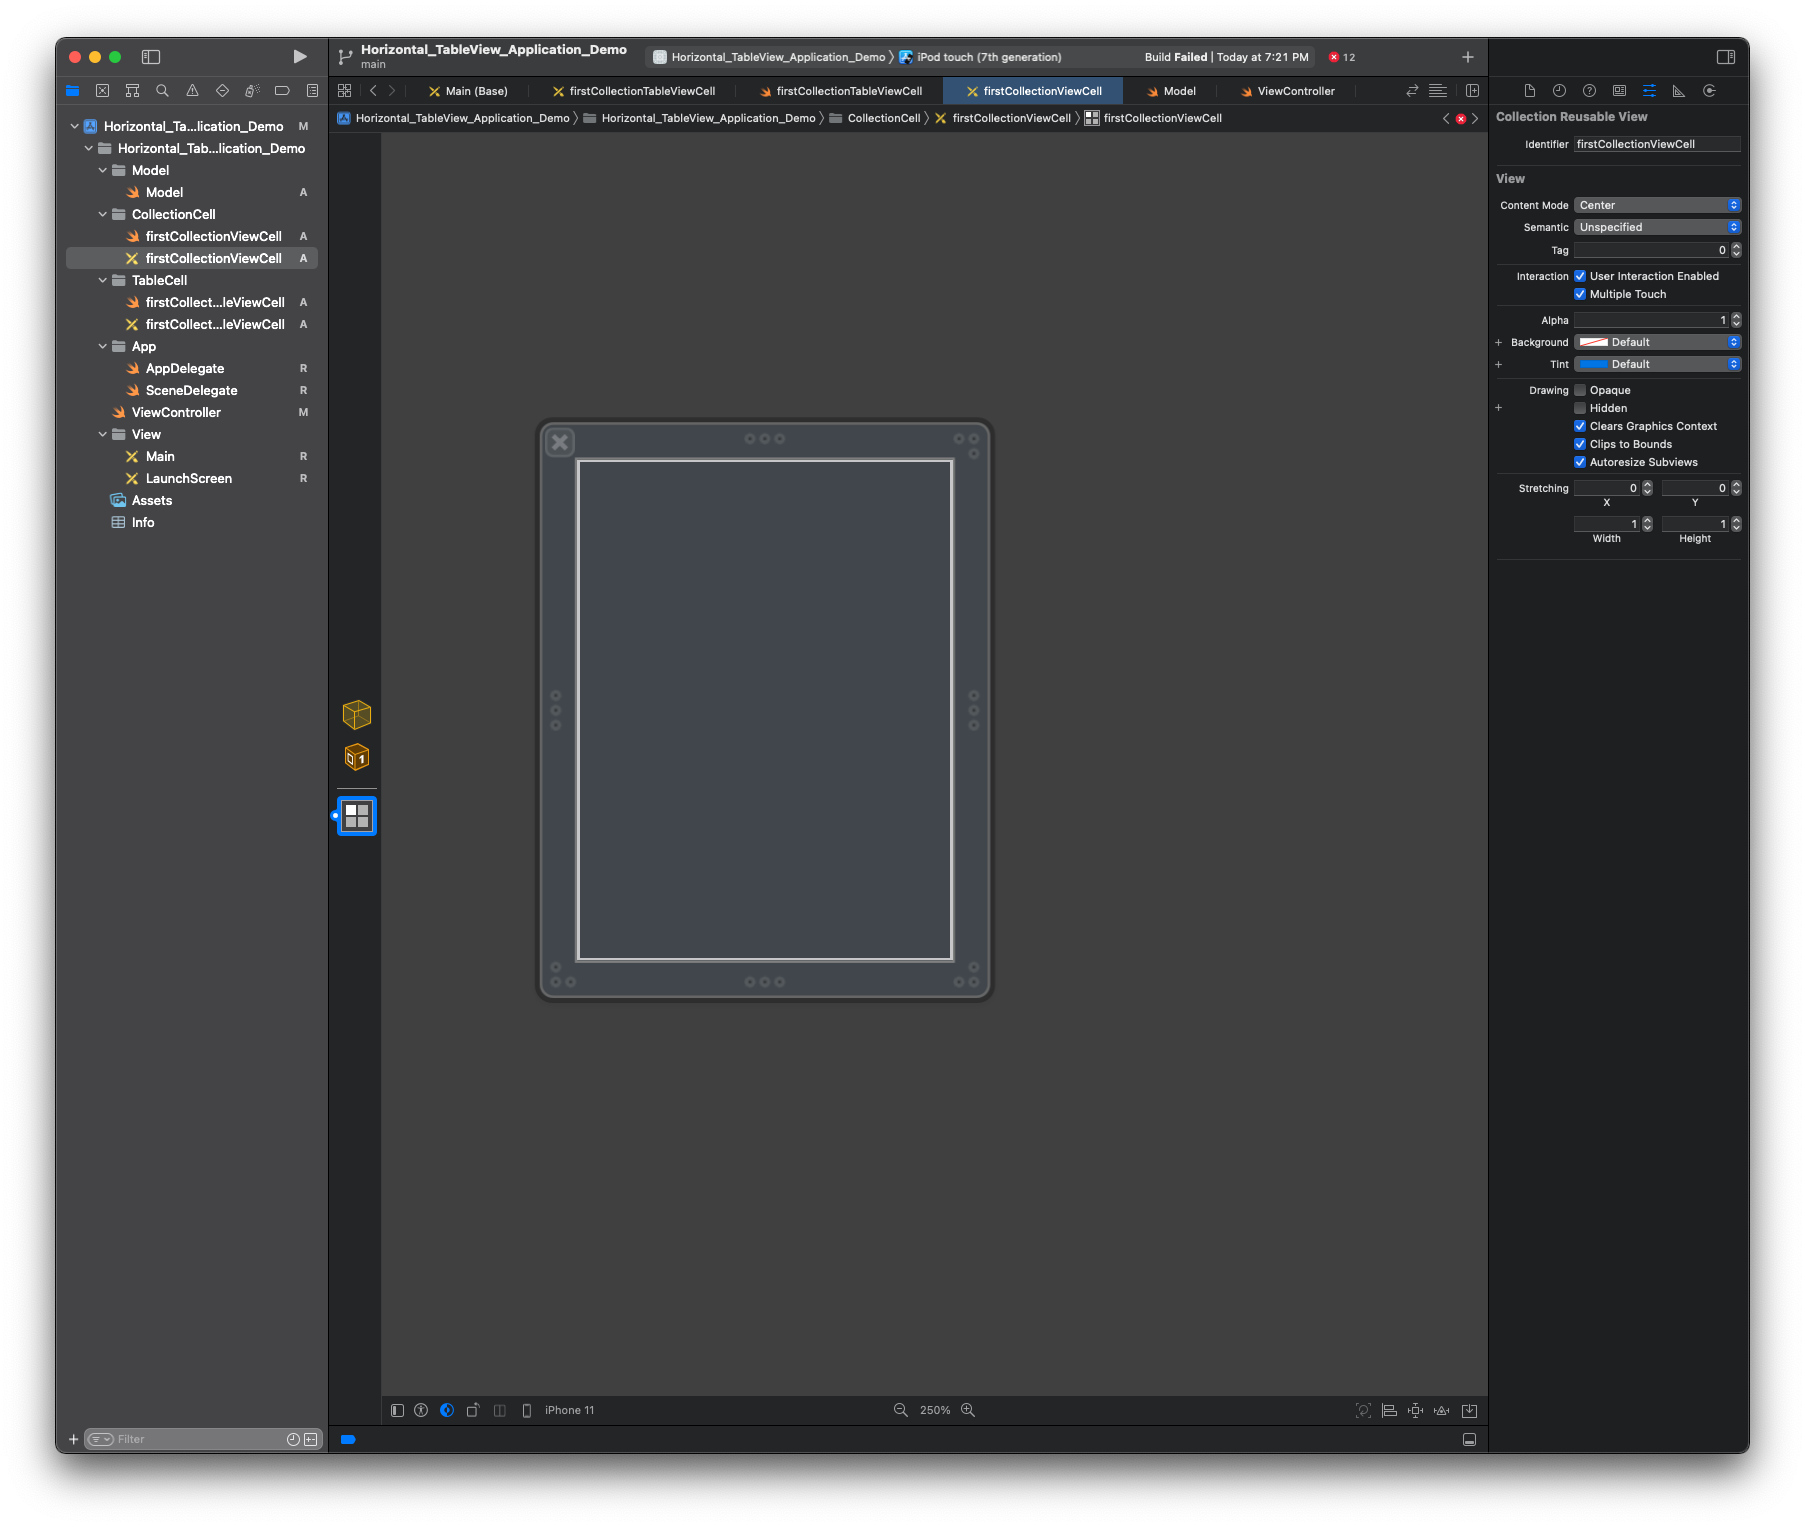
- imageView와 Label을 구성해서 상품사진, 상품이름, 상품 가격이 들어가도록 cell을 구성한다. (xib파일이 하얀색인 이유는 background색상을 변경함)
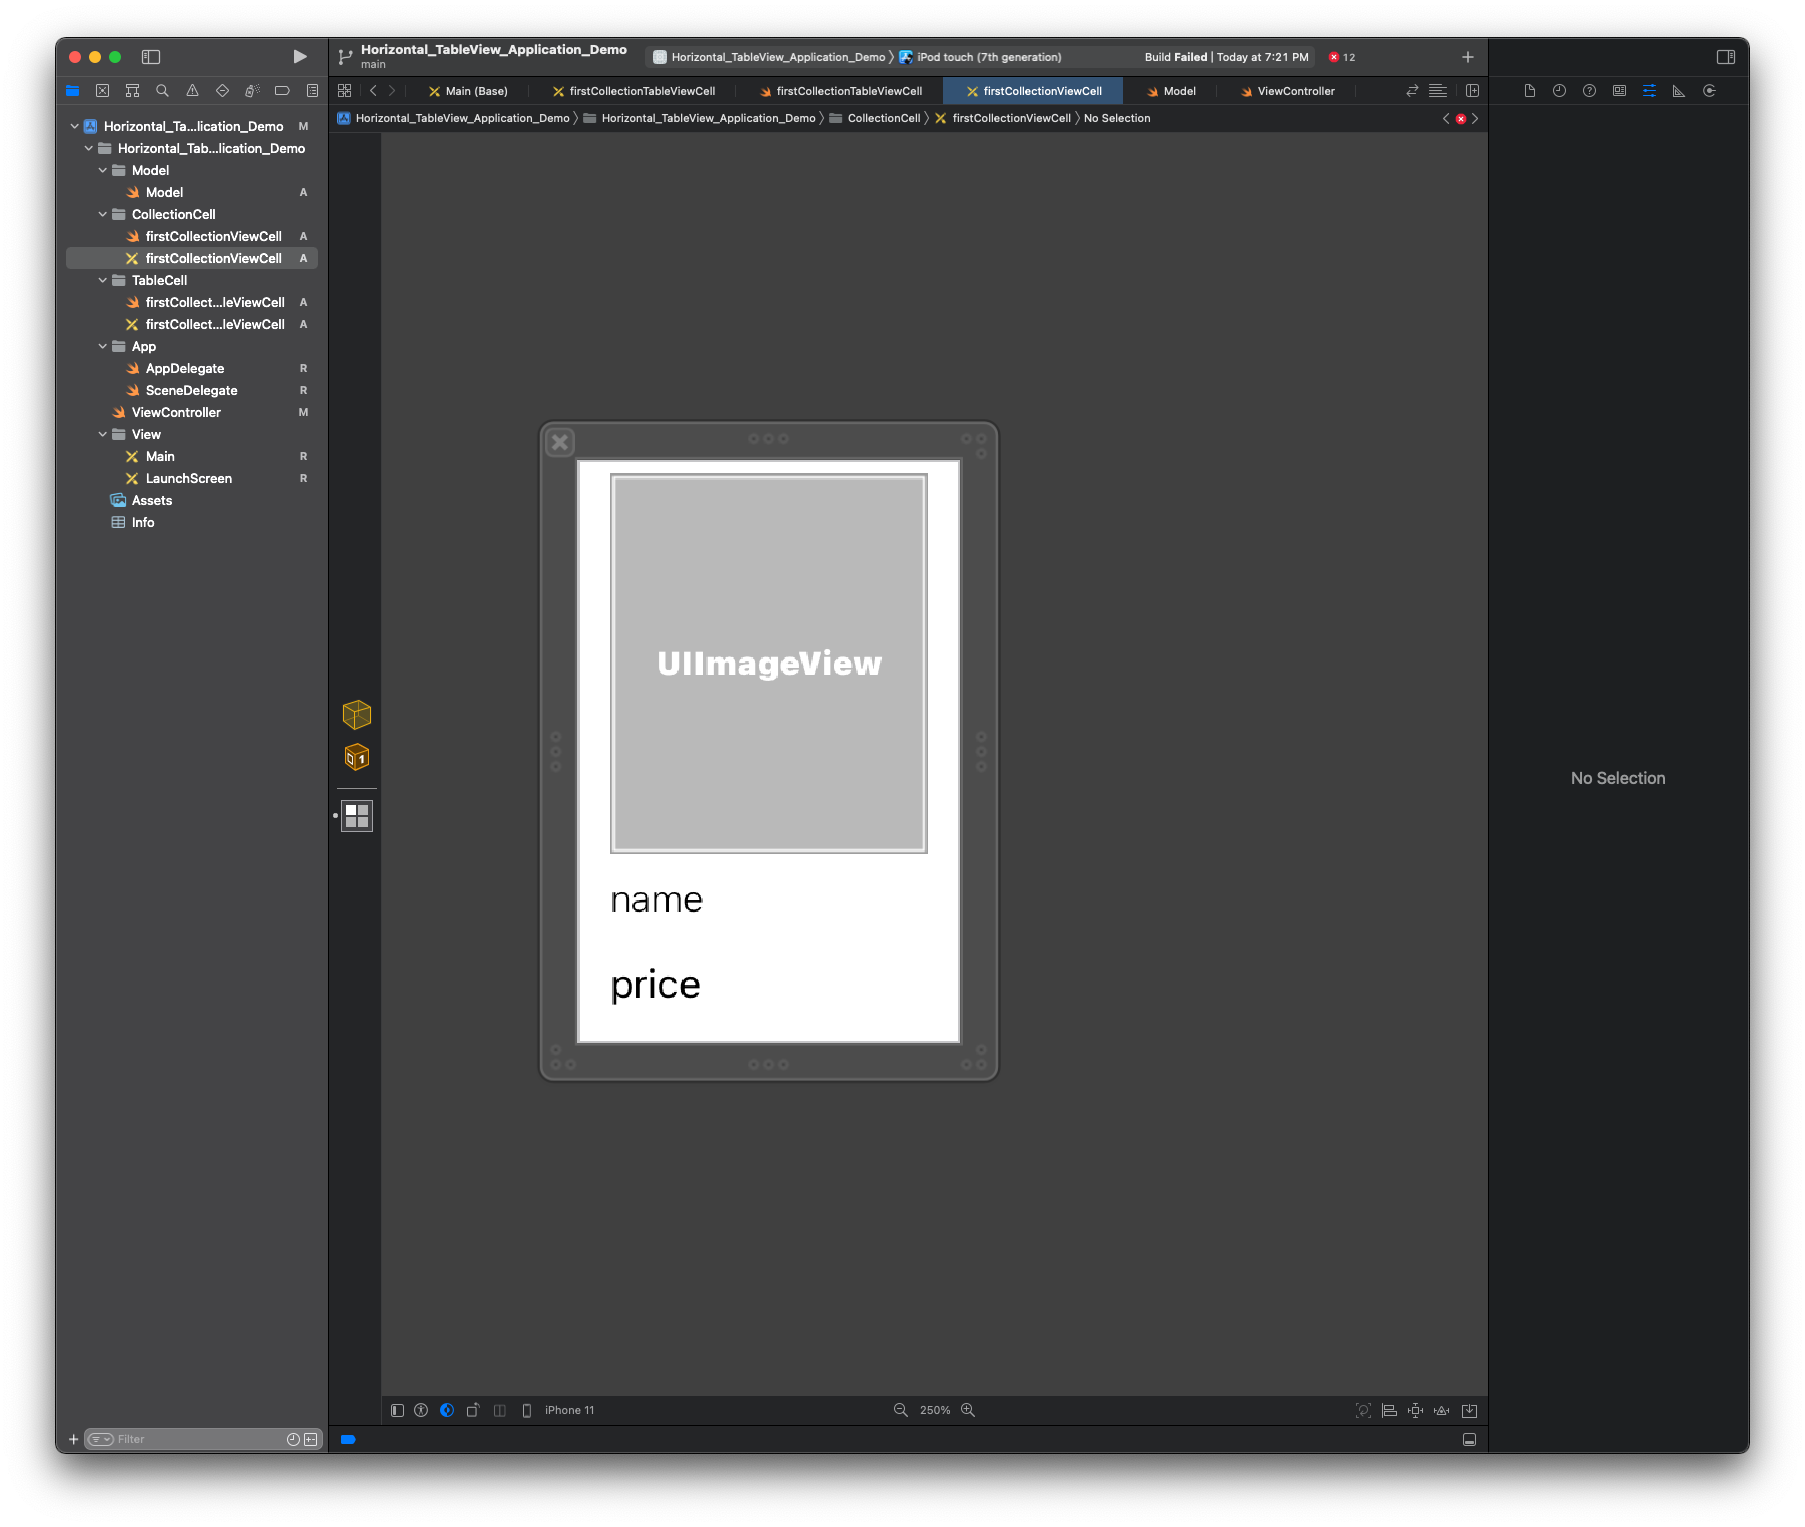
- IBOutlet을 연결하고 데이터 모델과 연결해준다.
8. 각각의 xib파일을 연결해준다.
- firstCollectionTableViewCell
- ViewController
9. 모든 마무리가 된 setUpTableView파일을 모두 ViewDidLoad(), awakeFromNib() 메서드에 추가해준다.
override func viewDidLoad() {
        super.viewDidLoad()
        setUpTableView()
    }
override func awakeFromNib() {
super.awakeFromNib()
setUpCollectionView() //이름을 추후에 바꿈
}10. 이제 사진을 가져와 모델에 추가해준다.
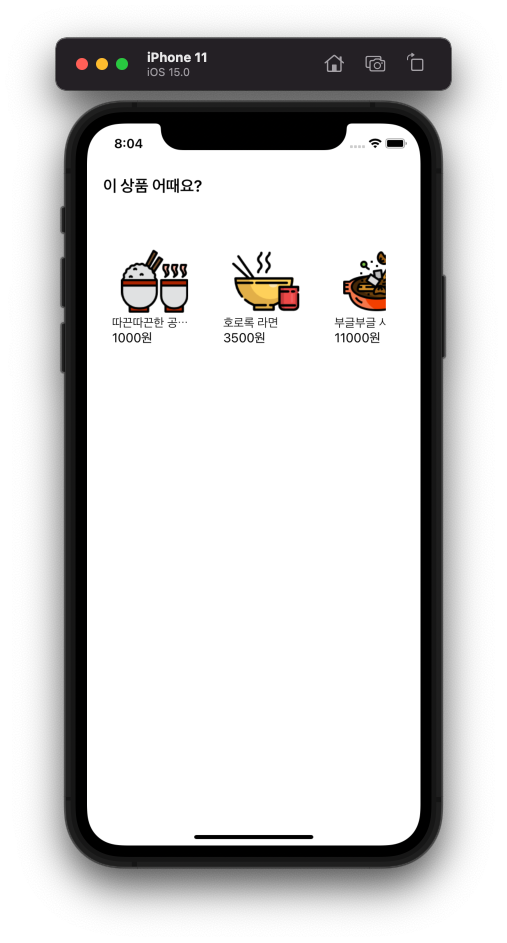
실행화면
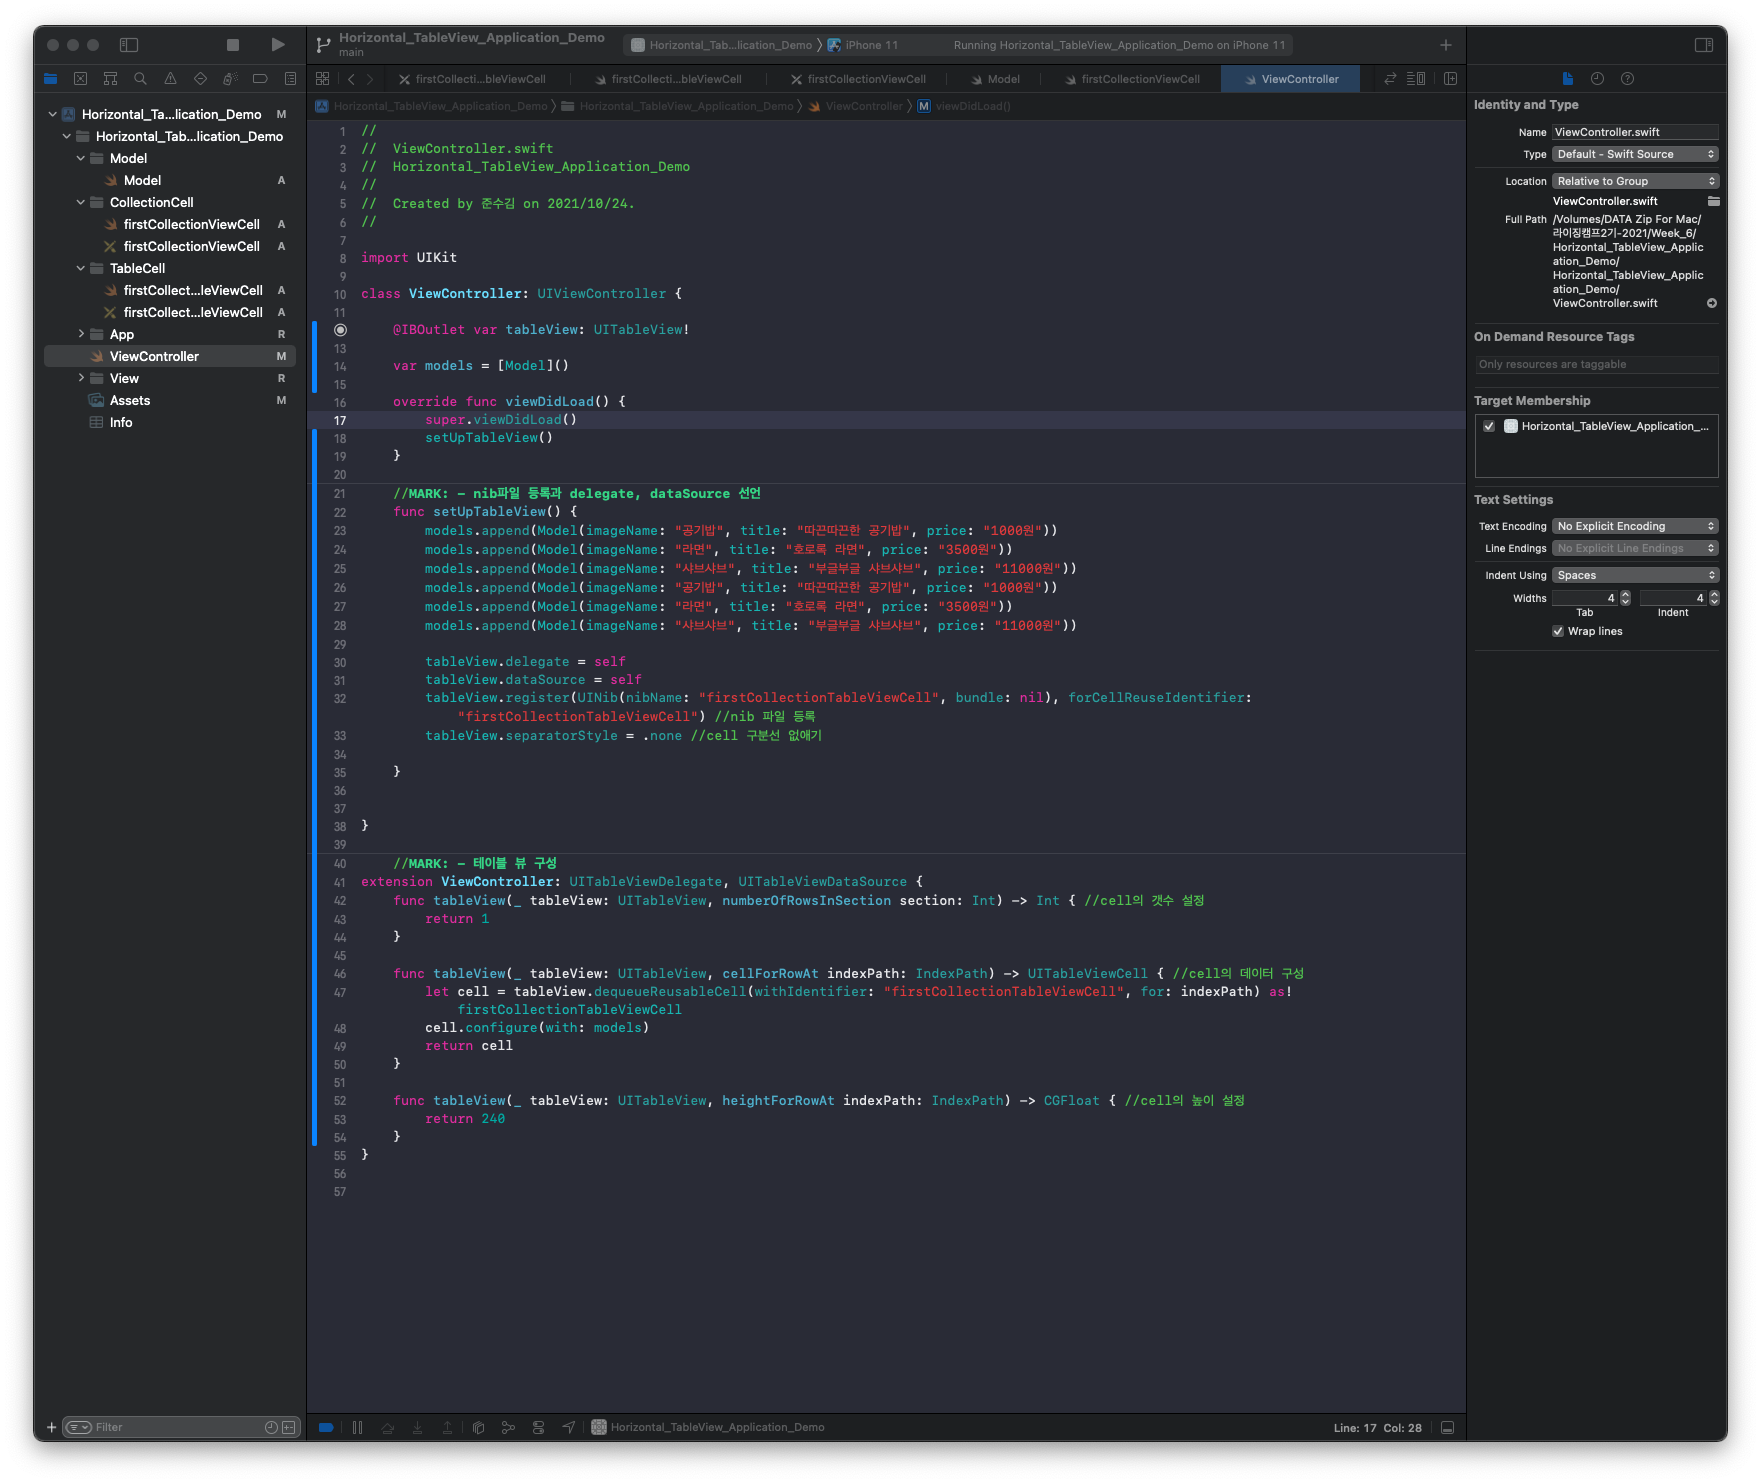
전체코드
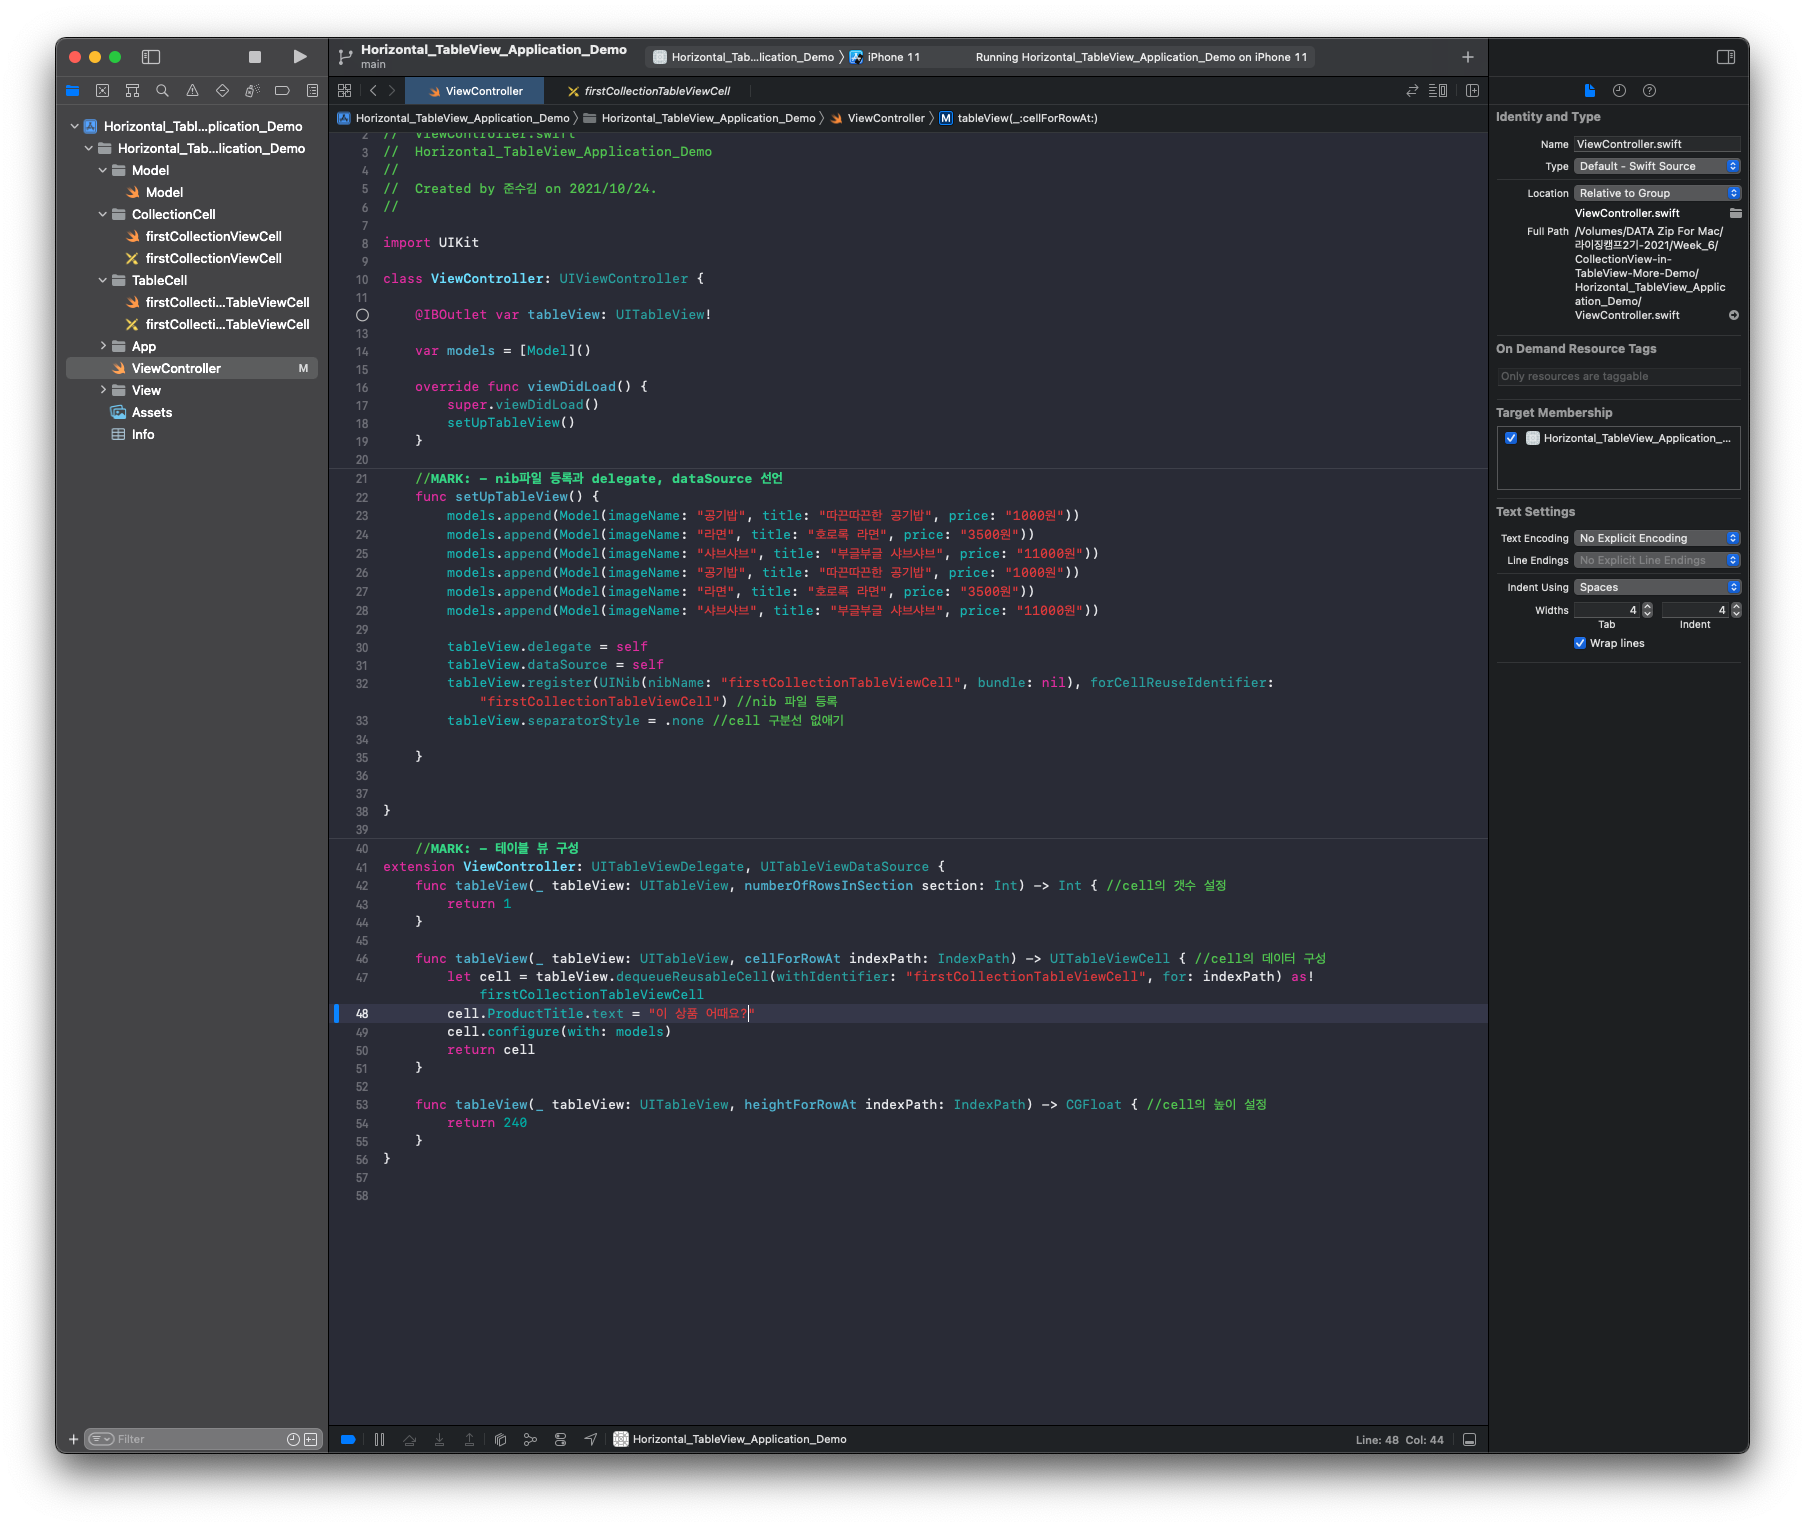
- ViewController
import UIKit

class ViewController: UIViewController {

    @IBOutlet var tableView: UITableView!

    var models = [Model]()

    override func viewDidLoad() {
        super.viewDidLoad()
        setUpTableView()
    }

    //MARK: - nib파일 등록과 delegate, dataSource 선언
    func setUpTableView() {
        models.append(Model(imageName: "공기밥", title: "따끈따끈한 공기밥", price: "1000원"))
        models.append(Model(imageName: "라면", title: "호로록 라면", price: "3500원"))
        models.append(Model(imageName: "샤브샤브", title: "부글부글 샤브샤브", price: "11000원"))
        models.append(Model(imageName: "공기밥", title: "따끈따끈한 공기밥", price: "1000원"))
        models.append(Model(imageName: "라면", title: "호로록 라면", price: "3500원"))
        models.append(Model(imageName: "샤브샤브", title: "부글부글 샤브샤브", price: "11000원"))

        tableView.delegate = self
        tableView.dataSource = self
        tableView.register(UINib(nibName: "firstCollectionTableViewCell", bundle: nil), forCellReuseIdentifier: "firstCollectionTableViewCell") //nib 파일 등록
        tableView.separatorStyle = .none //cell 구분선 없애기

    }


}

    //MARK: - 테이블 뷰 구성
extension ViewController: UITableViewDelegate, UITableViewDataSource {
    func tableView(_ tableView: UITableView, numberOfRowsInSection section: Int) -> Int { //cell의 갯수 설정
        return 1
    }

    func tableView(_ tableView: UITableView, cellForRowAt indexPath: IndexPath) -> UITableViewCell { //cell의 데이터 구성
        let cell = tableView.dequeueReusableCell(withIdentifier: "firstCollectionTableViewCell", for: indexPath) as! firstCollectionTableViewCell
        cell.ProductTitle.text = "이 상품 어때요?"
        cell.configure(with: models)
        return cell
    }

    func tableView(_ tableView: UITableView, heightForRowAt indexPath: IndexPath) -> CGFloat { //cell의 높이 설정
        return 240
    }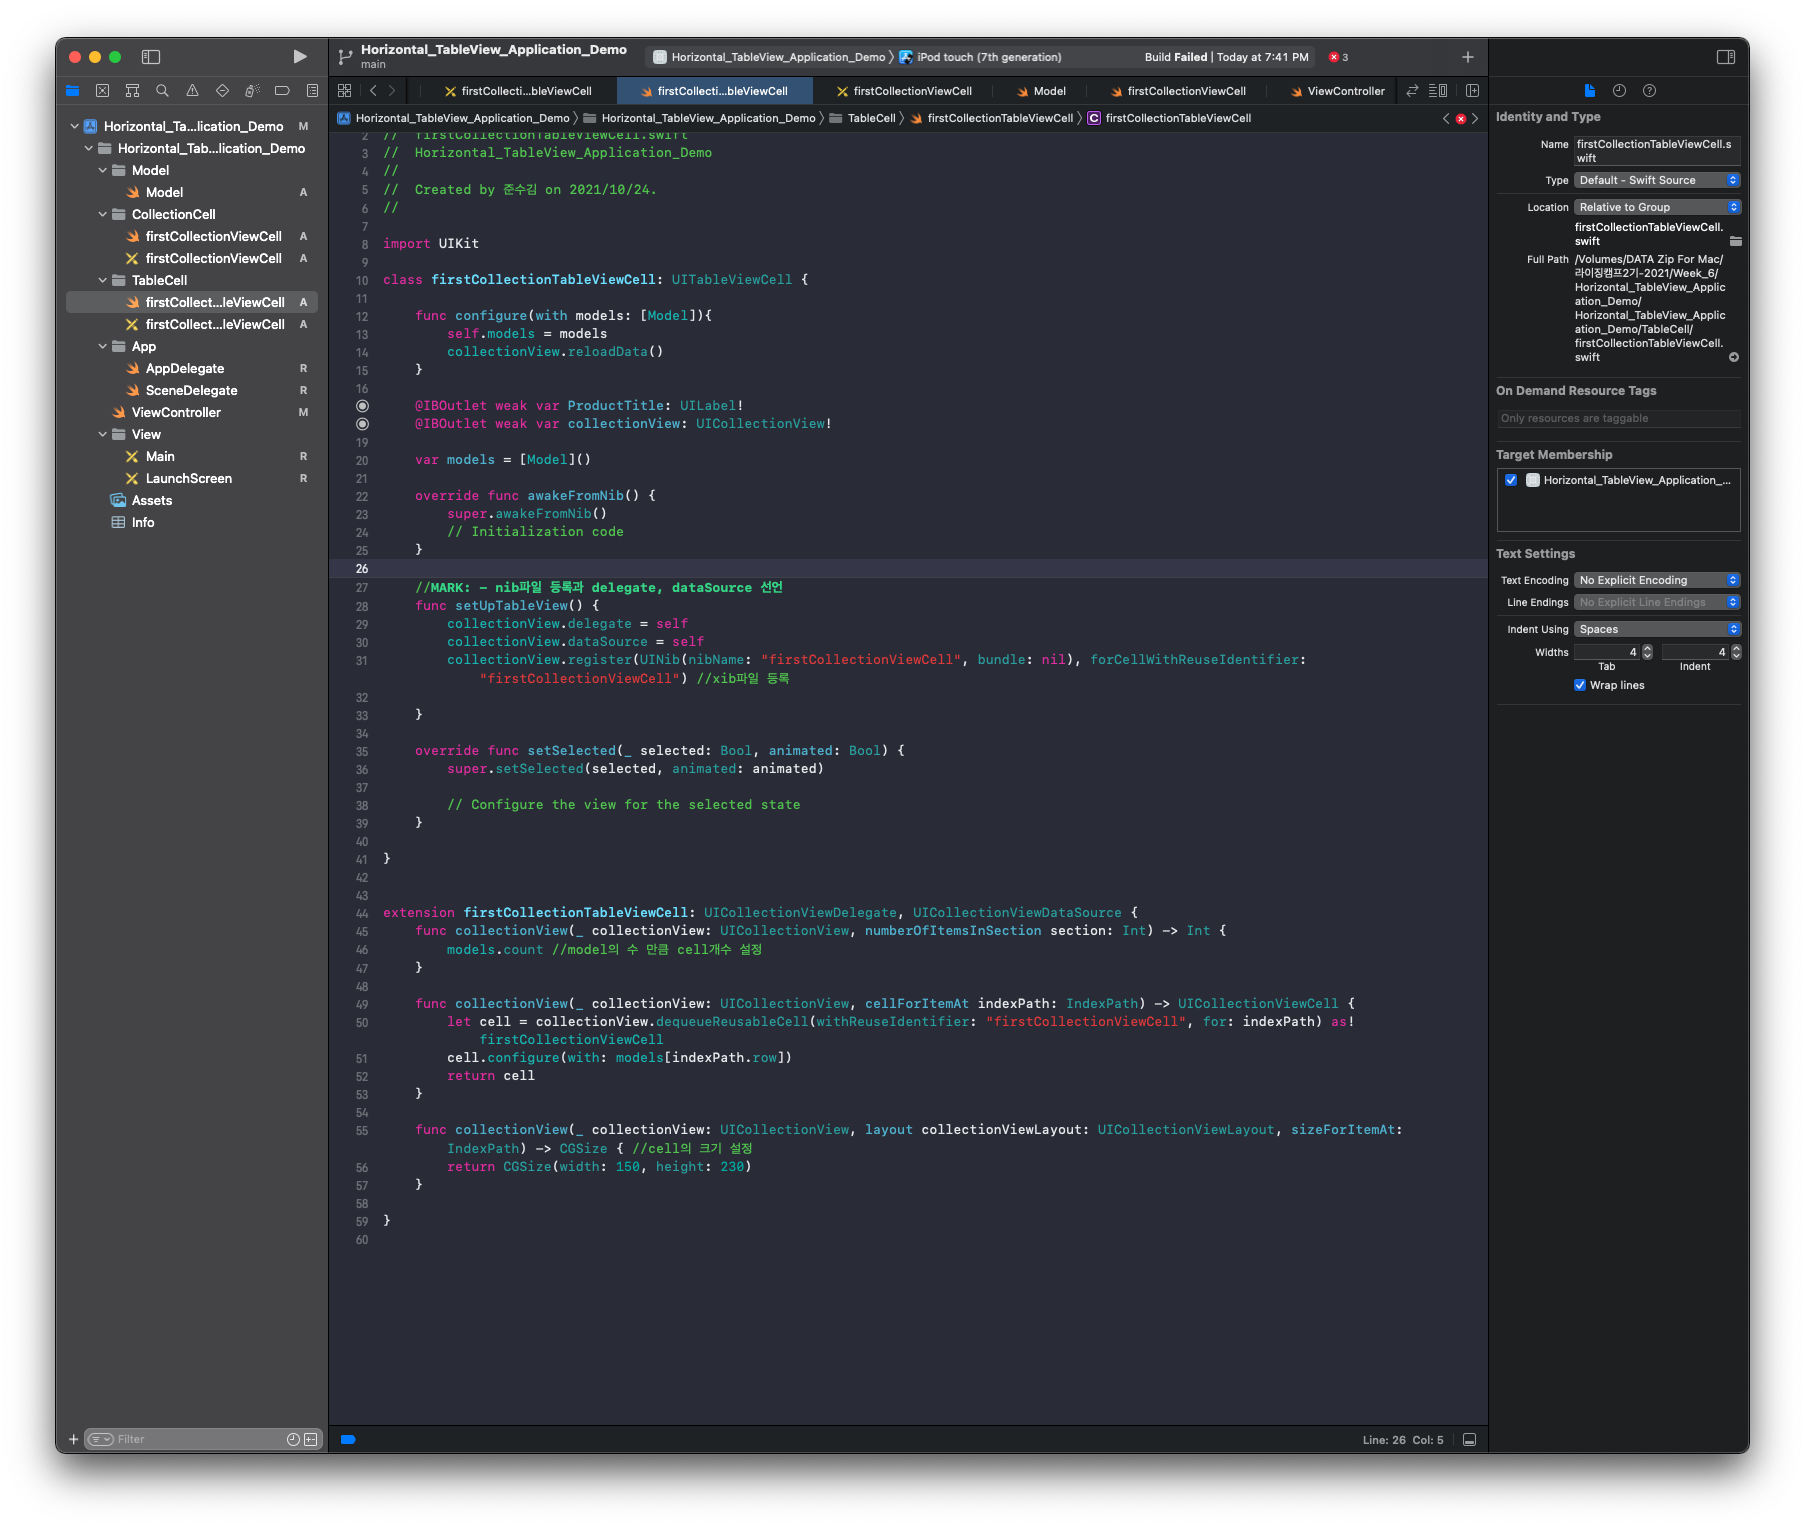
}- firstCollectionTableViewCell
import UIKit

class firstCollectionTableViewCell: UITableViewCell {

    func configure(with models: [Model]){
        self.models = models
        collectionView.reloadData()
    }

    @IBOutlet weak var ProductTitle: UILabel!
    @IBOutlet weak var collectionView: UICollectionView!

    var models = [Model]()

    override func awakeFromNib() {
        super.awakeFromNib()
        setUpCollectionView()
    }

    //MARK: - nib파일 등록과 delegate, dataSource 선언
    func setUpCollectionView() {
        collectionView.delegate = self
        collectionView.dataSource = self
        collectionView.register(UINib(nibName: "firstCollectionViewCell", bundle: nil), forCellWithReuseIdentifier: "firstCollectionViewCell") //xib파일 등록

    }

    override func setSelected(_ selected: Bool, animated: Bool) {
        super.setSelected(selected, animated: animated)

        // Configure the view for the selected state
    }

}


extension firstCollectionTableViewCell: UICollectionViewDelegate, UICollectionViewDataSource {
    func collectionView(_ collectionView: UICollectionView, numberOfItemsInSection section: Int) -> Int {
        models.count //model의 수 만큼 cell개수 설정
    }

    func collectionView(_ collectionView: UICollectionView, cellForItemAt indexPath: IndexPath) -> UICollectionViewCell {
        let cell = collectionView.dequeueReusableCell(withReuseIdentifier: "firstCollectionViewCell", for: indexPath) as! firstCollectionViewCell
        cell.configure(with: models[indexPath.row])
        return cell
    }

    func collectionView(_ collectionView: UICollectionView, layout collectionViewLayout: UICollectionViewLayout, sizeForItemAt: IndexPath) -> CGSize { //cell의 크기 설정
        return CGSize(width: 150, height: 230)
    }

}
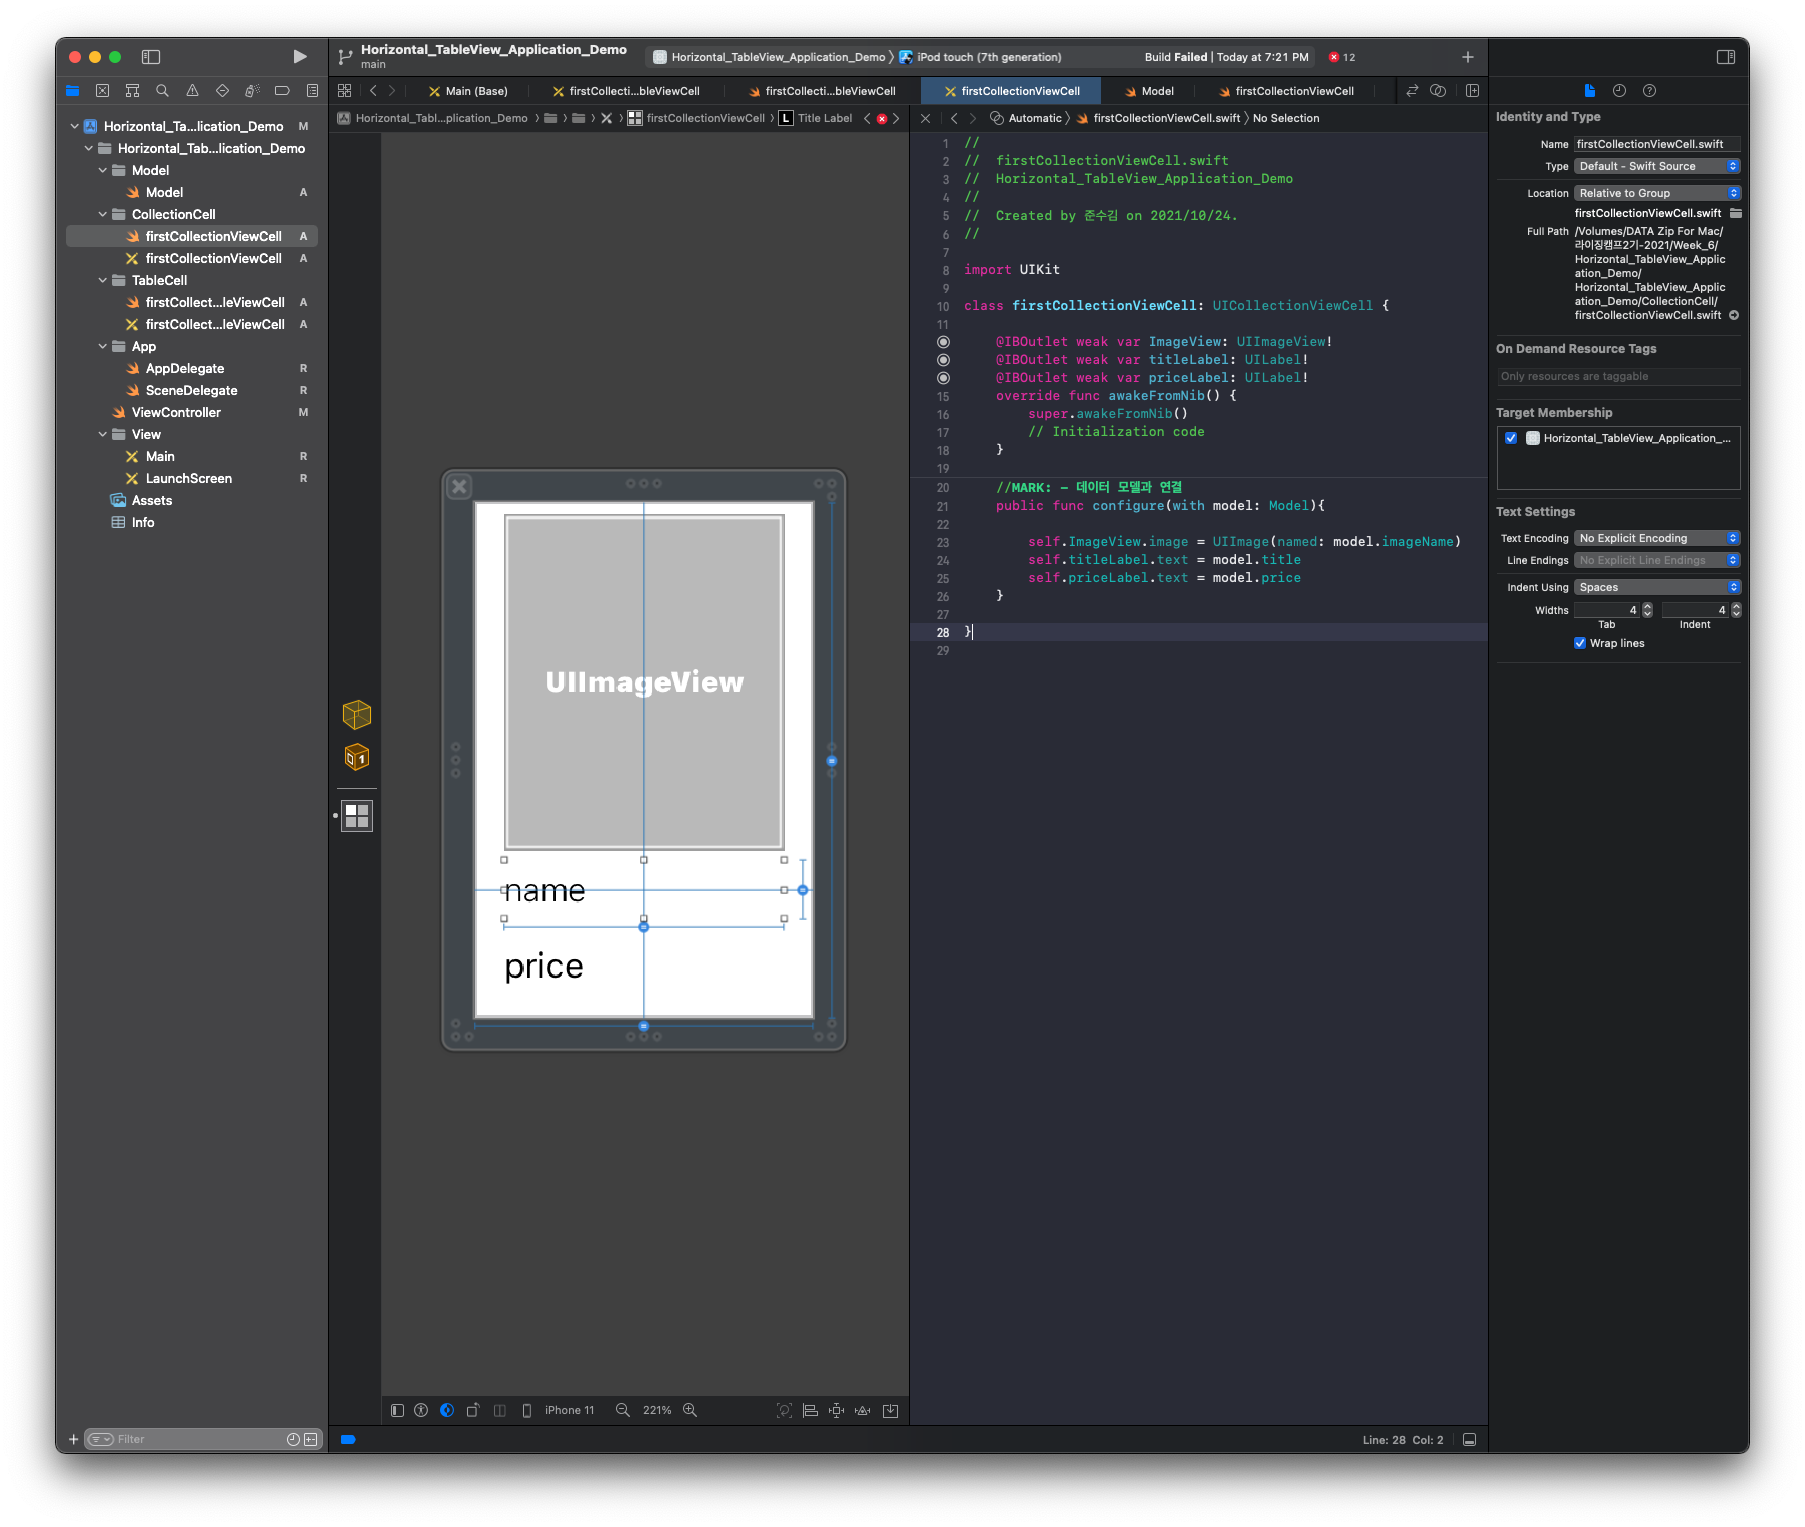
- firstCollectionViewCell
import UIKit

class firstCollectionViewCell: UICollectionViewCell {

    @IBOutlet weak var ImageView: UIImageView!
    @IBOutlet weak var titleLabel: UILabel!
    @IBOutlet weak var priceLabel: UILabel!
    override func awakeFromNib() {
        super.awakeFromNib()
        // Initialization code
    }

    //MARK: - 데이터 모델과 연결
    public func configure(with model: Model){

        self.ImageView.image = UIImage(named: model.imageName)
        self.titleLabel.text = model.title

        self.priceLabel.text = model.price

    }

}
이제 여러 Cell을 구성해서 화면을 구성해보겠다.
11. 모델 생성, 파일 구성
12 각각 파일 구성 - 위의 설명이 있기 때문에 생략
- 파일을 구성할 때 CollectionView의 오토레이아웃은 꼭 잡아 주어야한다.
오토레이아웃을 잡지않으면 사진의 크기가 정해져있지 않아서 사진만 보이게된다.
깃허브
- CollectionView-in-TableView(1줄)
- CollectionView-in-TableView(여러줄)
완성영상

애플을 좋아하는 비전공생