TUI
SO 클론 프로젝트 CRUD에 TOAST-UI 에디터 라이브러리를 사용했다. 아래 react 라이브러리 후보 중에 처음에는 stacks-editor를 선택했다. (stackoverflow 클론이니까 당연 UI가 같은 에디터가 Best!)
1. stacks-editor
2. react-md-editor
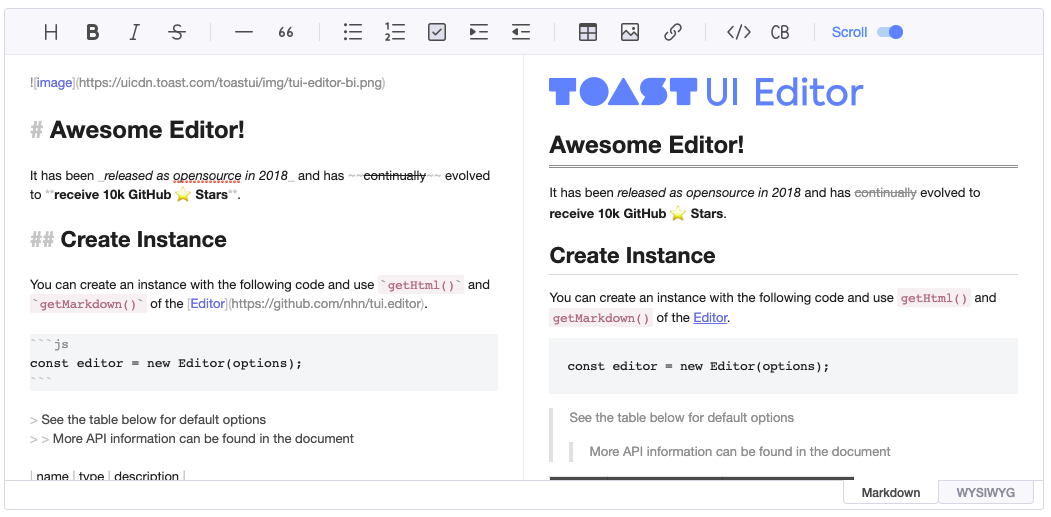
3. toast-ui
4. react-markdown-editor-lite
5. react-quill
하지만 적용하면서 옵션을 설정하거나 이미지 업로드 등 정보를 찾기 힘들어서 프로젝트 중간에 정보와 예시가 많은 toast-ui로 급히 변경하게 되었다.
🛑 toast-ui는 react@17.0.1에 의존성을 가진다. 18버전에서 toast-ui를 설치하면서 만났던 의존성 에러 (upstream-dependency-conflict)는 👉 여기
📌 설치
npm i --save @toast-ui/react-editor📌 import
toast-ui에는 크게 Editor와 Viewer 컴포넌트로 나누어서 설명할 수 있을 것 같다. 가이드가 잘 되어 있고 사례가 많아서 적용하는 것은 어렵지 않았다.
Editor
Editor 컴포넌트 안에 중복을 피하기 위해서 Writer라는 이름으로 에디터를 import 해주었다.
// Editor.js
import { Editor as Writer } from '@toast-ui/react-editor';
import '@toast-ui/editor/dist/toastui-editor.css';
Viewer
import { Viewer } from '@toast-ui/react-editor';
import '@toast-ui/editor/dist/toastui-editor.css';
📌 플러그인
code-syntax-highlight
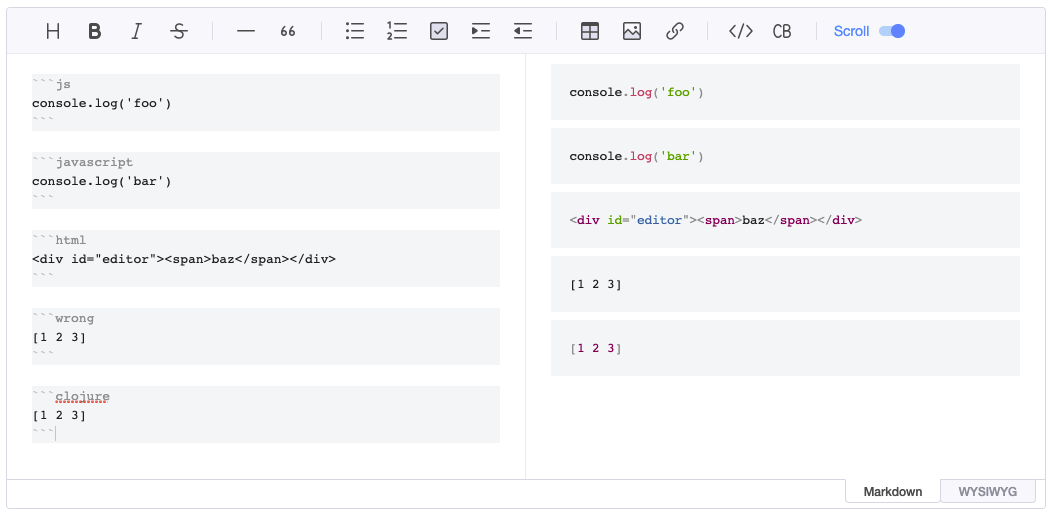
코드 에디터에서 필수 플러그인이 아닐까 싶은데, 사용방법은 👉 여기
간략하게 소개하자면,
npm install @toast-ui/editor-plugin-code-syntax-highlightimport codeSyntaxHighlight from '@toast-ui/editor-plugin-code-syntax-highlight';
import '@toast-ui/editor-plugin-code-syntax-highlight/dist/toastui-editor-plugin-code-syntax-highlight.css';
import prism from 'prismjs';
import 'prismjs/themes/prism.css';코드 하이라이트 플러그인 설치 후, 테마를 위해 prism과 각각의 css 파일을 import 한다. 아래는 Editor 컴포넌트(Editor as Writer)에 적용한 옵션 중에 plugins={...} 항목 참고.
<Viewer> 역시 옵션에 plugins={...} 항목을 추가해야 적용된다.
TUI 컴포넌트
Editor
<div>
  <Writer
    previewStyle="tab"
    height={height}
    initialEditType="markdown"
    initialValue="## *Your* **markdown** here"
    ref={editorRef}
    plugins={[[codeSyntaxHighlight, { highlighter: prism }]]}
    hideModeSwitch={true}
    onChange={onChangeHandle}
    useCommandShortcut={false}
    hooks={{
      addImageBlobHook: onUploadImage,
    }}
    toolbarItems={[
      ['heading', 'bold', 'strike'],
      ['hr', 'quote'],
      ['ul', 'ol', 'task'],
      ['table', 'image', 'link'],
      ['code', 'codeblock'],
    ]}
    />
</div>
Viewer
<div>
  {content && (
    <Viewer
      initialValue={JSON.parse(content)}
      plugins={[[codeSyntaxHighlight, { highlighter: Prism }]]}
      />
  )}
</div>
출처
더 공부해 볼 것
- stacks-editor 다시 시도해 보고 싶다. (이미지 업로드 기능은 구현하지 않은 것 같지만, 부트캠프 동기 중에 stacks-editor를 적용한 팀이 있어서 반성했다 🥹)
- Nextjs는 이번 프로젝트 기술 스택이 아니었지만 DOM 객체를 참조하고 있는 경우, 클라이언트 사이드로 구현하는 dynamic import 방식에 대해서 흥미롭게 읽었다. 👉 여기
- 마크다운으로 작성된 콘텐츠를 HTML태그로 가져와서 서버에 저장(
JSON.stringify()), 서버에서 HTML태그를 가져와 파싱(JSON.parse())한 후 Viewer에 출력 👉 여기