
이제 플레이어의 이동을 구현해주자.
앞서 3디 이동을 배웠듯이
스크립트를 만들고 플레이어에 넣어주면된다.
그리고
코드를 짜주자.
using System.Collections;
using System.Collections.Generic;
using UnityEngine;

public class PlayerMove : MonoBehaviour
{
    public float maxSpeed;// 최대속도 설정
    Rigidbody2D rigid;

    void Awake()
    {
        rigid = GetComponent<Rigidbody2D>();
    }
    void FixedUpdate()
    {
        float h = Input.GetAxisRaw("Horizontal"); // 횡으로 키를 누르면
        rigid.AddForce(Vector2.right*h,ForceMode2D.Impulse); // 이르케 이동한다 !


    }
}
하지만
이렇게만 넣어주면 속도를 키를 누르고 있는만큼 힘을 받아서 응아아ㅏ₩! 하고
날라가버린다.
그러므로
최대속도 제한을 두는 코드를 추가하자.
using System.Collections;
using System.Collections.Generic;
using UnityEngine;

public class PlayerMove : MonoBehaviour
{
    public float maxSpeed;// 최대속도 설정
    Rigidbody2D rigid;

    void Awake()
    {
        rigid = GetComponent<Rigidbody2D>();
    }
    void FixedUpdate()
    {
        // Move by Control
        float h = Input.GetAxisRaw("Horizontal"); // 횡으로 키를 누르면
        rigid.AddForce(Vector2.right*h,ForceMode2D.Impulse); // 이르케 이동한다 !


        // MaxSpeed Limit
        if (rigid.velocity.x > maxSpeed)// right
            rigid.velocity = new Vector2(maxSpeed, rigid.velocity.y);
        else if (rigid.velocity.x < maxSpeed * (-1)) // Left Maxspeed
            rigid.velocity = new Vector2(maxSpeed * (-1), rigid.velocity.y);


    }
}
그러고 맥스스피드를 설정하면 속도조절이 가능하다.
그리고 오르막을 만들어주고 싶은데
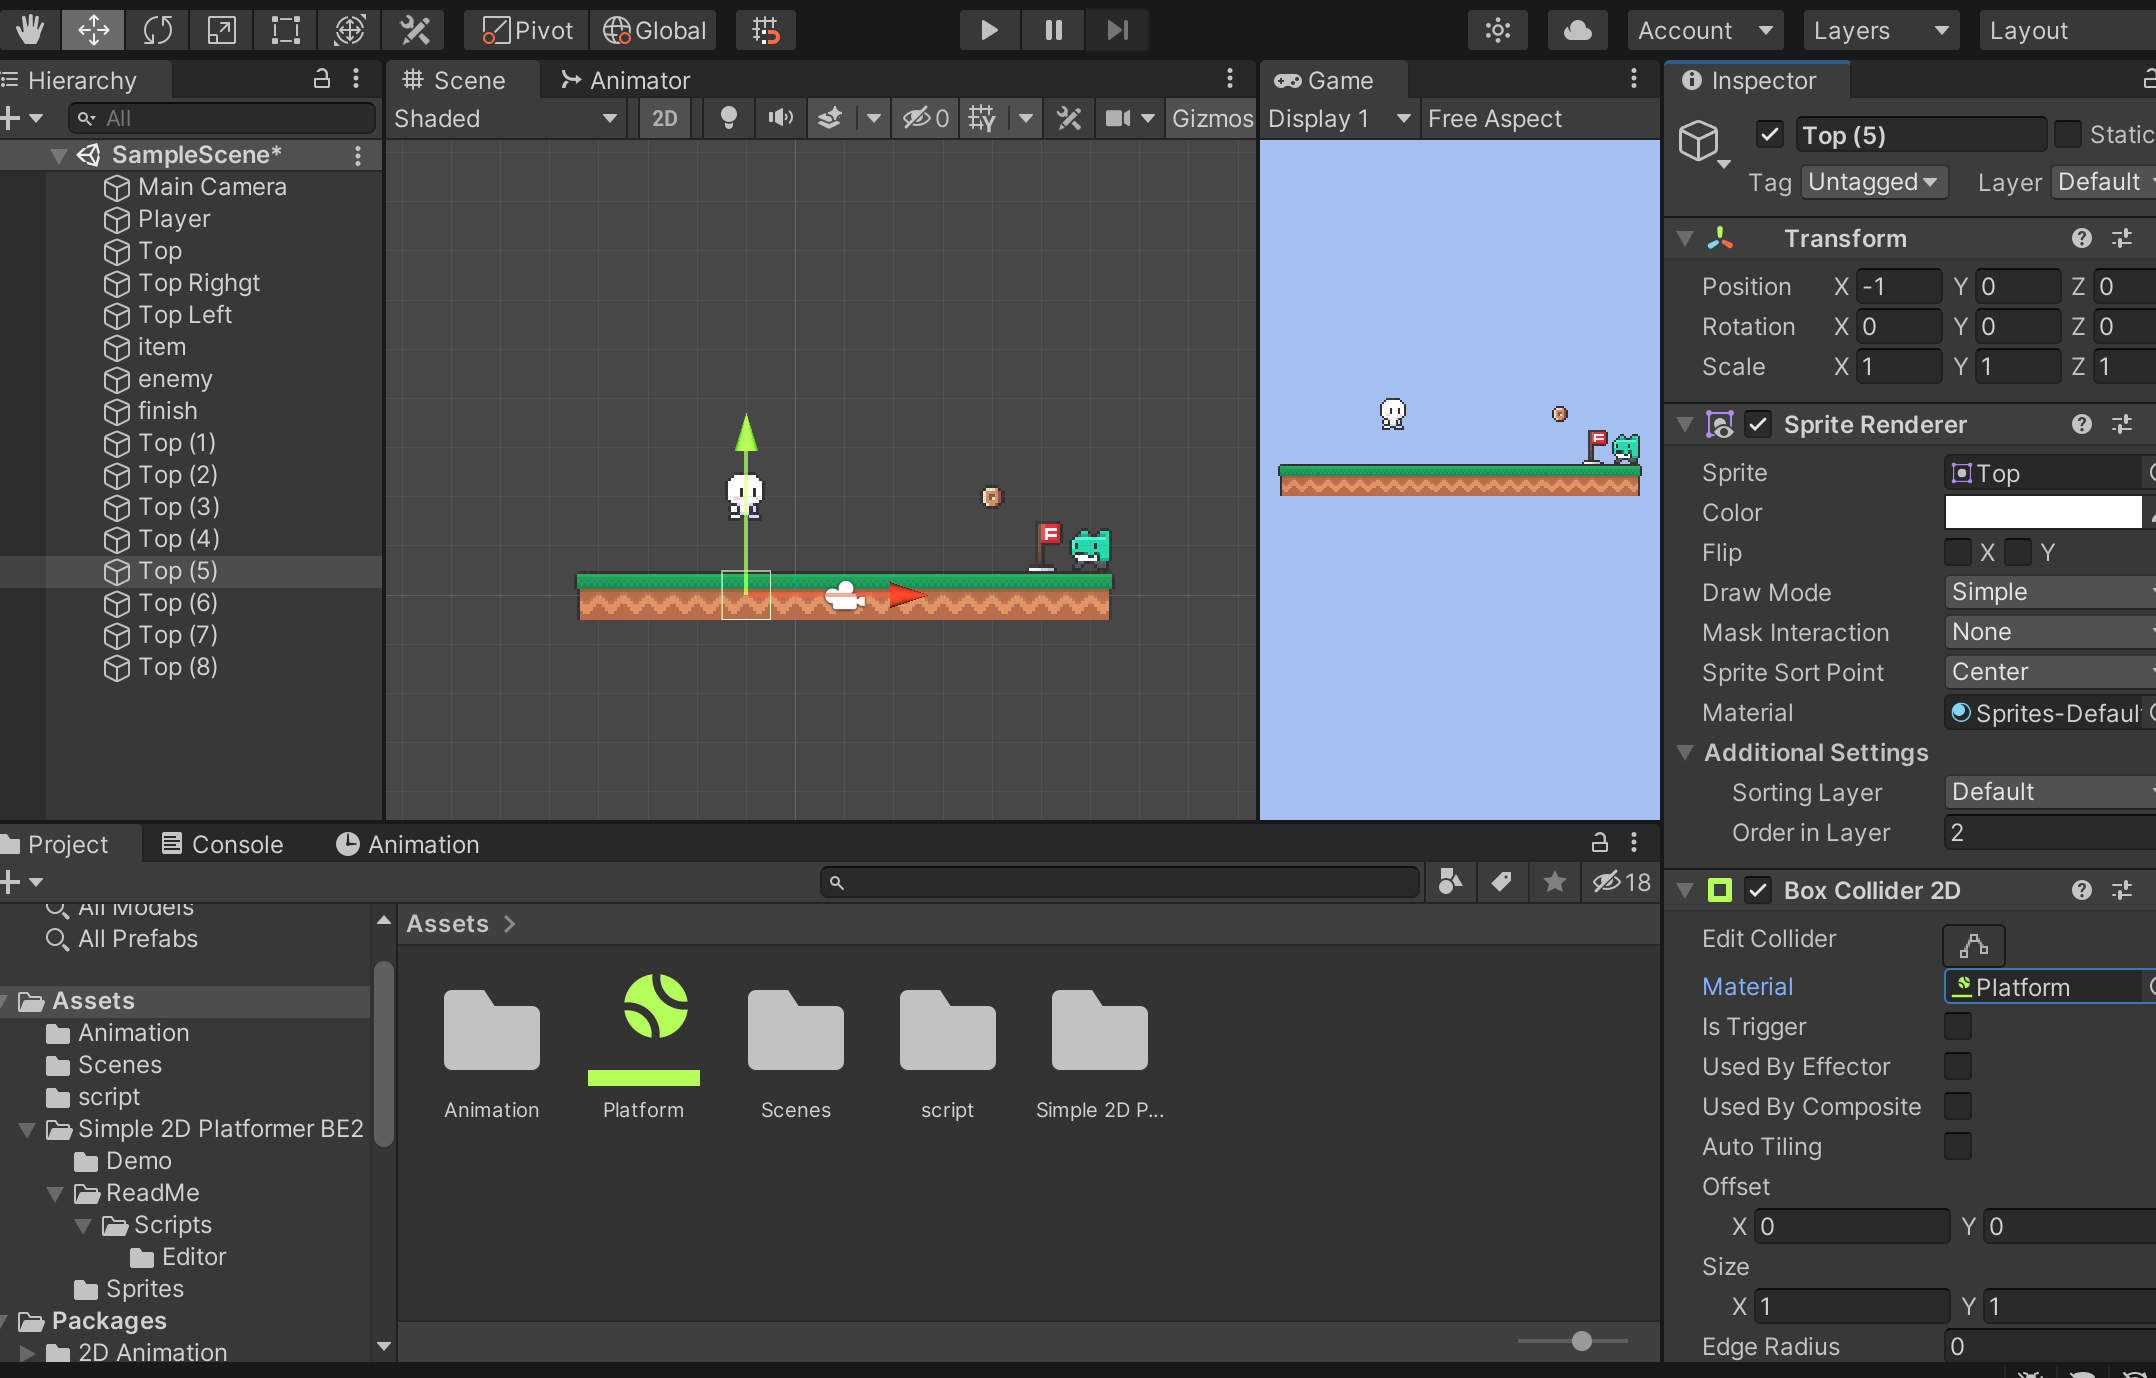
그 전에 빙판처럼 발판들의 마찰력을 없애줘야한다.
그렇게 하기위해서는 2d 피직 매테리얼을 만들어줘서
마찰력을 0 으로 만든후
모든 발판의 박스 콜라이더에 주면된다!

이런식으로 말이다.
저항 설정
Rigidbody 2D 의 Linear Drag 를 설정해주면된다
이는 공기저항, 이동 시 속도를 느리게 해주는 설정이다.
이제 키보드에 손을 때면 속도가 급박하게 줄어드는 설정을 해주자.
이는 코드에서 스탑스피드를 설정해주면 된다!
using System.Collections;
using System.Collections.Generic;
using UnityEngine;

public class PlayerMove : MonoBehaviour
{
    public float maxSpeed;// 최대속도 설정
    Rigidbody2D rigid;

    void Awake()
    {
        rigid = GetComponent<Rigidbody2D>();
    }

    void Update()
    {
        // Stop Speed
        if (Input.GetButtonUp("Horizontal"))
        {
            rigid.velocity = new Vector2(rigid.velocity.normalized.x * 0.5f, rigid.velocity.y);//float곱할때는 f붙여줘야한다.

        }

    }


    void FixedUpdate()
    {
        // Move by Control
        float h = Input.GetAxisRaw("Horizontal"); // 횡으로 키를 누르면
        rigid.AddForce(Vector2.right*h,ForceMode2D.Impulse); // 이르케 이동한다 !


        // MaxSpeed Limit
        if (rigid.velocity.x > maxSpeed)// right
            rigid.velocity = new Vector2(maxSpeed, rigid.velocity.y);
        else if (rigid.velocity.x < maxSpeed * (-1)) // Left Maxspeed
            rigid.velocity = new Vector2(maxSpeed * (-1), rigid.velocity.y);


    }
}
stopSpeed가 추가된 부분이다.
그리고, 리지드바디에
이를 설정해야지 플레이어가 안뒤집힌다.
애니메이션
이제 움직일때 애니메이션을 워크로 연결해주자.
그 전에 왼쪽으로 이동하면 왼쪽으로 보고
오른쪽으로 이동하면 오른쪽으로 보게 설정하기 위해서
캐릭터를 Flip 해줘야한다.
그 코드가 다음과 같다.
using System.Collections;
using System.Collections.Generic;
using UnityEngine;

public class PlayerMove : MonoBehaviour
{
    public float maxSpeed;// 최대속도 설정
    Rigidbody2D rigid;
    SpriteRenderer spriteRenderer;

    void Awake()
    {
        rigid = GetComponent<Rigidbody2D>();
        spriteRenderer = GetComponent<SpriteRenderer>();
    }

    void Update()
    {
        // Stop Speed
        if (Input.GetButtonUp("Horizontal"))
        {
            rigid.velocity = new Vector2(rigid.velocity.normalized.x * 0.5f, rigid.velocity.y);//float곱할때는 f붙여줘야한다.

        }

        // change Direction
        if(Input.GetButtonDown("Horizontal"))
            spriteRenderer.flipX = Input.GetAxisRaw("Horizontal") == -1;

    }


    void FixedUpdate()
    {
        // Move by Control
        float h = Input.GetAxisRaw("Horizontal"); // 횡으로 키를 누르면
        rigid.AddForce(Vector2.right*h,ForceMode2D.Impulse); // 이르케 이동한다 !


        // MaxSpeed Limit
        if (rigid.velocity.x > maxSpeed)// right
            rigid.velocity = new Vector2(maxSpeed, rigid.velocity.y);
        else if (rigid.velocity.x < maxSpeed * (-1)) // Left Maxspeed
            rigid.velocity = new Vector2(maxSpeed * (-1), rigid.velocity.y);


    }
}
그러면 성공적으로 왼쪽으로 갈때 왼쪽을 보게된다.
이제 애니메이션을 설정해주자.
.png)
애니메이터에서 이렇게 연결시켜주고 워크에 파라미터를 하나 추가해준다.
그리고 화살표를 클릭한다음 Has Exit Time을 꺼주고 난 후에 애니메이션의 세부적인 상태를 수정해주면된다.(겹구간 닫기)
이는 걷기 애니메이션을 추가해준 코드이다.
using System.Collections;
using System.Collections.Generic;
using UnityEngine;

public class PlayerMove : MonoBehaviour
{
    public float maxSpeed;// 최대속도 설정
    Rigidbody2D rigid;
    SpriteRenderer spriteRenderer;
    Animator anim;

    void Awake()
    {
        rigid = GetComponent<Rigidbody2D>();
        spriteRenderer = GetComponent<SpriteRenderer>();
        anim = GetComponent<Animator>();
    }

    void Update()
    {
        // Stop Speed
        if (Input.GetButtonUp("Horizontal"))
        {
            rigid.velocity = new Vector2(rigid.velocity.normalized.x * 0.5f, rigid.velocity.y);//float곱할때는 f붙여줘야한다.

        }

        // change Direction
        if(Input.GetButtonDown("Horizontal"))
            spriteRenderer.flipX = Input.GetAxisRaw("Horizontal") == -1;

        // work animation
        if (Mathf.Abs( rigid.velocity.x)< 0.3) //절댓값 설정
            anim.SetBool("isWorking", false);
        else
            anim.SetBool("isWorking", true);

    }


    void FixedUpdate()
    {
        // Move by Control
        float h = Input.GetAxisRaw("Horizontal"); // 횡으로 키를 누르면
        rigid.AddForce(Vector2.right*h,ForceMode2D.Impulse); // 이르케 이동한다 !


        // MaxSpeed Limit
        if (rigid.velocity.x > maxSpeed)// right
            rigid.velocity = new Vector2(maxSpeed, rigid.velocity.y);
        else if (rigid.velocity.x < maxSpeed * (-1)) // Left Maxspeed
            rigid.velocity = new Vector2(maxSpeed * (-1), rigid.velocity.y);


    }
}