Jest 설치
$ yarn add -D jest ts-jest @types/jest supertest @types/supertest- jest 역시 배포이전에 처리되는 과정이기 때문에 -D 옵션을 붙여 install 한다.
$ jest --init- 프로젝트에 맞는 jest 설정을 선택한다.
script 추가
in package.json
{
  ...
 "scripts": {
   "dev": "nodemone src/server.ts",
   "test": "jest --detectOpenHandles --forceExit"
  }
}- test 를 실행하기 위한 script를 추가한다.
--detectOpenHandles열려있는 리소스들을 모두 닫는다.--forceExit테스트가 끝나면 express 서버를 강제 종료한다.
in jest.config.ts
export default {
  ...
  "transform": {
    "^.+\\.ts?$": "ts-jest",
  },
  ...
}
간단한 테스트 코드 작성
이전 글에서 만든 server.ts가 정상 작동하는지 확인하는 테스트 코드를 작성해보자!
test 파일 생성
다음과 같이 폴더 구조를 구성한다.
> node_modules
> src
  ㄴapp.ts
  ㄴserver.ts
  >__tests__
   ㄴserver.spec.ts
test case 정의
import request from "supertest";
import Server from "../server";

const server = Server.server;

describe("GET /", () => {
  test("status to be 200", async () => {
    const res = await request(server).get("/");
    expect(res.status).toBe(200);
  });
});- Server에
GET '/'요청을 보냈을 때, response status가 200이 오는지 확인하는 간단한 test case이다.
test 실행
$ yarn test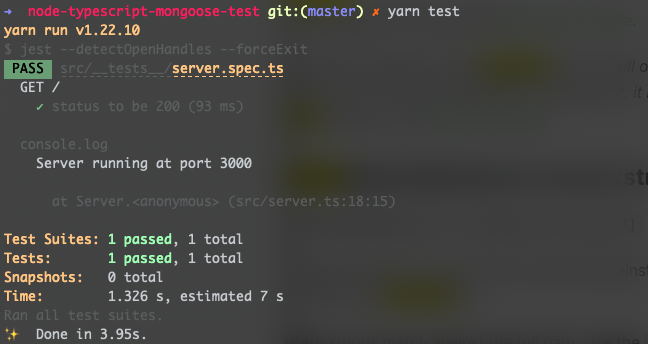
- test가 성공하면 위와 같은 화면을 확인할 수 있다.