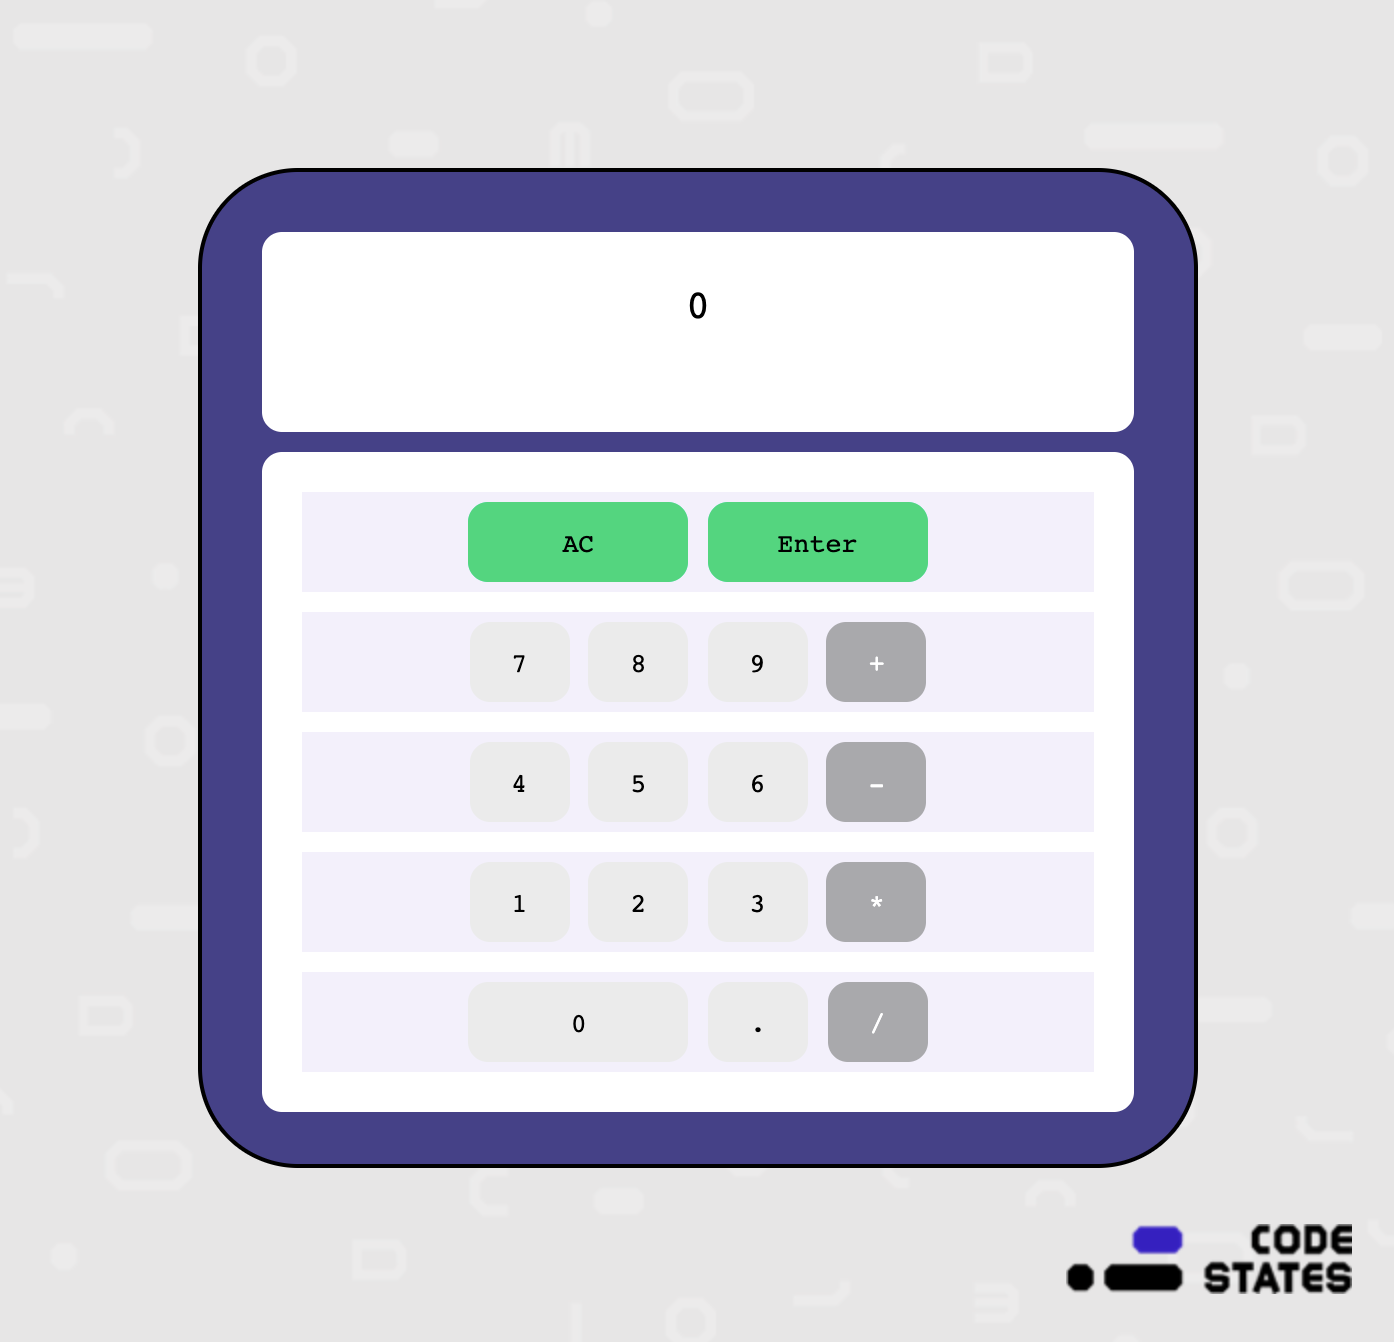
계산기
하루종일 계산기 Advanced Nightmare를 했다. 악몽이라고 하지만 적당히 힘들고 찾아볼게 많지만 못 풀 정도는 아닌 정도의 난이도라서 배울 것도 많고 기분좋게 마무리 할 수 있었다. 어떻게 포스팅을 할까 생각하다가 역시 코드를 뜯어보면서 내가 느꼈던 점 위주로 쓰는게 제일 나은 것 같다.
정리할게 점점 늘어난다. 이런 난이도 있는 과제를 풀고 나면 사용했던 내용들을 정리해야 되는데 따로 숙제를 내주지 않는게 숙제같다. 주말에 하라는 의미겠지.
스프린트 세션 마지막에 CSS를 정말 잘 꾸민 분의 계산기를 봤는데 거의 예술작품을 만드셨다. 어드벤쳐 타임의 비모 테마 스킨이었다. 들어간 기술은 특별하지 않았지만 오히려 그것만으로 특별하게 표현한 것에 다들 감탄감탄. 경력자 또는 디자이너 일을 하신 줄 알았는데 아니라고 하시더라. 이게 프론트엔드의 세계구나. 프론트엔드 개발자는 엔지니어지만 예술적인 점이 있다. 과제 하나도 섬세하게 꾸미시는 그 마음가짐이 나에게도 영감을 주신 것 같다.

Javascript
숫자
처음 Advanced 과제를 하고 작성한 코드. 난이도가 올라가고 안정성을 위해서 방어코드 위주로 채워졌다. 이렇게 주석으로 풀어놓고 보니까 방어만 해서 그런지 딱히 할 말이 없다.
if (action === 'number') {
      // 방어코드1 - 계산을 끝내고 숫자키를 바로 누를 경우 계산기 상태를 초기화. clear 함수와 동일한 동작
      if (previousKey === 'calculate') {
        display.textContent = '0';
        firstNum = undefined;
        operatorForAdvanced = undefined;
        previousKey = 'clear';
        if (previousOper !== undefined) {
          previousOper.classList.remove('isPressed');
        }
        previousOper = undefined;
      }
      console.log('숫자 ' + buttonContent + ' 버튼');
      // 방어코드2 - 숫자가 아닌 다른 계산동작 후 다시 숫자를 입력할 때 숫자 칸 초기화
      if (previousKey !== 'number') {
        display.textContent = '0'
      }
      // 방어코드3 - 처음 숫자를 입력할 때 0 대신 입력
      if (display.textContent === '0') {
        display.textContent = buttonContent;
      } else {
        // 숫자 칸에 클릭한 숫자 입력
        display.textContent = display.textContent + buttonContent;
      }
      // 마지막에 누른 키가 Number 라는 상태값 저장
      previousKey = 'number';
    }
연산자 (+,-,*,/)
이 부분이 어려웠다. 특히 Nightmare 과제였던 클래스를 할당하고 지우는 기능은 아직 배우지 않아서 찾아보면서 진행했다. 기능만 알면 단순한 내용이었는데 사용법이 햇갈려서 시간을 잡아먹었다. 도움이 됐던 URL주소를 끝에 추가한다. 어설프게 정리한 정보는 때로는 없느니만 못하다. 반대로 정말 도움이 되는 글은 그 이상으로 감사하다. 그래서 사람들이 공식 페이지를 보나보다.
if (action === 'operator') {
      // 1. firstNum, operatorForAdvanced 함수를 통해 이미 한 번 operator 조건문이 실행됐는지 확인
      // 만약 실행됐다면 이전에 계산결과 또는 입력했던 firstNum 과 최근에 입력한 숫자인 previousNum을 operatorForAdvanced로 연산
      if (firstNum !== undefined && operatorForAdvanced !== undefined && previousKey === 'number') {
        previousNum = display.textContent;
        // console.log( firstNum + ' ' +operatorForAdvanced + ' ' + previousNum + ' = ' + calculate(firstNum, operatorForAdvanced, previousNum))
        display.textContent = calculate(firstNum, operatorForAdvanced, previousNum);
        // 이전에 입력한 연산식( operatorForAdvanced 변수 )을 실행한 후 방금 입력된 연산식을 operatorForAdvanced 변수에 할당
        operatorForAdvanced = buttonContent;
        firstNum = display.textContent;
        // Nightmare 도전과제 중 연산식을 눌렀을 때 isPressed 클래스를 부여하여 색 변경
        // 1) 이미 부여되어 있는 isPressed 클래스를 먼저 제거
        previousOper.classList.remove('isPressed');
        // 2) 방금 클릭한 결과가 할당된 target 변수를 통해서 isPressed 클래스 부여
        previousOper = target;
        previousOper.classList.add('isPressed');
      } else {
        // 2. 처음 연산식을 클릭
        // 또는 previousKey가 number가 아님을 통해 연산식을 한 번 더 눌렀을 경우 감지
        firstNum = display.textContent;
        operatorForAdvanced = buttonContent;
        // Nightmare 도전과제 중 연산식을 눌렀을 때 isPressed 클래스를 부여하여 색 변경
        // 처음 누를 수도 있으므로 조건문으로 확인하고 할당돼있던 isPressed 클래스 제거
        if (previousOper !== undefined) {
          previousOper.classList.remove('isPressed');
        }
        previousOper = target;
        previousOper.classList.add('isPressed');
      }
      // 마지막에 누른 키가 operator 라는 상태값 저장
      previousKey = 'operator';
    }
소수점
숫자로 취급하고 includes 함수를 이용해서 중복 입력을 잡았다.
if (action === 'decimal') {
      // 이전에 키가 숫자가 아니라면 소수점 키를 누른 시점에서 숫자는 0.이 되어야 함
      if (previousKey !== 'number') {
        display.textContent = '0';
      }
      // 이미 소수점이 쓰였는지 확인하고 아니라면 소수점을 추가
      if (!display.textContent.includes('.')) {
        display.textContent = display.textContent + '.';
        // 소수점 키는 number와 동일한 상태값을 저장
        previousKey = 'number'
      }
    }
초기화
if (action === 'clear') {
      // 모든 정보 초기화
      display.textContent = '0';
      firstNum = undefined;
      operatorForAdvanced = undefined;
      // 마지막에 누른 키가 clear 라는 상태값 저장
      previousKey = 'clear';
      // Nightmare 도전과제 isPressed 클래스가 부여됐는지 확인하고 제거
      // 확인하지 않고 제거하면 에러발생
      if (previousOper !== undefined) {
        previousOper.classList.remove('isPressed');
      }
      previousOper = undefined;
    }
계산 (Enter)
내용은 길지 않지만 나름 머리를 많이 굴린 항목. 계산키를 한 번 더 누를 때 변수의 배치가 일반적인 경우와 달라진다는 점을 고려해야 한다.
if (action === 'calculate') {
      // 방어코드1 - 만약 숫자만 입력, 계산식을 입력하지 않은 상태로 Enter키를 누른 경우 아무것도 안한다.
      if (previousKey === 'number' && operatorForAdvanced === undefined) {
        // Do nothing
        console.log('operatorForAdvanced is undefined');
      } else {
        // 마지막 키가 Enter키였고 다시 한 번 누른다면 firstNum 변수에 display.textContent 값을 할당한다.
        if (previousKey === 'calculate') {
          // 화면에 있는 값 + 마지막에 입력한 숫자
          firstNum = display.textContent;
        } else {
          // 마지막 키가 Enter가 아닌 경우
          // 마지막에 입력한 숫자 + 화면에 있는 값
          previousNum = display.textContent;
        }
        // 계산 진행
        display.textContent = calculate(firstNum, operatorForAdvanced, previousNum);
        console.log(firstNum + ' ' + operatorForAdvanced + ' ' + previousNum + ' = ' + calculate(firstNum, operatorForAdvanced, previousNum));
        // 마지막에 누른 키가 calculate 라는 상태값 저장
        previousKey = 'calculate'
      }
    }
CSS
중앙 정렬하기
가로 중앙 정렬과 세로 중앙 정렬이 너무나도 다르다.
가로 정렬은 부모 선택자에 text-align: center 속성을 주고 자식 선택자에 display: inline-block 으로 글자 가운데 정렬 취급으로 구현했다.
세로 정렬도 수식이나 기능으로 맞추고 싶었지만 찾아볼게 너무 많아서 일단 margin 값을 상단에만 주는 방식으로 구현.
.clear__and__enter {
  /* 가운데 정렬 */
  text-align: center;

  height: 50px;
  margin: 10px;
  background-color: #f3f0fc;
}

.clear__and__enter > button {
  /* 가운데 정렬 */
  display: inline-block;
  margin: 5px 0px;

  border-radius: 10px;
  width: 110px;
  height: 40px;
  background-color: #00da75;
  cursor: pointer;
  outline: none;
}
버튼 호버링과 클릭시 변화
shadow를 밝은 버튼에 적용하니까 아예 안보이길래 버근가 싶어서 한참 해맸다. 알고보니 연베이지 색깔이라 하얀색의 쉐도우가 생겨서 배경에 묻혀버린 것. 정확하게 색깔을 지정해주자 보이기 시작했다. CSS가 제일 어려워.
.button__row > button:hover {
  box-shadow: 2px 2px 0px 0px gray;
}

.button__row > button:active {
  background-color: blue;
}
Nightmare 과제
isPressed 클래스를 주면 발동하는 css 코드다. 연산자를 클릭할 때 마다 .isPressed 클래스를 부여하고 제거했다.
.button__row > .isPressed {
  background-color: #00da75;
}
참고 URL
JS 클래스 제어 방법 비교
https://webstudynote.tistory.com/95
