.png)
history.push 사용법
import { useHistory } from 'react-router-dom';

...

const history = useHistory();

...

history.push('이동할 링크');
일반적으로는 이렇게 사용하지만 다음페이지로 넘어갈 때 특정 값을 가지고 가야 할 경우가 존재한다. 그럴 때는 어떻게 해야 할까?
props 넘기기
history.push({
  pathname: '이동할 링크',
  state: { '내가 정한 키 이름': '전달할 파라미터'}
});
전달받은 props 불러오기
import { useLocation } from 'react-router-dom';

...

const location = useLocation();

...

const props = location.state.'내가 정한 키 이름';
Example
[Button.jsx]

import React from 'react';
import { useHistory, useParams } from 'react-router-dom';
import styled from 'styled-components';

const Button = ({ title, price, now, isSale }) => {
  const { push } = useHistory();
  const { id } = useParams();

  const handleClick = title => {
    title === '구매'
      ? push({
          pathname: '/bidperchase',
          state: { id: id },
        })
      : push({
          pathname: '/bidsale',
          state: { id: id },
        });
  };

  return (
    <Wrapper sale={isSale} onClick={() => handleClick(title)}>
      <PartLeft sale={isSale}>{title}</PartLeft>
      <PartRight>
        <NowPrice>{price}</NowPrice>
        <StaticNow>{now}</StaticNow>
      </PartRight>
    </Wrapper>
  );
};
import { useLocation } from 'react-router-dom';
...
const location = useLocation();
// Button.jsx에서 넘긴 id값이 props라는 변수에 저장됨
const props = location.state.id;
...location을 콘솔로그로 찍어봤더니 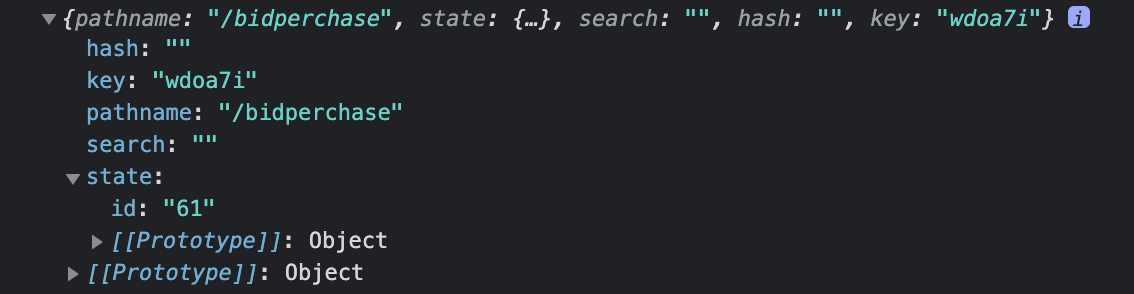
state 키 안에 객체 형태로 잘 저장되어 있는 것을 볼 수 있었다!

My Moto:: 내 스스로와 더불어 주변에게도 좋은 영향을 행사하도록 점검 & 노력..!!