💻 Forner studio 리뉴얼
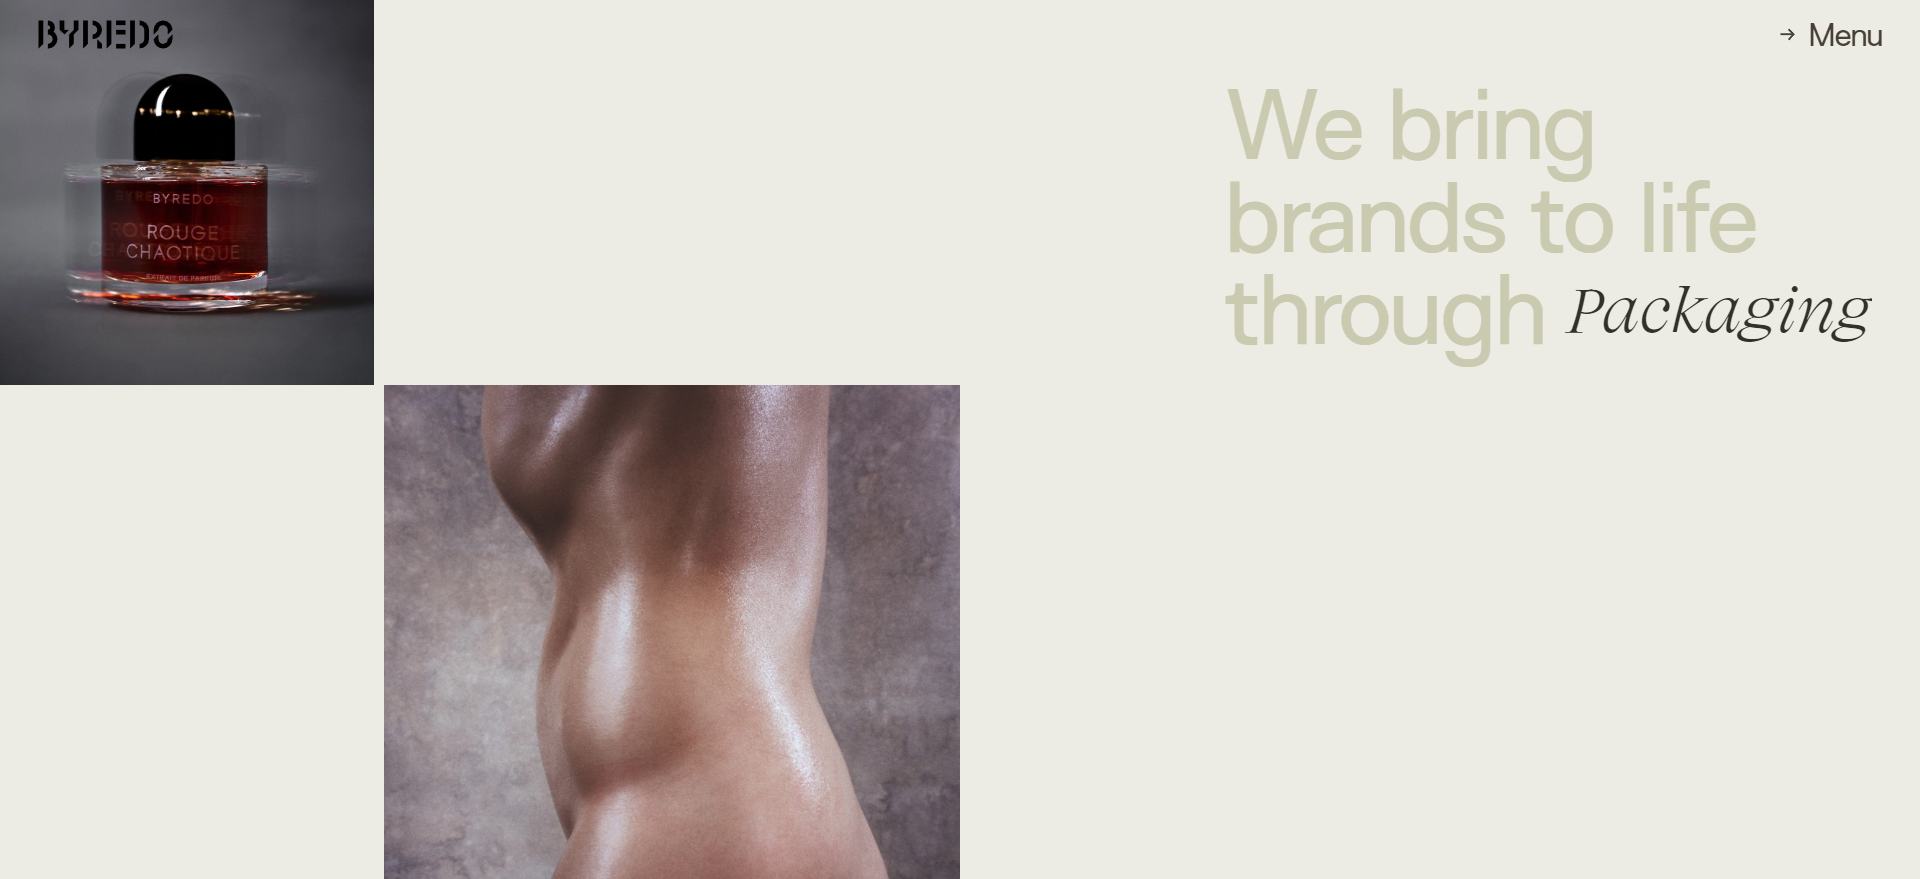
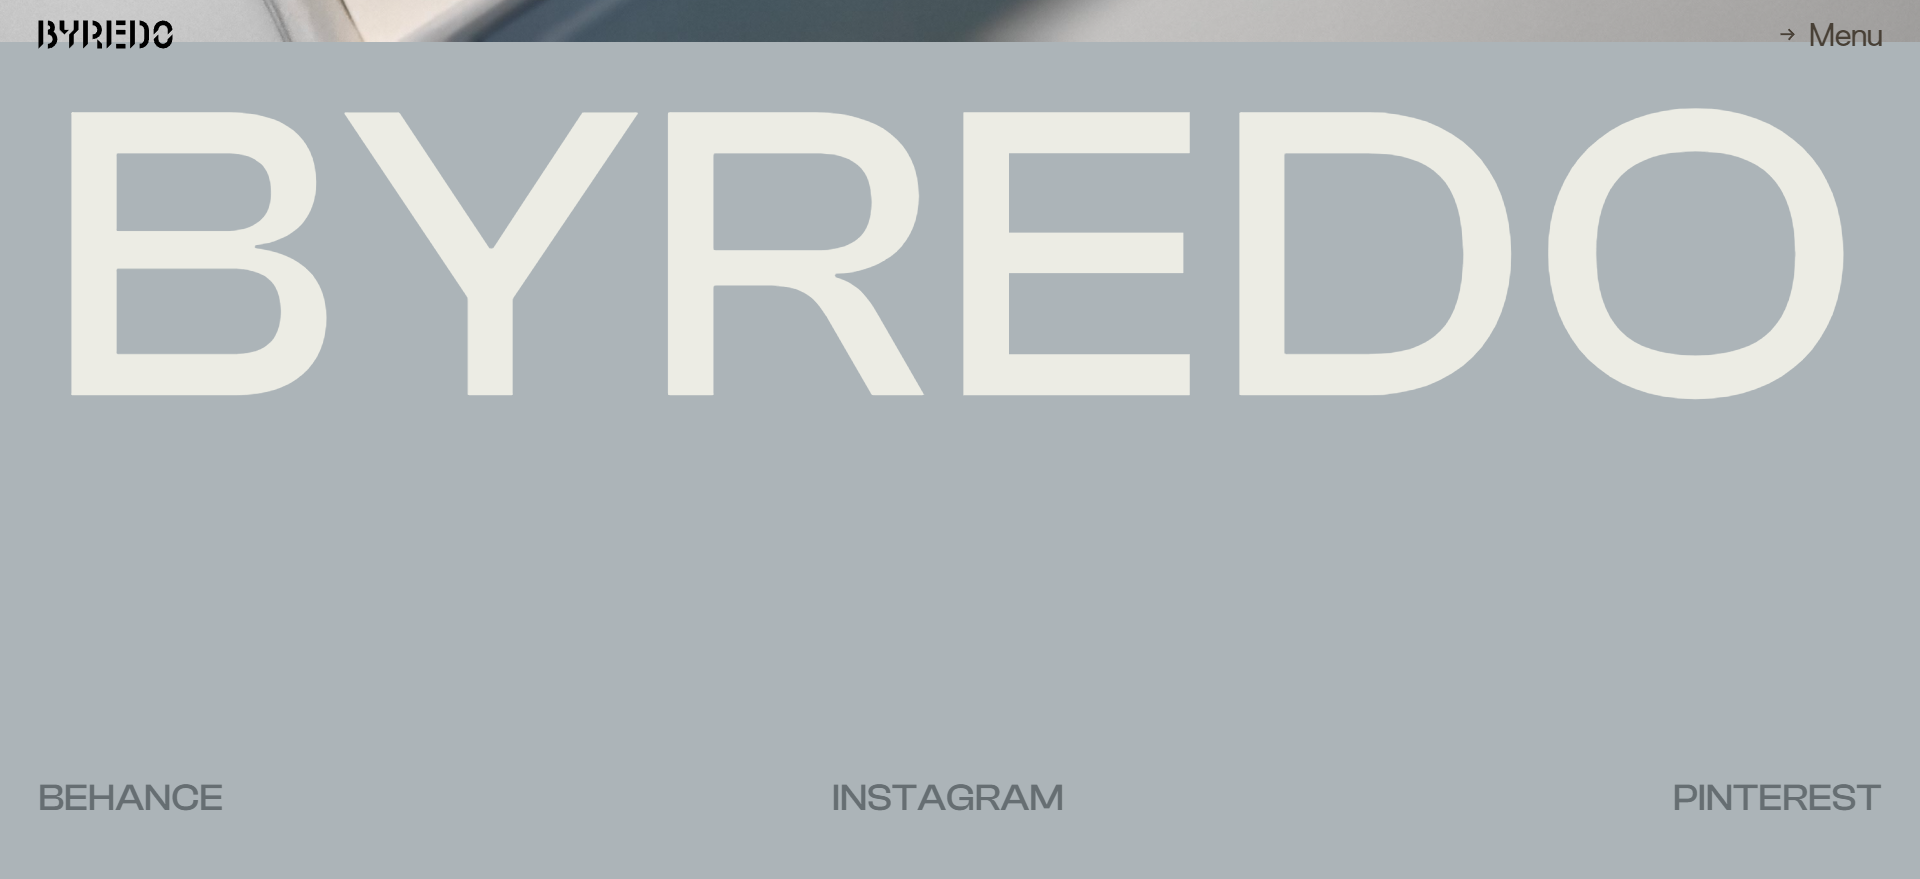
- 사이트명: Byredo custom
- 사용언어: HTML, CSS, JavaScript
- 라이브러리: jQuery, GSAP, ScrollTrigger, Splitting, Lenis
- 유형: 반응형
- 📰 https://hallowmang.github.io/FornerStudio-renewal-/
✅ Check Point
✔ Lenis 사용으로 스무스한 스크롤 효과주기
✔ GSAP의 반응형 작업하기 (matchMedia)
✔ forEach대신 batch!
✔ pin
✔ images scroll and Mouse move
✔ clipPath Animation
✔ Splitting
1.Lenis
홈페이지를 둘러보면 스크롤할 때, 뭔가 부들부들한 느낌을 주는 사이트들이 있다.
그런 사이트는 어떤 효과로 스무스한 느낌을 주는걸까?
찾아보니 대표적인 스크롤 라이브러리인 Lenis를 많이 사용하고 있었다.
Lenis이다 사용방법도 아주 쉽다!
🔍사이트 - https://lenis.studiofreight.com/
/* lenis 스크롤 스무스 */
const lenis = new Lenis();

lenis.on("scroll", (e) => {
  console.log(e);
});

function raf(time) {
  lenis.raf(time);
  requestAnimationFrame(raf);
}

requestAnimationFrame(raf);
//처음 로딩애니메이션시 스크롤멈추기
lenis.stop();
이 코드를 사용하면 된다.
하지만...... 문제발생~~
처음 홈페이지를 들어가면 처음 로딩 애니메이션이 들어가있는데, 애니메이션시 스크롤이 되서 당황쓰😅😂
Lenis의 깃허브에서 찾아보니 lenis.stop();라는 메소드가 있었다.
그래서 추가~ 만약에 로딩 애니메이션이 없으면 굳이 lenis.stop();는 사용할 필요가 없다.
다시 풀어 주기 위해선
로딩 애니메이션이 끝나는 지점에
.to(".bg",{
      height: "0%",
      duration: 1,
      ease: "expo.inOut",
      onComplete: function () {
        lenis.start(); //.bg가 다 끝나고 스크롤 시작
      },
    },"mC");
이렇게 해당 애니메이션의 마지막부분에 GSAP의 onComplete: function () { lenis.start(); //.bg가 다 끝나고 스크롤 시작 },
를 추가해서 해결하였다.
2. gsap.matchMedia()
이 홈페이지가 반응형 홈페이지다 보니 모바일에선 필요없는 애니메이션이 있거나, 모바일에선 다른 애니메이션을 적용하고 싶은 생각이 들었다.
GSAP 공식 홈페이지를 찾아보니 matchMedia가 있었다.👍🏼
🔍사이트 - https://gsap.com/docs/v3/GSAP/gsap.matchMedia()/
기본 사용법은? ❔❔❔
ScrollTrigger.matchMedia({

	"(min-width: 800px)": function() {
  },

	"(max-width: 799px)": function() {
  },

	"all": function() {
  }

});
이런 식으로 작성하면 된다.
matchMedia를 사용한 부분을 보면
📕 HTML
<div class="bg">
    <div class="logo-text">
      <span class="by">by</span>
      <span class="r">r</span>
      <span class="ed">ed</span>
      <span class="o">o</span>
    </div>

    <div class="m-logo-text">
      <span class="byr">byr</span>
      <span class="edo">edo</span>
    </div>

    <div class="text">
      <span class="text-top">CONSIDERED CREATIVE</span>
      <span class="text-bottom">for Elevated Brands.</span>
    </div>
  </div>
로고 애니메이션을 주고 싶었는데 데스크탑에 나오는 로고와 모바일용 로고를 다르게 작성해주었다.
📘 CSS
.bg{
  /*생략*/
  .logo-text{
    /*생략*/
    @include mobile{
      display: none; /*모바일 경우에는 사용하지 않기 위해 display : none 처리*/
    }
    .by{
    }
    .r{
      transform: translateX(47vw);
    }
    .ed{
      transform: translate(-46vw, 55vh);
    }
    .o{
      transform: translateY(55vh);
    }
  }
  .text {
    /*생략*/
    &-top {
      /*생략*/
    }
    &-bottom {
      /*생략*/
    }
  }

  /* 모바일용 로고 */
  .m-logo-text{
    /*생략*/
    @include desktop{
      display: none;
    }
    @include tablet{
      display: none;
    }
    @include mobile{
      display: flex;
    }
  }
}
📗 GSAP
ScrollTrigger.matchMedia({
  "(max-width:767px)": function () {
    gsap.set(".m-logo-text .byr", {
      opacity:0,
      x:-10,
      y:-100,
    });
    gsap.set(".m-logo-text .edo", {
      opacity:0,
      x:10,
      y:100,
    });
    mIntroTl
    .to(".m-logo-text",{
      opacity:1,
    })
    /*이하 생략*/
  },
  "(min-width:767px)": function () {
    introTl
      .to(".logo-text", {
        delay: 0.2,
        duration: 1,
        opacity: 1,
      })
	/*이하 생략*/
});
max-width:767px 767px이하일 때와
min-width:767px 767px이상일 때의 애니메이션을 다르게 주었다.
3. forEach대신 batch!
그동안 여러 개의 아이템에 반복적으로 효과를 주기 위해서는 forEach를 사용하였다 찾아보니 forEach대신 gsap에서 제공하는 batch를 사용하면 더욱 간편하게 효과를 줄 수 있었다.

gsap.set("[data-scroll-opacity]", {
  opacity: 0,
  y: 30,
});
스크롤 시 이미지들이 올라오면서 투명도를 변경하는 애니메이션을 주려고 gsap.set()을 사용하여 모든 data-scroll-opacity부분을 세팅
ScrollTrigger.batch("[data-scroll-opacity]", {
  start: "0% 85%",
  end: "100% 0%",
  onEnter: (batch) => {
    gsap.to(batch, {
      opacity: 1,
      y: 0,
    });
  },
  onLeaveBack: (batch) => {
    gsap.to(batch, {
      opacity: 0,
      y: 30,
    });
  },
});ScrollTrigger를 사용하여 start지점에 갔을 때와 다시 뒤로갈 때의 코드를 작성해주었다.
4. 📌pin
css의 position:sticky사용하는 방법도 있지만, GSAP의 pin도 있다. 그래서 GSAP의 pin을 써보고 싶었다.
GSAP의 pin은 ScrollTrigger 기능 중 하나로, 요소를 화면에 고정시키거나 스크롤에 따라 특정 위치에 고정하는 기능을 제공한다. 이를 사용하면 웹 페이지에서 요소를 스크롤하면서 고정되거나 스크롤에 따라 특정 지점에서 고정되는 효과를 만들 수 있다.
이것은 오른쪽 텍스트가 스크롤 시 마지막 이미지까지 고정되어 내려오는 코드이다.
ScrollTrigger.matchMedia({
  /* 1024px 이상일때 */
  "(min-width:1024px)": function () {
    ScrollTrigger.create({
      trigger: ".photo-textwrap",
      start: "top",
      endTrigger: ".baby-photo",
      end: "bottom 31%",
      pin: true,
      onUpdate: (self) => {
        bar = self.progress.toFixed(3) * 100;
        if (bar >= 80) {
          $(".sc-photos .photo-textbottom .rolltext-wrap").removeClass(
            "a1 a2 a3 a4"
          );
          $(".sc-photos .photo-textbottom .rolltext-wrap").addClass("a4");
        } else if (bar >= 60) {
          $(".sc-photos .photo-textbottom .rolltext-wrap").removeClass(
            "a1 a2 a3 a4"
          );
          $(".sc-photos .photo-textbottom .rolltext-wrap").addClass("a3");
        } else if (bar >= 40) {
          $(".sc-photos .photo-textbottom .rolltext-wrap").removeClass(
            "a1 a2 a3 a4"
          );
          $(".sc-photos .photo-textbottom .rolltext-wrap").addClass("a2");
        } else if (bar >= 5) {
          $(".sc-photos .photo-textbottom .rolltext-wrap").removeClass(
            "a1 a2 a3 a4"
          );
          $(".sc-photos .photo-textbottom .rolltext-wrap").addClass("a1");
        } else {
          $(".sc-photos .photo-textbottom .rolltext-wrap").removeClass(
            "a1 a2 a3 a4"
          );
        }
      },
      // markers:true,
    });
  },
});
위 코드는 .photo-textwrap를 pin: true를 사용하여 고정하고, 고정된 요소를 .baby-photo에서 끝내는 코드이다.
🔎onUpdate()
ScrollTrigger의 onUpdate는 ScrollTrigger가 업데이트될 때마다 실행되는 콜백 함수. 스크롤 위치가 변경될 때마다 해당 함수가 호출되어 추가적인 작업을 수행할 수 있게 해준다.
onUpdate 콜백 함수를 사용하면 스크롤 위치에 따라 어떤 작업을 동적으로 수행하거나 특정 상황에 대응할 수 있다. 예를 들어, 요소의 위치를 스크롤 위치에 따라 변경하거나 애니메이션을 조절하는 등의 작업을 수행할 수 있다.
✅일반적으로 onUpdate를 사용하여 해당 스크롤 지점이나 스크롤 위치에 따라 원하는 애니메이션을 추가하거나 제어하는 데 사용한다.
❗❗❗ 굉장히 많이 사용되고 알아두면 좋을것 같다.👍🏼
기본적인 사용법은
ScrollTrigger.create({
  trigger: ".element",
  start: "top center",
  end: "bottom center",
  onEnter: () => {
    // 요소가 화면에 들어올 때 실행되는 코드
  },
  onUpdate: (self) => {
    // 스크롤 위치가 변경될 때 실행되는 코드
    console.log("Scroll position:", self.scroll());
  },
  onLeave: () => {
    // 요소가 화면에서 나갈 때 실행되는 코드
  }
});
위의 예시에서 onUpdate 콜백 함수는 ScrollTrigger가 업데이트될 때마다 호출되며, self를 통해 현재 ScrollTrigger 인스턴스에 접근할 수 있다. 여기서 self.scroll()를 사용하여 현재 스크롤 위치를 가져올 수 있다.
onUpdate: (self) => {
        bar = self.progress.toFixed(3) * 100;
        if (bar >= 80) {
          $(".sc-photos .photo-textbottom .rolltext-wrap").removeClass(
            "a1 a2 a3 a4"
          );
          $(".sc-photos .photo-textbottom .rolltext-wrap").addClass("a4");
        } else if (bar >= 60) {
          $(".sc-photos .photo-textbottom .rolltext-wrap").removeClass(
            "a1 a2 a3 a4"
          );
          $(".sc-photos .photo-textbottom .rolltext-wrap").addClass("a3");
        } else if (bar >= 40) {
          $(".sc-photos .photo-textbottom .rolltext-wrap").removeClass(
            "a1 a2 a3 a4"
          );
          $(".sc-photos .photo-textbottom .rolltext-wrap").addClass("a2");
        } else if (bar >= 5) {
          $(".sc-photos .photo-textbottom .rolltext-wrap").removeClass(
            "a1 a2 a3 a4"
          );
          $(".sc-photos .photo-textbottom .rolltext-wrap").addClass("a1");
        } else {
          $(".sc-photos .photo-textbottom .rolltext-wrap").removeClass(
            "a1 a2 a3 a4"
          );
        }
      },
✅1단계: 변수로 만들어 사용
self.scroll()를 사용하여 현재 스크롤 위치를 가져온 뒤, 내가 원하는 위치의 스크롤 값을
self.progress.toFixed(3) * 100를 통해 progress 값을 소수점 셋째 자리까지 반올림하여 백분율 값으로 변환하고,
이 값을 변수 `bar`에 저장
✅2단계: 조건문을 통해 특정 클래스를 요소에 추가하거나 제거
bar 값이 80 이상이면 .a4 클래스를 추가하고, 60 이상이면 .a3 클래스를 추가하는 식으로 진행각 조건에 따라 bar의 값이 변하면서 해당하는 클래스를 요소에 동적으로 추가하거나 제거함으로써 스크롤 위치에 따라 요소의 디자인이나 모습을 변화시키는 역할을 한다. 만약 bar의 값이 특정 범위에 해당하지 않으면 모든 클래스를 제거하여 해당 요소에 클래스가 없도록 설정
5. Images scroll and Mouse move
스크롤시 이미지의 height값이 0으로 바뀌면서 title도 같이 위로 올라가는 애니메이션이 주고 싶었다.
Images scroll

ScrollTrigger.matchMedia({
  "(min-width:1024px)": function () {
    slideImg = gsap.timeline({
      scrollTrigger: {
        trigger: "main .sc-slide .inner",
        start: "0% 0%",
        end: "100% 100%",
        scrub: 1,
      },
    });

    slideImg.to(".sc-slide .img-box a:nth-child(1)", { height: 0 }, "a");
    slideImg.to(".sc-slide .slide-title a", { yPercent: -100 }, "a");

    slideImg.to(".sc-slide .img-box a:nth-child(2)", { height: 0 }, "b");
    slideImg.to(".sc-slide .slide-title a", { yPercent: -200 }, "b");

    slideImg.to(".sc-slide .img-box a:nth-child(3)", { height: 0 }, "c");
    slideImg.to(".sc-slide .slide-title a", { yPercent: -300 }, "c");

    slideImg.to(".sc-slide .img-box a:nth-child(4)", { height: 0 }, "d");
    slideImg.to(".sc-slide .slide-title a", { yPercent: -400 }, "d");
  },
});
✅ GSAP의 timeline을 사용하여 공통된 scrollTrigger를 변수에 담는다.
✅ .slide-title과 .img-box a:nth-child()에게 라벨링을 붙여 같이 움직일 수 있도록 묶는다.
Mouse move
📘 CSS
.cursor{
      position: fixed;
      top: -1vw;
      left: 0.3rem;
      font-size: 1.1vw;
      color: #484036;
      z-index: 99;
      pointer-events: none;
      opacity: 0;
      visibility: hidden;
      transition: opacity 0.3s, visibility 0.3s;
      &.on{
        opacity: 1;
        visibility: visible;// 클래스 on이 들어가면 hidden에서 visible로 바뀌도록 설정
      }
      &.spell1{left: 0.83rem;}
      &.spell2{left: 1.27rem;}
      &.spell3{left: 1.7rem;}
      &.spell4{left: 2.35rem;}
      &.spell5{left: 2.8rem;}
      &.spell6{left: 3.2rem;}
      &.spell7{left: 3.6rem;}
    }
📙 Javascript
$(document).mousemove(function (e) {
  gsap.to(".cursor", {
    x: e.clientX,
    y: e.clientY,
    stagger: 0.1,
  });
});

$(".sc-slide .img-box a").hover(
  function () {
    $(".cursor").addClass("on");
  },
  function () {
    $(".cursor").removeClass("on");
  }
);
.img-box a를 호버하면.cursor에 클래스on이 추가되어visibility: visible로 변경이되어 나타나게 된다.- 그 뒤 마우스 포인터의 X와 Y 좌표(clientX, clientY)를 가져와서 해당 요소의 X와 Y 위치로 설정합니다. 이를 통해 .cursor 요소가 마우스 커서처럼 따라다닐 수 있도록 좌표를 업데이트 한다.
stagger: 0.1는 각 글자들이 0.1간격으로 따라 다니게 하기 위해서 적용하였다.
6. clipPath Animation

처음 이미지의 사이즈를 조절하는 애니메이션을 줄때 이미지의heigh값으로 애니메이션을 주었다. 찾아보니 clipPath를 사용하는 방법을 알게되어 사용해 보았다.
📘 CSS
.hovered-img {
  position: absolute;
  top: 0;
  width: 100%;
  height: 100%;
  clip-path: polygon(0 0, 100% 0, 100% 0, 0 0);
}
먼저 css에 clip-path의 값을 입력한다.
📙 Javascript
let clipPathAnimation = gsap.to(".hovered-img", {
  paused: true,
  clipPath: "polygon(0 0, 100% 0, 100% 100%, 0 100%)",
  ease: "power2.inOut",
  stagger: {
    from: "random",
    amount: 0.7,
  },
});

let scAllTitle = $(".sc-all .inner .all-title .all-name");
scAllTitle.hover(
  function () {
    clipPathAnimation.play();
  },
  function () {
    clipPathAnimation.reverse();
  }
);- 변수
clipPathAnimation에 GSAP를 담아준다. - 변수
scAllTitle를 호버하면 콜백함수play()가 실행되며 마우스가 해당 요소를 빠져나가면 역방향으로 실행하는 콜백함수reverse()가 실행되어 애니메이션을 되돌리는 역할을 한다.
7. Splitting
text reveal 애니메이션을 하기위해선 각 글자마다 클래스를 주어야한다. 하지만, 문장일 경우에 일일이 클래스를 주는것은 무리일 수 있다.
찾아보니 글자나, 문장을 한글자씩 쪼개주는 라이브러리가 있어 사용하려고 한다.
대표적으로 splittype과 splitting이 있는데 이번은 splitting을 사용하였다.
🔍사이트 - https://splitting.js.org/
기본 사용법은
<h1 data-splitting>Split by chars (default)</h1>
<p data-splitting="words">Split by words</p>
<ul data-splitting="items">
  <li>Split</li>
  <li>by</li>
  <li>children!</li>
</ul>
<script> Splitting(); </script>- data-splitting을 쓰면 디폴트값인
chars타입 - data-splitting="words"을 쓰면
words타입 - data-splitting="items"을 쓰면
items타입
코드
<div class="footer-logo" data-splitting>
  <span class="footer-logo-split">byredo</span>
</div>
이렇게 적용해보았다. 개발자도구를 통해서 보면 byredo가 각각 <span>으로 감싸져 있다.
📙 Javascript
gsap.to(".footer-logo .char", 1, {
  y: 9,
  opacity: 1,
  stagger: 0.06,
  ease: "power1.inOut",
  scrollTrigger: {
    trigger: ".footer",
    start: "center 60%",
    end: "center 60%",
    scrub: 3,
    // markers:true
  },
});<span>으로 감싸져 있고 클래스가 char로 적혀져 있다..char를 선택하고 애니메이션을 적용하면 끝~