
1. 스타일 다루기
1.1 style property
가장 간단한 방법은 아래 예시와 같이 style property를 이용하는 것이다.
<!DOCTYPE html>
<html lang="ko">
<head>
  <meta charset="UTF-8">
	<link rel="stylesheet" href="style.css">
  <title>JS with Codeit</title>
</head>
<body>
  <div>
    <h1 class="title">오늘 할 일</h1>
		<ol id="today" class="list today">
			<li class="item">자바스크립트 공부</li>
			<li class="item">고양이 화장실 청소</li>
			<li class="item">고양이 장난감 쇼핑</li>
		</ol>
		<h1 class="title">내일 할 일</h1>
		<ol id="tomorrow" class="list tomorrow">
			<li class="item">자바스크립트 공부</li>
			<li class="item">뮤지컬 공연 예매</li>
			<li class="item">유튜브 시청</li>
		</ol>
  </div>
  <script src="index.js"></script>
</body>
</html>
const today = document.querySelector('#today');
const tomorrow = document.querySelector('#tomorrow');
today.children[0].style.textDecoration = 'line-through';
today.children[0].style.backgroundColor = '#DDDDDD';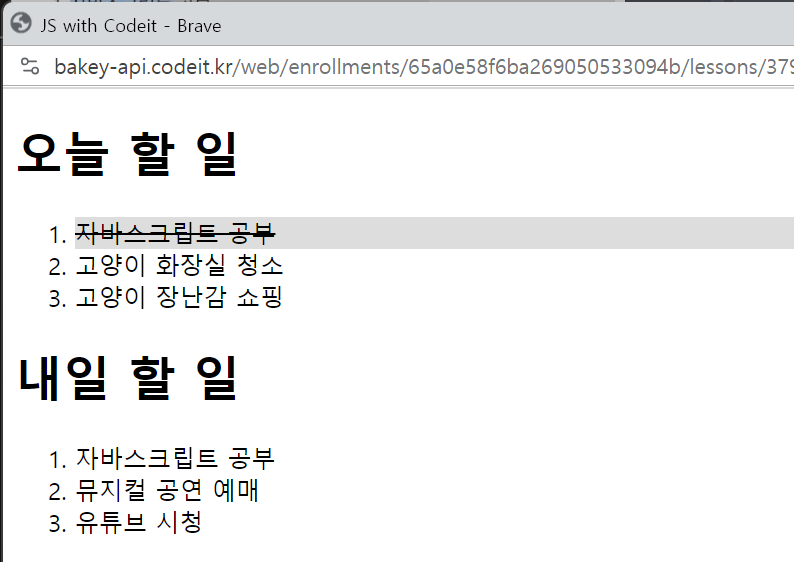
다만, style property를 사용했을 때의 단점도 존재한다.
-
태그에 직접적으로 값이 적용되기 때문에, 스타일 우선순위가 높아진다.
-
같은 스타일을 다른 여러 태그에 적용해야 할 경우, 불필요하게 코드를 여러 개 작성해야 한다.
때문에, 이렇게 style property를 사용하는 것 보다는, 태그의 class 자체를 변경하는 것이 더 권장된다.
1.2 class 다루기
1.2.1 elem.className
className property는 아래 예시와 같이 활용할 수 있다.
<!DOCTYPE html>
<html lang="ko">
<head>
  <meta charset="UTF-8">
	<link rel="stylesheet" href="style.css">
  <title>JS with Codeit</title>
</head>
<body>
  <div>
    <h1 class="title">오늘 할 일</h1>
		<ol id="today" class="list today">
			<li class="item">자바스크립트 공부</li>
			<li class="item">고양이 화장실 청소</li>
			<li class="item">고양이 장난감 쇼핑</li>
		</ol>
		<h1 class="title">내일 할 일</h1>
		<ol id="tomorrow" class="list tomorrow">
			<li class="item">자바스크립트 공부</li>
			<li class="item">뮤지컬 공연 예매</li>
			<li class="item">유튜브 시청</li>
		</ol>
  </div>
  <script src="index.js"></script>
</body>
</html>
/* css */
.done {
opacity: 0.5;
text-decoration: line-through;
}const today = document.querySelector('#today');
today.children[1].className = 'done';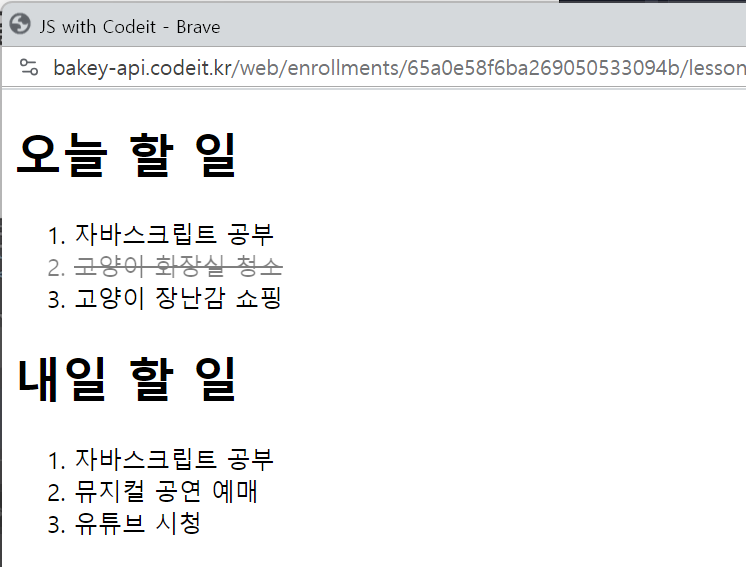
다만, 이렇게 className property로 값을 변경할 경우, 해당 class 속성값 전체가 바뀌게 된다.
만약, 원래 있던 item이라는 class를 그대로 두고, done이라는 class를 추가하고 싶다면, classList property를 활용할 수 있다.
1.2.2 elem.classList
classList property를 활용하면, class의 속성값을 유사 배열로 다룰 수 있다.
이를 활용하면, class 속성을 하나씩 다룰 수 있을 뿐 아니라, class를 조금 더 편하게 다룰 수 있는 add, remove, toggle과 같은 method도 활용이 가능하다.
아래 예시를 통해 조금 더 자세히 살펴보자.
<!DOCTYPE html>
<html lang="ko">
<head>
  <meta charset="UTF-8">
	<link rel="stylesheet" href="style.css">
  <title>JS with Codeit</title>
</head>
<body>
  <div>
    <h1 class="title">오늘 할 일</h1>
		<ol id="today" class="list today">
			<li class="item">자바스크립트 공부</li>
			<li class="item">고양이 화장실 청소</li>
			<li class="item">고양이 장난감 쇼핑</li>
		</ol>
		<h1 class="title">내일 할 일</h1>
		<ol id="tomorrow" class="list tomorrow">
			<li class="item">자바스크립트 공부</li>
			<li class="item">뮤지컬 공연 예매</li>
			<li class="item">유튜브 시청</li>
		</ol>
  </div>
  <script src="index.js"></script>
</body>
</html>
/* css */
.done {
opacity: 0.5;
text-decoration: line-through;
}add method를 활용하면, class를 추가할 수 있다.
const item = tomorrow.children[1];

item.classList.add('done');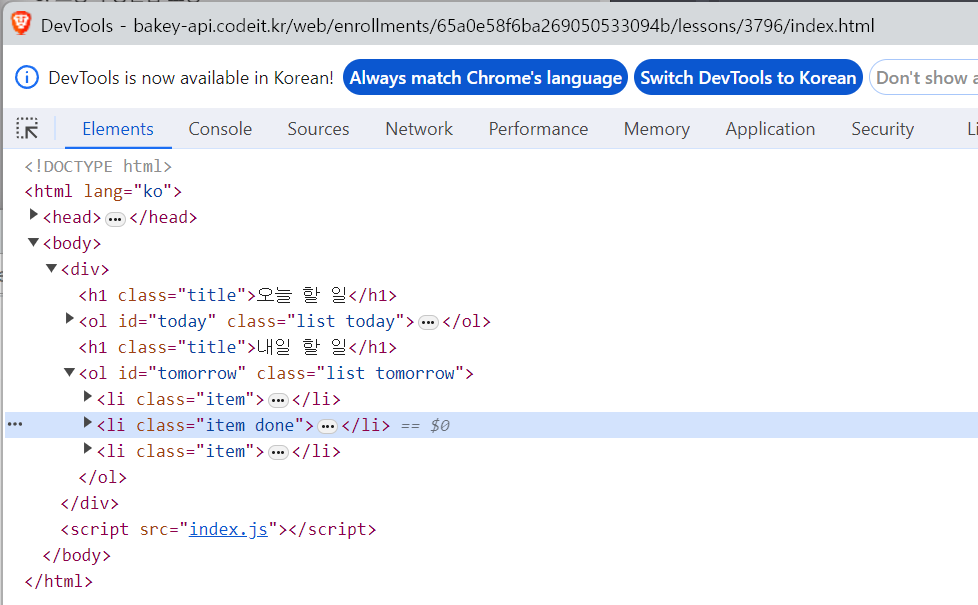
아래와 같이, 여러 개의 parameter로 전달할 수도 있으며,
만약, 중복되는 class 명이 있다면, 하나만 추가된다.
const item = tomorrow.children[1];

item.classList.add('done', 'other');
remove method를 사용하면, class를 제거할 수 있다.
add와 마찬가지로, 여러 개의 parameter를 전달할 수 있으며, 중복되는 class 명이 있다면 하나만 추가된다.
item.classList.remove('done');toggle method는 있으면 제거하고 없으면 추가한다.
item.classList.toggle('done');다만, 주의해야 할 부분은, add나 remove 처럼 여러 개의 parameter를 전달했을 때, 모두를 추가하지 않는다는 것이다.
toggle은 두 번째 parameter로 boolean 형태의 값을 전달받는데,
만약 true를 전달받게 될 경우 add의 기능만 하며, false를 전달받게 될 경우 remove의 기능만 한다.
💡
toggle에 두 번째 parameter를 전달하는 방식은 자주 사용되지 않기 떄문에, 하나의 parameter만 받을 수 있다고 기억하는 게 낫다.