
웹페이지에서는 url을 통해 페이지를 이동한다.
때문에 url을 지정할 수 있는 Link 컴포넌트나 a태그를 통해 페이지간의 이동을 컨트롤 했다.
하지만 어플리케이션에는 url이 없다... 그래서 우리는 stack Navigation을 이용해야한다!
stackNavigation
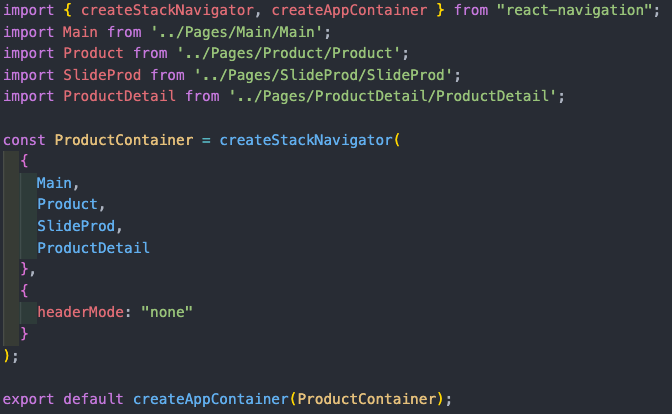
npm install react-navigation
- 서로 link를 시켜야되는 components를 createStackNavigator의 인자에 객체 형태로 넣어준다.
- createStackNavigator를 createAppContainer로 감싼 후, export!
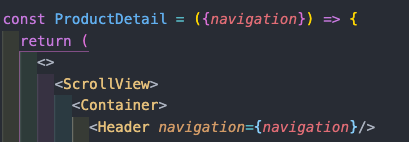
components

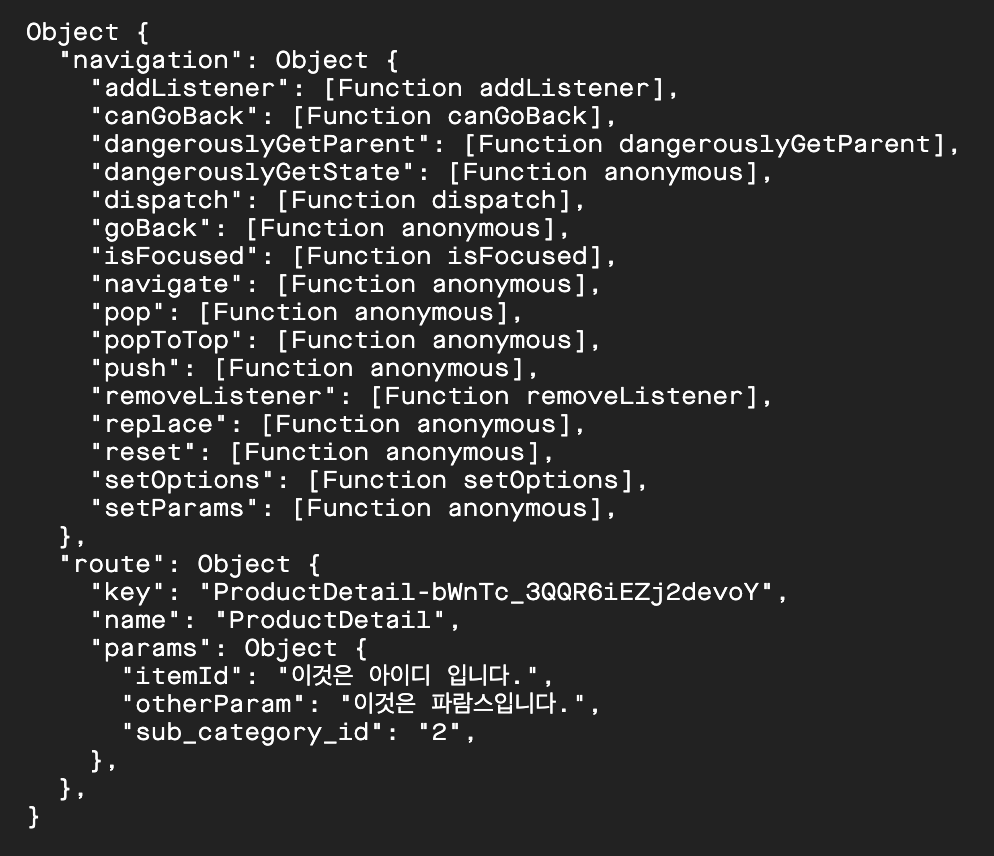
props를 확인해보면 navigation이라는 녀석이 있다!
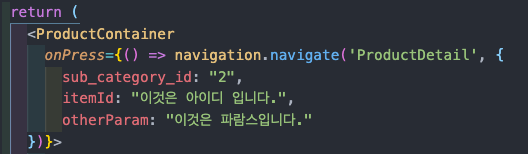
특정 태그에서 다음 화면(stack)으로 이동할 경로를 설정하자
- 이벤트가 발생했을 때 화면을 이동하도록 위와 같이 경로를 설정한다.
- props로 받은 navigation의 navigate라는 메소드를 사용하여, 인자로 이동할 component의 이름을 넣어준다.
- 해당 component에서 props를 전달하고 싶다면, 두번째 인자를 객체 타입으로 설정하고 그 안에서 전달하고자하는 props를 입력한다.
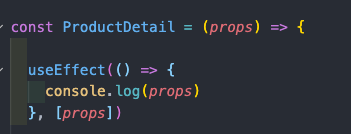
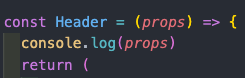
이동한 component에서 console.log를 실행해보자.
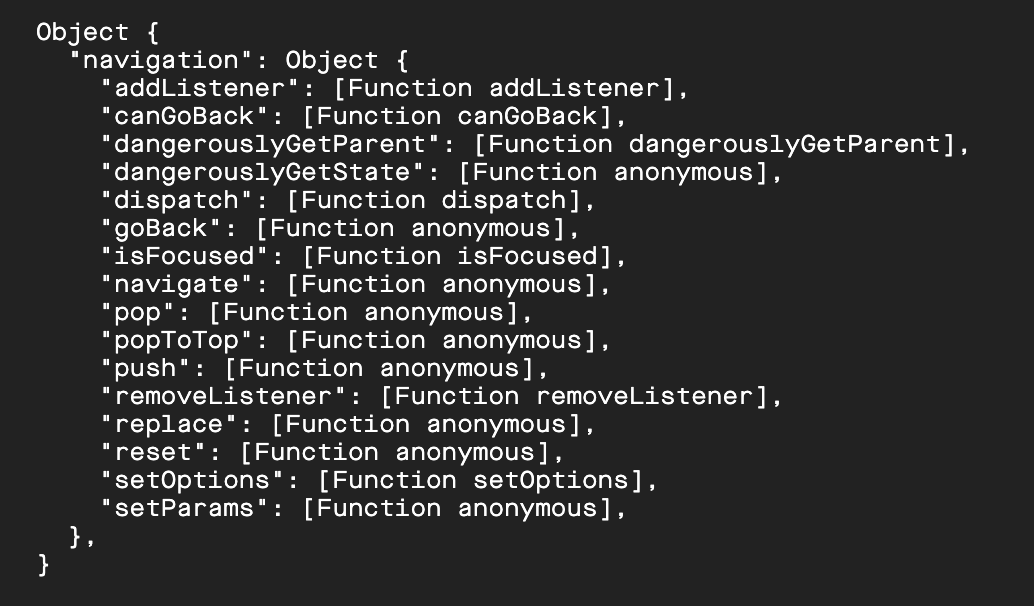
- props를 확인해보면 위와 같이 내가 지정한props와 navigation 객체가 출력되는 것을 확인 할 수 있다!
- 마찬가지로 그보다 더 자식 component에 props를 전달하기 위해서는 지정을 다시 해주어야 한다.
console.log에 잘 나오는 것을 확인 할 수 있다! 😆
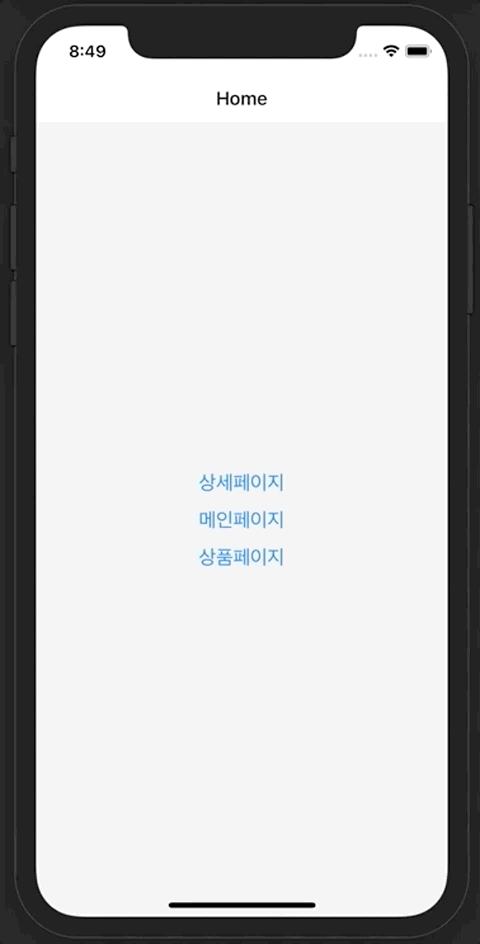
result

Prof.Google을 통해 필요한 정보를 이 곳에 insert 🐸
혹시 해당 작업물
깃 주소 알려주실 수 있으실까요?