🔱Miniconda 설치
https://docs.conda.io/projects/miniconda/en/latest/
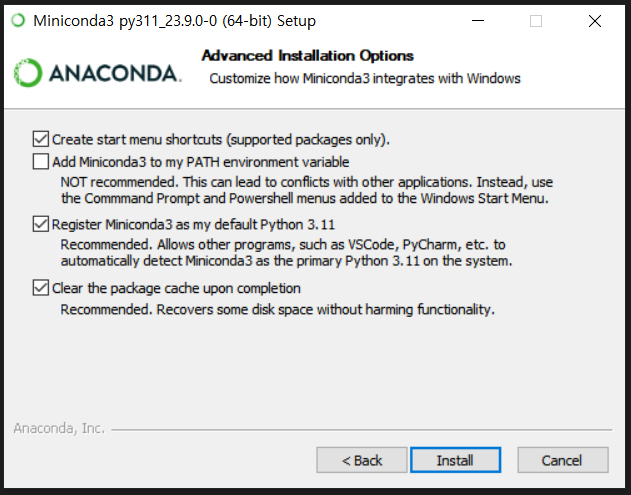
✅ Add Miniconda3 to my PATH environment variable
✅ Register Miniconda3 as my default Python
모두 체크하고 진행했더니 install.txt 파일 외에 아무 것도 설치되지 않았다.😂
다시 설치하기 위해 제어판에서 miniconda3를 삭제하고, anaconda3 폴더를 삭제했다. 환경 변수 설정 옵션을 제외하고 설치해보니 잘 된다.
🔱가상환경 설정
➡ Anaconda Prompt (miniconda3)
환경 생성
conda create -n [프로젝트이름] python=[버전]기본 환경(base) → 프로젝트 환경
conda activate [프로젝트이름]프로젝트 환경 → 기본 환경(base)
conda deactivate환경 목록 확인하기
# 어떤 환경이 있는지 확인
conda env list
환경 삭제
conda env remove -n [프로젝트이름]🔱Jupyter Notebook
1. Jupyter 설치
conda install jupyter2. 패키지 설치
conda install ipython		# All requested packages already installed.
conda install matplotlib
conda install seaborn
conda install pandas		# All requested packages already installed.
conda install scikit-learn
conda install xlrd
❗ 패키지를 설치하려고 하니까 버전 업그레이드를 하라는 경고문이 떴다.
conda update conda업데이트 해주고 다시 패키지를 설치하면 된다.
3. 주피터 노트북 실행
jupyter notebook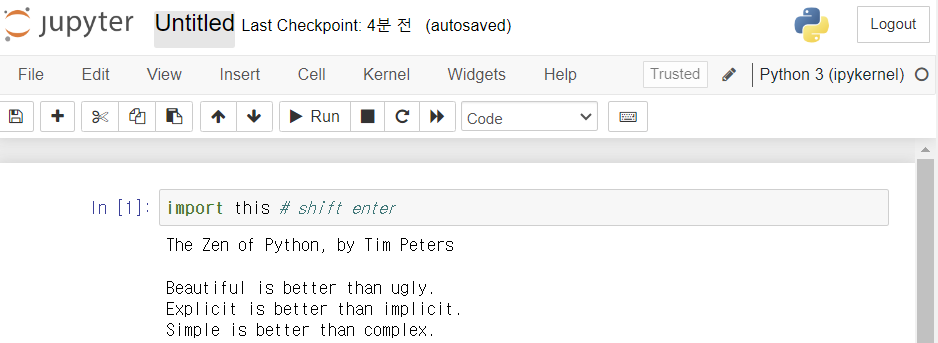
웹 브라우저에 jupyter notebook이 실행되면 성공! 🙌
🔱Matplotlib 한글 설정
한글 지원되는 폰트 확인하기
from matplotlib import font_manager

f_path = 'C:\Windows\Fonts\Noto Sans KR'
font_manager.FontProperties(fname=f_path).get_name()
폰트 설정하기
from matplotlib import font_manager
f_path = 'C:\Windows\Fonts\malgun.ttf'
font_manager.FontProperties(fname=f_path).get_name()

>>>
'Malgun Gothic'
from matplotlib import rc
rc("font", family='Malgun Gothic')import matplotlib.pyplot as plt
%matplotlib inline
plt.title("데이터 사이언스")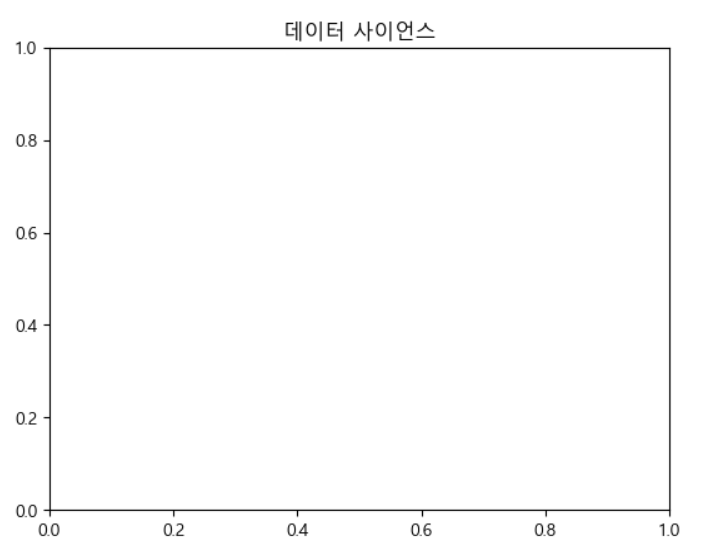
⭐앞으로 그래프 그릴 때는 아래 코드를 실행시킨 후 진행해야 한다.
import matplotlib.pyplot as plt
%matplotlib inline
from matplotlib import rc
rc("font", family='Malgun Gothic')matplotlib_korean 파일을 만들어서 저장해두었다.
🔱VScode 설정
내가 사용하는 conda환경이 있다면 VScode에서 선택 가능
⭐ctrl + shift + P → select interpreter
테스트해보니까 오류가 발생하는데, VScode에서 제안하는 것을 모두 따라가면 정상 작동한다.

I recently followed this guide to install the ultralytics package for YOLO, and it was incredibly helpful! I chose the
pip installmethod since it was the simplest and ensured I got the latest stable release. The commands for both installation and usage are super straightforward, and I love how clear the explanation is for both the CLI and Python interfaces.I was initially confused about the differences between using GitHub versus PyPI, but the instructions clarified everything, making the setup quick and easy. If you're planning to work with YOLO in Python, I highly recommend checking this out!
Also, if you're setting up a Python environment for this, I found install miniconda ubuntu really smooth and helpful to manage dependencies. Thanks for this awesome guide!