100 days of swiftui: 26
https://www.hackingwithswift.com/100/swiftui/26
Stepper
+/-를 눌러 값을 변경할 수 있는 Stepper가 있다.

struct ContentView: View {
    @State private var sleepAmount = 8.0
    var body: some View {
        VStack {
            Stepper("\(sleepAmount.formatted()) hours", value: $sleepAmount, in: 3...12, step: 0.5)
        }
        .padding()
    }
}formatted()를 통해 소숫점이 존재할 때만 보여줄 수 있다.
코드 파일
https://github.com/treesofgroo/Ios-BetterRest/commit/2b64bb7e8f32d676f0d9f9bb27212f9707545f69
DatePicker
날짜와 시간을 선택하여 binding 변수에 값을 저장하는 DatePicker를 만들 수 있다.
struct ContentView: View {
    @State private var wakeUpTime = Date.now
    var body: some View {
        VStack {
            DatePicker("Wake up time", selection: $wakeUpTime, in: Date.now..., displayedComponents: .hourAndMinute)
                .labelsHidden()
        }
        .padding()
    }
    func dataExamples() {
        let tomorrow = Date.now.addingTimeInterval(86400)
        let range = Date.now...tomorrow
    }
}
코드 파일
https://github.com/treesofgroo/Ios-BetterRest/commit/507c0decdeab97c6cd683cce852c791f2f02980b
Date
요약하면, swift에는 Date가 존재하고 이를 다루기 위한 여러가지 방법이 있다. 한 번에 모두 이해하기엔 어려워서 여러 번 활용해봐야겠다.

struct ContentView: View {
    @State private var wakeUpTime = Date.now
    var body: some View {
        VStack {
            Text(Date.now, format: .dateTime.year().month().day().hour().minute())
            Text(Date.now.formatted(date: .complete, time: .standard))
        }
        .padding()
    }
    func dataExamples() {
//        var components = DateComponents()
//        components.hour = 8
//        components.minute = 0
//        let date = Calendar.current.date(from: components) ?? .now

        let components = Calendar.current.dateComponents([.hour, .minute], from: .now)
        let hour = components.hour ?? 0
        let minute = components.minute ?? 0

    }
}
코드 파일
https://github.com/treesofgroo/Ios-BetterRest/commit/b39054a88c92cd9546674dd927a9d9b91721084d
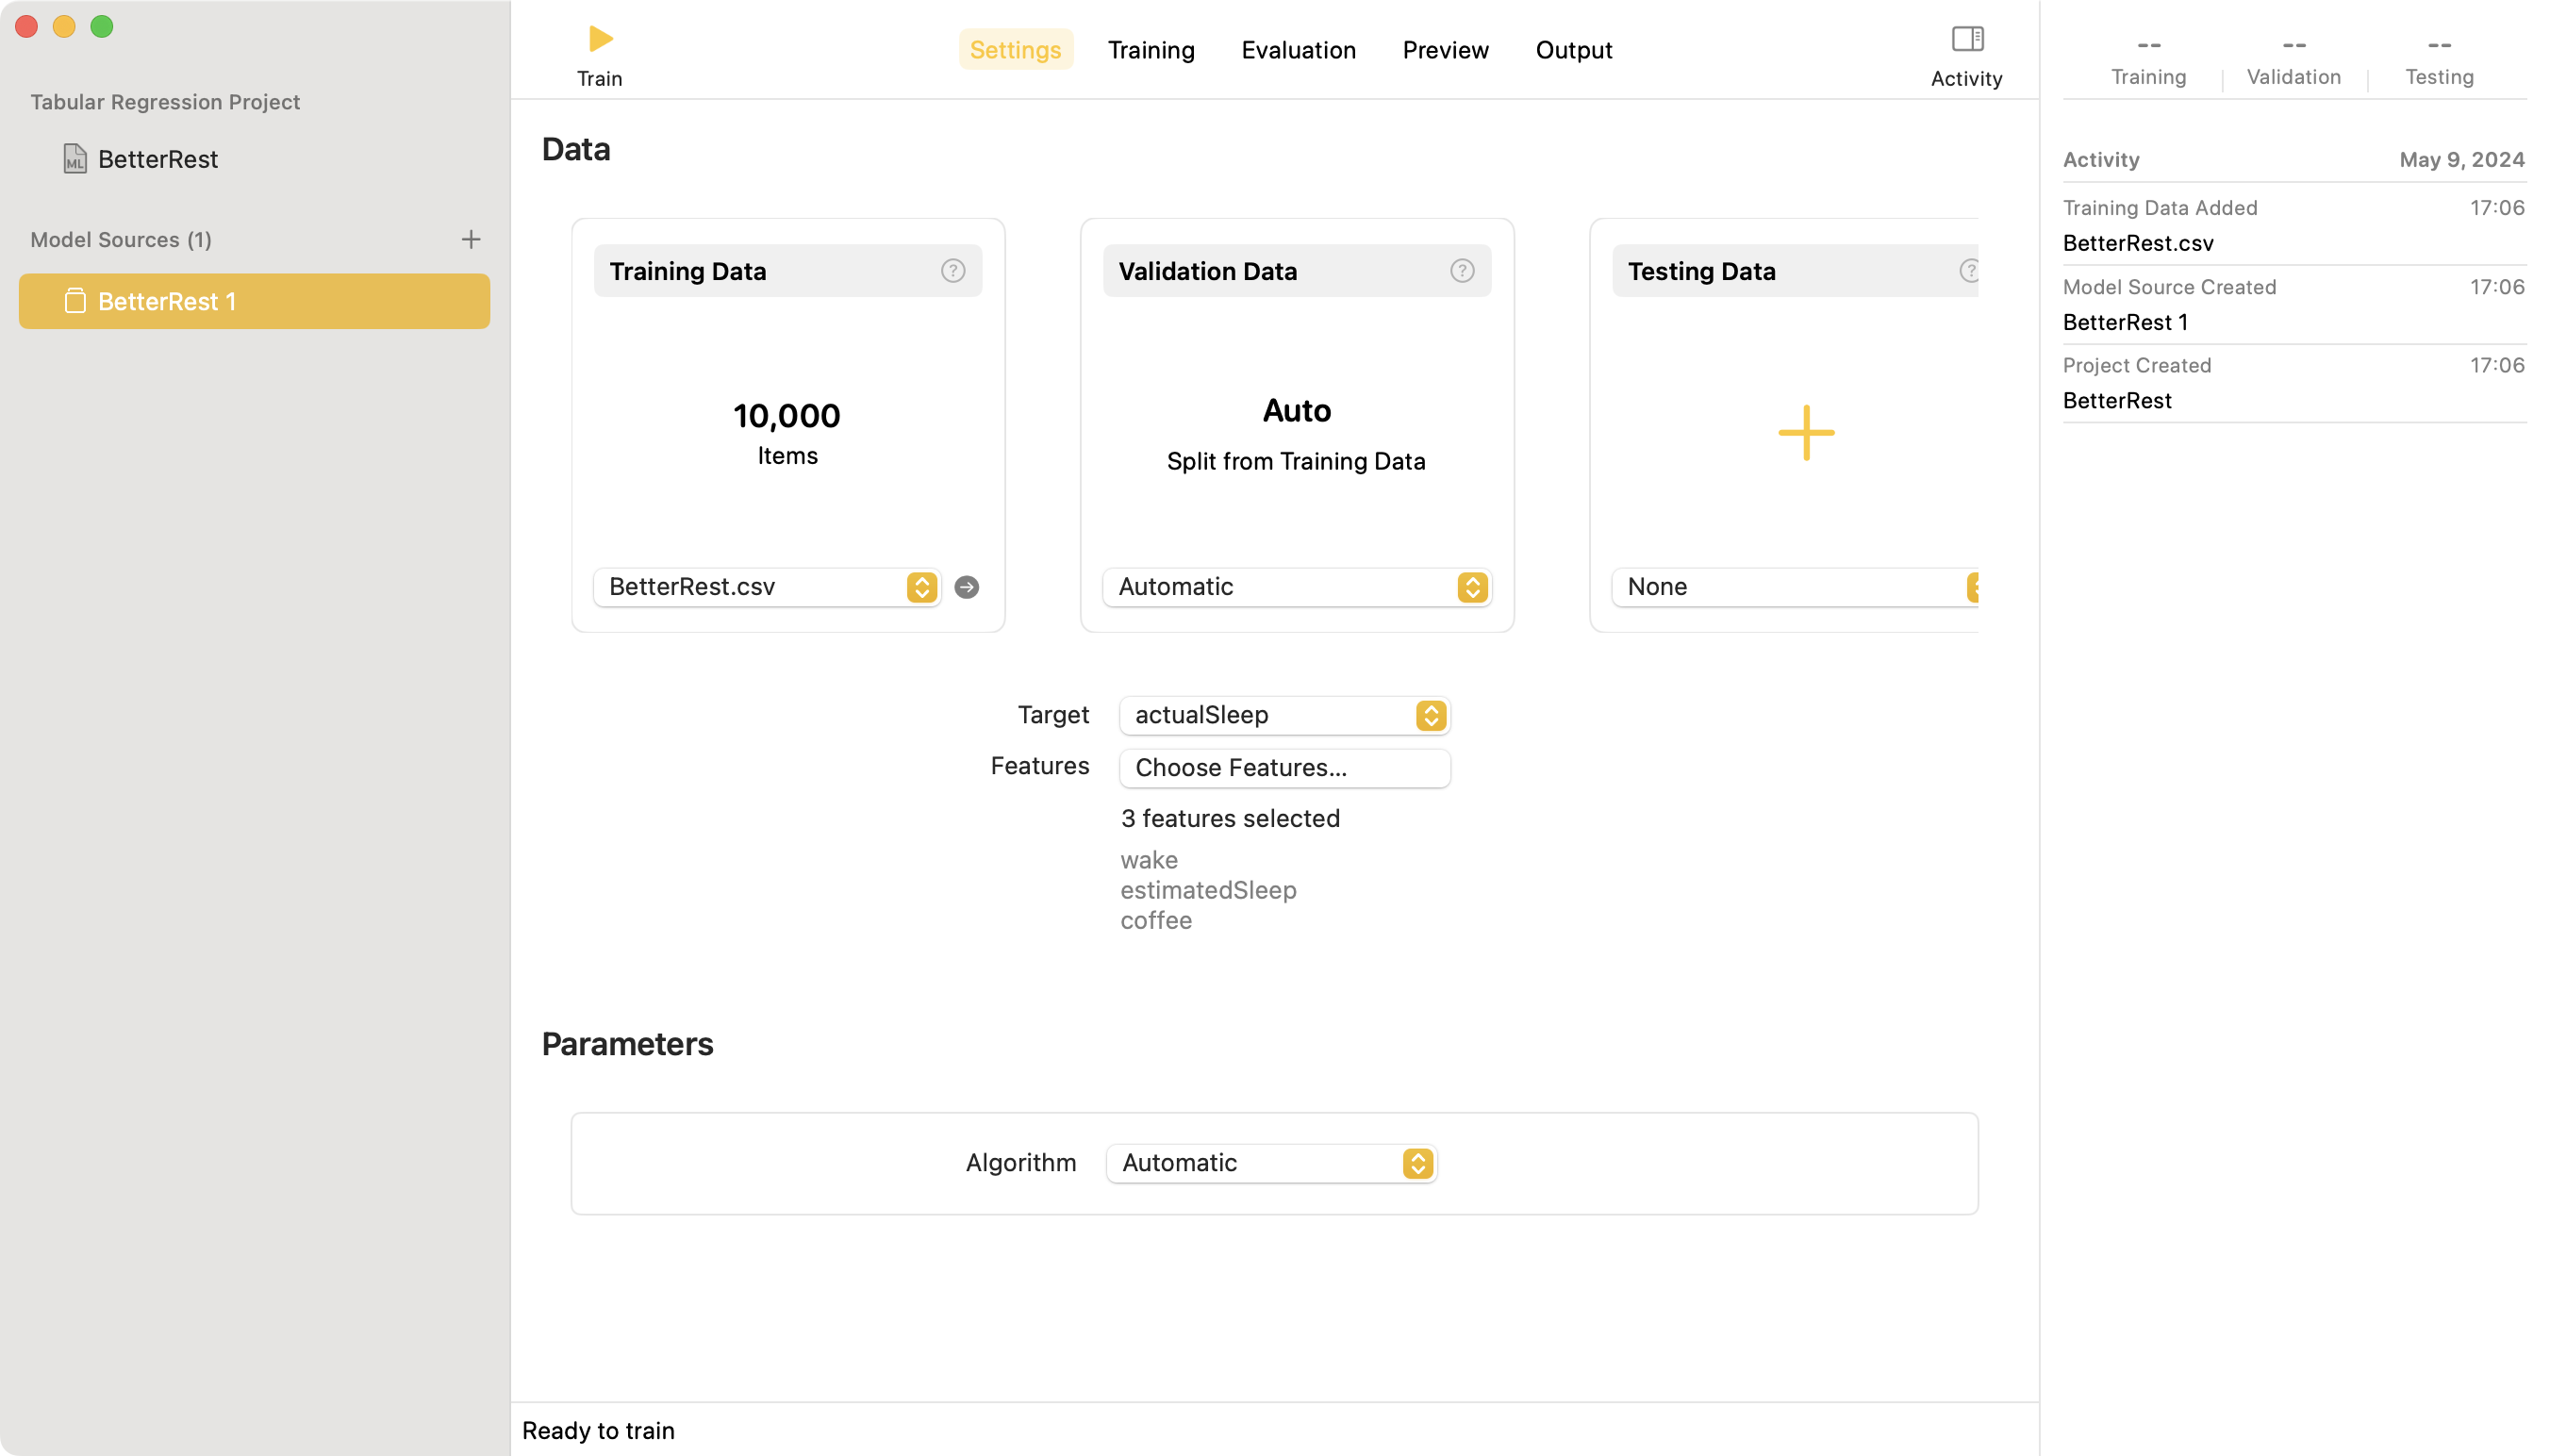
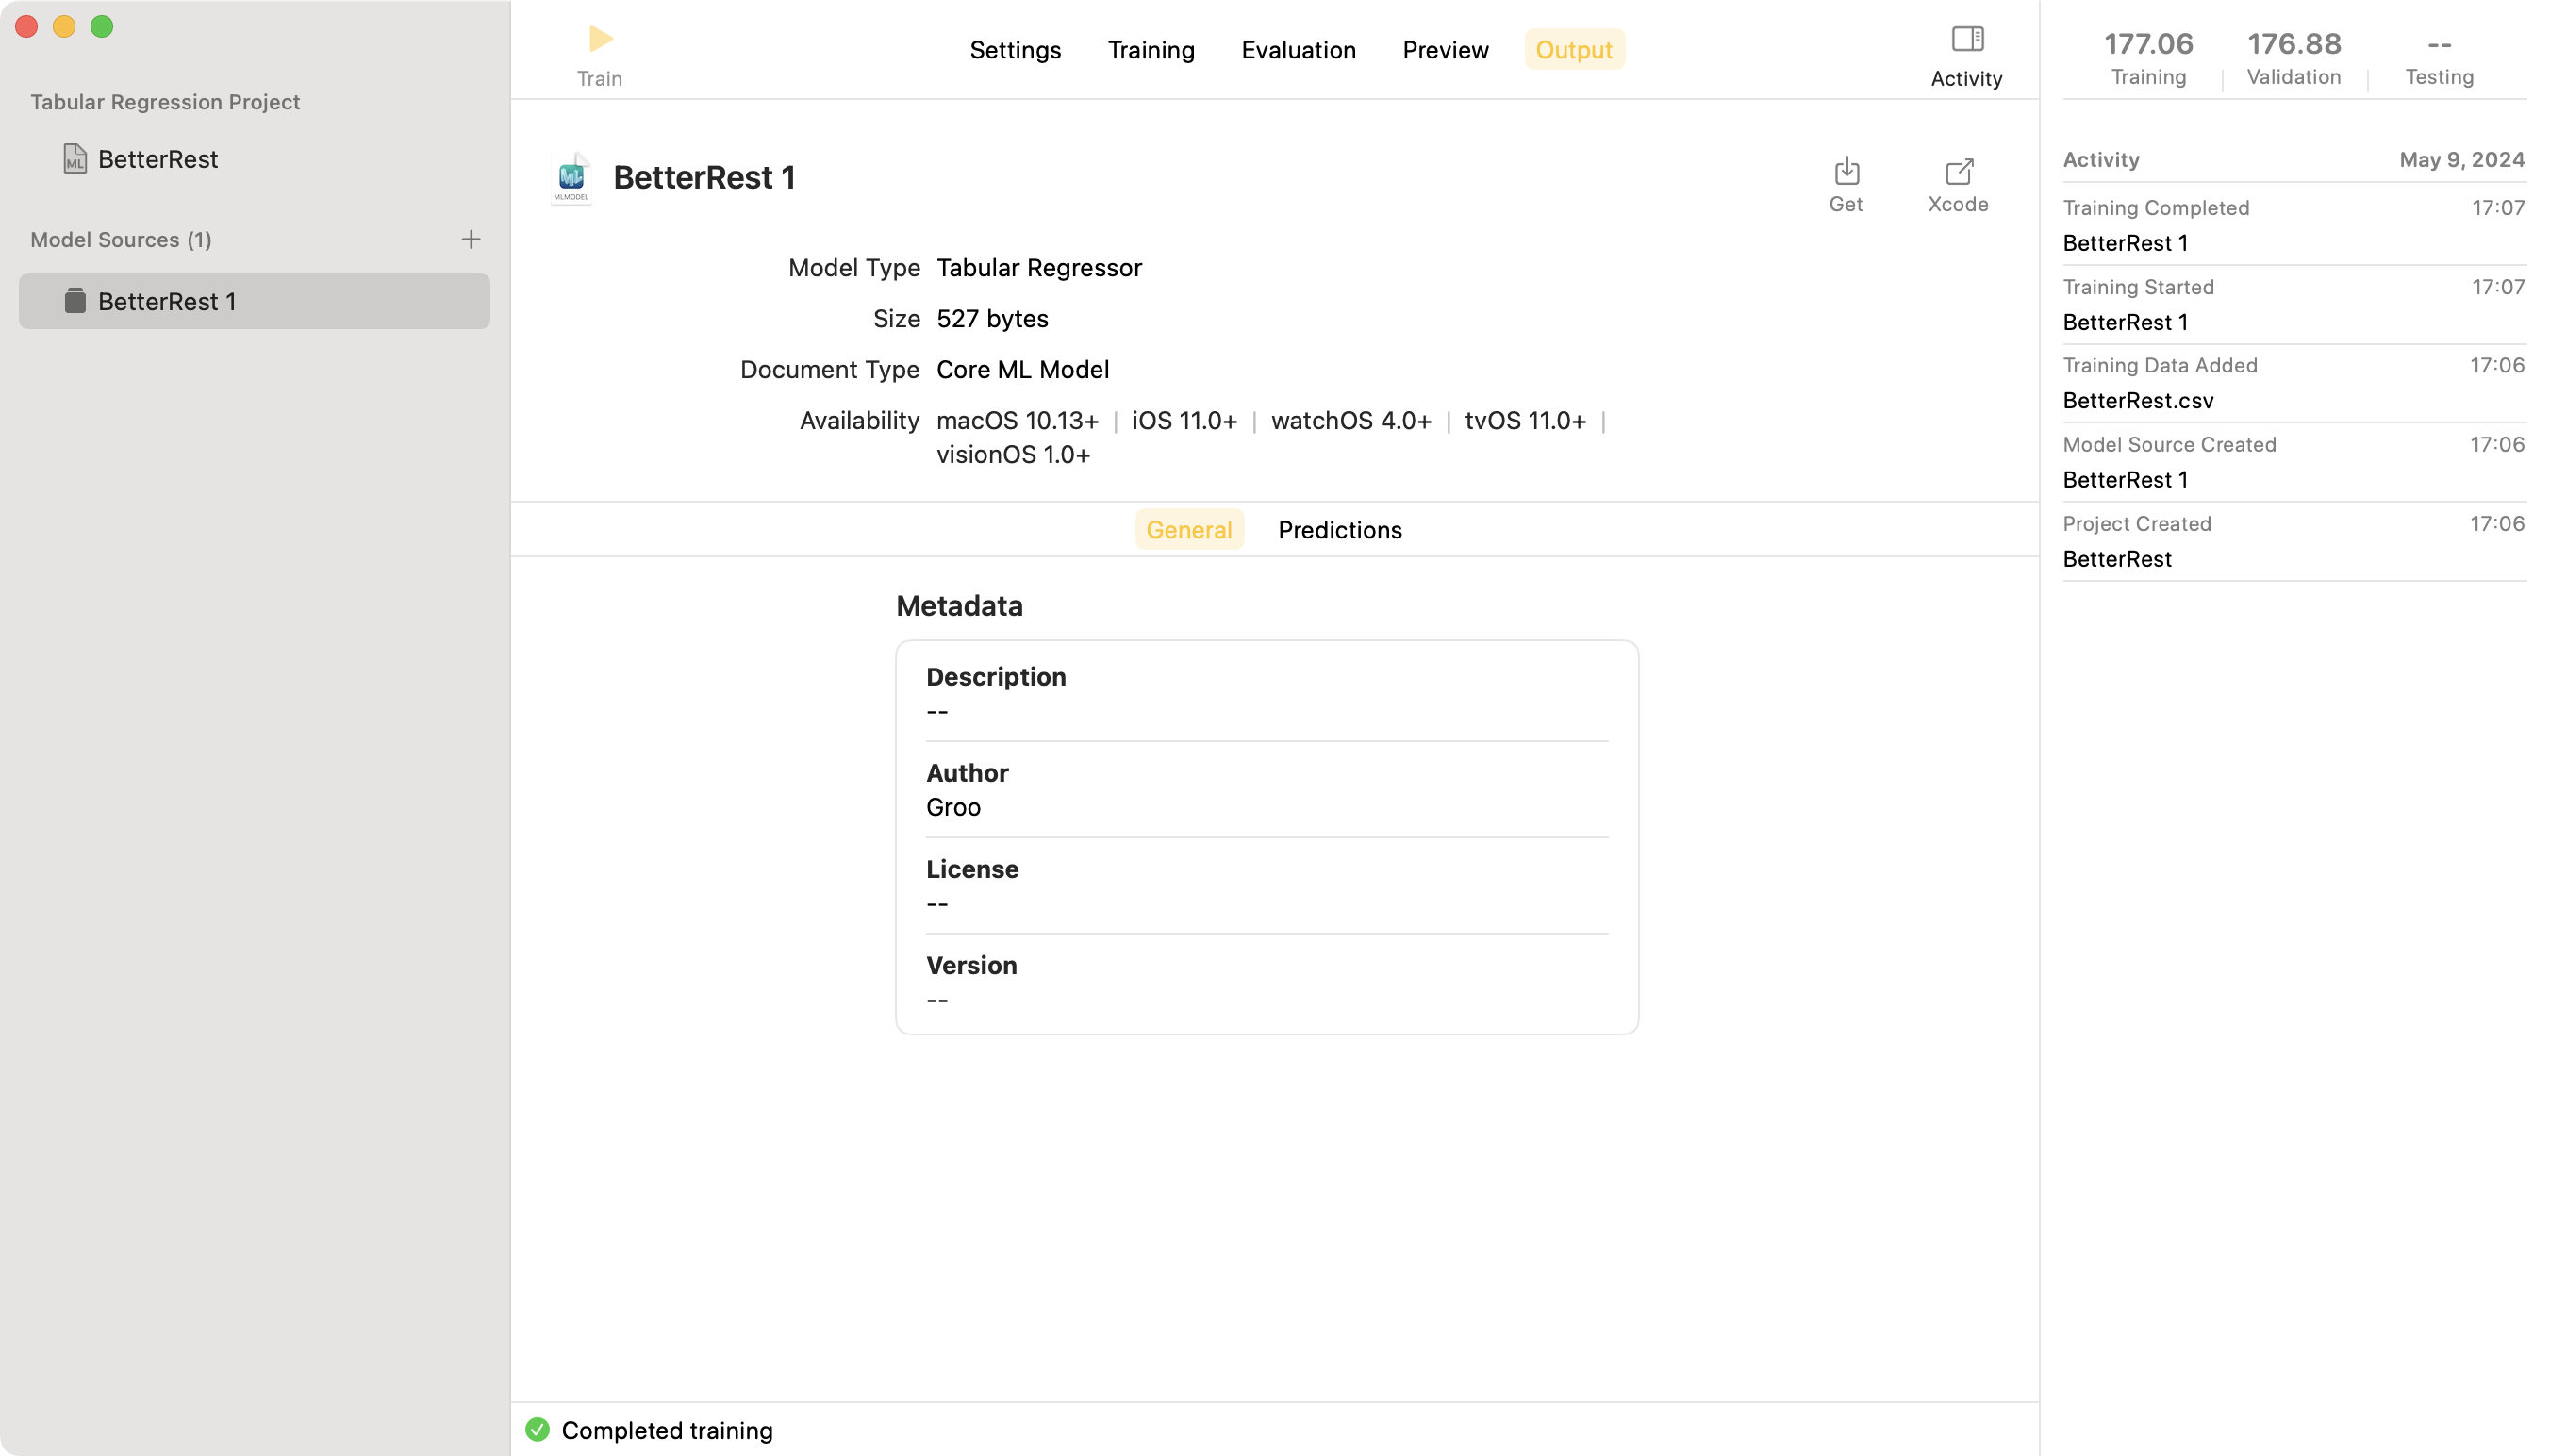
Create ML
xcode에서 create ml을 통해 커스텀 머신 러닝을 만들어 적용할 수 있다.
영상에서는 BetterRest.csv파일을 automatic으로 분석하여 최적의actualSleep의 결과를 얻는 실습을 했다.
만들어진 파일들
https://github.com/treesofgroo/Ios-BetterRest/commit/5af39b5b9d73f7a8786cbd52b9b3b48bd06abef3
