onChange
아래처럼 @State인 변수 blurAmout 값을 slider로 조절하고 이를 텍스트에 적용하는 예시가 있다.
struct ContentView: View {
    @State private var blurAmout = 0.0 {
        didSet {
            print("blur amount: \(blurAmout)")
        }
    }
    var body: some View {
        VStack {
            Text("This is a text")
                .blur(radius: blurAmout)
            Slider(value: $blurAmout, in: 0...10)
            Button("Blur text randomly") {
                blurAmout = Double.random(in: 0...10)
            }
        }
        .padding()
    }
}
문제는 blurAmount가 변할 때마다 print하도록 설정했으나, 버튼과 달리 slider에서 변경할 때는 실행되지 않는다.
이는 Property wrapper가 속성을 다른 구조체에 안에 래핑하기 때문에, blurAmount가 아니라 blurAmount를 감싸는 State가 변경될 때 print를 실행한다고 한다. 아직은 이해가 어려워서 차근히 번역하면서 이해 중이다.
그래서 위와 같은 상황을 위한 modifier를 사용하면 된다.
struct ContentView: View {
    @State private var blurAmout = 0.0
    var body: some View {
        VStack {
            Text("This is a text")
                .blur(radius: blurAmout)
            Slider(value: $blurAmout, in: 0...10)
                .onChange(of: blurAmout) { oldValue, newValue in
                    print("blur amount: \(newValue)")
                }
            Button("Blur text randomly") {
                blurAmout = Double.random(in: 0...10)
            }
        }
        .padding()
    }
}
onChange는 slider나 vstack 등 효과를 주고 싶은 어떤 view에 해도 된다.
confirmationDialog
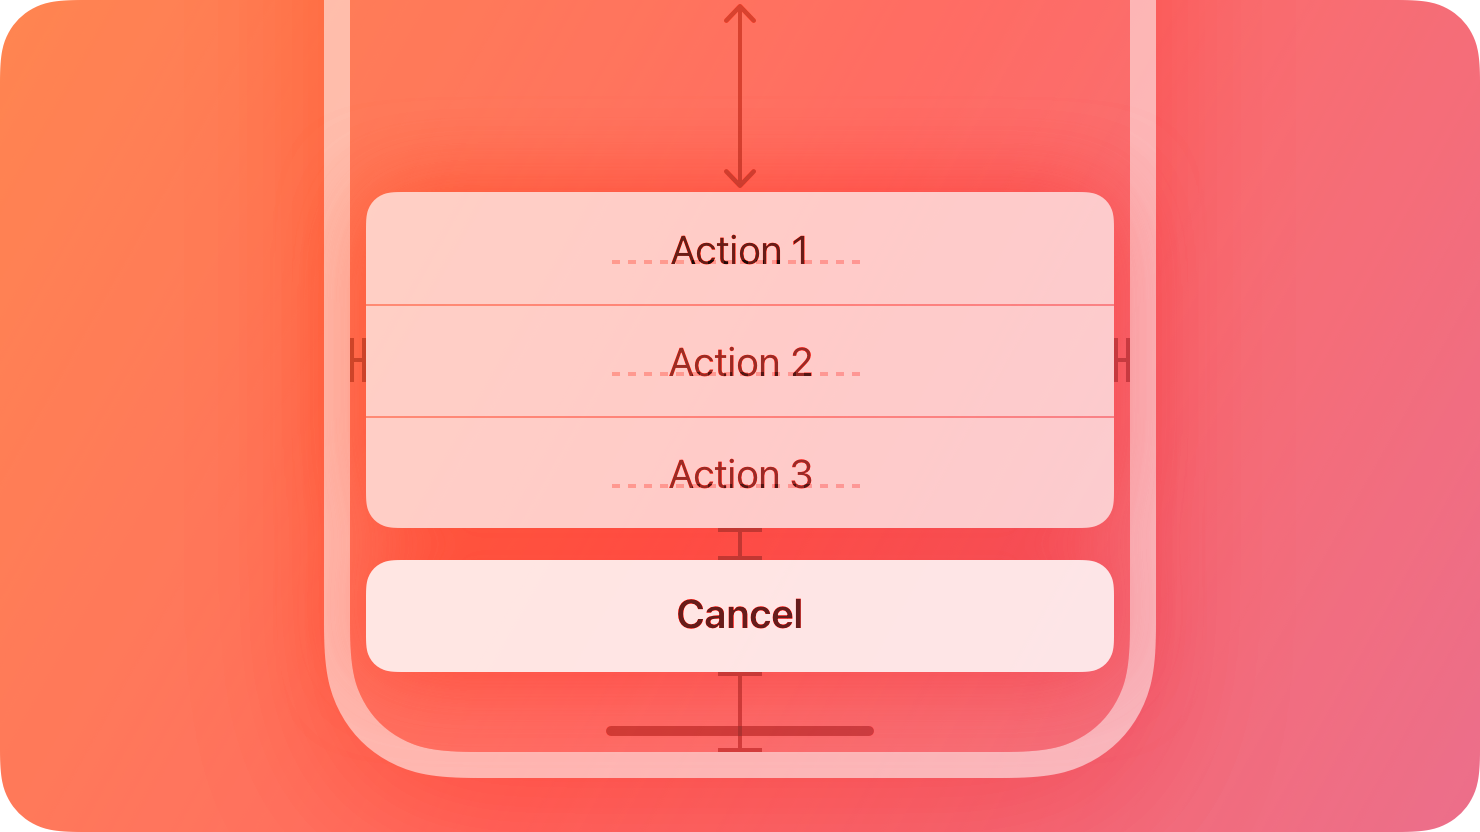
이 action sheet인 confirmationDialog를 활용해서 View의 배경 색을 변경해봤다.
struct ContentView: View {
    @State private var showingconfirmationDialog = false
    @State private var backgroundColor = Color.white
    var body: some View {
        Button("Tap to change background color") {
            showingconfirmationDialog = true
        }
        .background(backgroundColor)
        .frame(width: 100, height: 100)
        .confirmationDialog("Set Color", isPresented: $showingconfirmationDialog) {
            Button("Yellow") { backgroundColor = Color.yellow }
            Button("Cyan") { backgroundColor = Color.cyan }
            Button("Mint") { backgroundColor = Color.mint }
            Button("Cancel", role: .cancel) { }
        } message: {
            Text("Which color do you want?")
        }
    }
}개인적으로 아래 있는 버튼을 좋아하고 활용해보고 싶었어서 반가웠고 앞으로 간단히 사용해볼 수 있겠다.
HIG 문서: Action sheet
https://developer.apple.com/design/human-interface-guidelines/action-sheets

계속 해보자