MapKit
MapKit으로 지도를 나타낼 수 있다. 기본적으로는 아래 코드를 이용해 지도를 나타내고 지도 위의 핀을 나타내거나 위치를 설정하는 등의 방법을 아래에 차차 설명한다.
import MapKit
import SwiftUI
struct ContentView: View {
var body: some View {
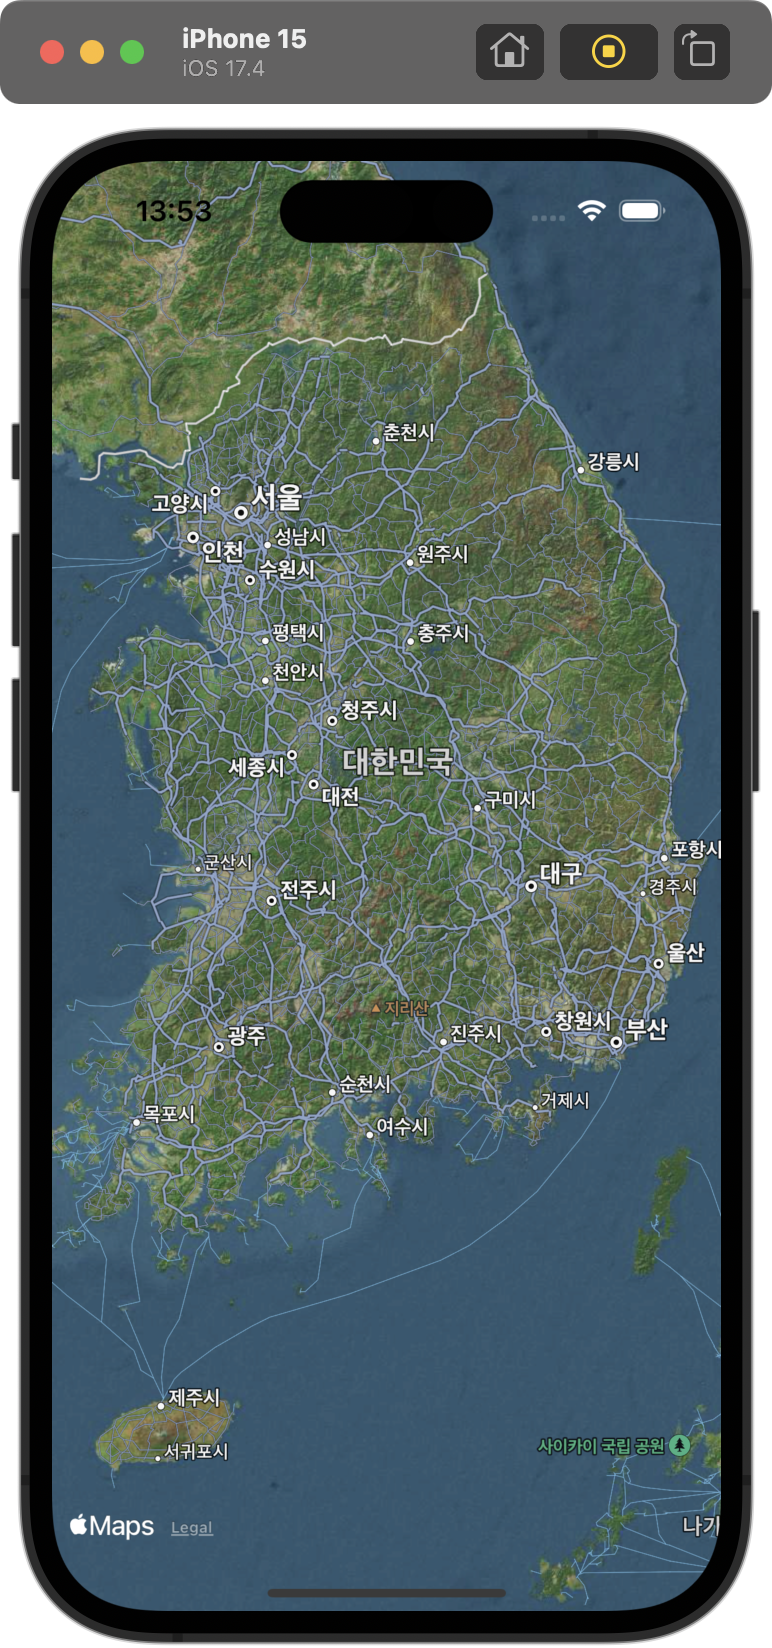
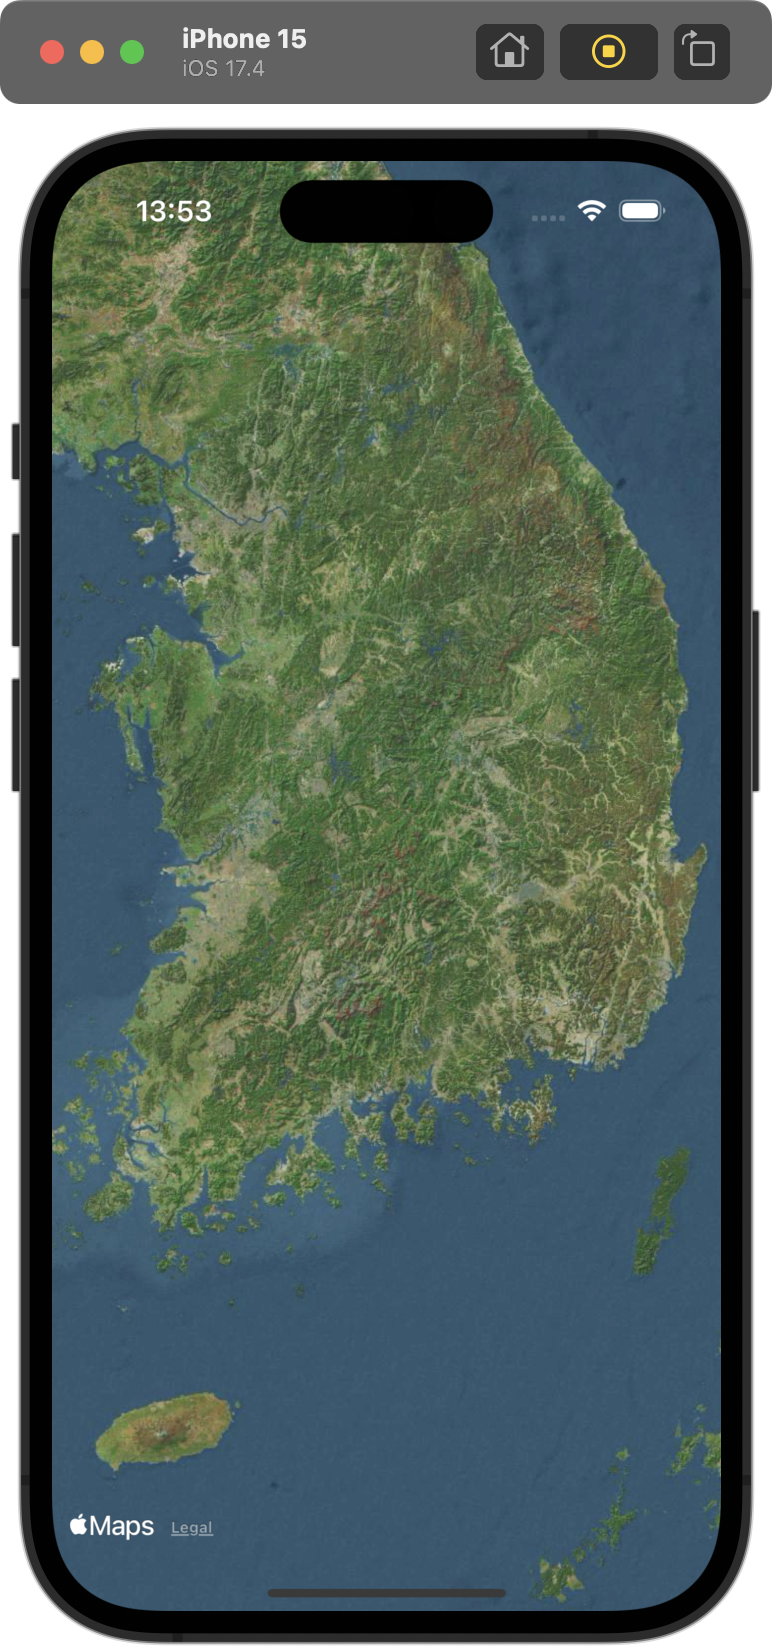
Map()
.mapStyle(.imagery)
}
} |  |  |
|---|
mapStyle: 기본 / .hybrid / .imagery
💡 또 interactionModes로 제스처를 허용하고 제한할 수 있다.
Map(interactionModes: [.rotate, .zoom])❔ .pitch 옵션은 뭔지 모르겠다. 그 외에 gesture는 아래를 참고했다.
https://developer.apple.com/documentation/uikit/touches_presses_and_gestures/handling_uikit_gestures/handling_pan_gestures
설정된 position으로 이동하기
MapCameraPosition으로 State 변수인 position을 설정한 후,
@State private var position = MapCameraPosition.region(MKCoordinateRegion(center: CLLocationCoordinate2D(latitude: 52.5200066, longitude: 13.404954), span: MKCoordinateSpan(latitudeDelta: 1, longitudeDelta: 1)))Map(position:)의 position에 넘기면 그 위치가 중심이 되어 지도가 나타난다. 그리고 position 이 변경됨에 따라 변경된 위치의 정보를 불러올 때 .onMapCameraChange를 활용할 수 있다.
            Map(position: $position)
                .mapStyle(.hybrid)
                .onMapCameraChange { context in
                    print(context.region)
                }
💡 위 코드는 화면에서 지도를 이동하는 스크롤 제스쳐가 끝나면 print를 실행하지만, .onMapCameraChange(frequency: .continuous)로 설정하면 변화가 있을 때마다(스크롤 중에도) print를 실행한다.
Map(position: $position)
    .onMapCameraChange(frequency: .continuous) { context in
        print(context.region)
}Annotation, Marker로 지도 위에 핀 꽂기
지정한 위치에 Marker 혹은 Annotation으로 표시할 수 있다. Marker의 경우 자동으로 빨간 동그라미 배경 안의 흰색 열쇠 모양이 핀으로 설정되지만, Annotation은 사용자화할 수 있다.

struct ContentView: View {
    let locations = [
        Location(name: "Buckingham Palace", coordinate: CLLocationCoordinate2D(latitude: 51.501, longitude: -0.141)),
        Location(name: "Tower of London", coordinate: CLLocationCoordinate2D(latitude: 51.508, longitude: -0.076))
    ]
    var body: some View {
        Map {
            ForEach(locations) { location in
                Annotation(location.name, coordinate: location.coordinate) {
                    Text(location.name)
                        .padding()
                        .background(.yellow.gradient)
                        .clipShape(.capsule)
                }
            }
        }
    }
}
💡 아래 코드를 추가하여 자동으로 설정되는 Annotation 밑의 title을 숨길 수 있다.
.annotationTitles(.hidden)MapReader로 tap한 위치 읽기
MapReader로 지도 화면 중 어딘가를 클릭했을 때, 그 곳의 위치를 경도, 위도로 읽을 수 있다.
MapReader { proxy in
    Map()
        .onTapGesture { position in
            if let coordinate = proxy.convert(position, from: .local) {
                print(coordinate)
            }
        }
}face id 활용하기
LocalAuthentication을 통해 잠금/해제 기능을 추가할 수 있다.
먼저 앱의 Info에 'Privacy - Face ID Usage Description'를 추가한다.
그리고 face id를 사용하기 위한 다음 코드를 설정한다.
import SwiftUI
import LocalAuthentication

	// ...
    func authenticate() {
        let context = LAContext()
        var error: NSError?
        if context.canEvaluatePolicy(.deviceOwnerAuthenticationWithBiometrics, error: &error) { // check if biometric is possible
            let reason = "We need to unlock your daaaata"
            context.evaluatePolicy(.deviceOwnerAuthenticationWithBiometrics, localizedReason: reason) { success, authenticationError in
                if success {
                    // when unlocking success
                    isLocked = false
                } else {
                    // when unlocking failed
                }
            }
        } else {
            // cannot use biometrics
        }
    }
}
❗️ 유의할 점은 face id가 불가능할 때, 성공했을 때, 실패했을 때(일치하지 않았을 때)에 대한 모든 경우를 고려해야 하는 것이다.
그리고 그 상태에 따라 화면에 적용하여 보여주면 된다.
struct ContentView: View {
@State private var isLocked = true
var body: some View {
VStack {
if isLocked {
Image(systemName: "lock")
.font(.largeTitle)
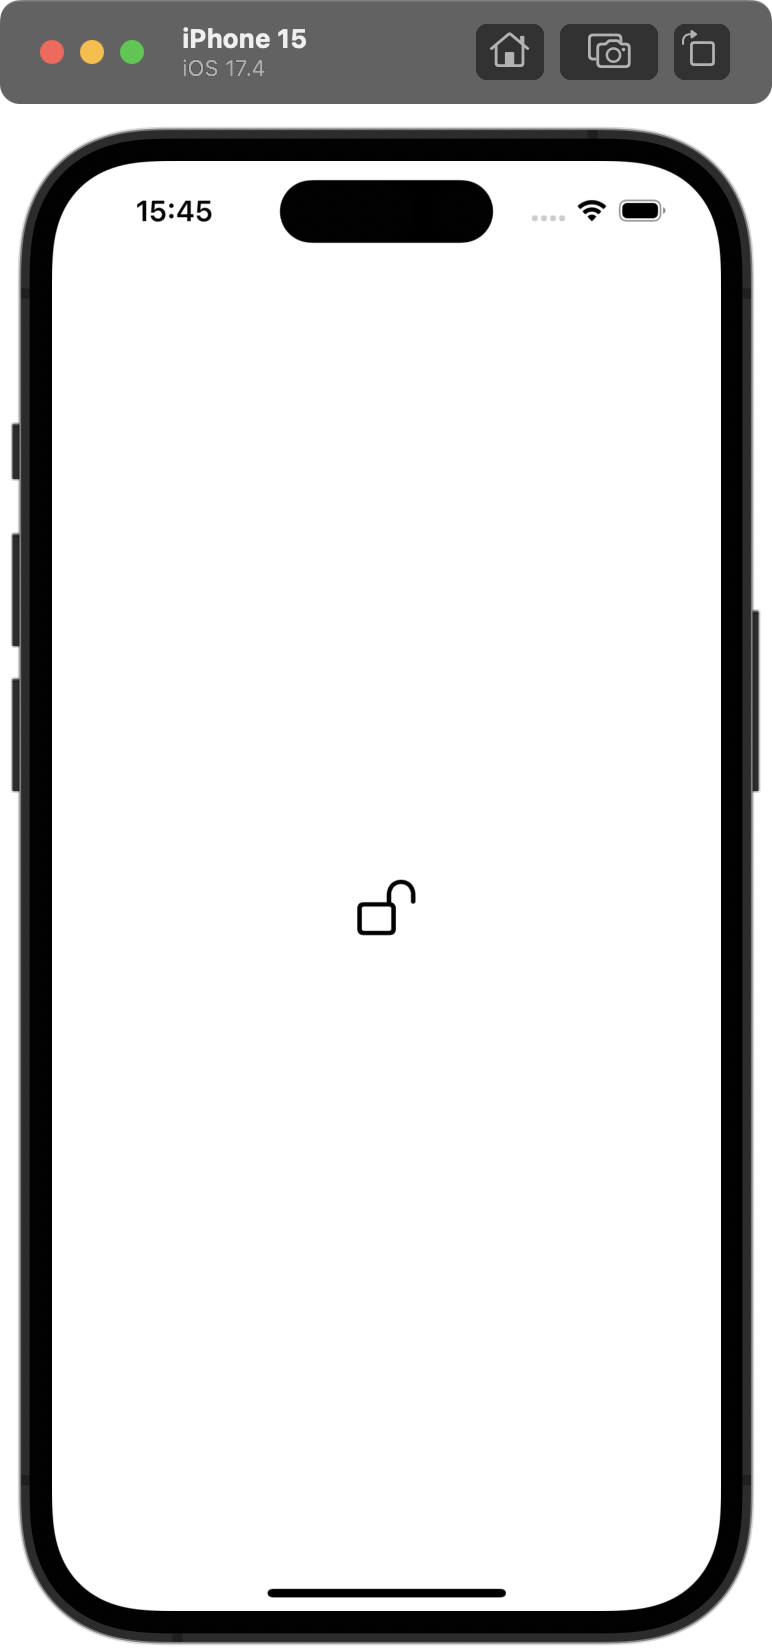
} else {
Image(systemName: "lock.open")
.font(.largeTitle)
}
}
.onAppear(perform: authenticate)
}
// ...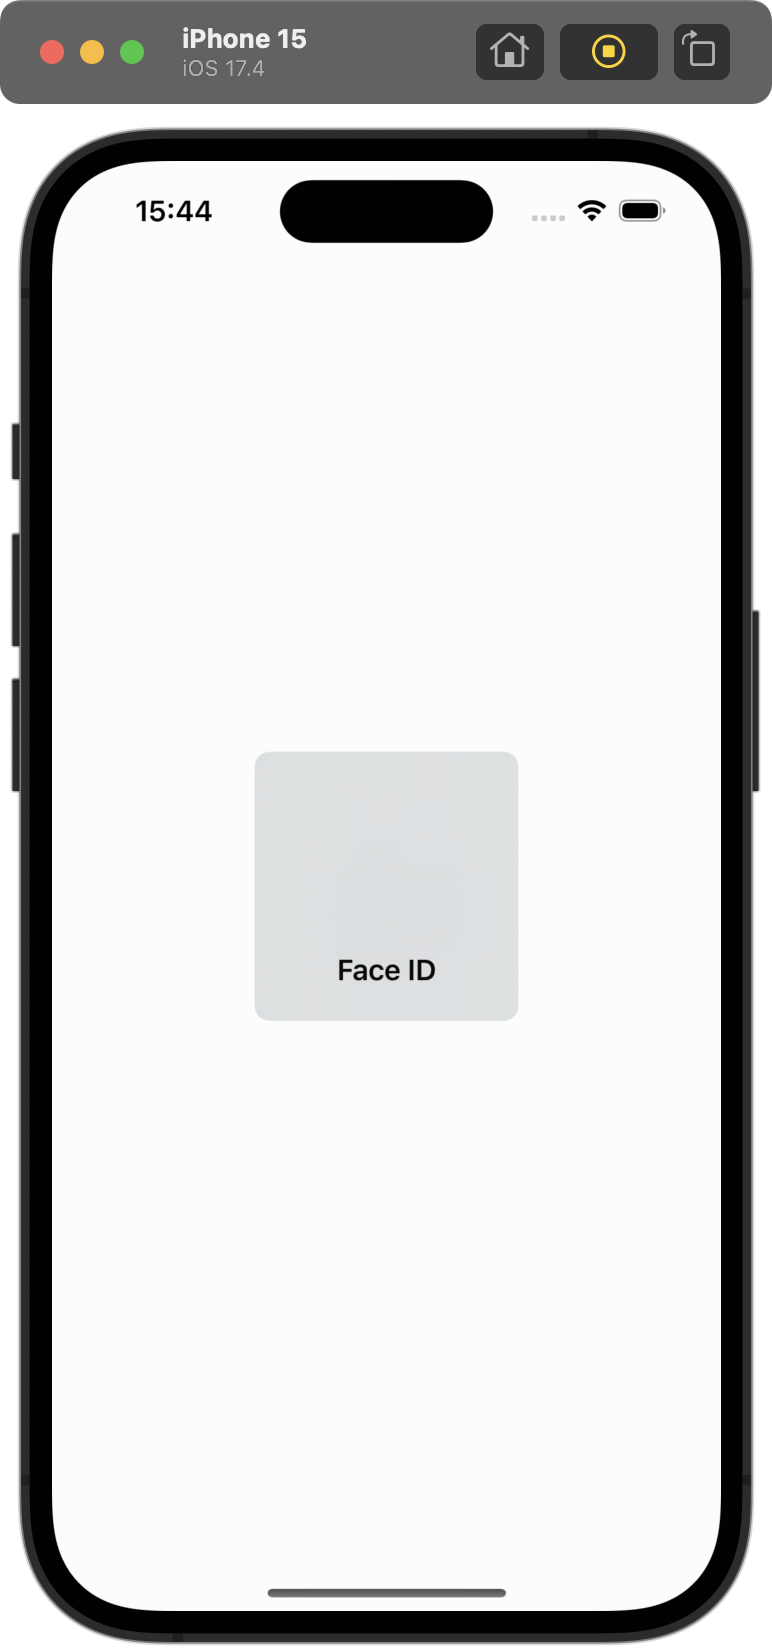 | 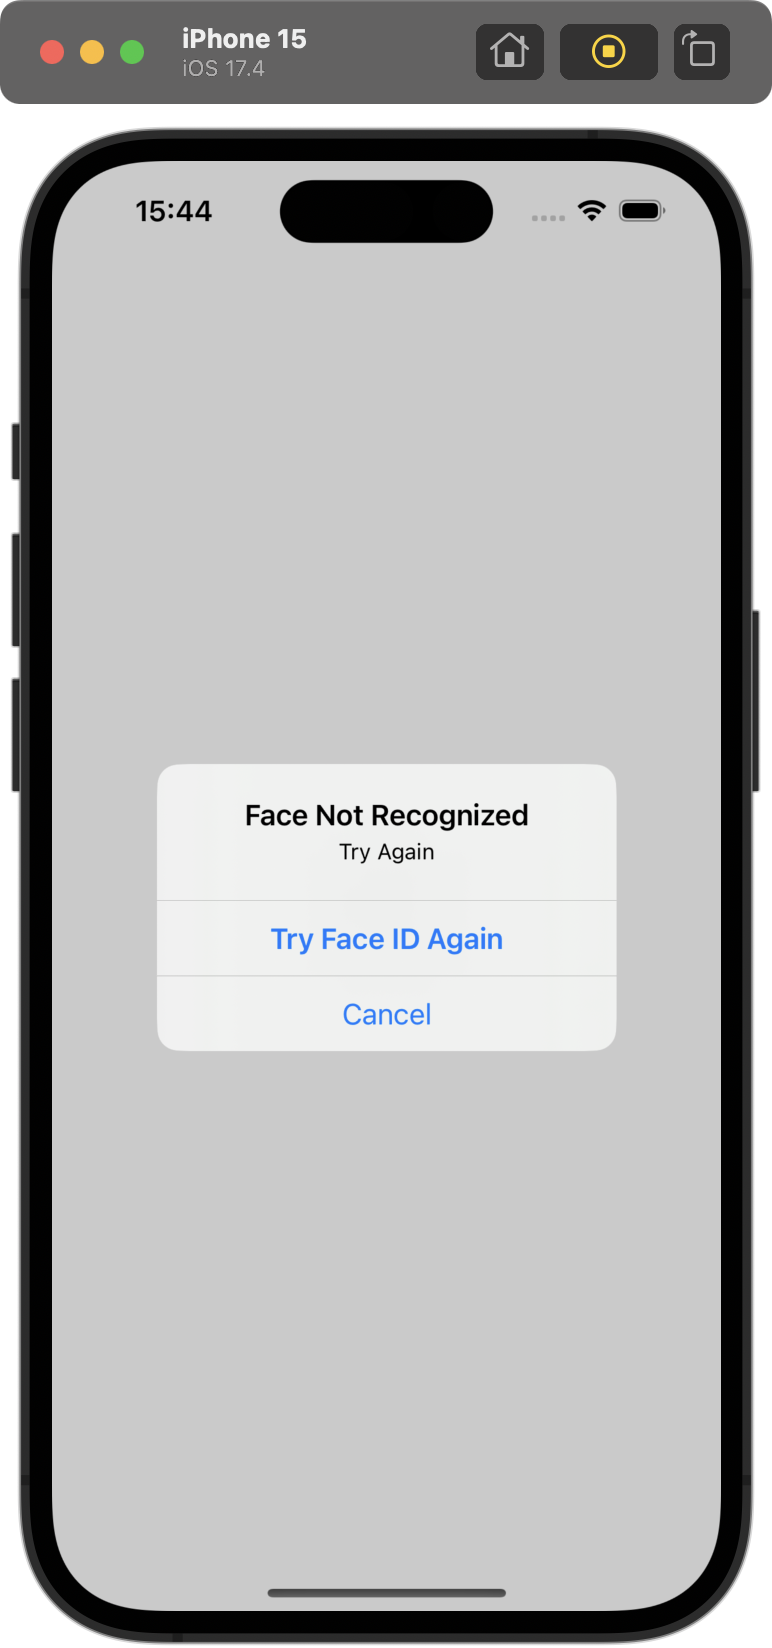 |  |
|---|
enrolled / non-matching face(option + command + N) / matching face(option + command + M)
💡 시뮬레이터는 자동으로 face id가 제한되어 있는데, 메뉴에서 Features > Face Id로 허용하고, 잠금 해제 혹은 실패를 입력할 수 있다. 대신 각 단계마다 시뮬레이터를 재빌드해야 한다.
