클릭한 위치를 지도에 마커로 추가하기
먼저 시작 위치를 지정하여 Map을 화면에 나타낸다. 그리고 탭을 인식하기 위해 .onTapGesture를 설정하고 클릭된 position을 출력한다.
struct ContentView: View {
    let startPosition = MapCameraPosition.region(MKCoordinateRegion(center: CLLocationCoordinate2D(latitude: 56, longitude: -3), span: MKCoordinateSpan(latitudeDelta: 10, longitudeDelta: 10)))
    var body: some View {
        Map(initialPosition: startPosition)
            .onTapGesture { position in
                print("position: \(position)")
            }
    }
}
사진에서 확인할 수 있듯이 Map이 아닌 스크린의 좌표가 출력된다.
지도 상의 위치를 읽고 싶을 때는 아래처럼 MapReader를 사용하면 된다.
        MapReader { proxy in
            Map(initialPosition: startPosition)
                .onTapGesture { position in
                    if let coordinate = proxy.convert(position, from: .local) {
                        print("coordinate: \(coordinate)")
                    }
                }
        }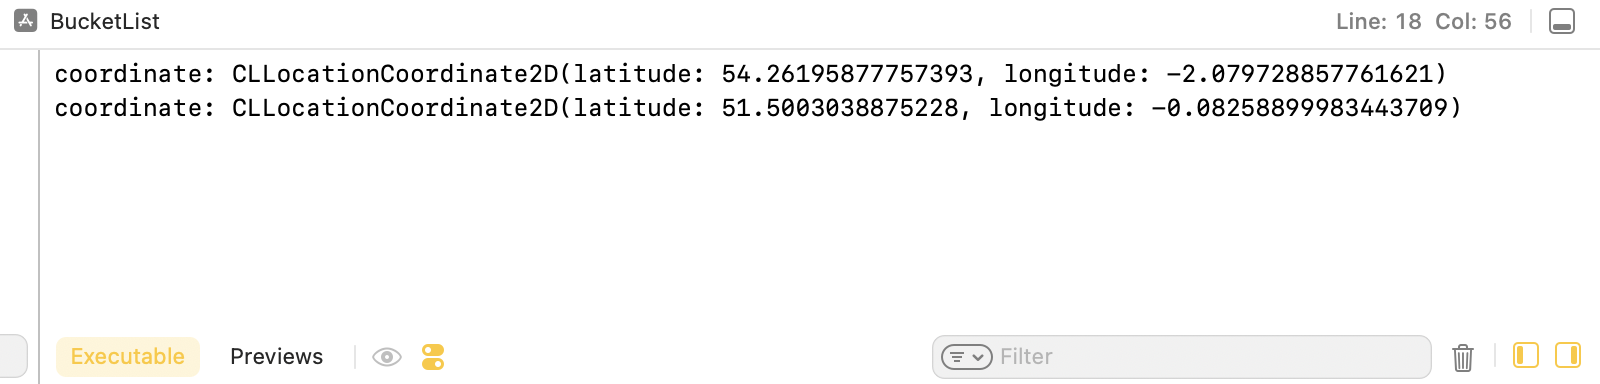
그러면 지도 상의 좌표(경도, 위도)가 출력되는 것을 확인할 수 있다.
여기에 더하여 아래처럼 장소를 배열에 저장하고 저장된 장소들을 Marker로 표현하여 장소를 추가할 수 있다.
추가
위의 작업에 추가로 더 하면 좋은 것들을 기록해둔다.
struct Location: Codable, Equatable, Identifiable {
    var id = UUID()
    var name: String
    var longitude: Double
    var latitude: Double
    var coordinate: CLLocationCoordinate2D {
        CLLocationCoordinate2D(latitude: latitude, longitude: longitude)
    }

    #if DEBUG
    static let example = Location(id: UUID(), name: "Buckingham Palace", longitude: -0.141, latitude: 51.501)
    #endif
    static func ==(lhs: Location, rhs: Location) -> Bool {
        lhs.id == rhs.id
    }
}- 입력받은
longitude,latitude를 CLLocationCoordinate2D인coordinate로 저장하기 - 미리 볼 수 있는 예시를 만들고 Appstore에 올릴 때는 적용되지 않도록 #if DEBUG, #endif로 감싸기
- == 연산을 위한 operator overloading 설정하기
💡 Location이 Equatable이라서 swift에 의해 자동으로 같은 자료형인 것끼리 비교가 가능하다. 그러나 자동으로 설정된 비교는 속성 하나하나 일치하는지 확인하는 것이라서 위처럼 id, coordinate 등의 특정 값만 일치하면 된다면 직접 설정하는 것이 좋다.
- 그리고 Annotation 꾸미기

                    Annotation(location.name, coordinate: location.coordinate) {
                        Text(emojis[Int.random(in: 0..<emojis.count)])
                            .font(.title)
                            .background(.white)
                            .clipShape(.circle)
                            .frame(width: 40, height: 40)
                    }
                    .annotationTitles(.hidden)
설정한 Location 수정하기
위 사진처럼 만들어진 Annotation을 클릭하여 그 장소의 이름을 수정할 수 있도록 할 수 있다.
.onLongPressGesture 설정하기
먼저, 만들어진 Annotation을 길게 클릭하면 sheet가 펼쳐지도록 설정한다.
                            .onLongPressGesture {
                                selectedPlace = location
                            }
                            // ...
                                    .sheet(item: $selectedPlace) { place in
            Text(place.name)
}sheet에서 보여줄 LocationView 설정하기
다음으로는 장소의 이름을 수정할 수 있는 LocationView를 생성했다. Form에 name을 수정할 수 있는 TextField를 만들고, toolbar에는 저장할 수 있는 버튼을 설정했다. 그리고 이 뷰는 location을 넘겨받아 기존의 name은 생성자로 State인 변수 name에 지정했다.
struct LocationView: View {
    @Environment(\.dismiss) var dismiss
    var location: Location
    @State private var name: String
    var body: some View {
        Form {
            TextField("Place name", text: $name)
        }
        .navigationTitle("Selected Place")
        .toolbar {
            Button("Save") {
                dismiss()
            }
        }
    }
    init(location: Location) {
        self.location = location
        _name = State(initialValue: location.name)
    }
}변경사항 저장하는 onSave 함수 설정하기
그리고 변경된 name을 저장하는 함수 onSave()를 설정했다. 강의에서 알려준 방식은 onSave()를 LocationView에서 실행하되 ContentView에서 정의를 하는 방식이었다.
LocationView에서 Save 버튼을 누르면 변경된 name이 저장된 newLocation을 인수로 onSave를 실행한다.
                Button("Save") {
                    var newLocation = location
                    newLocation.name = name
                    onSave(newLocation)
                    dismiss()
                }
그러면 ContentView에서 locations에서 기존 place를 newLocation으로 대체한다.
        .sheet(item: $selectedPlace) { place in
            LocationView(location: place) { newLocation in
                if let index = locations.firstIndex(of: place) {
                    locations[index] = newLocation
                }
}생성자나 preview의 설정을 보면 평소 사용하던 문법이 아니라서 참고할 필요가 있었다.
💡 onSave()는 save 버튼이 눌러졌을 때만 실행되어야 하므로 @escaping으로 함수를 호출하지 않고 나중에 사용될 때를 위해 숨겨놓는 다고 한다.
id 새로 설정하기
위의 과정까지 진행하고 앱을 실행하면 name을 수정해도 적용되지 않는 것을 확인할 수 있다. 기존의 Location인 place와 name이 변경된 Location인 newLocation은 name만 다르고 id가 동일해서 SwiftUI가 같은 것이라고 인식하고 지도에서 변경하지 않는다고 한다. 그래서 다시 새로운 id를 생성해서 새로운 Location으로 대체해서 같은 장소의 이름을 수정했다.
