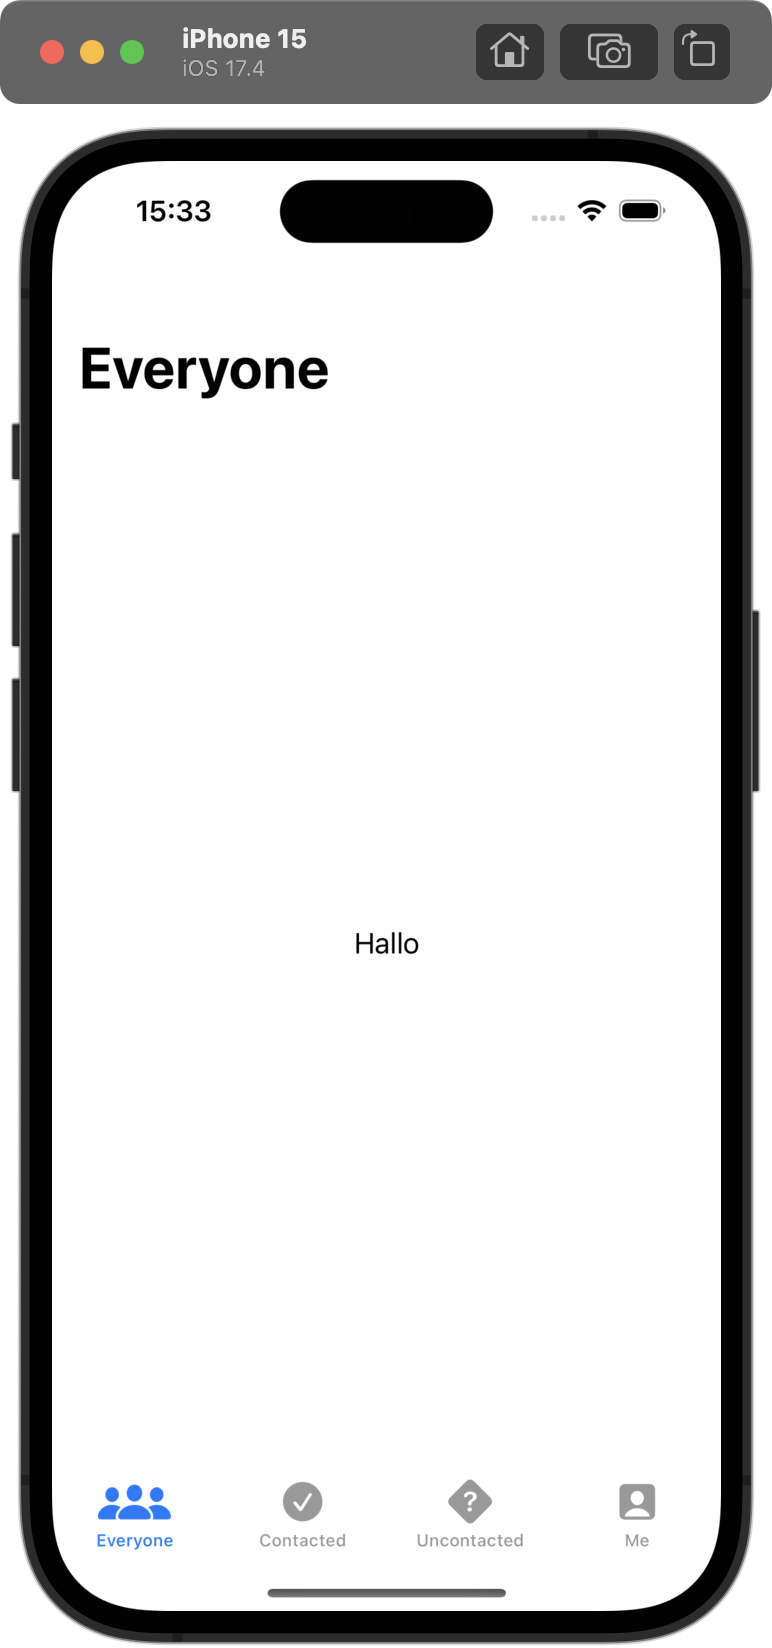
TabView 설정하기
TabView를 아래처럼 4가지의 아이템(뷰)로 설정했다.
        TabView {
            ProspectsView(filterType: .none)
                .tabItem {
                    Label("Everyone", systemImage: "person.3")
                }
            ProspectsView(filterType: .contacted)
                .tabItem {
                    Label("Contacted", systemImage: "checkmark.circle")
                }
            ProspectsView(filterType: .uncontacted)
                .tabItem {
                    Label("Uncontacted", systemImage: "questionmark.diamond")
                }
            MeView()
                .tabItem {
                    Label("Me", systemImage: "person.crop.square")
                }
}Prospect를 SwiftData로 저장하기
Prospect 모델을 만들어 swiftData에 저장했다.
import Foundation
import SwiftData

@Model
class Prospect {
    var name: String
    var emailAddress: String
    var isContated: Bool

    init(name: String, emailAddress: String, isContated: Bool) {
        self.name = name
        self.emailAddress = emailAddress
        self.isContated = isContated
    }
}Prospect를 filter, sort
filterType에 따라 화면에서 보여주는 Prospect이 다르다. 그래서 initializer를 통해 prospects를 filter한 값을 가지도록 설정했다.
💡 isContatedOnly는 비교하는 값이 .contacted와 같으면 true를 반환하고 아니면 false를 반환한다.
    init(filterType: FilterType) {
        self.filterType = filterType
        if filterType != .none {
            let isContatedOnly = filterType == .contacted
            _prospects = Query(filter: #Predicate<Prospect> {
                $0.isContated == isContatedOnly
            }, sort: \Prospect.name)
        }
}아래는 강의에서 사용한 코드이고, SortDescriptor를 사용하거나 #Predicate 옆에 type을 적지 않는 점이 다르다. 살짝 달라서 가져왔다.
init(filter: FilterType) {
    self.filter = filter

    if filter != .none {
        let showContactedOnly = filter == .contacted

        _prospects = Query(filter: #Predicate {
            $0.isContacted == showContactedOnly
        }, sort: [SortDescriptor(\Prospect.name)])
    }
}
계속 해보자