GeometryReader로 이미지 크기 조절하기
GeometryReader로 가능한 영역에서 비율대로 크기를 조절할 수 있다.
예시로 아래 사진은 이미지가 존재 가능한 영역(스크린 전체)의 가로에서 30% 크기로 지정된 모습이다.
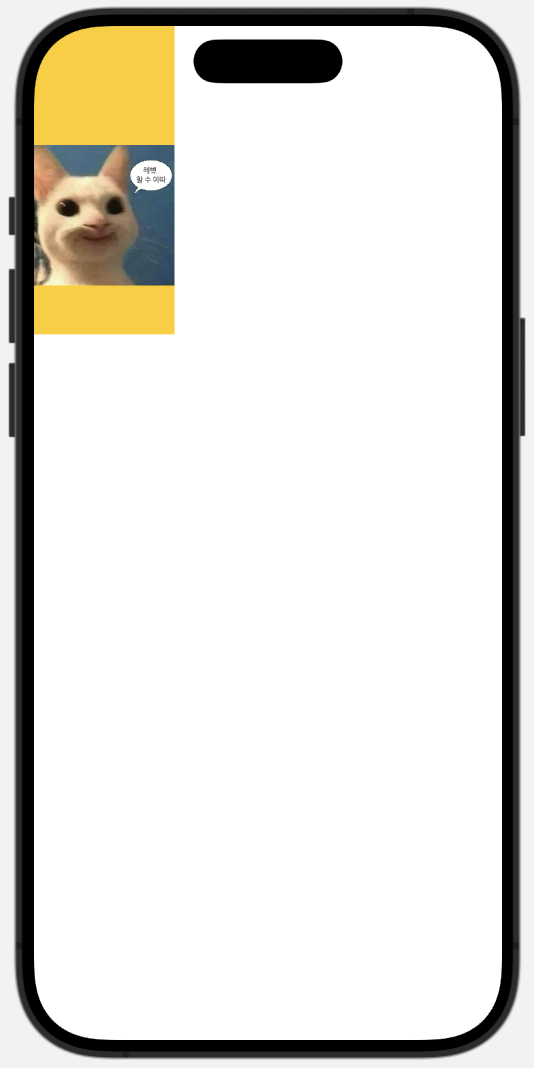
        GeometryReader { proxy in
            Image(.example)
                .resizable()
                .scaledToFit()
                .frame(width: proxy.size.width * 0.3, height: 200)
                .background(.yellow)
        }
픽셀의 크기가 아니라 비율을 활용하여 크기를 조절하는 것으로 containerRelativeFrame도 있는데, 아래 차이점이 있다.
 |  |
|---|
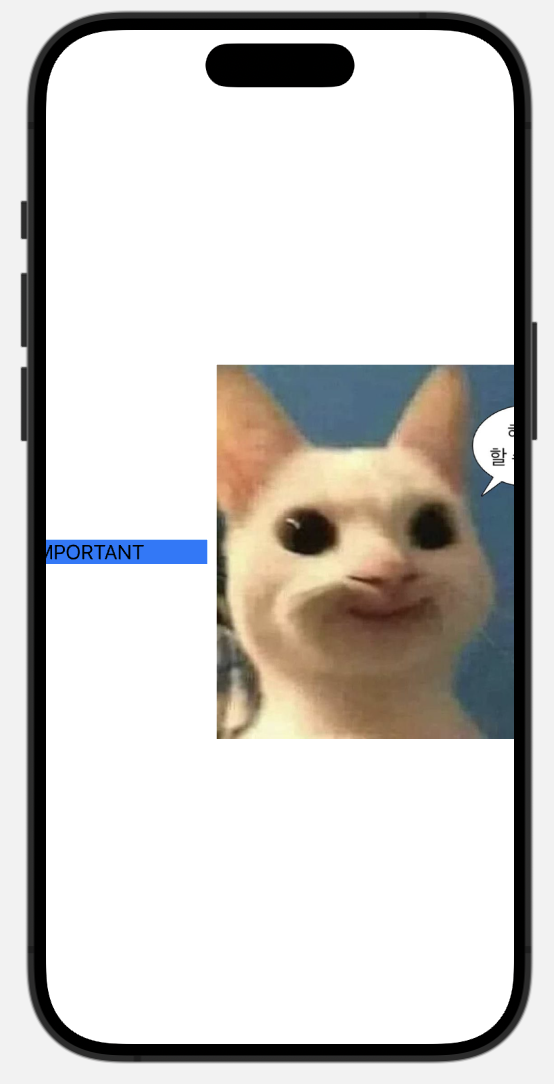
왼쪽 사진이 containerRelativeFrame를 활용한 것으로, image의 super view인 HStack의 가로 너비의 80% 크기이다. 그래서 텍스트, 이미지의 총 가로 너비가 화면의 가로 너비를 넘어 일부분이 보이지 않는다.
// 왼쪽 사진
HStack {
Text("IMPORTANT")
.frame(width: 200)
.background(.blue)
Image(.example)
.resizable()
.scaledToFit()
.containerRelativeFrame(.horizontal) { size, axis in
size * 0.8
}
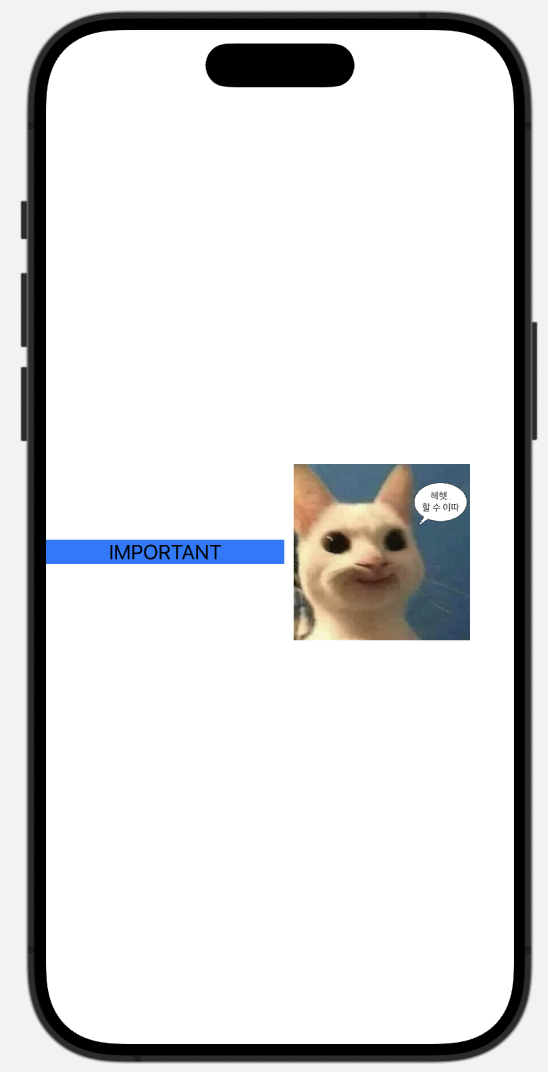
}반대로 오른쪽 사진은 GeometryReader를 이용해서 image가 존재 가능한 영역에서 80%의 크기이다.
// 오른쪽 사진
        HStack {
            Text("IMPORTANT")
                .frame(width: 200)
                .background(.blue)

            GeometryReader { proxy in
                Image(.example)
                    .resizable()
                    .scaledToFit()
                    .frame(width: proxy.size.width * 0.8, height: proxy.size.height)
            }
}GeometryReader를 통해서 View의 global 좌표(전체 화면에서 view의 frame의 상대적 위치), local 좌표(super view에서 해당 view의 frame의 상대적 위치)를 읽을 수 있다.
예시로 다음 화면이 있다.

struct OuterView: View {
    var body: some View {
        VStack {
            Text("Top")
            InnerView()
                .background(.green)
            Text("Bottom")
        }
    }
}

struct InnerView: View {
    var body: some View {
        HStack {
            Text("Left")
            GeometryReader { proxy in
                Text("Center")
                    .background(.blue)
                    .onTapGesture {
                        print("Global center: \(proxy.frame(in: .global).midX) x \(proxy.frame(in: .global).midY)")
                        print("Custom center: \(proxy.frame(in: .named("Custom")).midX) x \(proxy.frame(in: .named("Custom")).midY)")
                        print("Local center: \(proxy.frame(in: .local).midX) x \(proxy.frame(in: .local).midY)")
                    }
            }
            .background(.orange)
            Text("Right")
        }
    }
}

struct ContentView: View {
    var body: some View {
        OuterView()
            .background(.red)
            .coordinateSpace(name: "Custom")
    }
}
위의 화면에서 center를 누르면 다음 결과를 얻을 수 있다.

요약하자면 다음과 같다.
- global space는 전체 화면에서의 위치이다.
- locabl space는 해당 view의 super view에서의 위치이다.
- custom space는 특정 view에서의 위치이다.
InnerView의 custom view는 OuterView이고, OuterView는 ContentView에서 가능한 만큼의 영역을 차지하고 있어서 global, custom space가 비슷하게 나타난다. 그 중 y가 safe area로 차이가 난다.
ScrollView를 통해 동적으로 GeometryReader 활용하기
GeometryProxy의 frame(in:) 메서드를 사용하면 SwiftUI는 요청한 좌표 공간에서 뷰의 현재 위치를 계산한다. 그러나 뷰가 이동하면 해당 값이 변경되고 SwiftUI는 GeometryReader가 자동으로 업데이트되도록 할 수 있다.
struct ContentView: View {
    let colors: [Color] = [.red, .green, .blue, .orange, .pink, .purple, .yellow]

    var body: some View {
        ScrollView {
            ForEach(0..<50) { index in
                GeometryReader { proxy in
                    Text("Row #\(index)")
                        .font(.title)
                        .frame(maxWidth: .infinity)
                        .background(colors[index % 7])
                        .rotation3DEffect(
                            .degrees(proxy.frame(in: .global).minY / -2),
                                                  axis: (x: 0.0, y: 1.0, z: 0.0)
                        )
                }
                .frame(height: 40)
            }
        }
    }
}
혹은 아래 사진처럼 super view에서 GeometryReader를 사용하여 다르게 나타낼 수 있다.
        GeometryReader { fullView in
            ScrollView {
                ForEach(0..<50) { index in
                    GeometryReader { proxy in
                        Text("Row #\(index)")
                            .font(.title)
                            .frame(maxWidth: .infinity)
                            .background(colors[index % 7])
                            .rotation3DEffect(.degrees(proxy.frame(in: .global).minY - fullView.size.height / 5) / 5, axis: (x: 0, y: 1, z: 0))
                    }
                    .frame(height: 40)
                }
            }
}visualEffect 활용해서
GeometryReader의 경우 scroll view에서 자동적으로 view의 위치를 읽지만, 사용 가능 영역으로 모두 확장되지 않도록 frame의 크기를 설정해야 한다.
이때 visualEffect()라는 대안을 사용해볼 수 있다. 무언가의 모양을 변경하는 효과를 적용할 수 있게 해주는데, 실제로는 뷰의 실제 레이아웃 위치나 프레임에 영향을 미치지 않는다고 한다.
예시로 아래 view를
ScrollView(.horizontal, showsIndicators: false) {
            HStack(spacing: 0) {
                ForEach(1..<20) { num in
                    GeometryReader { proxy in
                        Text("Number \(num)")
                            .font(.largeTitle)
                            .padding()
                            .background(.red)
                            .rotation3DEffect(.degrees(-proxy.frame(in: .global).minX) / 8, axis: (x: 0, y: 1, z: 0))
                            .frame(width: 200, height: 200)
                    }
                    .frame(width: 200, height: 200)
                }
            }
        }
이렇게 변경할 수 있다.
        ScrollView(.horizontal, showsIndicators: false) {
            HStack(spacing: 0) {
                ForEach(1..<20) { num in
                        Text("Number \(num)")
                            .font(.largeTitle)
                            .padding()
                            .background(.red)
                            .frame(width: 200, height: 200)
                            .visualEffect { content, geometryProxy in
                                content
                                    .rotation3DEffect(.degrees(-geometryProxy.frame(in: .global).minX) / 5, axis: (x: 0, y: 1, z: 0))
                            }
                    }
                    .frame(width: 200, height: 200)
            }
            .scrollTargetLayout()
        }
.scrollTargetBehavior(.viewAligned)visualEffect를 활용함으로써 GeometryReader가 활용할 수 있는 영역을 frame으로 명시하지 않아도 된다.
💡 추가로 SwiftUI에 이 HStack 내부의 각 뷰를 스크롤 대상으로 만들고 싶다고 알린 후, .scrollTargetBehavior(.viewAligned)를 ScrollView에 적용해 SwiftUI에 이 스크롤 뷰를 모든 스크롤 대상 간에 부드럽게 이동해야 한다고 명시했다. 그래서 마우스를 놓으면 자동으로 view가 왼쪽 가장자리에 맞춰진 모습을 볼 수 있다.
