Resort 생성하고 NavigationSplitView 설정하기
본격적으로 resorts.json 파일에서 정보를 불러올 구조체 Resort를 설정했다. json 파일은 Bundle에서 불러와 decode할 수 있도록 extension으로 설정했다.
struct Resort: Codable, Hashable, Identifiable {
    let id: String
    let name: String
    let country: String
    let description: String
    let imageCredit: String
    let price: Int
    let size: Int
    let snowDepth: Int
    let elevation: Int
    let runs: Int
    let facilities: [String]

    static let resorts: [Resort] = Bundle.main.decode(file: "resorts.json")
    static let example = resorts[0]
}그리고 불러온 resorts를 NavigationSplitView로 나타냈다.
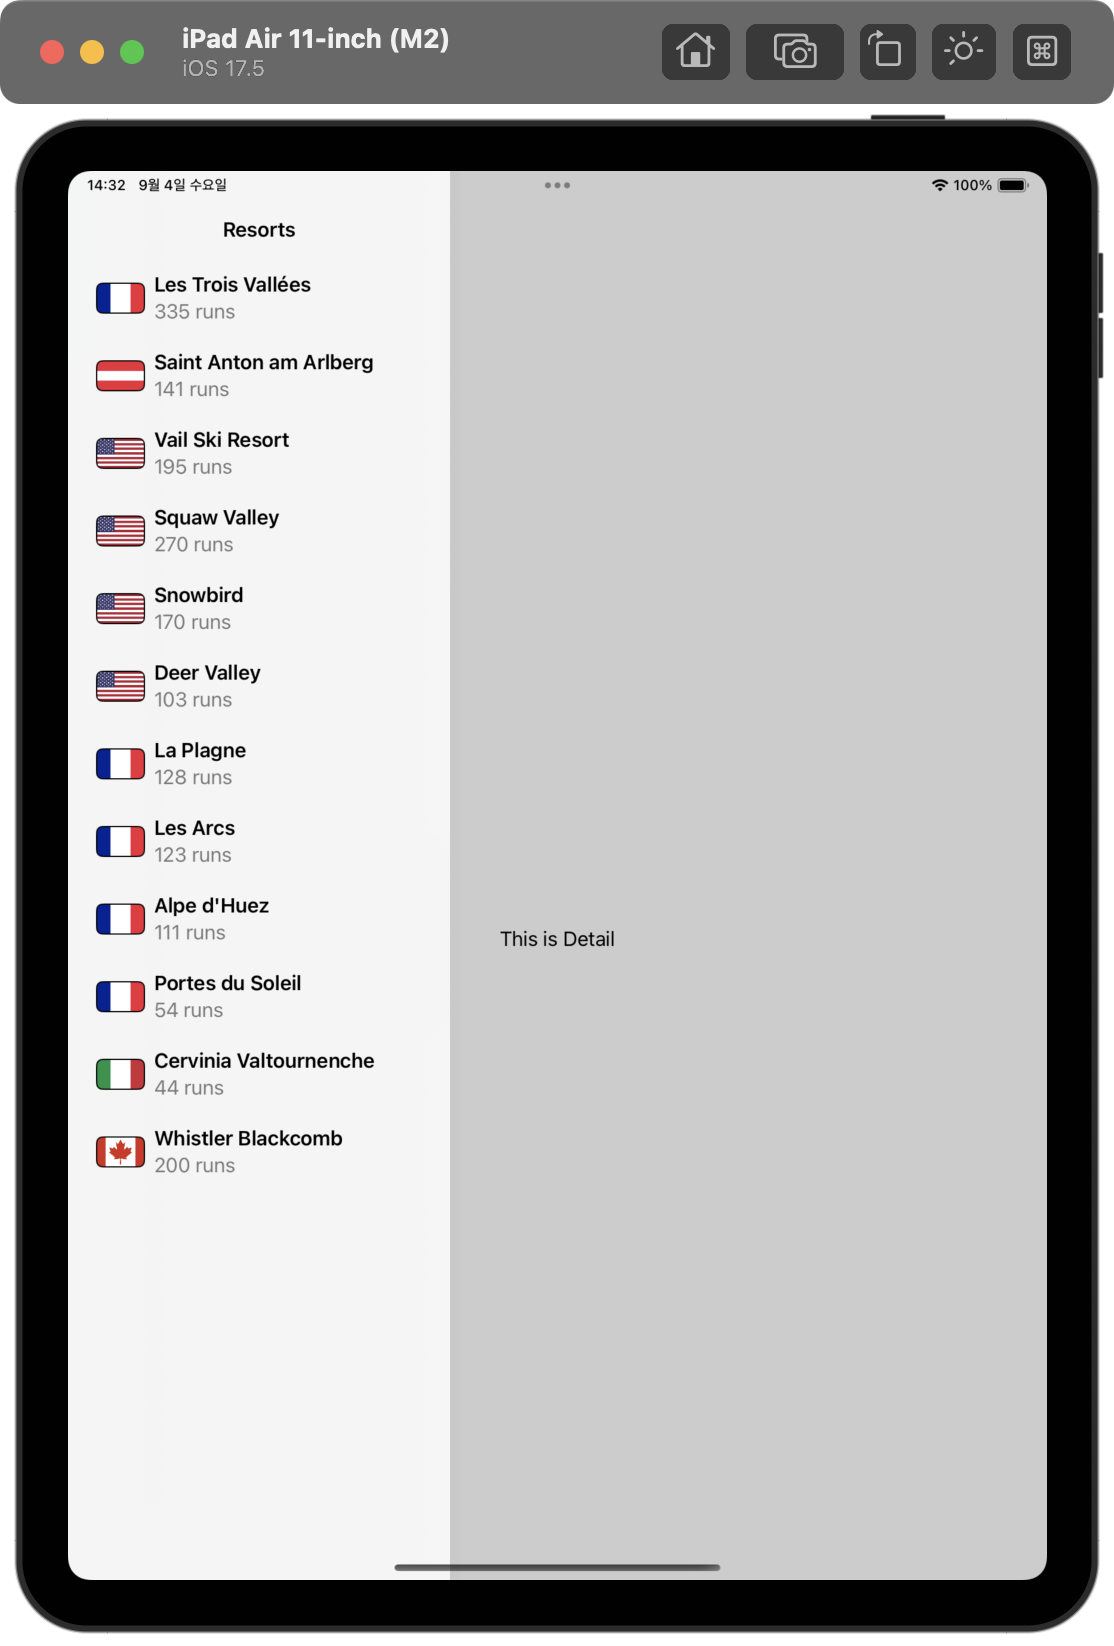
기본 화면 설정하기
WelcomeView를 만들어 기본 화면으로 보이게 detail로 설정했다.
struct WelcomeView: View {
    var body: some View {
        VStack {
            Text("Welcome to SnowSeeker!")
                .font(.largeTitle)
            Text("Please select a resort from the left-hand menu; Swipe from the left edge to see the list of resorts.")
                .foregroundStyle(.secondary)
        }
    }
}
// ...
.navigationTitle("Resorts")
} detail: {
WelcomeView()
}navigationDestination으로 연결하기
ResortView를 만들어 각 Resort에 대한 정보를 나타내고, 이를 리스트에서 클릭하면 볼 수 있도록 navigationDestination으로 설정했다.
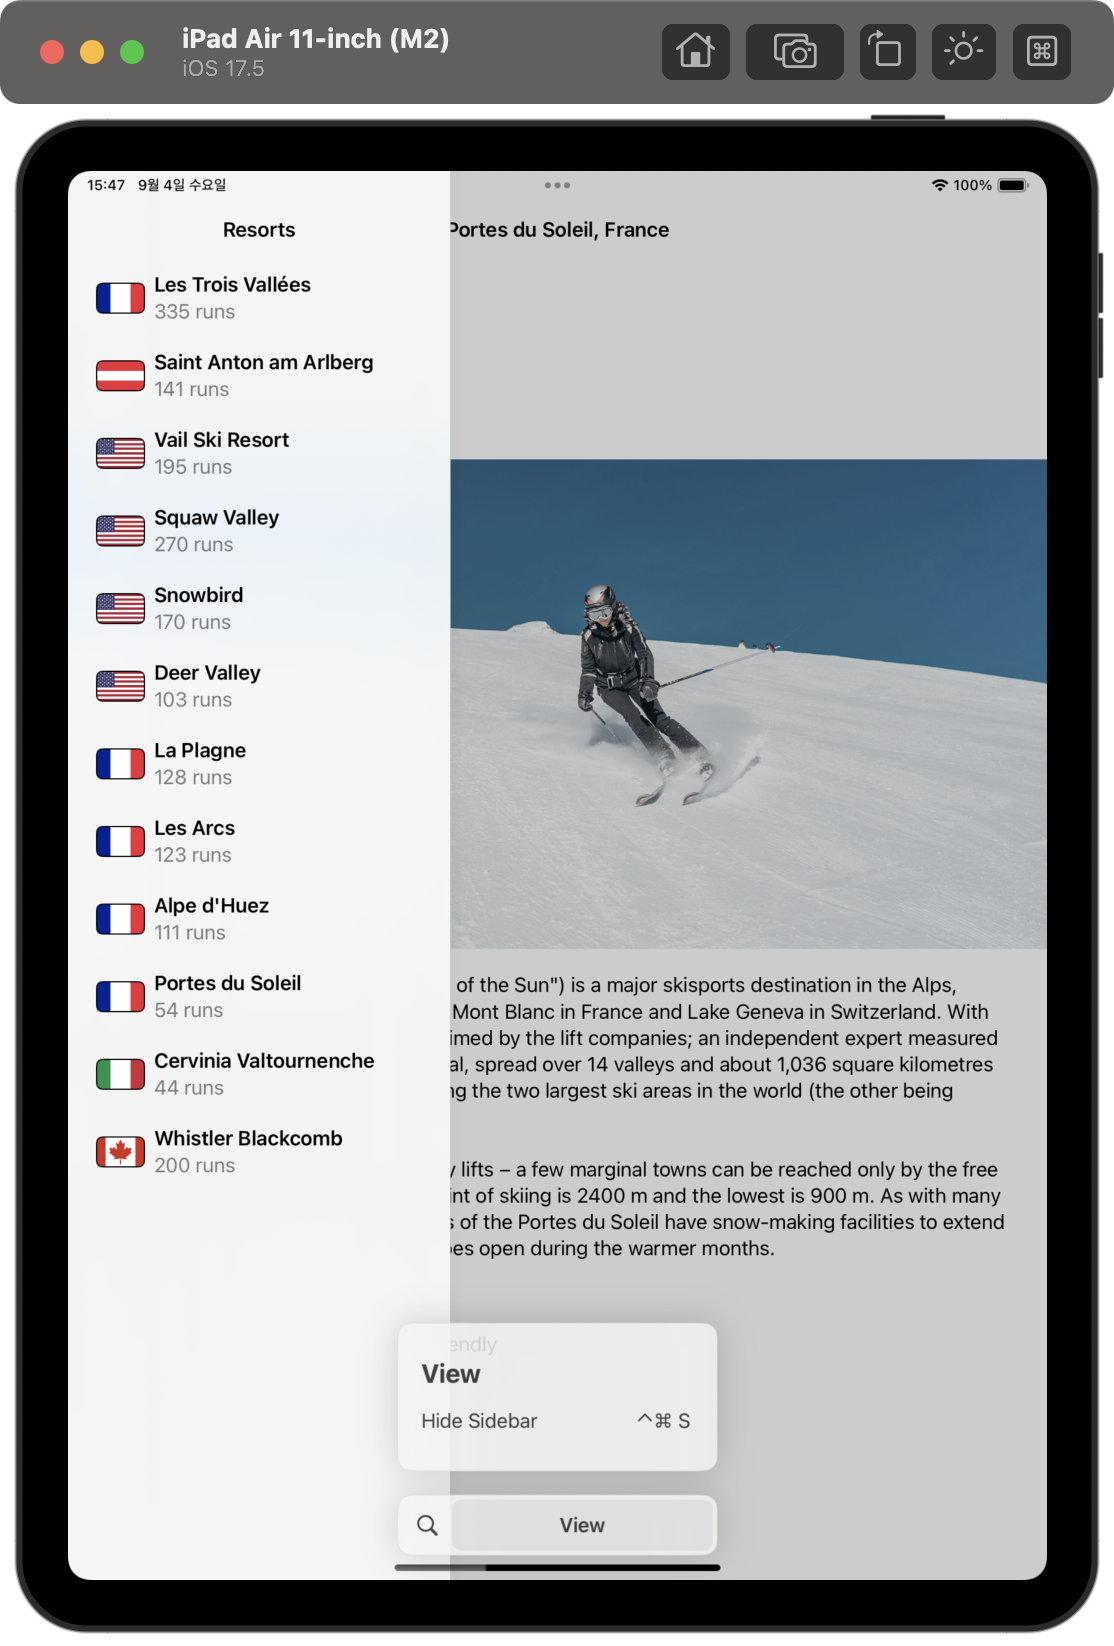
            .navigationDestination(for: Resort.self) { resort in
                ResortView(resort: resort)
}더 나은 View 만들기
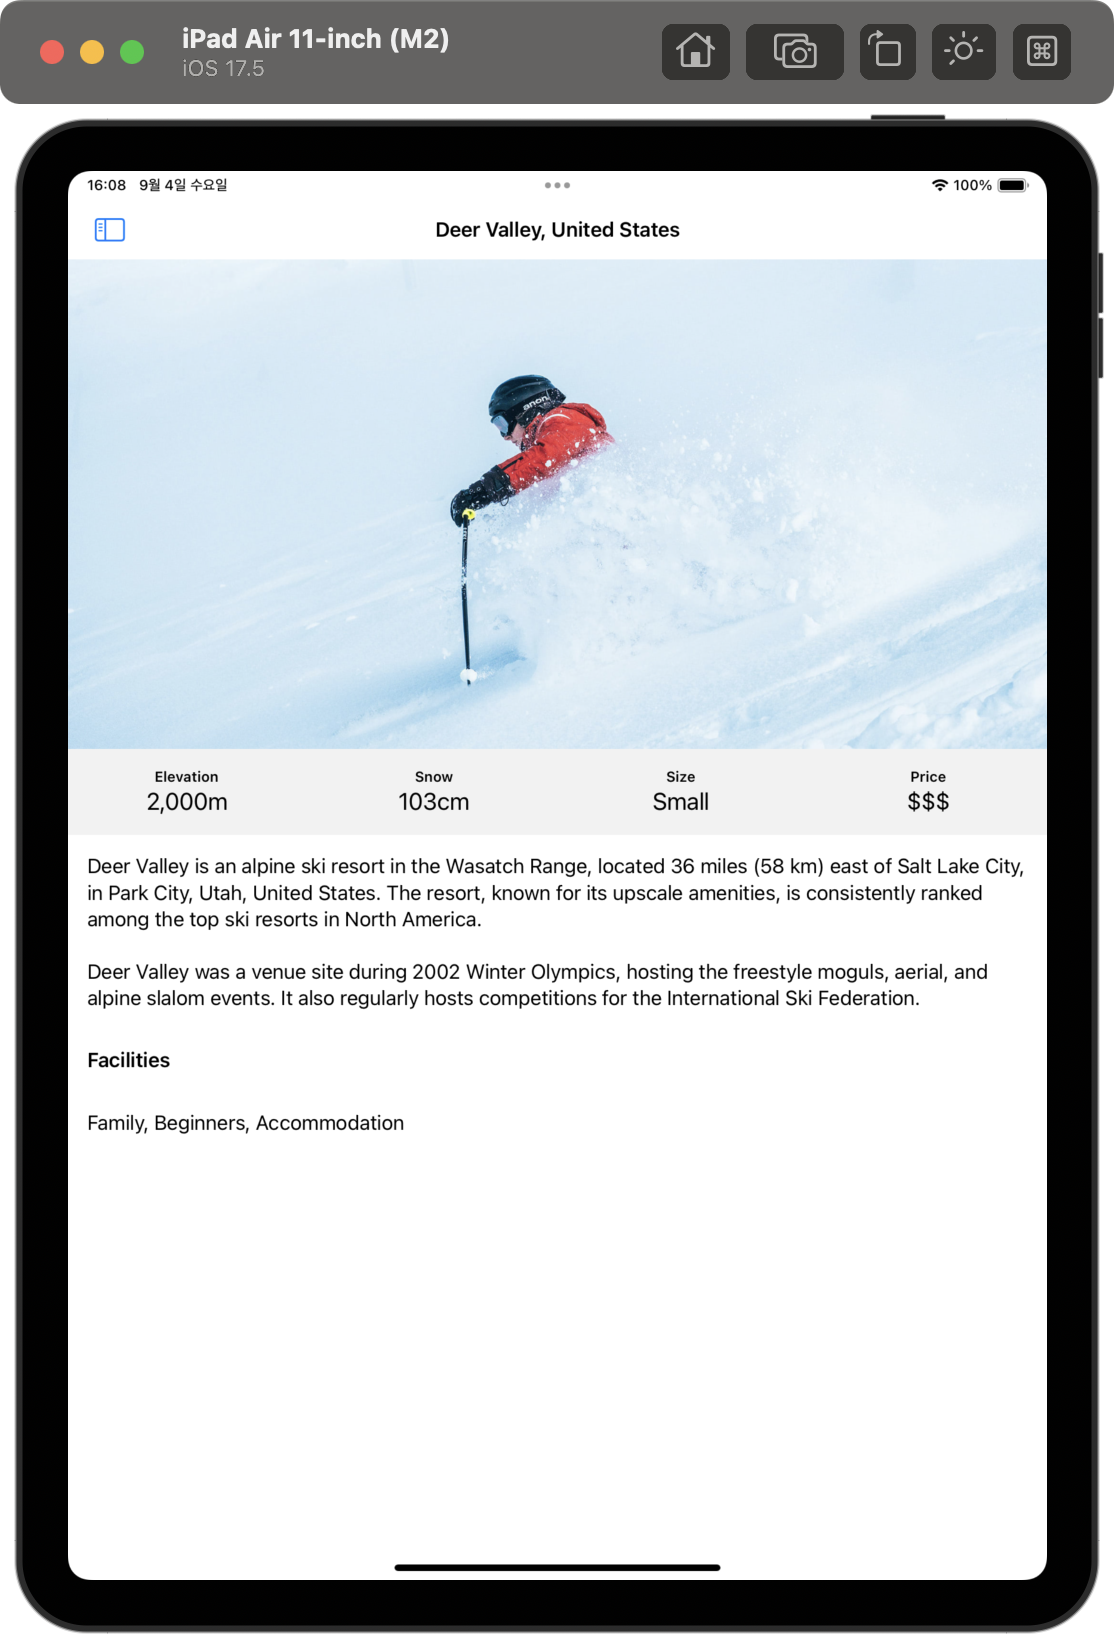
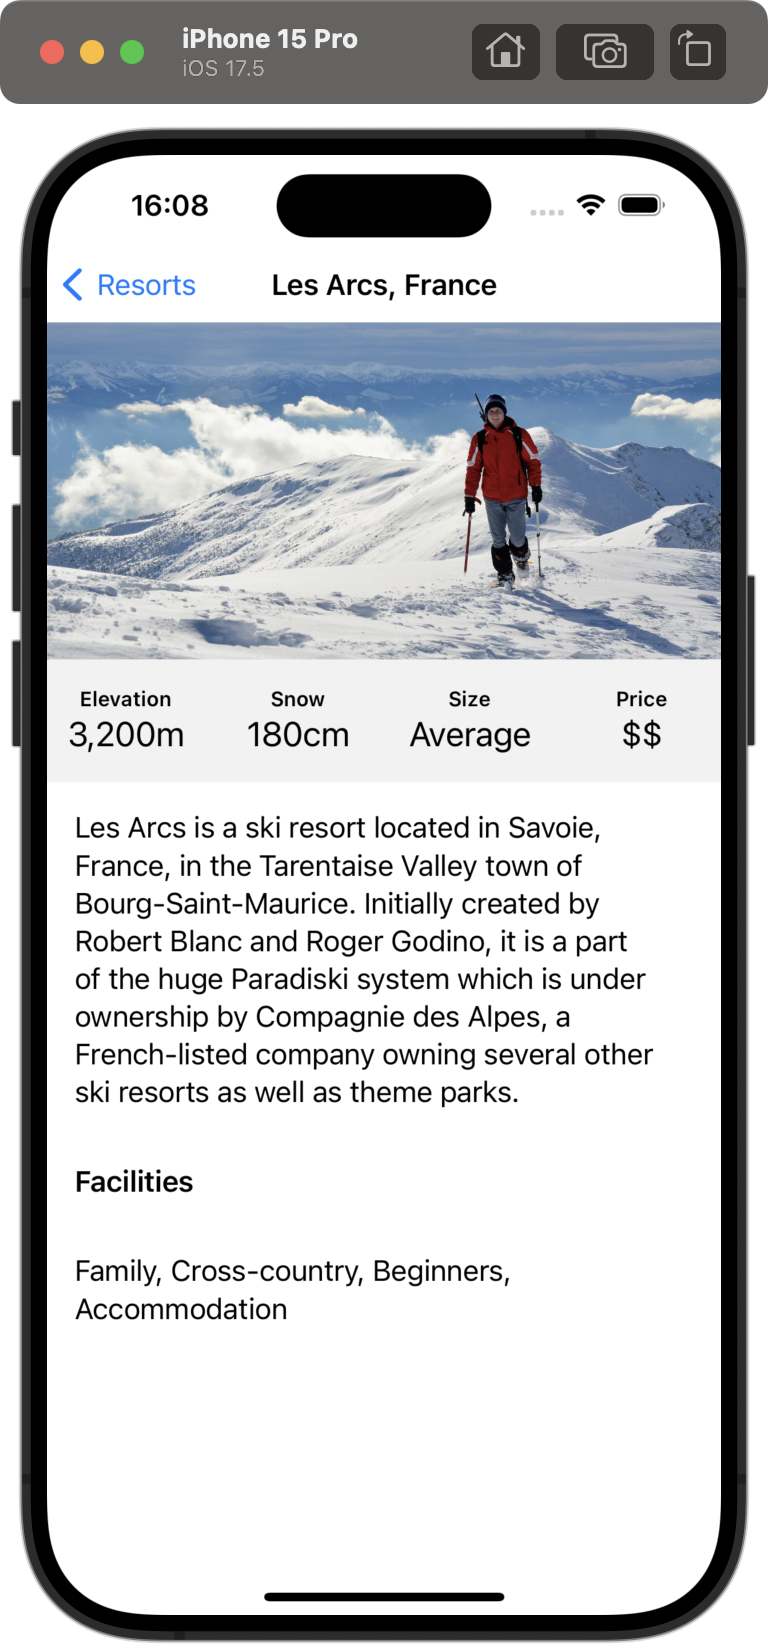
Resort는 고도, 크기, 가격 정보 등이 더 있다. 이를 Group에 담아 View로 만들어 화면의 상황에 따라 표현하도록 설정했다.
 |  |
|---|
마지막으로 시설 정보를 .joined가 아닌 .list format으로 나타냈다. .and 혹은 .or로 나타낼 수 있다.
Text(resort.facilities, format: .list(type: .and))
계속 해보자