0. 참고
✔ camera package : https://github.com/ros-drivers/usb_cam
✔ darkent pachage : https://github.com/leggedrobotics/darknet_ros
1. camera
👉 usb_cam package - driver
$ sudo apt install ros-melodic-usb-cam // usb_cam 사용에 필요한 패키지
$ sudo apt-get install v4l-utils // cam 정보를 얻을수 있는 드라이버 설치
...
$ v4l2-ctl --list-devices // cam이 연결된 포트를 확인할 수 있는 명령어
$ v4l2-ctl --all -d 0 // cam의 셋팅값 확인
		      // 맨마지막 숫자는 위에서 확인한 cam의 포트 번호 입력
👉 setting value
경험에 의한 개인적인 견해이며, 기준을 조금 더 정밀하게 했으면 하는 아쉬움이 있다.
-
Brightness
- 맑은 경우, 약 40 ~ 50
- 적당히 구름낀 경우, 약 90 ~ 100
- 흐린 경우, 약 128 ~
-
White balance temperature
- 화면 색이 파랗다면 4500 ~ 5000,
- 화면 색이 붉다면 default (red-green 추출에 있어, 붉은 화면은 큰 영향을 주지 않았음)
-
Exposure_auto
- 노출값은 늘 auto로 설정하였다. 수동으로 바꾸면 조절이 굉장히 어려웠다.
-
Backlight_compensation
- 역광의 물체를 잘 잡도록 도와주는 설정값. 이 값은 1로 설정하였다.
-
코드 내에서 값 변경 (python)
subprocess.check_call("v4l2-ctl -d /dev/video0 -c brightness=90", shell=True)
subprocess.check_call("v4l2-ctl -d /dev/video0 -c exposure_auto=3", shell=True)
subprocess.check_call("v4l2-ctl -d /dev/video0 -c focus_auto=1", shell=True)
subprocess.check_call("v4l2-ctl -d /dev/video0 -c white_balance_temperature_auto=1", shell=True)
subprocess.check_call("v4l2-ctl -d /dev/video0 -c backlight_compensation=1", shell=True)
2. darknet
👉 cfg - weights 파일 변경
- darknet_ros/yolo_network_config 의 cfg, weights 폴더에 각각 파일 추가
- darknet_ros/config 에 ___.yaml 추가 후, 아래 name: 에 cfg, weights 파일 이름으로 변경, classes name: 에 class들 기입

- datknet_ros/launch/darknet_ros.launch 파일의 아래 "yolo_config_path" 에 yaml 주소 삽입

👉 detection된 특정 class 이용하기
-
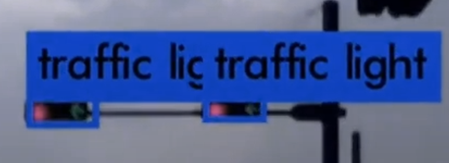
darknet_ros에서 pub하는 bounding box와 해당 frame를 받아온다.

-
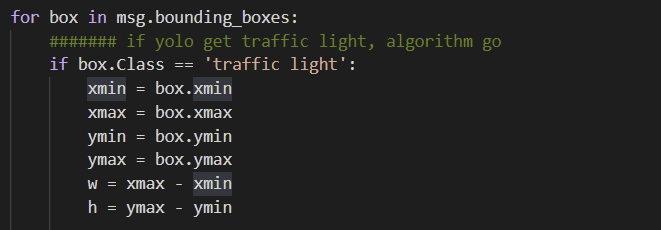
class가 traffic light인 경우, bounding box에 대한 정보를 저장 후 신호 분류를 위한 알고리즘을 시작한다.